


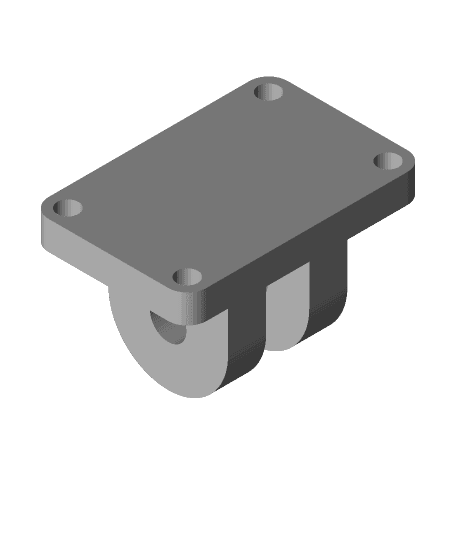
P2S Nozzle Camera Mount
Possibly the first working nozzle camera mount for the P2S printer.
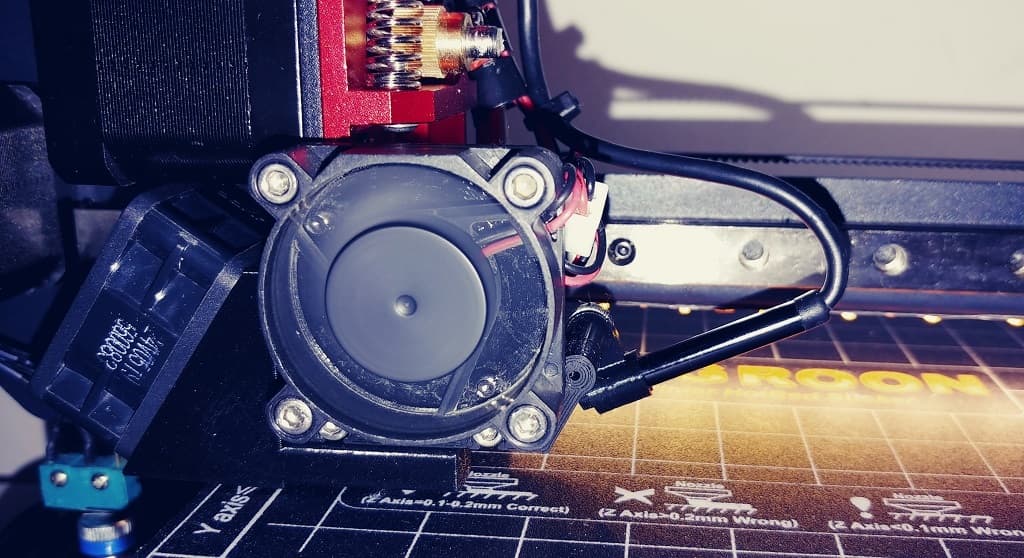
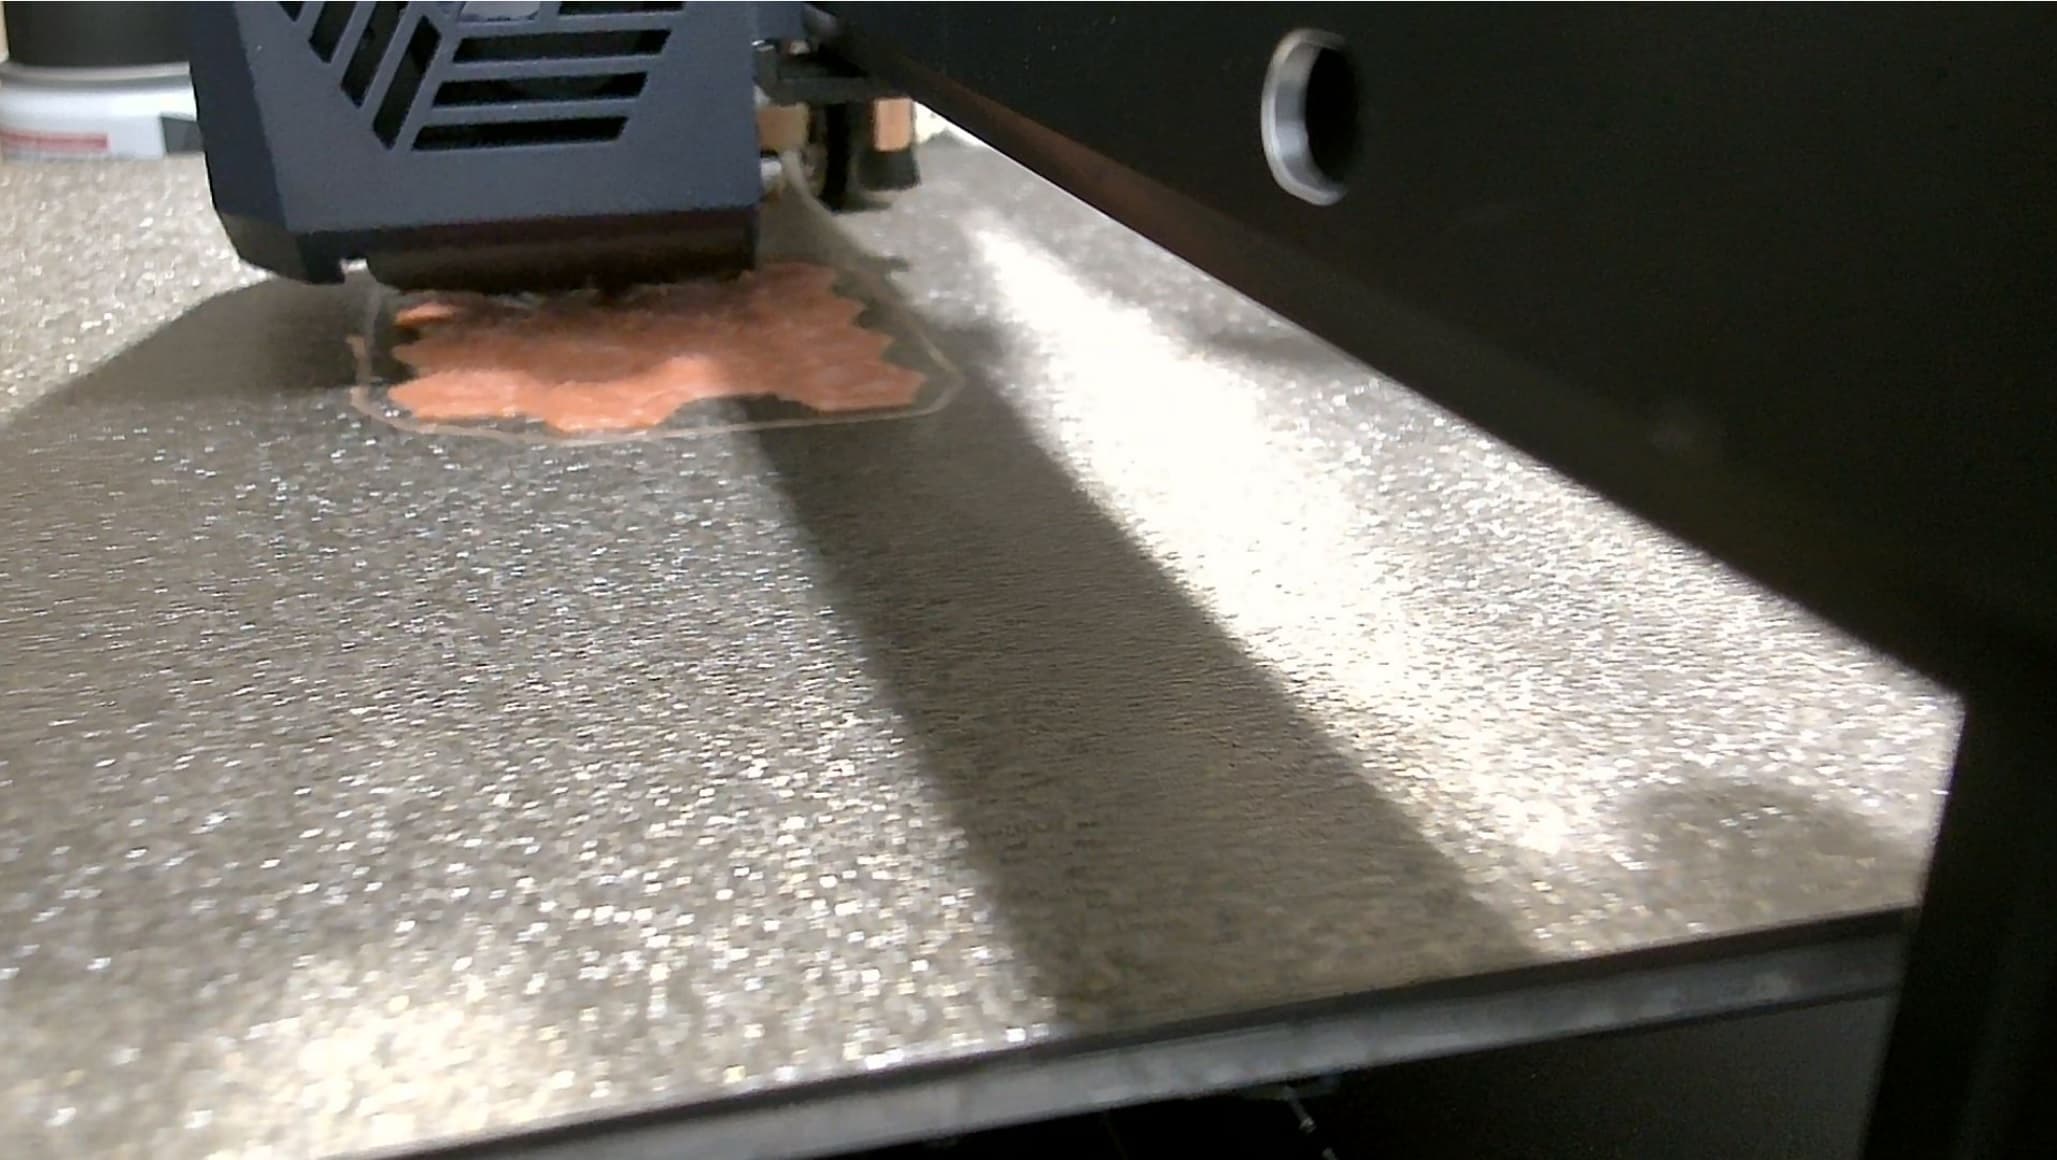
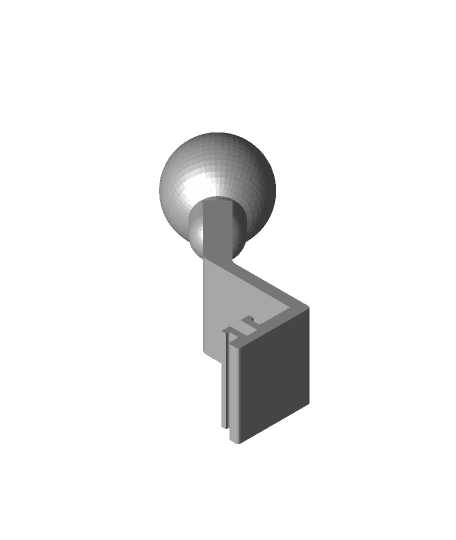
After months of working with the P2S and similar CoreXY machine, I have a working nozzle camera mount for the Bambu Labs P2S. This allows the mounting of an endoscope camera to the extruder for monitoring, recording, and streaming purposes. I'll also continue to make improvements to the design as time goes on.
This mount is 100% "use at your own risk" due to the near-zero clearances, overhead metal frame hazards, high amounts of g-force generated, and risk of snagging on things like the purge chute plunger; this operation is not without its risk. Pay close attention to the instructions and warnings below.
Always pre-test the travel of your extruder manually before printing with the mount installed.
The cable, zip tie, and other components of this system must not encroach onto the upper half of the extruder. Objects in the top half of the extruder's height range are likely to get smashed / pinched / sheared against the frame or gantry.
The cable must not approach the extruder / mount from above (due to the above note). It must approach from the front or side of the enclosure.
Currently the camera entry point is recommended to be the front corner of the enclosure Because the front corners are outside of the extruder's travel range this is safest. See the attached images for clarification and recommended routing.
Warranty voiders and risk takers may benefit from a small hole in the front / side of the enclosure for camera entry. My machine is currently too new to justify doing this.
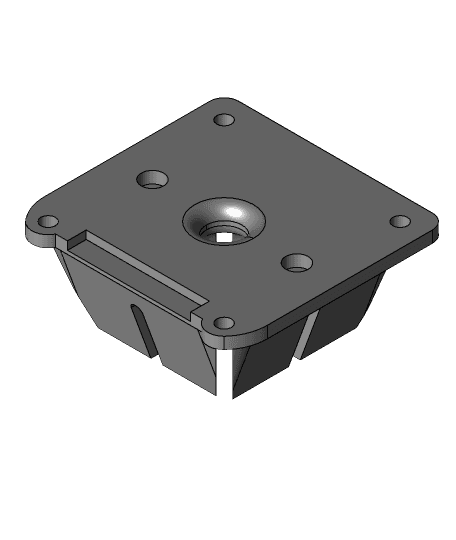
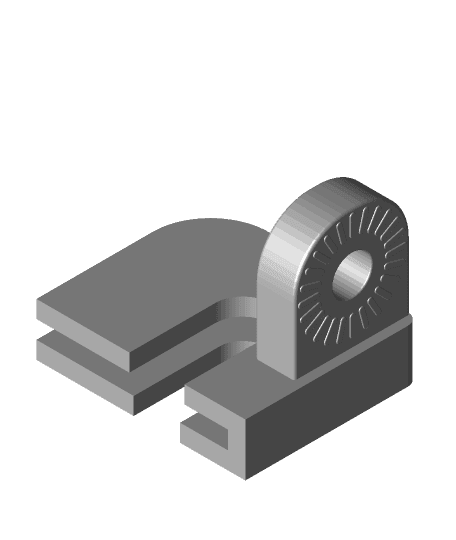
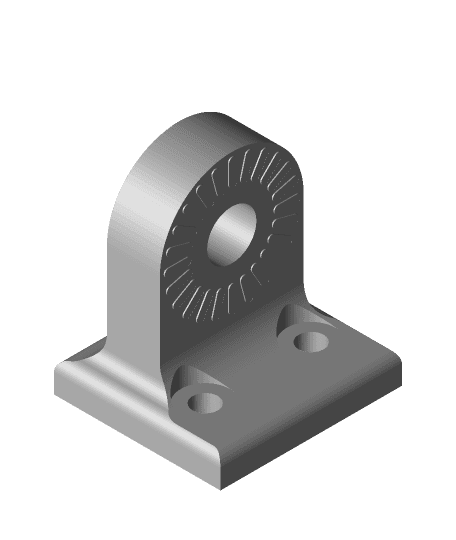
The mount uses an existing threaded brass screw hole on the extruder. Remove the extruder front fan cover to locate the screw.
The screw must be installed from the back of the extruder, and the mount's screw hole should be closest to the back-left corner of the extruder.
The mount requires a zip tie to prevent the front of the mount from drooping. This must wrap around the back of the extruder above the screw but below the rails. Ensure that the zip tie will not get wedged between the extruder and the sides of the gantry.
Always trim zip tie tails to minimize snagging / colliding risk.
Will warp if printed in PLA. It still works, but don't expect it to be "pretty" forever.
In case you hadn't picked up on it, doing this only works "a certain way".
If you're not sure, please reach out. I'll do my best to help. That being said, I'm not responsible for any damages that arise from using this part.
Possibly the first working nozzle camera mount for the P2S printer.


.jpeg&w=3840&q=75)

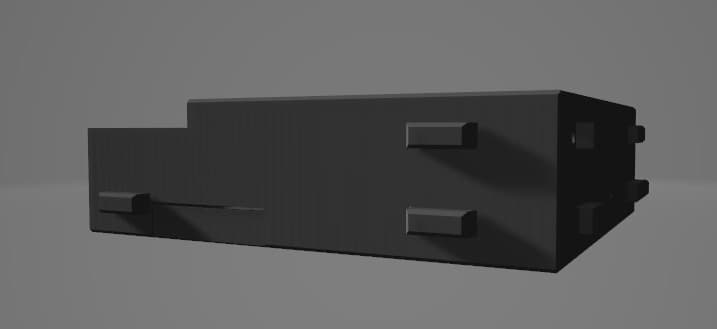
Design updated! Changes made to R12 are below:
If anyone is using this and needs adjustments made to fit your specific camera etc, please reach out.