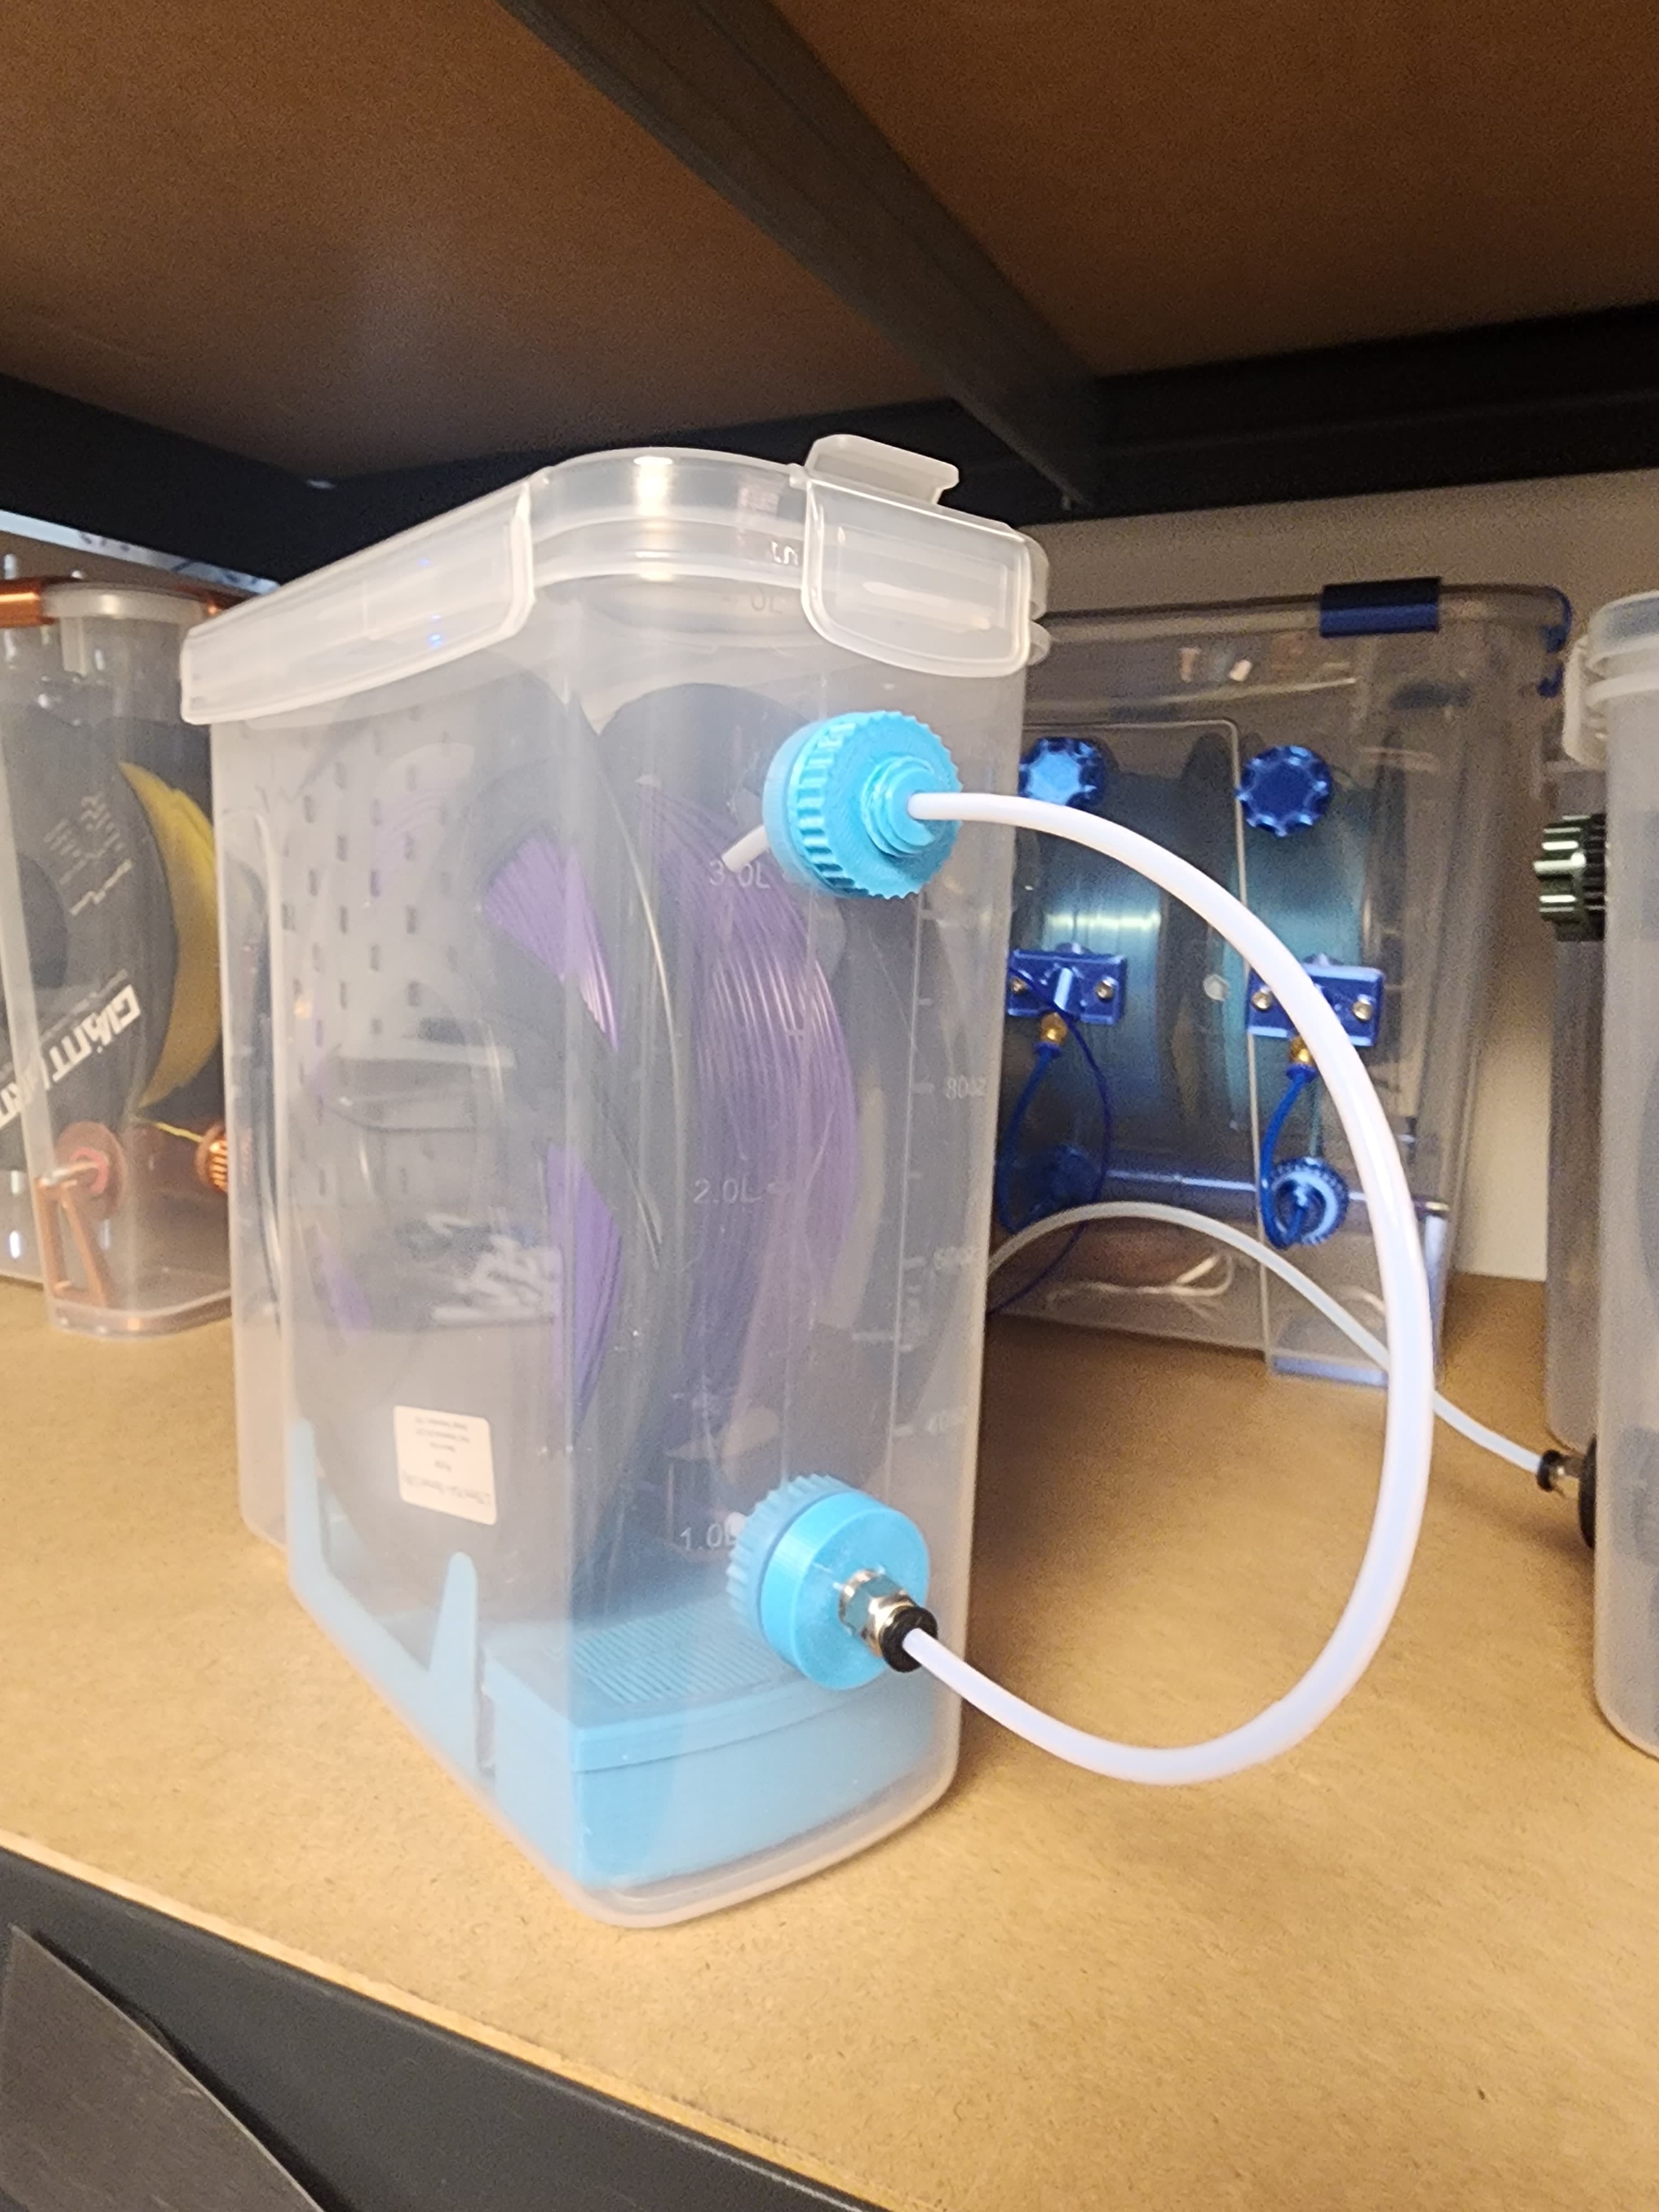
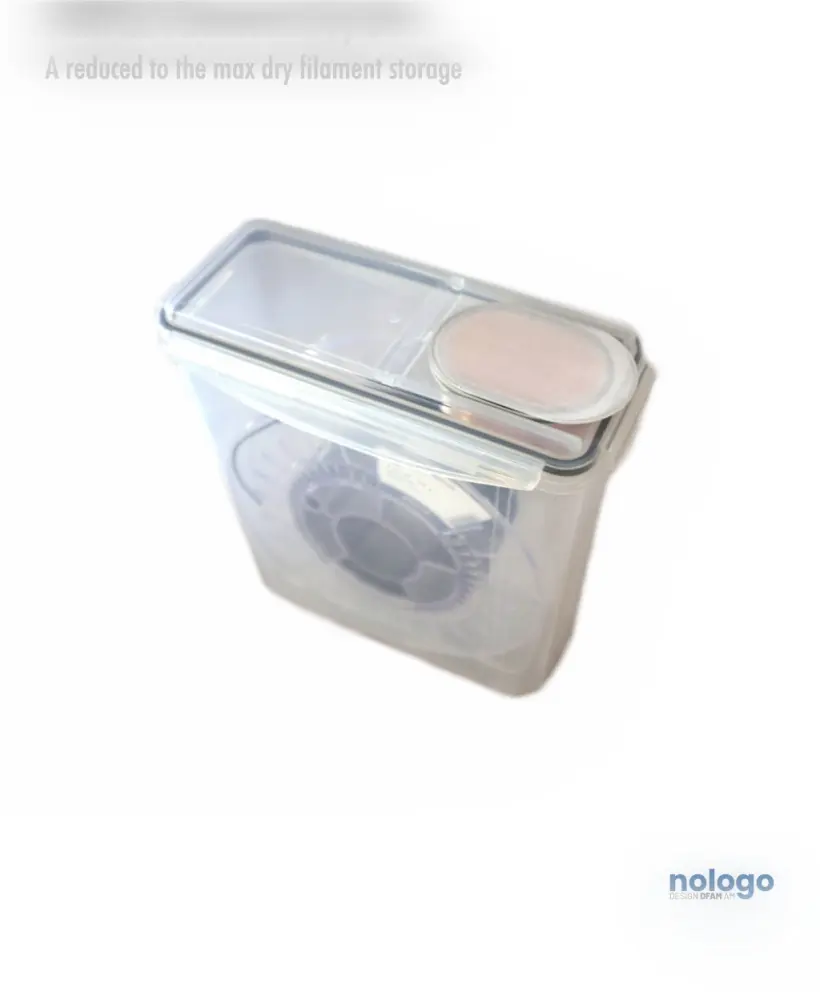
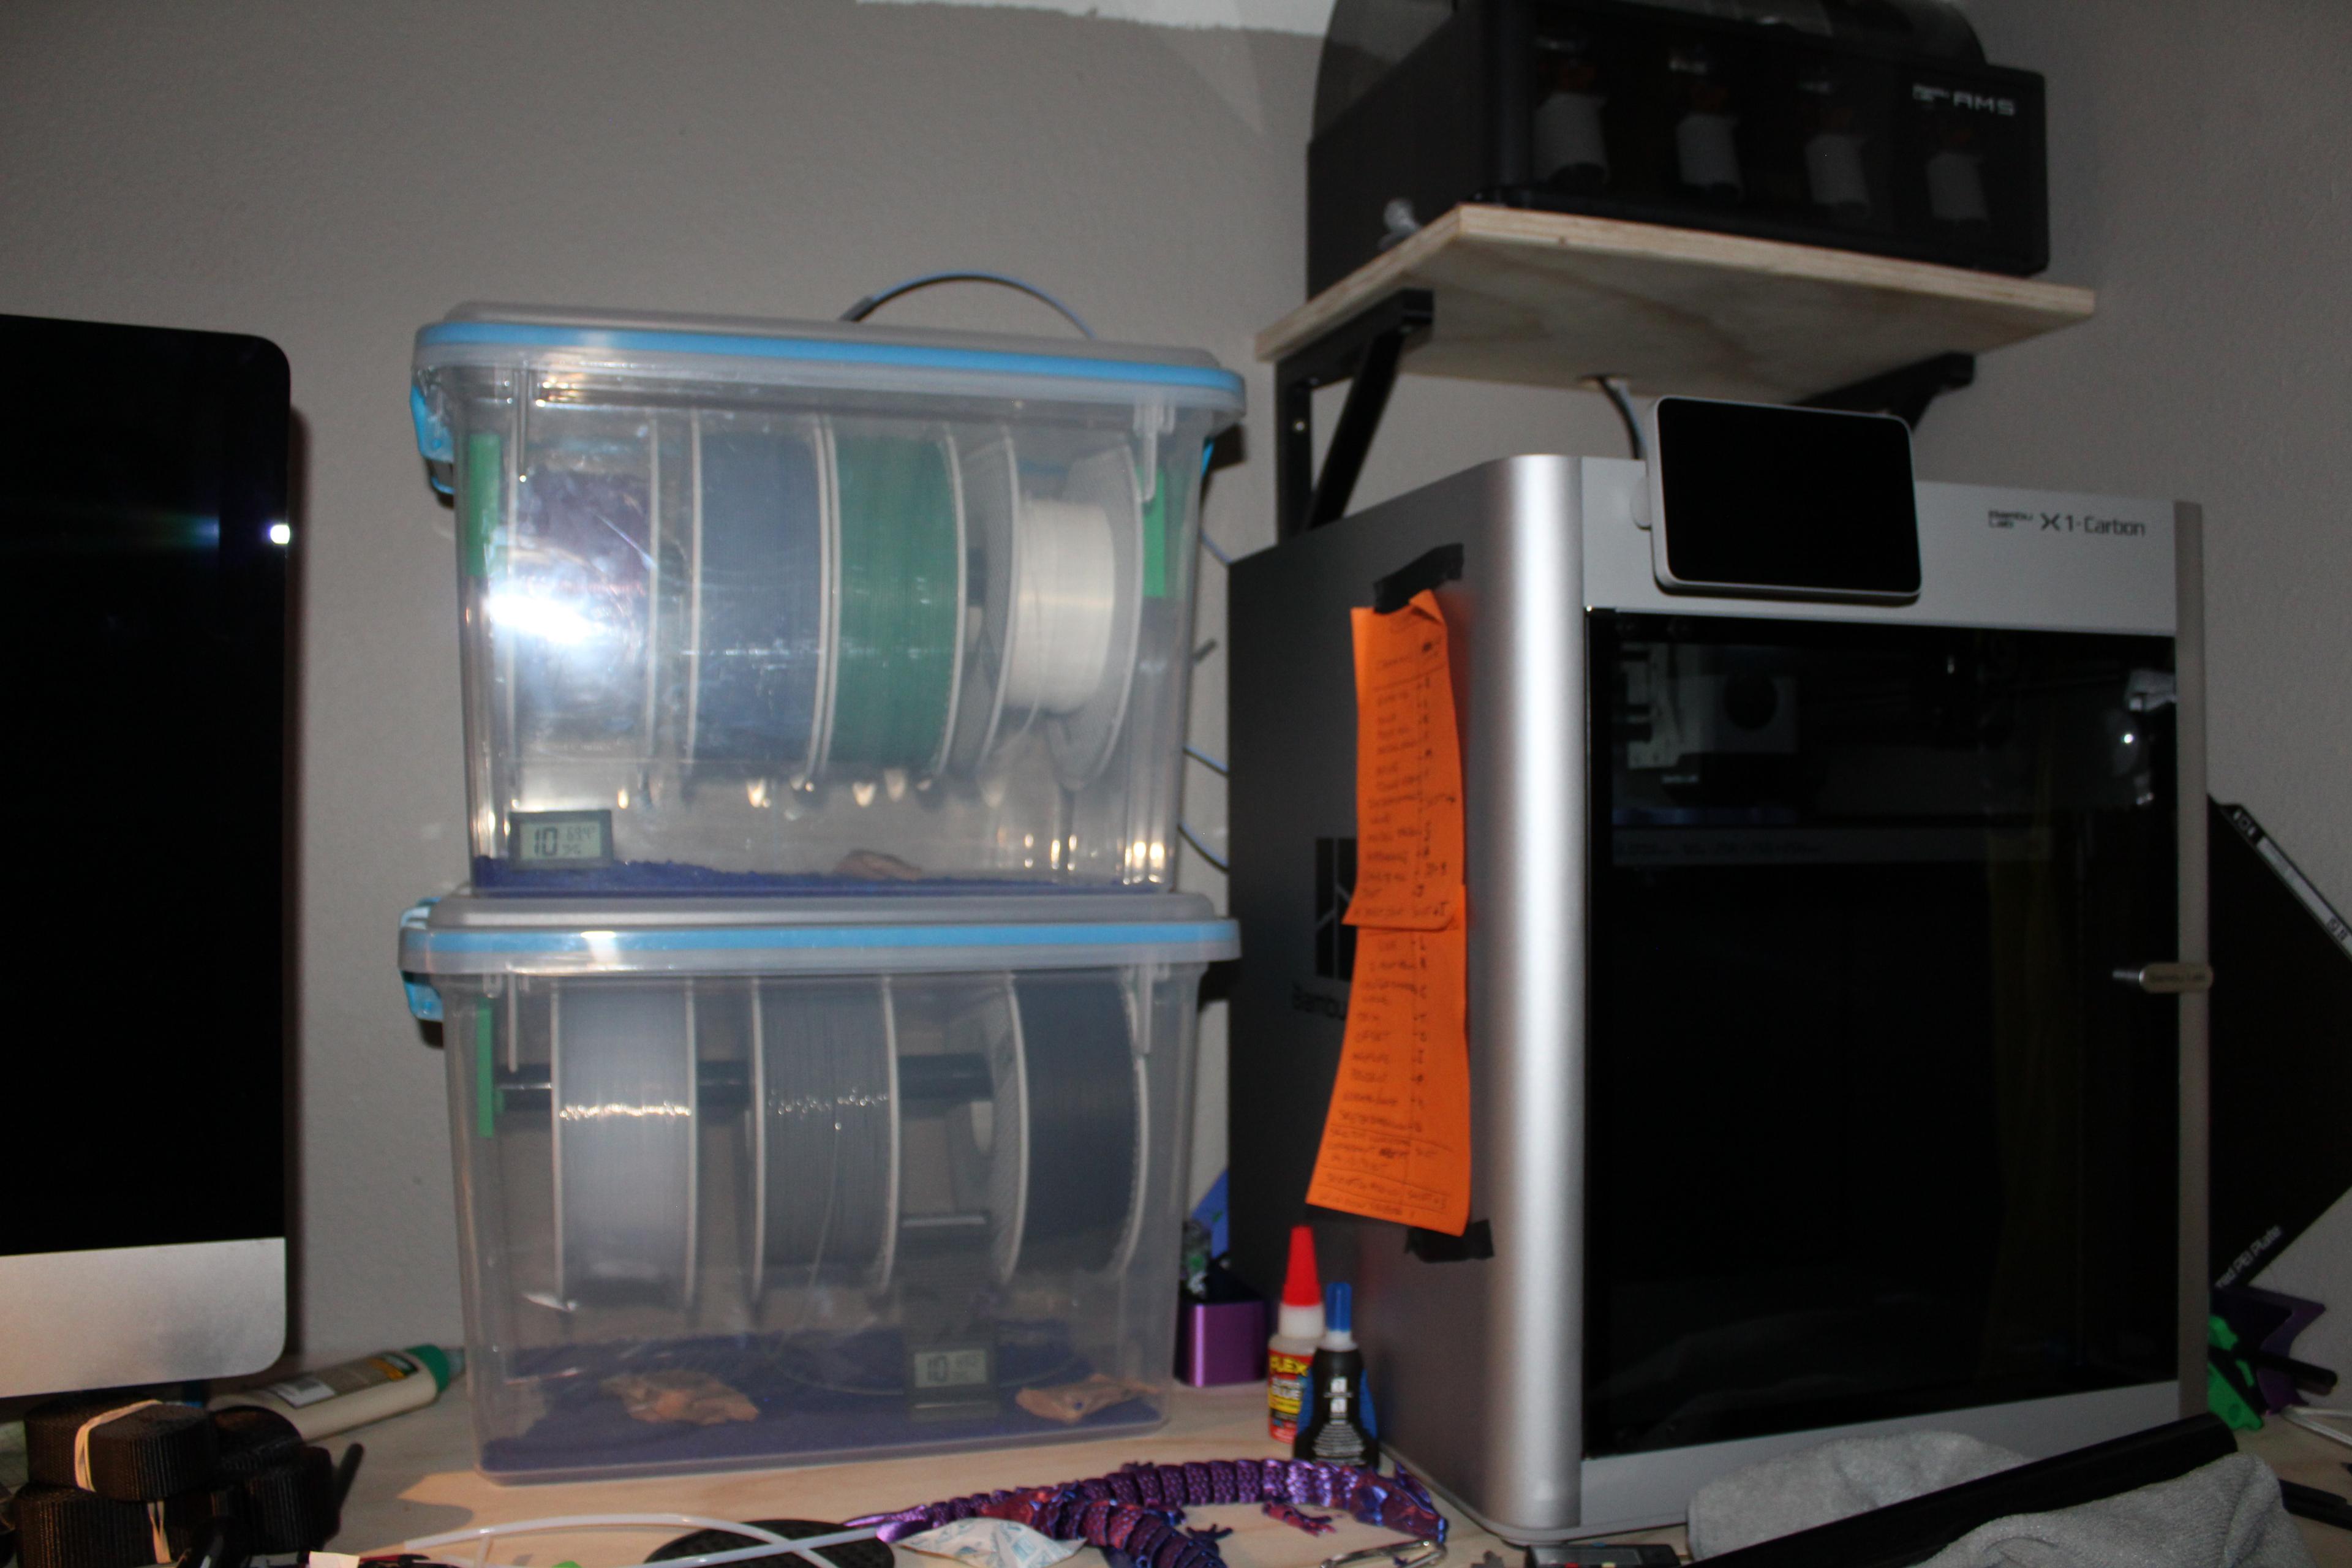
Filament Dry Box
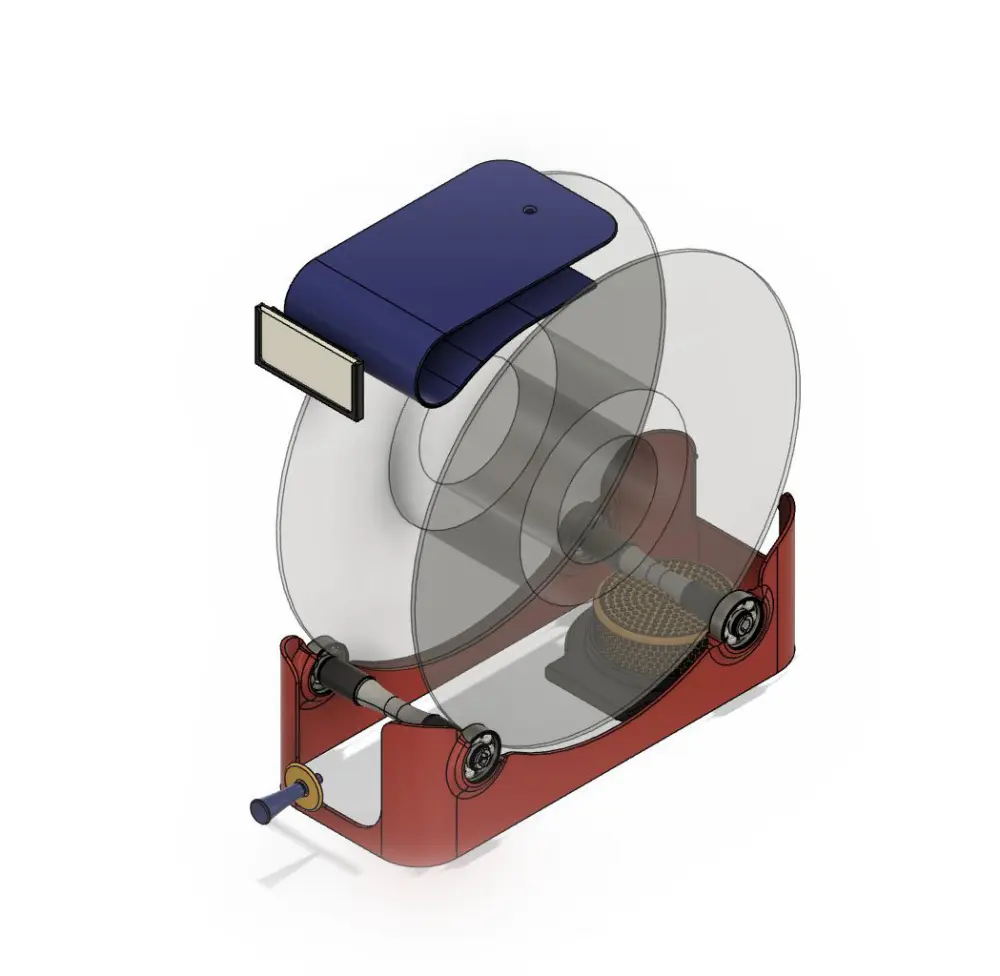
This is the latest version of my filament dry box. It's made using a Rubbermaid 21-cup (or 22-cup?) container made for keeping cereal and pasta in bulk. This container also happens to be the exact size needed for storing 1 kg filament spools. I've been using different versions of this setup for a few years now and it just works great for keeping filament dry.
What you need aside from the printed parts:
- Rubbermaid 21-cup container (p/n 1776473) available on Amazon (here) and some Walmart (here) stores for about $20 or less in the US.
- Four (4) small bearings (type R4) available at Amazon for about $15 for 10 bearings (here).
- 45 mm Humidity Sensor available at, you guessed it, Amazon (here) for $7 for 2 sensors.
- Some liquid glue. My personal favorite is this one.
How to put it together:
Assembling everything is super easy, just follow these steps:
- Print all the parts in the print profile (base_1, base_2, RH sensor support and two (2) shafts). Note: The shafts are printed at an angle (about 45 degrees) in order to make them stronger. Otherwise, if printed vertically, they are super fragile.
- Remove all supports (tree supports are very easy to remove).
- Assemble both “base” parts together after putting some glue in the slots.
- Let the glue dry for 30 minutes to an hour (depending on the type of glue you are using). I like to put the glued parts on the side and place a heavy object on them to ensure the parts dry in the exact position that I want.
- Insert a humidity sensor into the “RH sensor support” part. You have to push it in with a bit of force until it “clicks” into place.
- Don't worry about the orientation of the RH sensor, you can rotate it once it's in place.
- Put some glue inside the RH sensor support and assemble it onto the base (those two parts that you previously glued together at step 3.
- Let the glue between the RH sensor support and the base dry.
- You can clean off some of the oil on the bearing if you want.
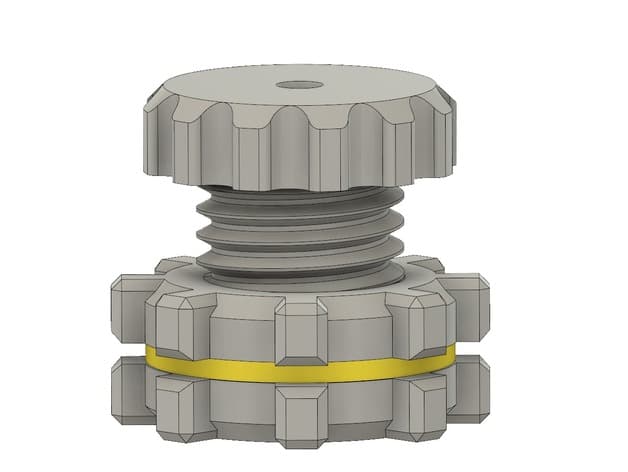
- Insert two (2) bearings on one side of the base. They should fit pretty snug, but don't worry if they are not super tight. Insert the two (2) shafts through the holes on the opposite side of the base all the way into the bearings.
- Finally, push the two remaining bearings in the remaining holes and onto the shafts at the same time.
Congratulations, your base is now complete! If you feel like the bearings are a bit too loose and could pop out of the holes, you can add a bit of glue or silicone gel on the outside of the base, just to make sure the bearing will never move. My absolute favorite adhesive is this one, I always have some on hand. This thing will glue anything to anything else (including 3D prints)!
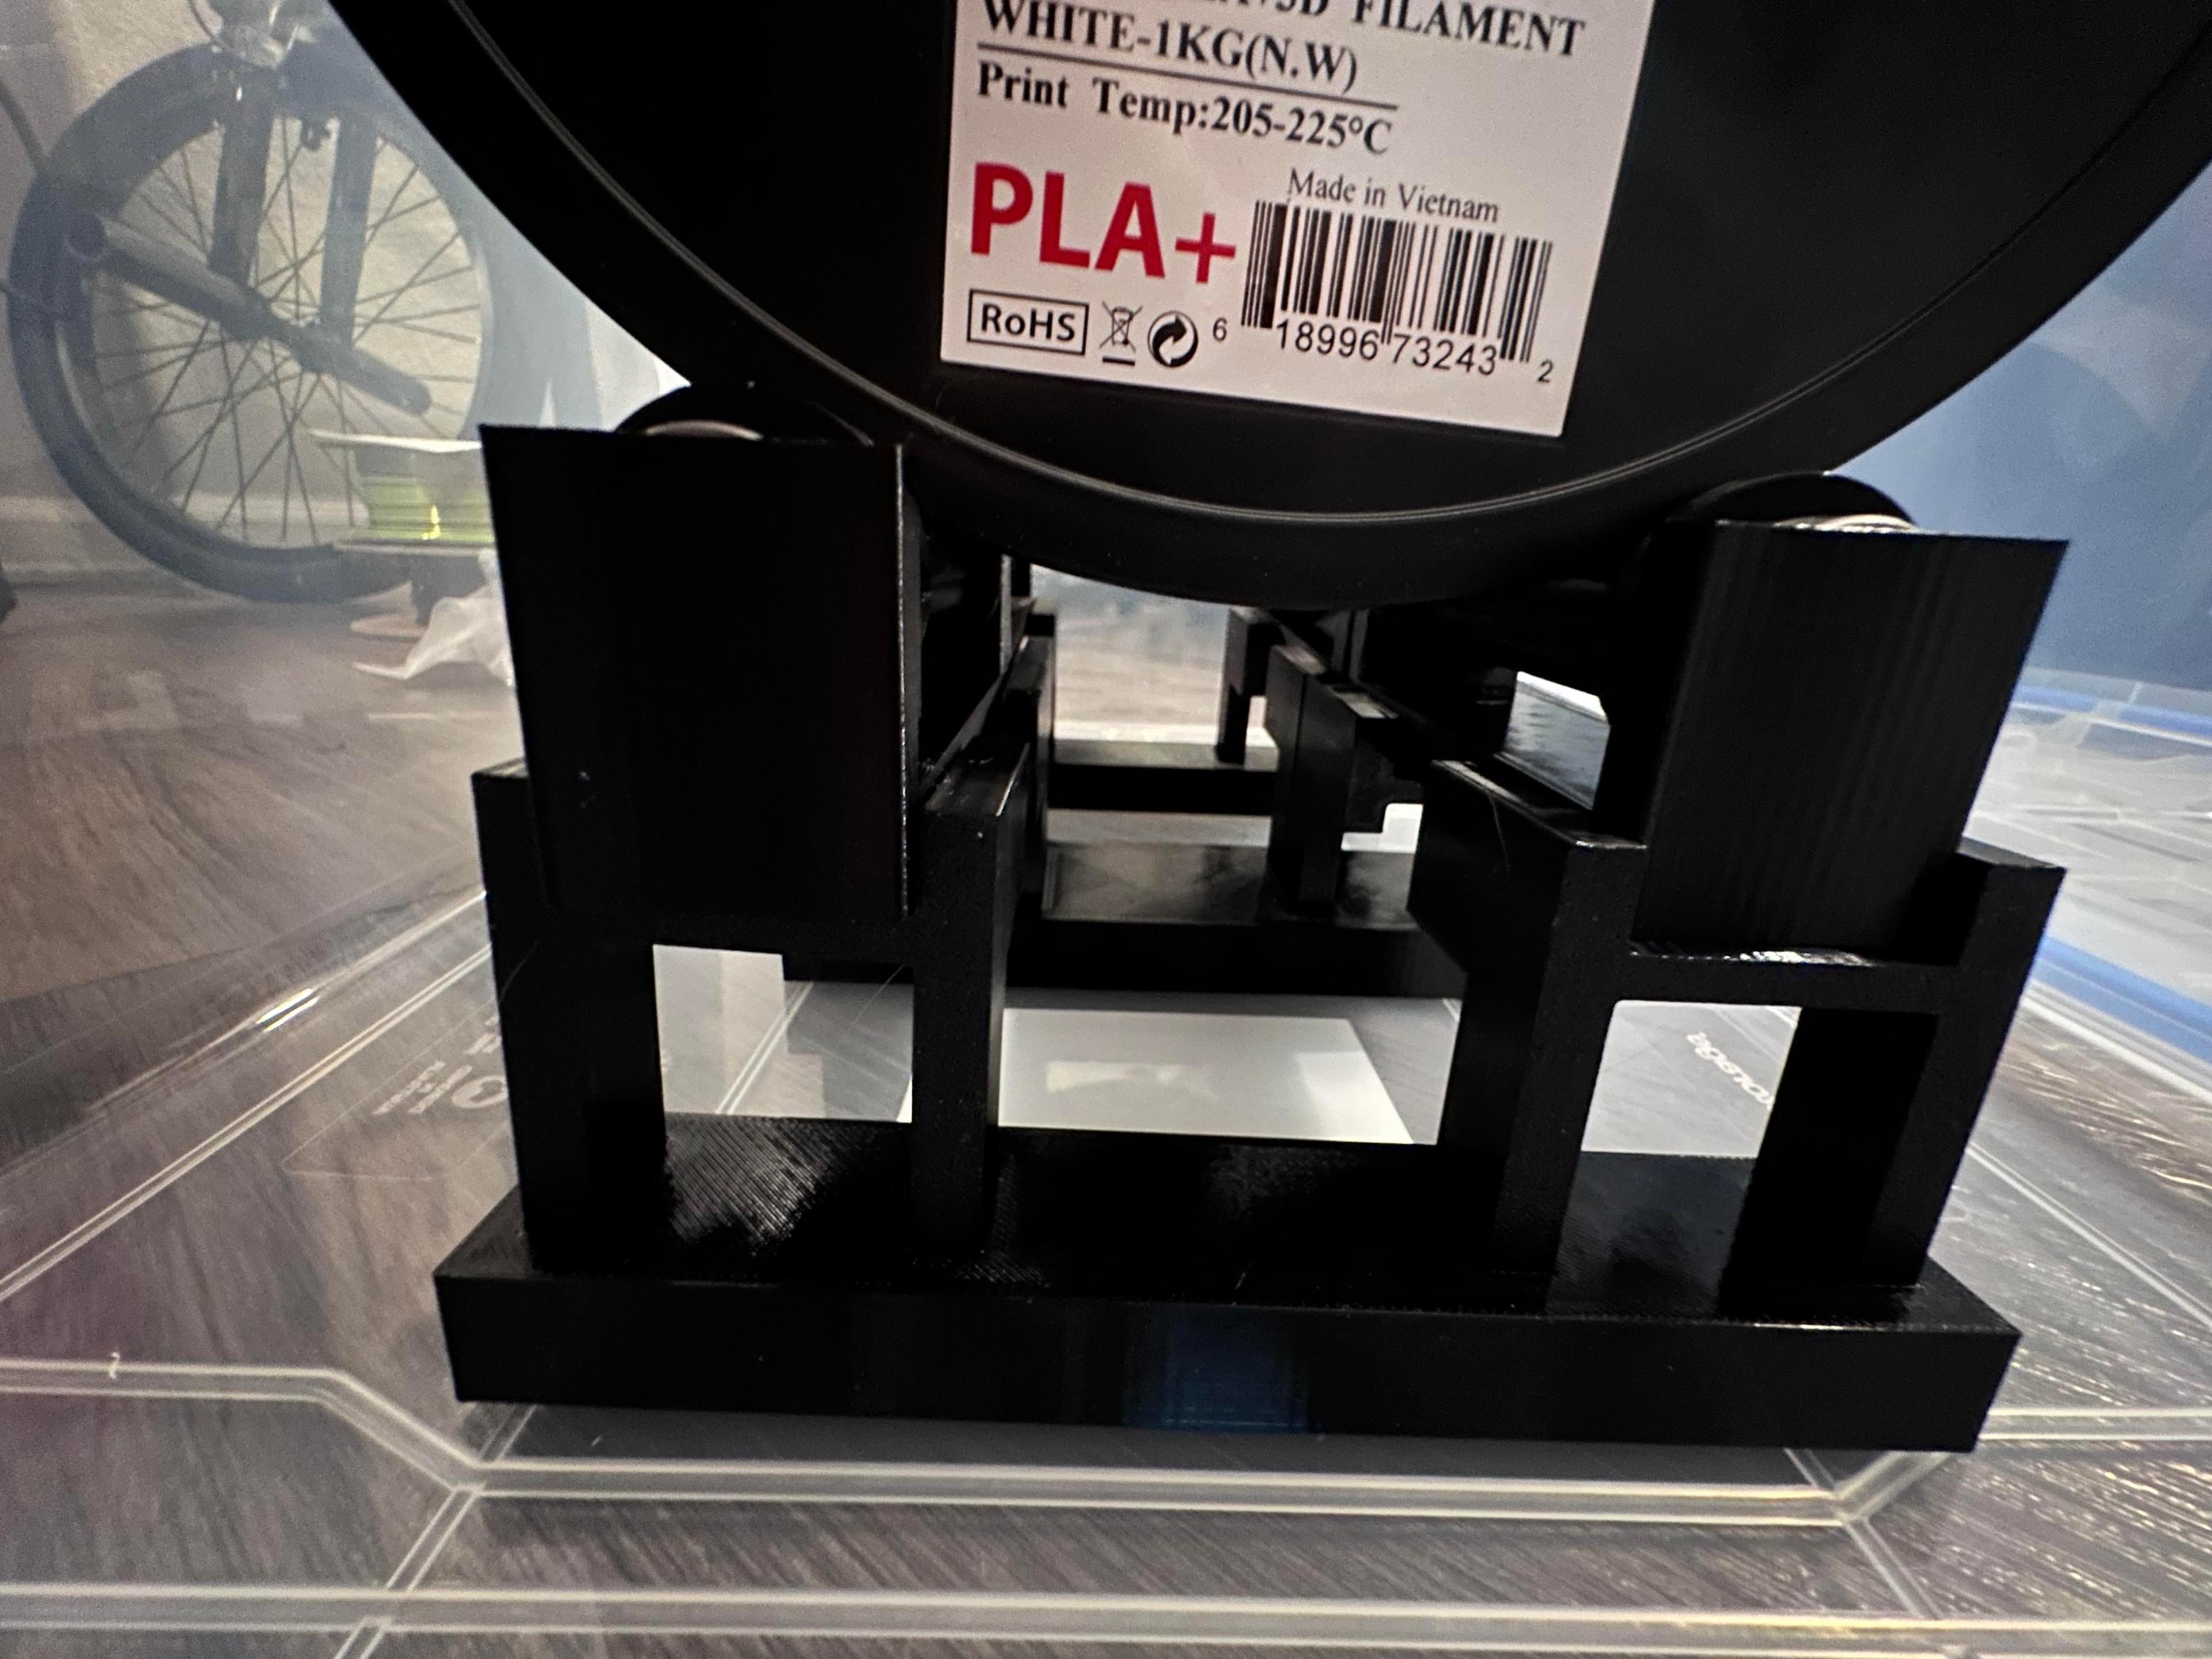
Now all you need to do is place your brand new filament spool support at the bottom of the container. You can now keep you filament spools nice and dry. Well, as dry as they were when you placed them in the dry box.
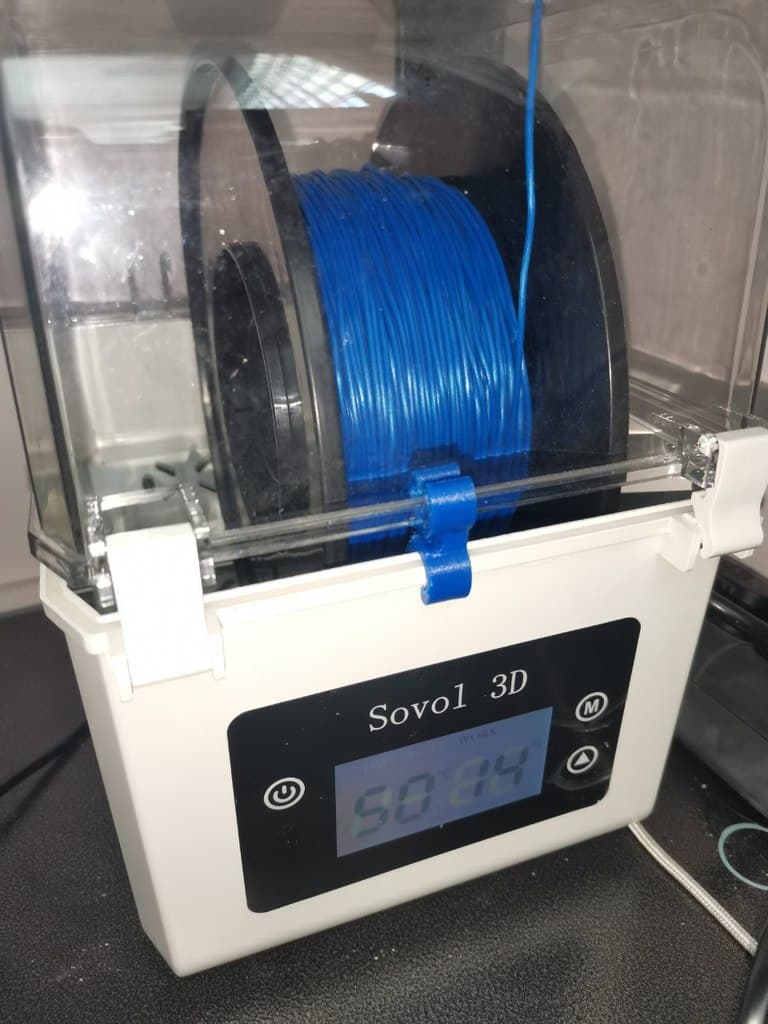
I like to dry all my filament spools as soon as I open the package. New filament is not necessarily dry filament. Never assume that your new sealed filament spool is dry. I use a Sunlu filament dryer that I got for $50 a few years ago (they make better one now). The spool of filament stays in there for at least 8 hours and then it goes directly into a dry box. And because I'm a bit of a nut, I also place a desiccant bag in the dry box, underneath the base, to make sure that my filament stays dry. These desiccant bags can be reactivated when they are saturated with moisture.
Filament Dry Box
S!MPLE Filament Dry Box
.png&w=3840&q=75)
Heated 3D Printer Filament Dry Box / Hot Box
filament storage dry box

Silica Filament Dry Box Base.3mf

Modified Lid for Combined Desiccant Cup / Hygrometer Mount for Filament Dry Box

FLSUN T1 Pro Cereal Container Filament Dry Box Holder
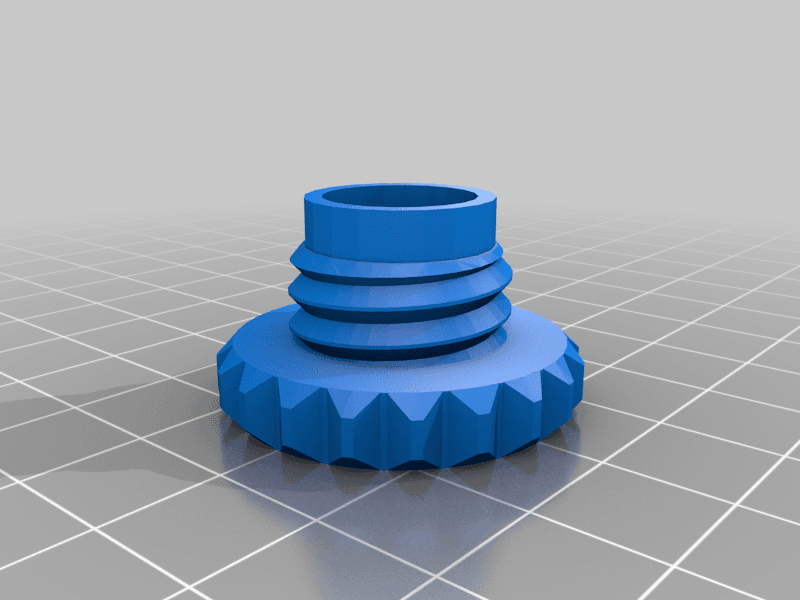
Filament Dry Box Grommet

Dry box for filament spools
Dry-box Filament Pass-Through

Filament Dry Box Label
.png&w=3840&q=75)
2 inch PVC holder mount for filament dry box project
.png&w=3840&q=75)
Filament Spool Container Dry Box / 3d print Accessory Gadget Smart
Jam-Free Cereal Dry Box

No-Drill, Print From, 100% Dry Box Mod

Dry box humidity/temprature sensor mount for Tuya sensor with screen

Yet Another PRAKI Dry Box
Modular Dry Box Spool Holders.
Filament dryer box wedge (Sovol SH01)

Filament holder plug for 3D filament dryer box