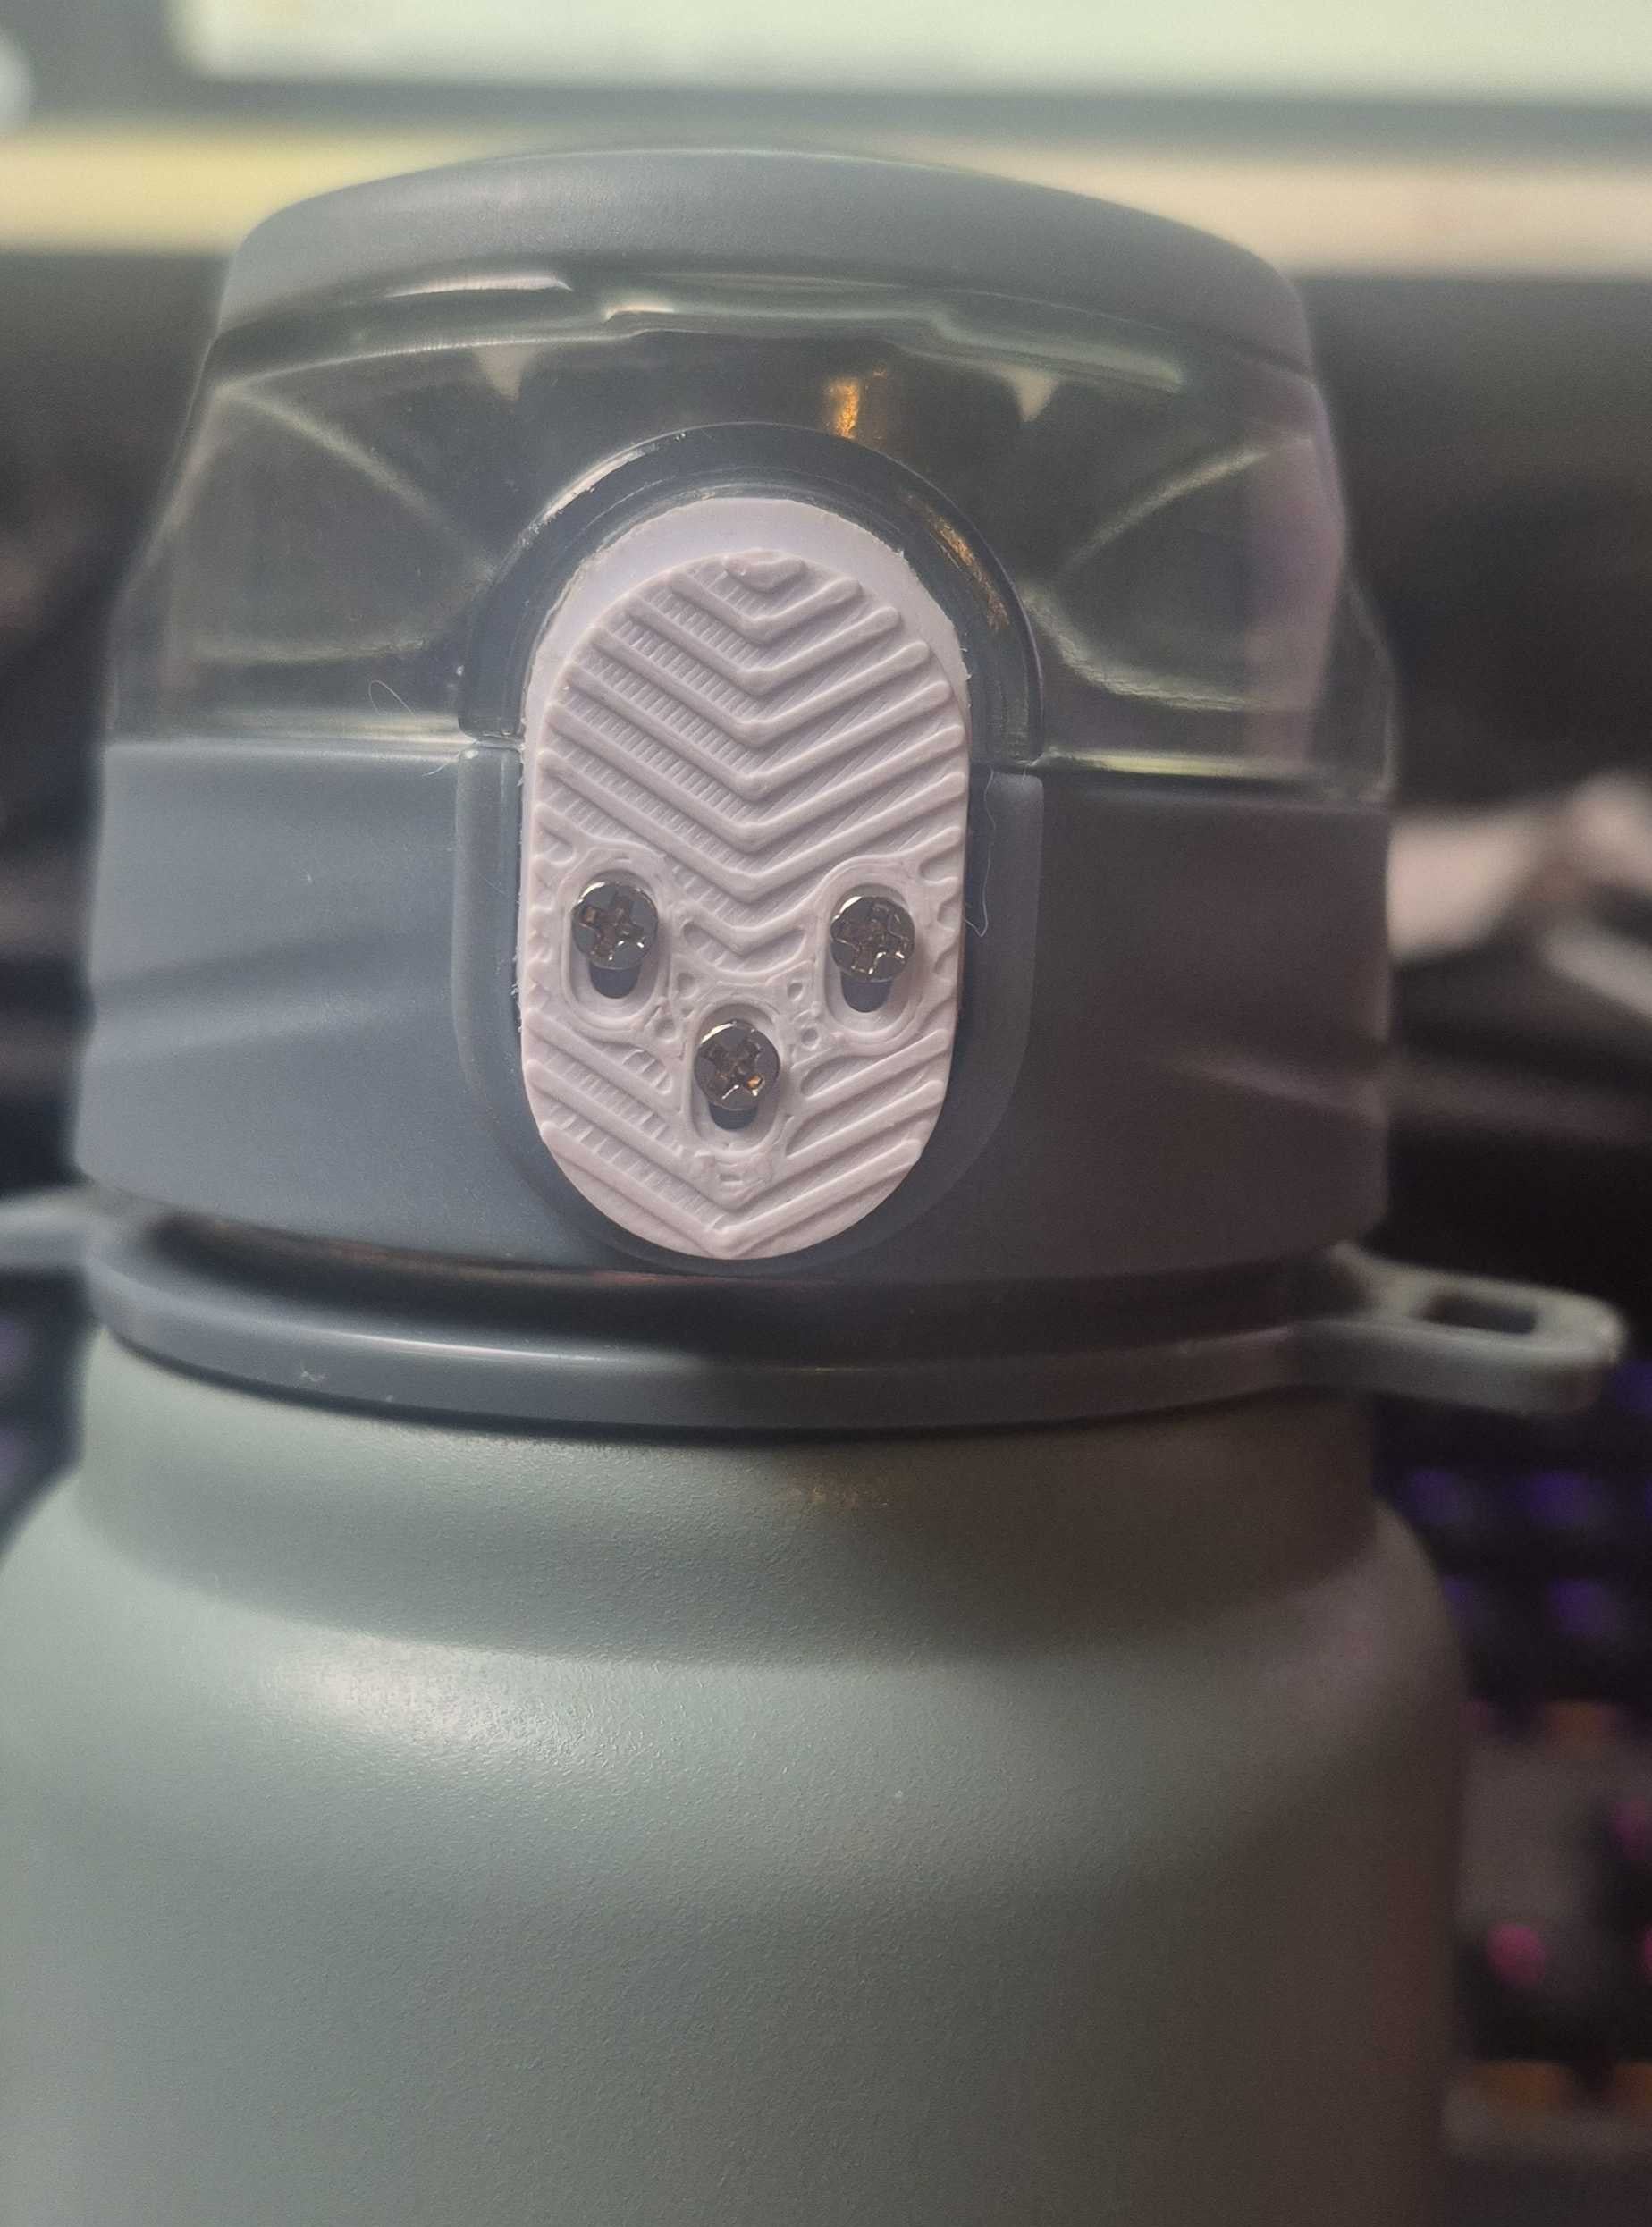
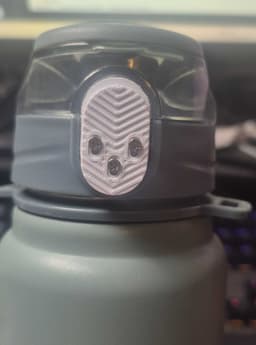


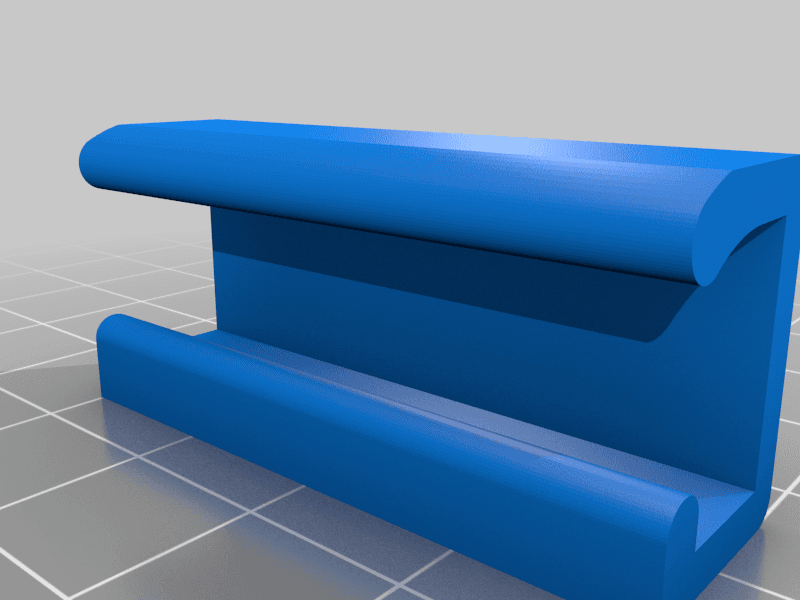
Thermos lid latch
Some time ago I broke a lid latch in a random thermos that I used to often use; recently I've learned a bit of modeling, so I decided to fix it.
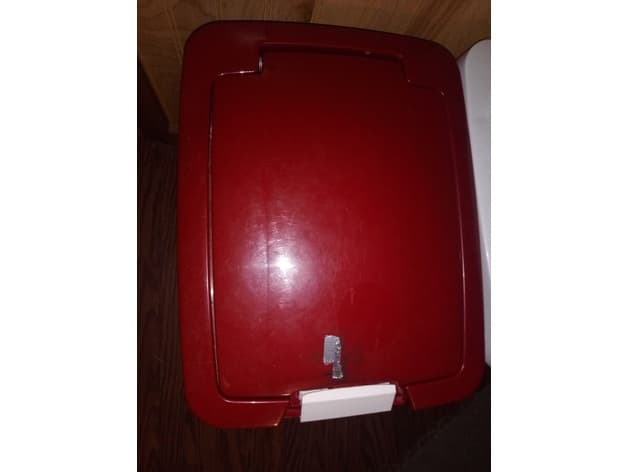
I have no idea what thermos it is, but if for some reason you've got a similar one, in addition to the 3D print you'll need:
-
3 M2*8 self-tapping screws
-
4 mm high spring (I used the spring that was used in the original latch)
-
24.5 mm by 1.7 mm rod to hold the latch to the lid (again, I salvaged it from the original latch)
-
(Optional) lithium grease - to put between the main latch body, and the slide used to lock the latch
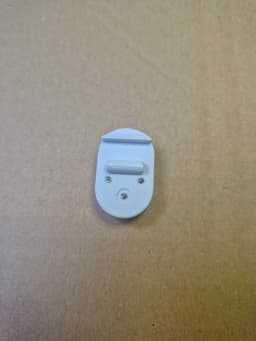
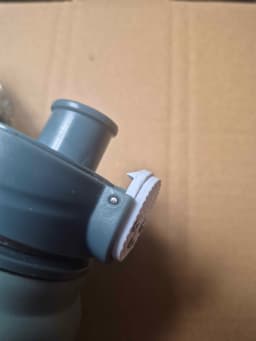
Instructions: After printing both parts (I'd suggest using a smooth PEI plate), use three M2*8 screws to attach the slide to the main latch body; make sure that screws are not too tight, or the slide won't be able to move. The slide is slightly smaller than the main latch body, to make unlocking the lid easier. I'd recommend putting a small dab of lithium grease between those two parts. Place the spring in the round cutout of the main body, that should match with a similar feature on a lid itself, and place the latch with a spring in the space, where the old latch used to be. Attach the new latch, using the 24.5 mm by 1.7 mm rod, and you should be good to go
Thermos lid latch
Curtis Stone Silicone Store and Bake Tray Lid Latch Clamp
Lid Latch for Sterilite TouchTop Canister, Garbage Can, Trash Can, or Wastebasket
Lid Handle Latch for Large Storage Tote

Audi A6 18T Latch for the compartment in the trunk lid.
Twist Lock Trick Box (Hexagon)

DND mini protected box

Samwise Deck Box.3mf
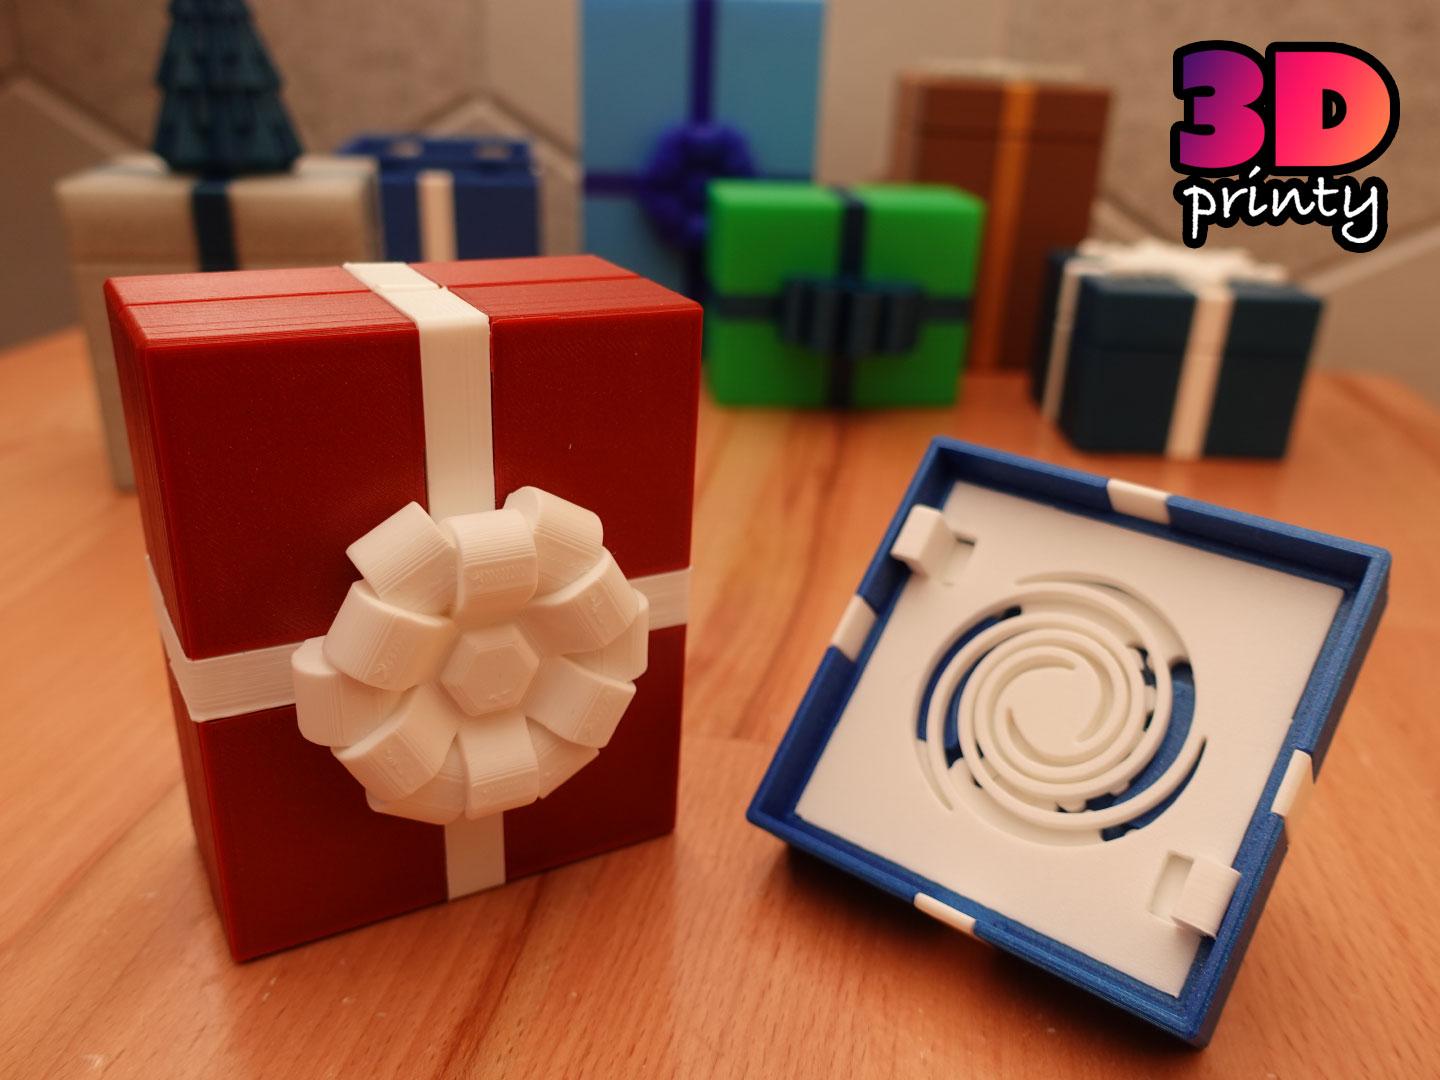
Twist Lock Present

Shotgun Shell Box Keychain

Keychain Blaster Gift Crate

Hextraction Secret Click Tiles

Locking Heart - Spin To Open
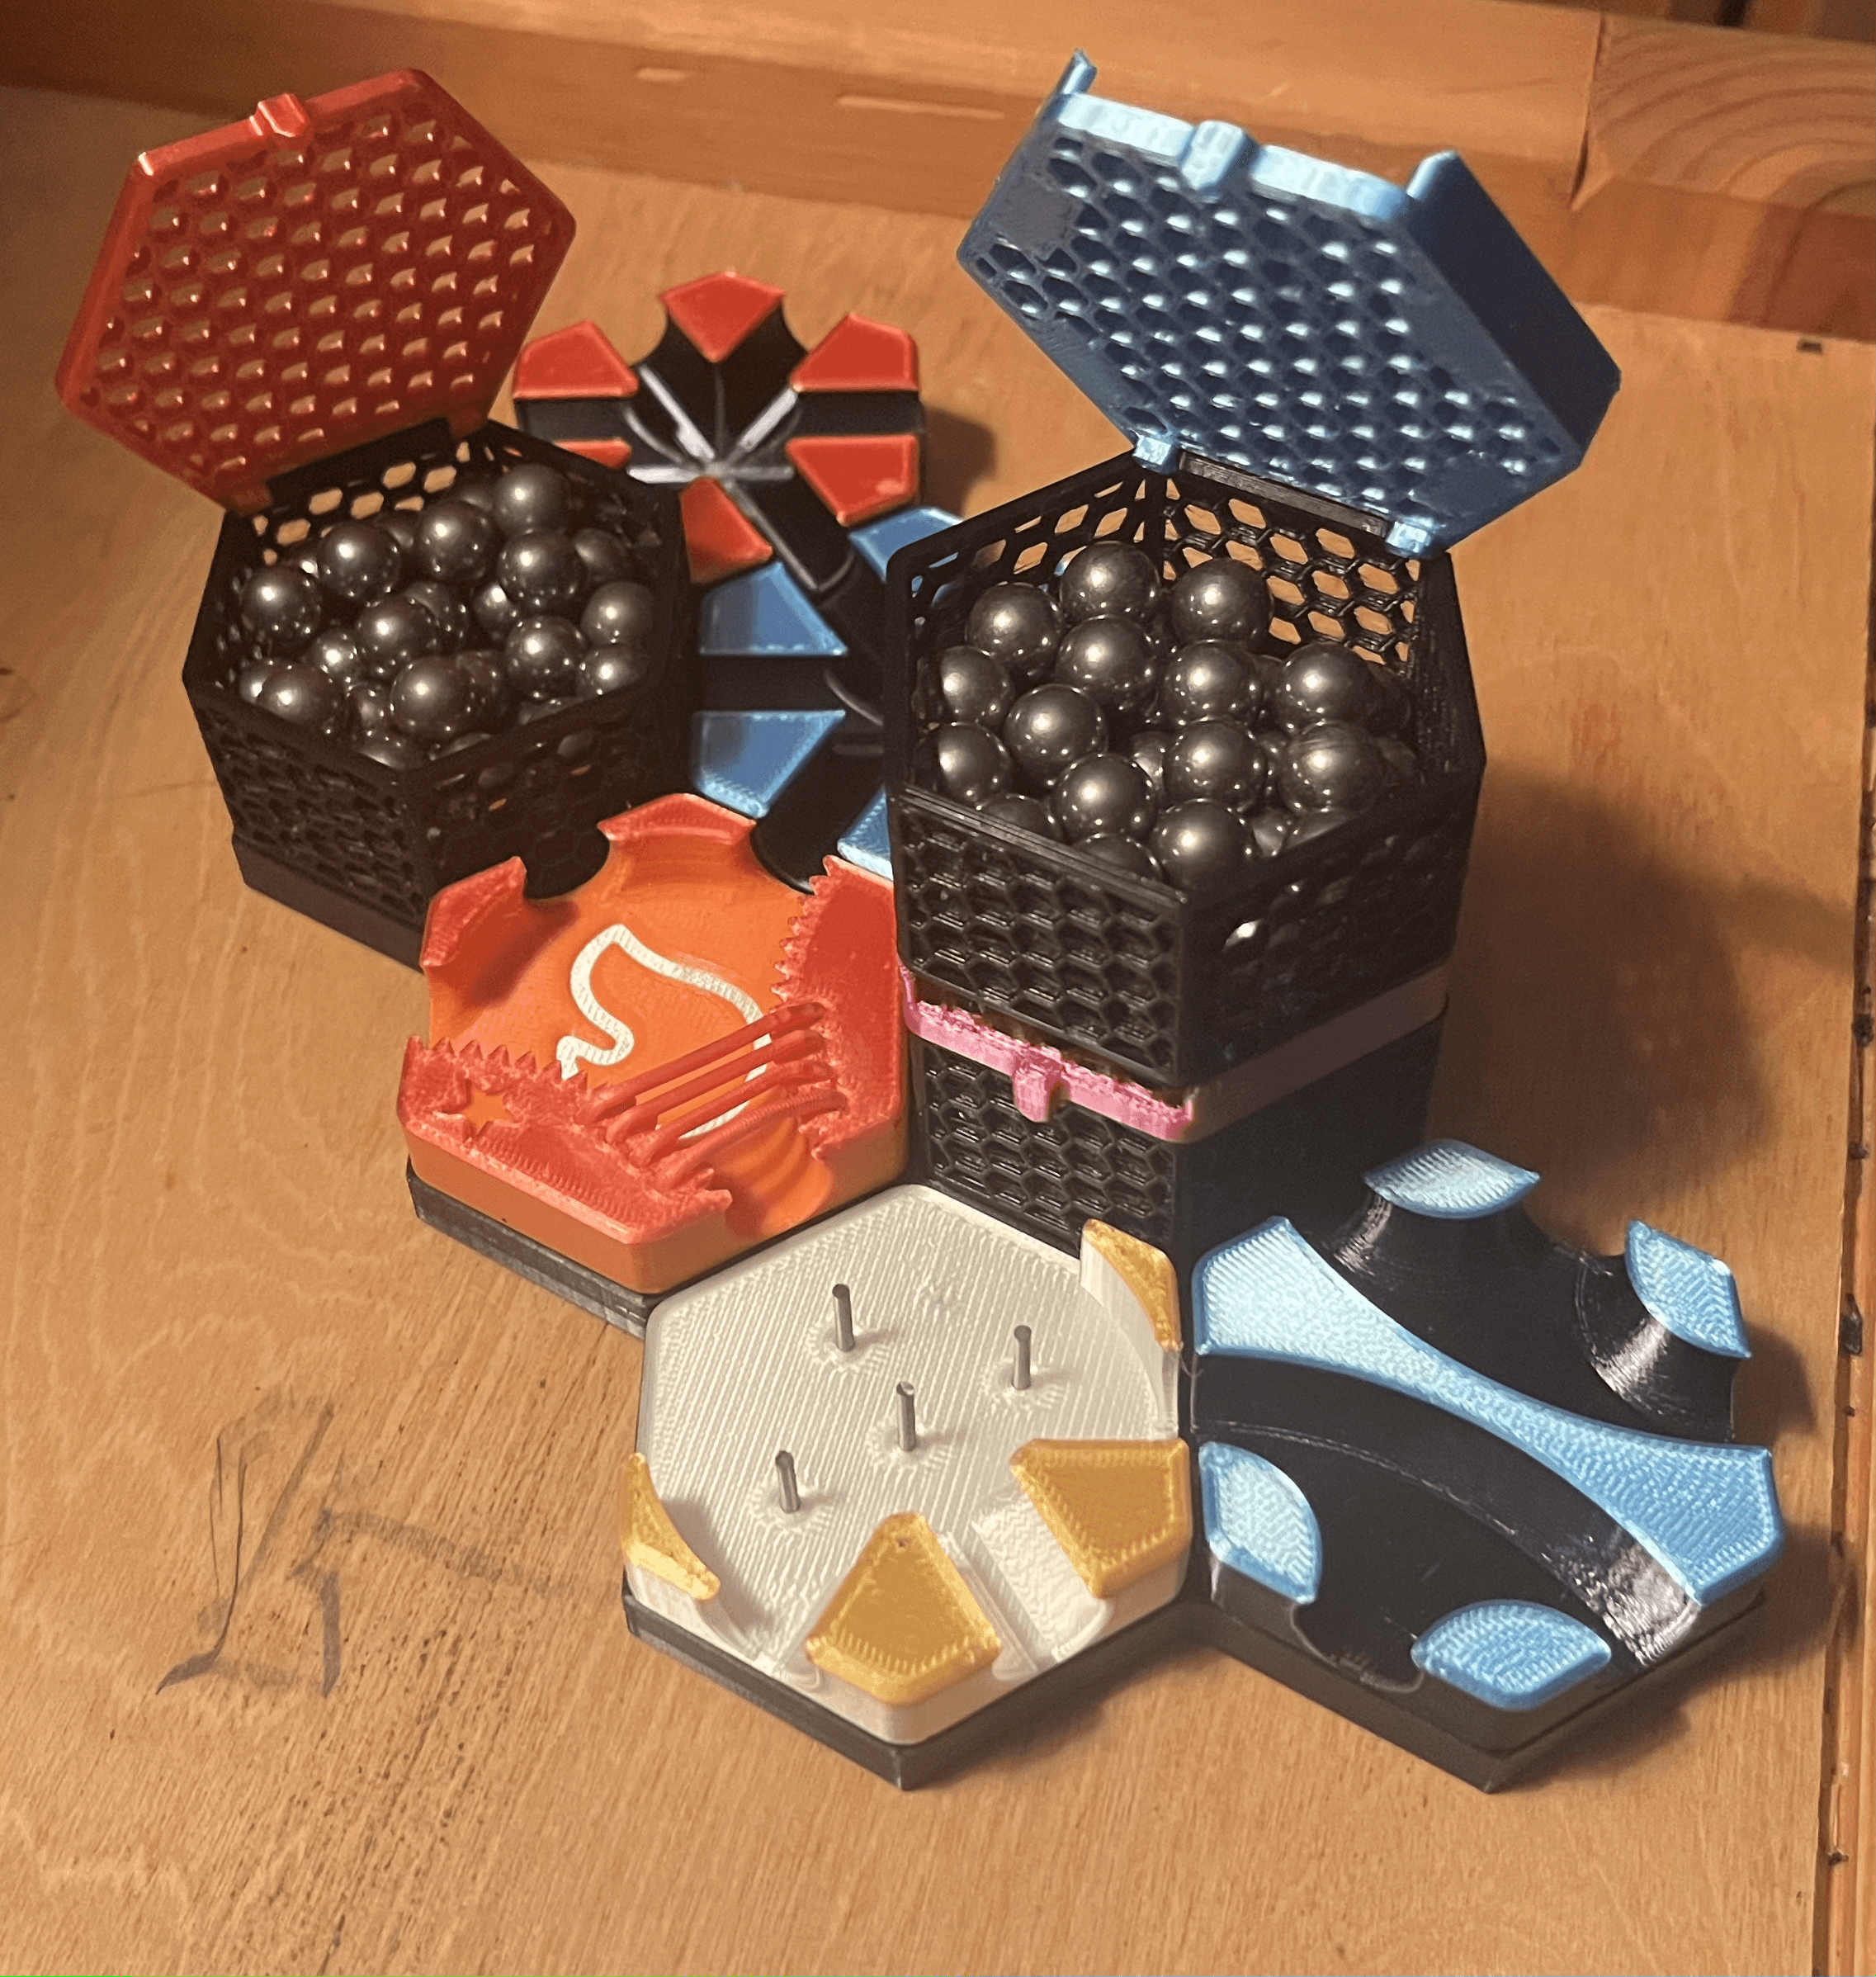
The Ultimate Hextraction Storage Box

Twist Lock Coffin

Spin Release Gift Box
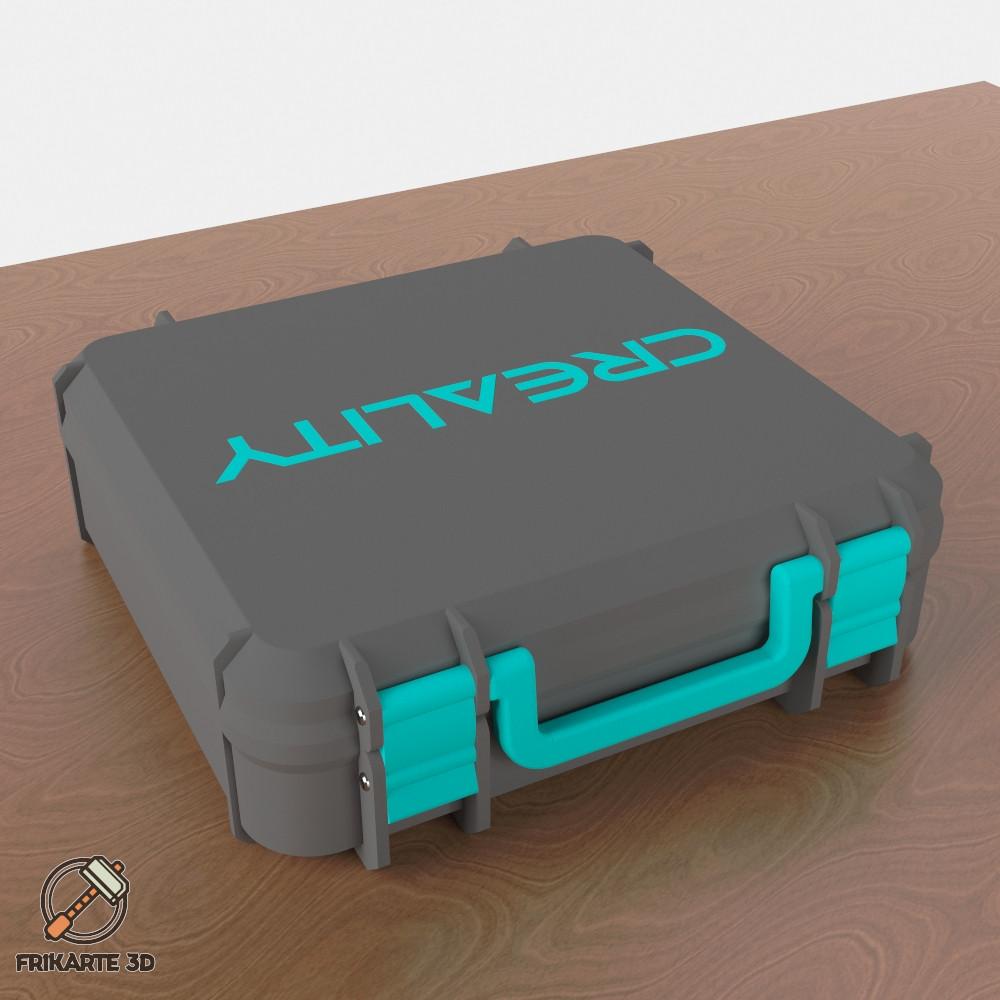
Creality Box Rotated Logo Flat

PuzzleLock Box — Lock and Puzzle in a Box

Centrifugally Unlocked Lock Box (BXC1)
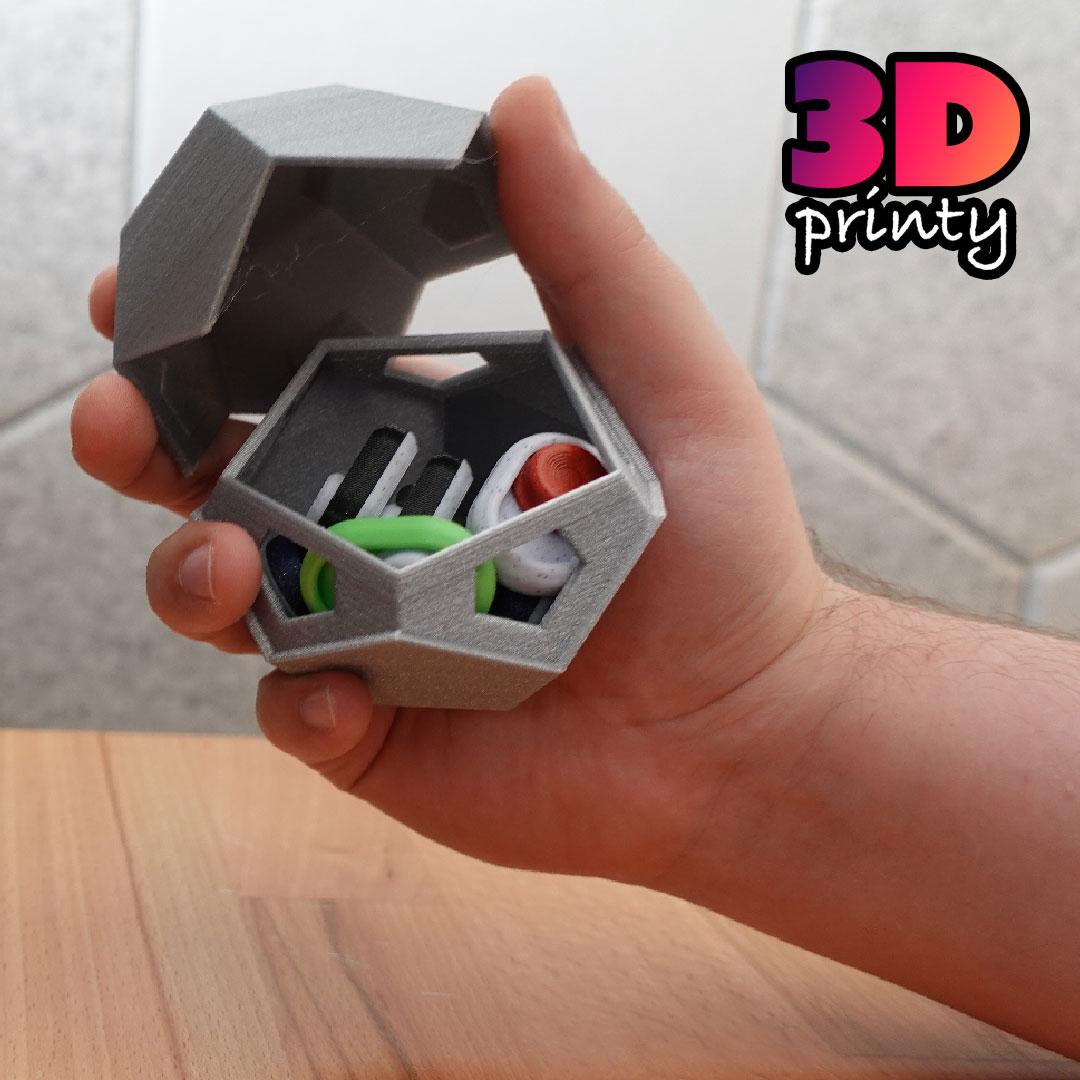
Snappy Dodecahedron Box
