

Metroid Prime
Model originally uploaded to Thingiverse at https://www.thingiverse.com/thing:4704634.
After hours of exploring every nook and cranny of Tallon IV, finding every one of the 12 artifacts, and defeating your nemesis (definitely for sure this time no doubt), you venture into the core of the Impact Crater to face off against one last foe...
https://www.youtube.com/watch?v=Di036VIv2HY
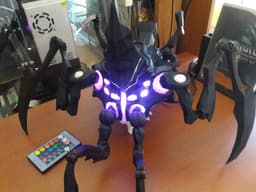
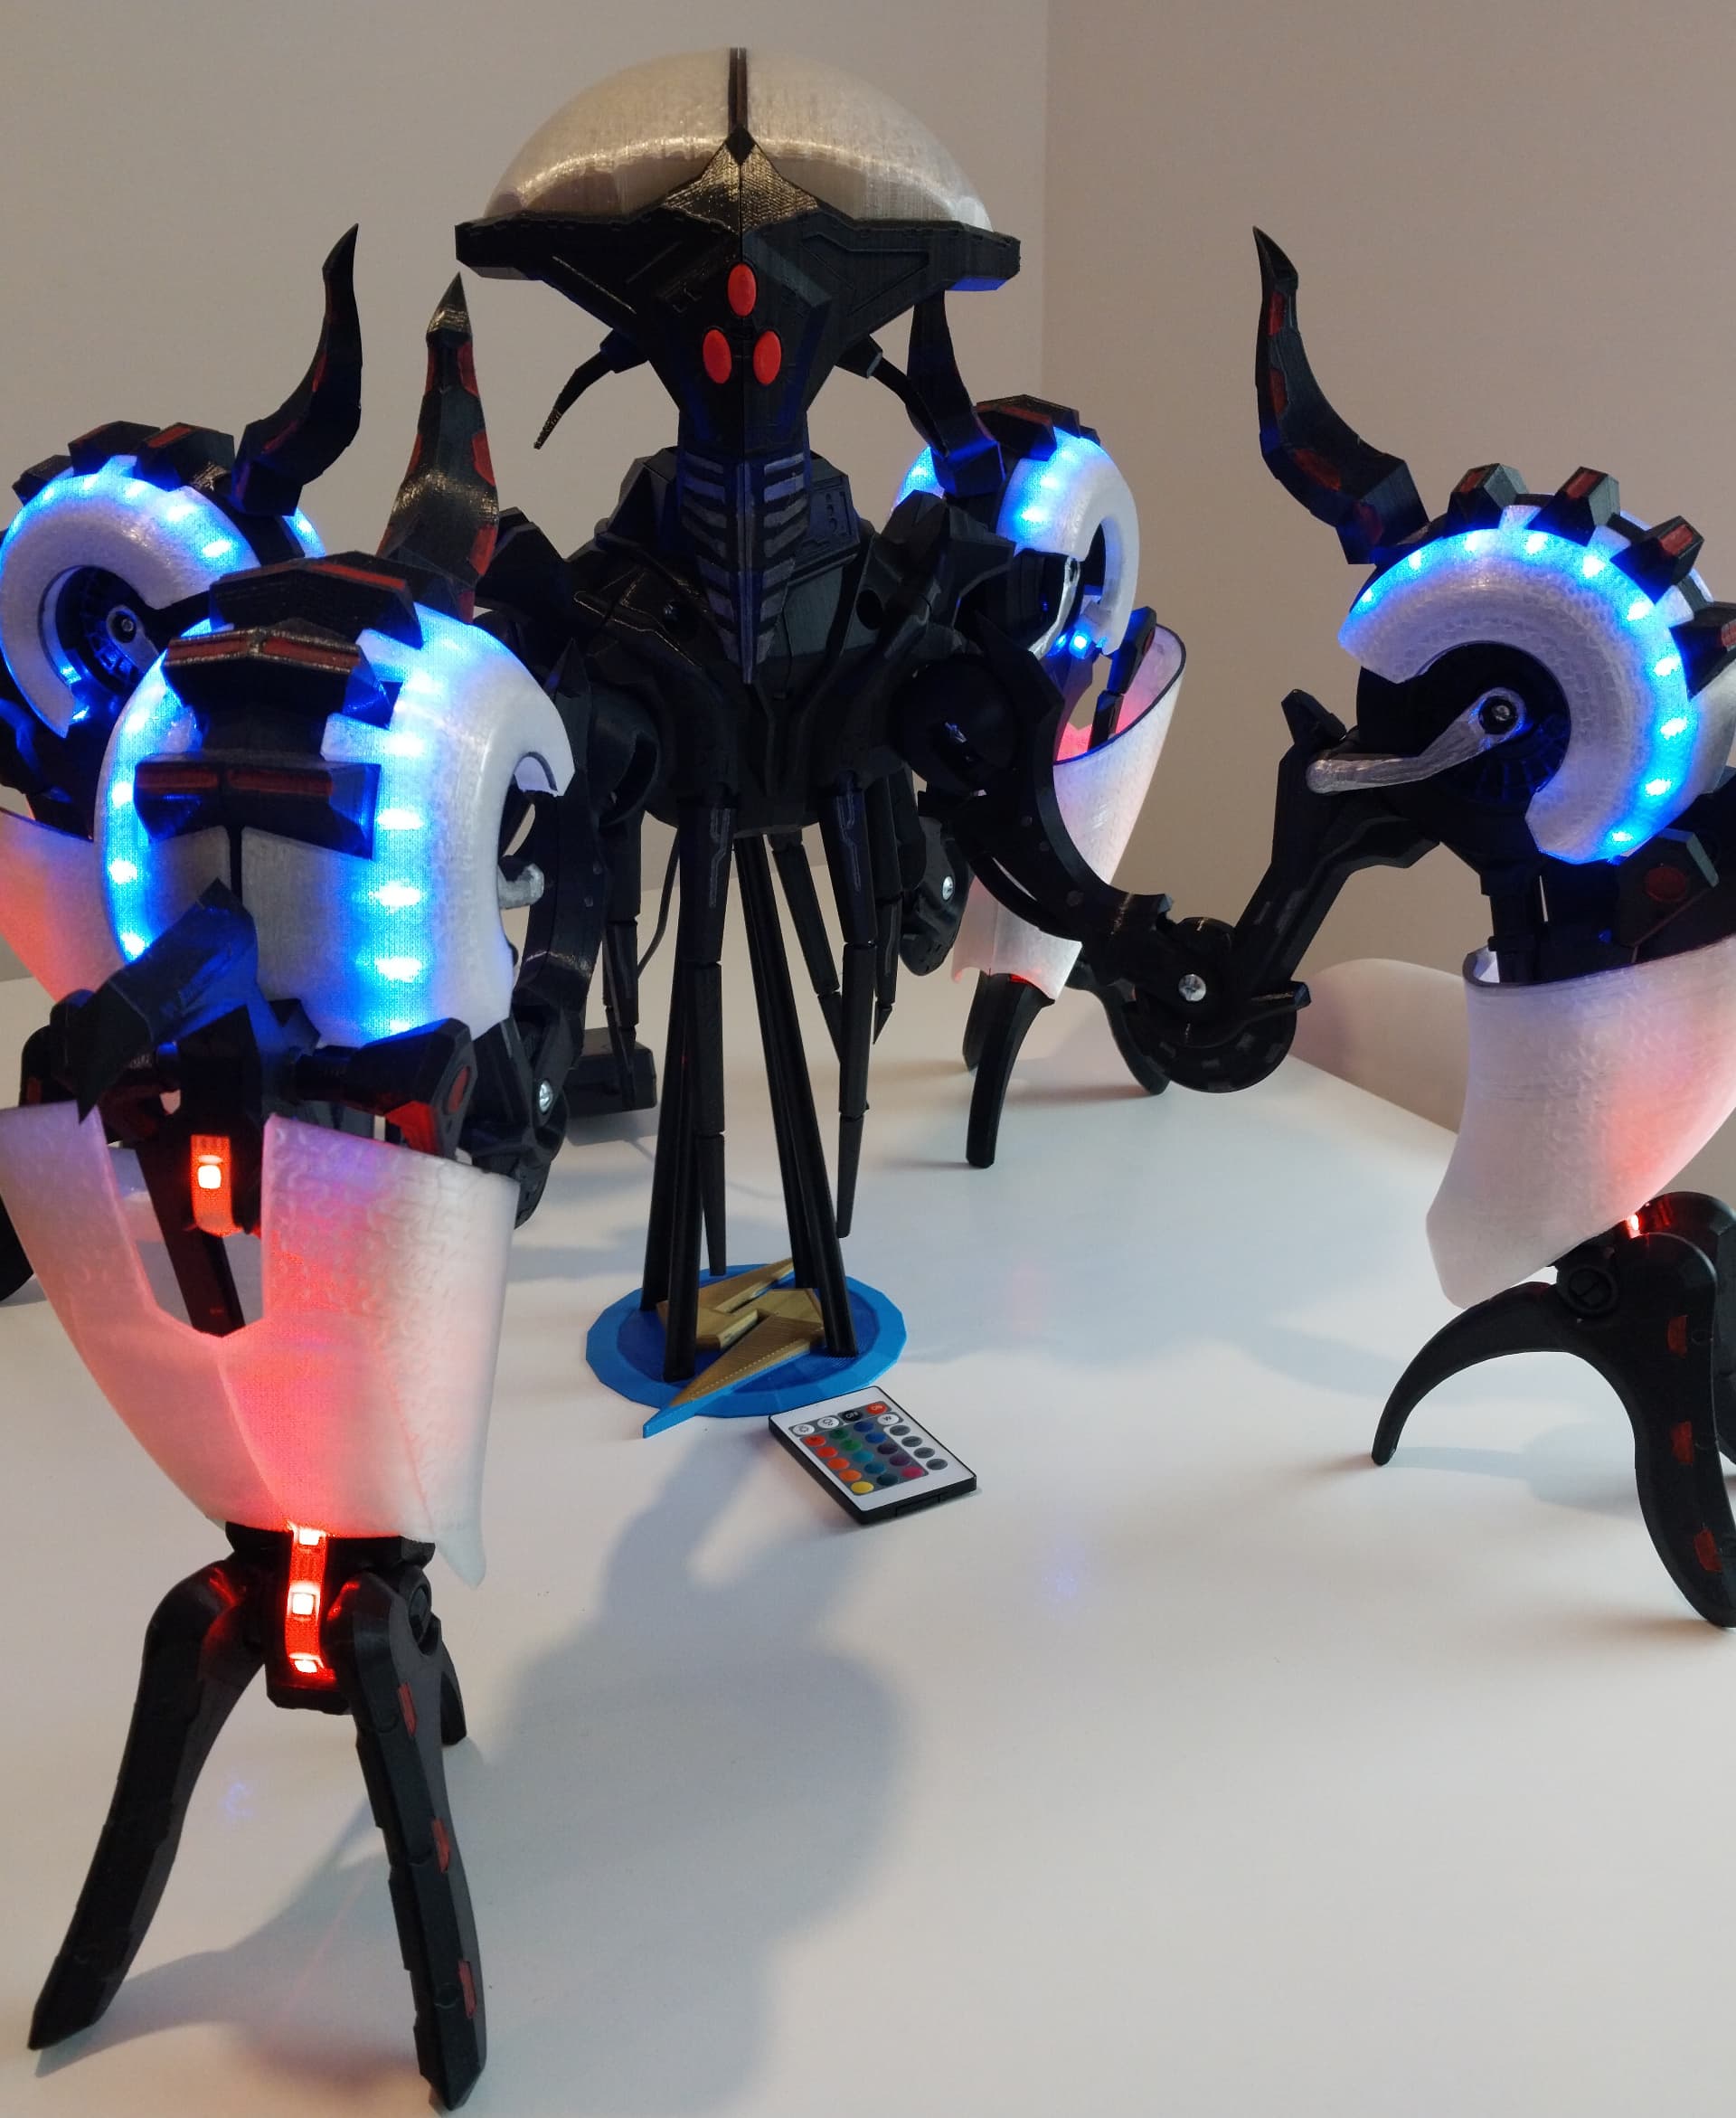
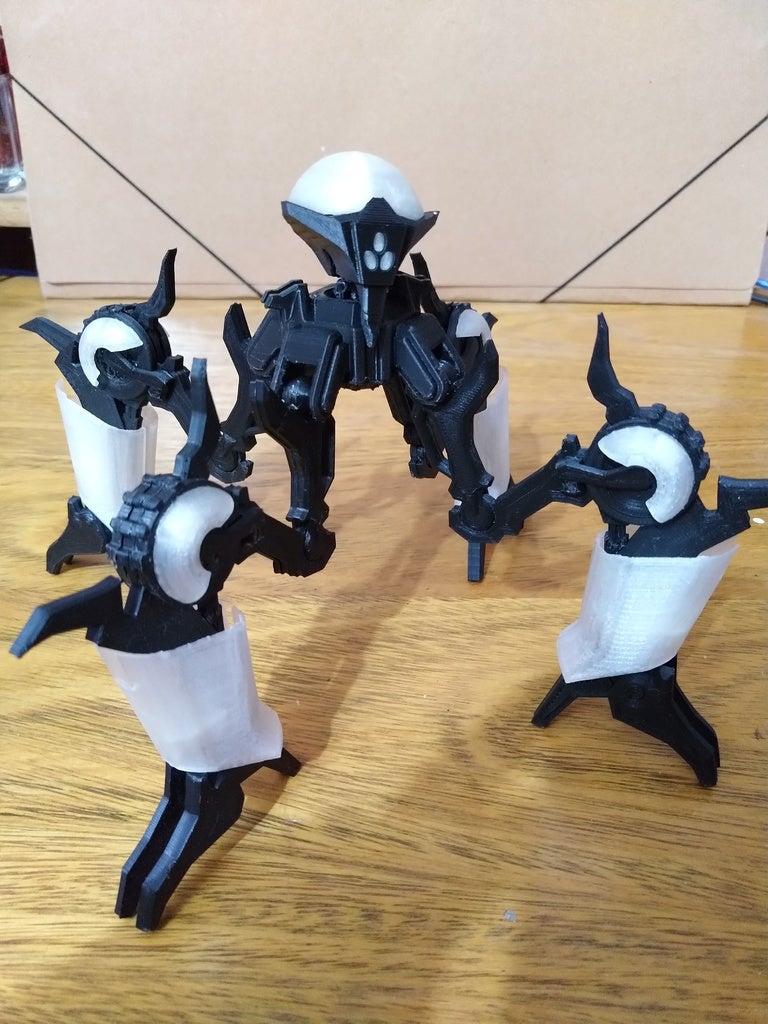
This is Metroid Prime, the final boss of... Metroid Prime. This articulated figure was made using the actual in-game model of the creature (with the help of MPR and URDE), with brand new joints added to every articulation. Most of the pieces are just as they were in-game, with some modifications done here and there.
The inside of the boss is hollowed to allow the addition of an RGB LED module inside, which represents the beam vulnerabity of the creature, this is also why some of the parts are made with translucent material, first to allow the light of the LED to escape, but also to be able to use the remote control that comes included and needs line of sight with the IR sensor.
The space inside was designed to house the electronics and the transformer of a particular 3W lamp I bought and gutted, if you are interested, just know that the size of the PCB is 32x32mm (Ø36). The back leg has its three segments also hollowed out to allow the passage of a cable to power the LED, but if you don't want to do that stuff, I've also provided a version of the toe (?) without the hole.
To assemble this beast, you will need two of each part with the exception of the jaw and the lower teeth which only one of each is required, and the piece called peg_1 needs 10 of each to make the hinges, I tried having them being part of the limb but they kept breaking, forcing me to discard the whole part, so I decided to have them be their own thing, which allowed me to print them in a better orientation. The smaller pegs are for an easier assembly of the halves, you will need roughly 14 of them.
Every single part is from the left side and to make the right side all you need to do is duplicate and mirror the parts. Limbs with the number 1 are closest to the body, number 2 is the middle part, and number 3 is the extreme. "Joint" pieces are attached to their corresponding body part, and "connection" pieces link the joints to the limbs. The very last upper tooth actually prevents the mouth from being able to close itself properly, so I added an alternate version that has that last tooth removed, guess too much Phazon ingestion can cause cavities.
I'll probably add an infograph because it can be confusing, and assembling the body can be quite tough without help. Vises and rubber bands will come in handy while gluing some of the parts together.
Your feedback is more than welcomed, as Im still looking into some of the parts.
EDIT1: Added the eyeball for the 6 body eyes.
Changes to the front leg parts: +New shorter Peg3 +New Connection and Joint pieces now using ball joints -Removed the older versions to avoid mixups.
EDIT2: +Finally added the infograph. +Changed the eyeballs.
See you next mission.

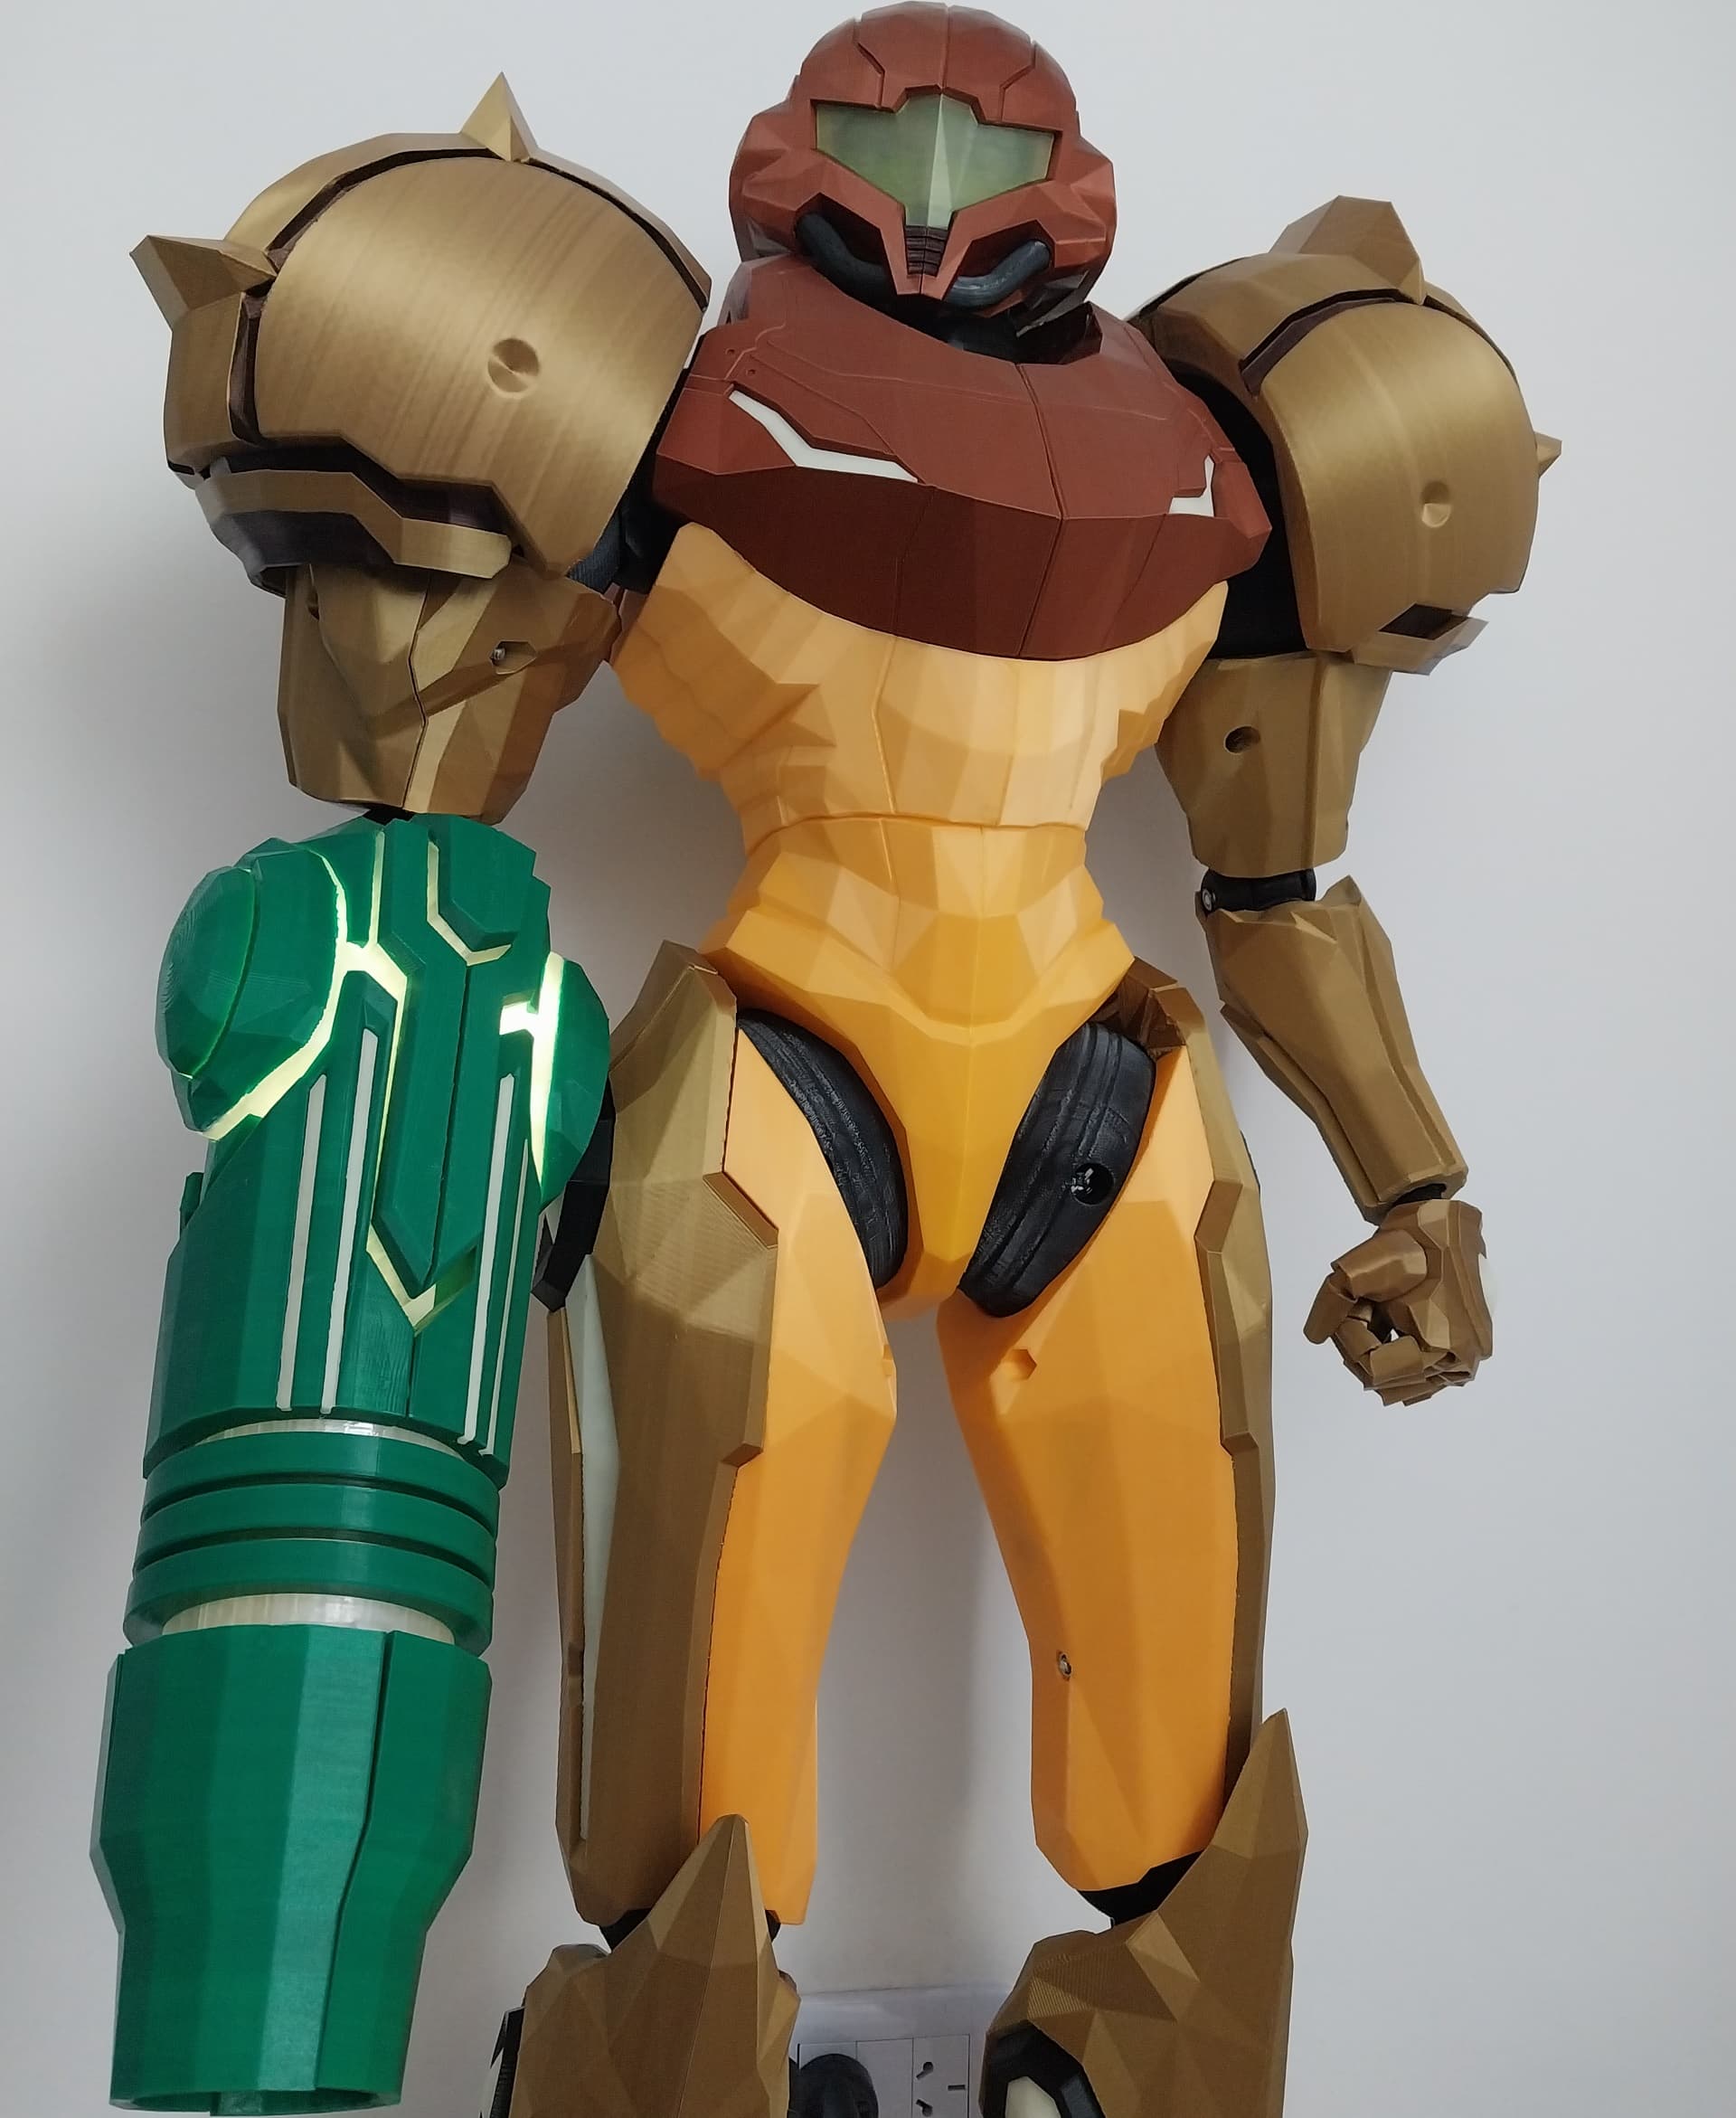
Samus Aran Wearable (Metroid Prime)
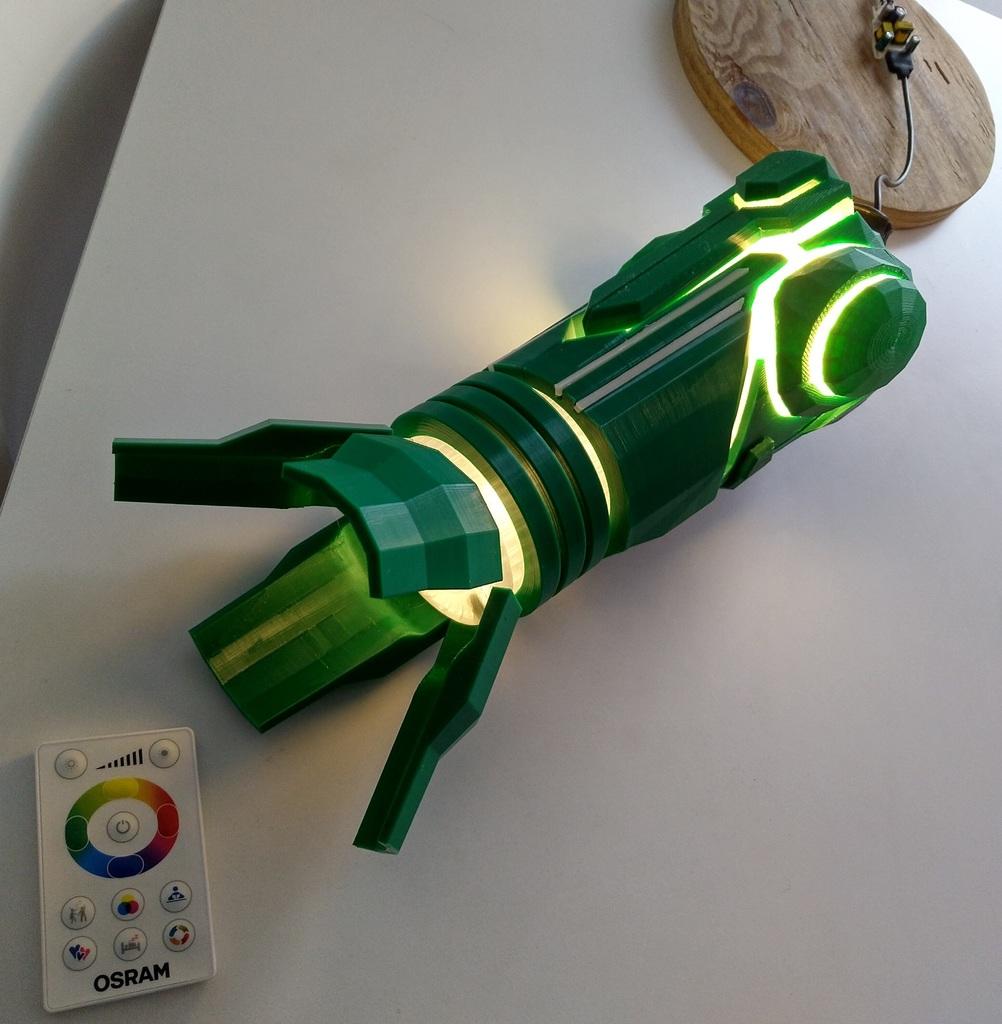
Samus' Armcannon (Metroid Prime)
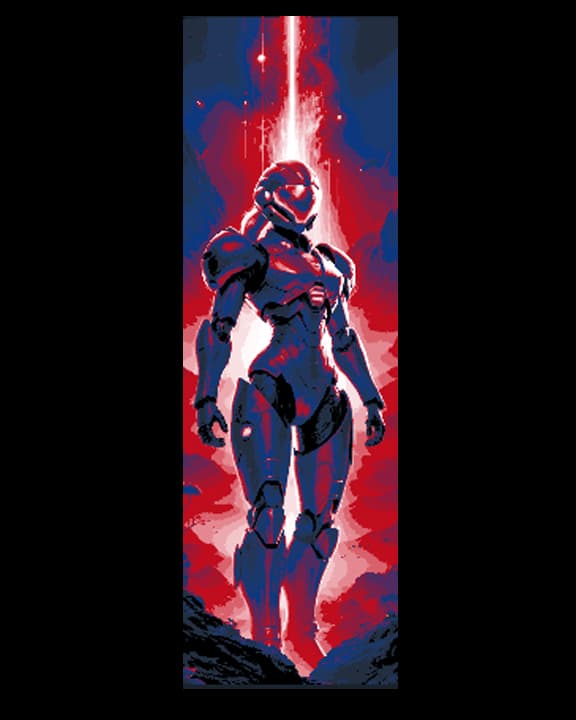
Fan Art of Metroid Prime - Set of 3 Bookmarks
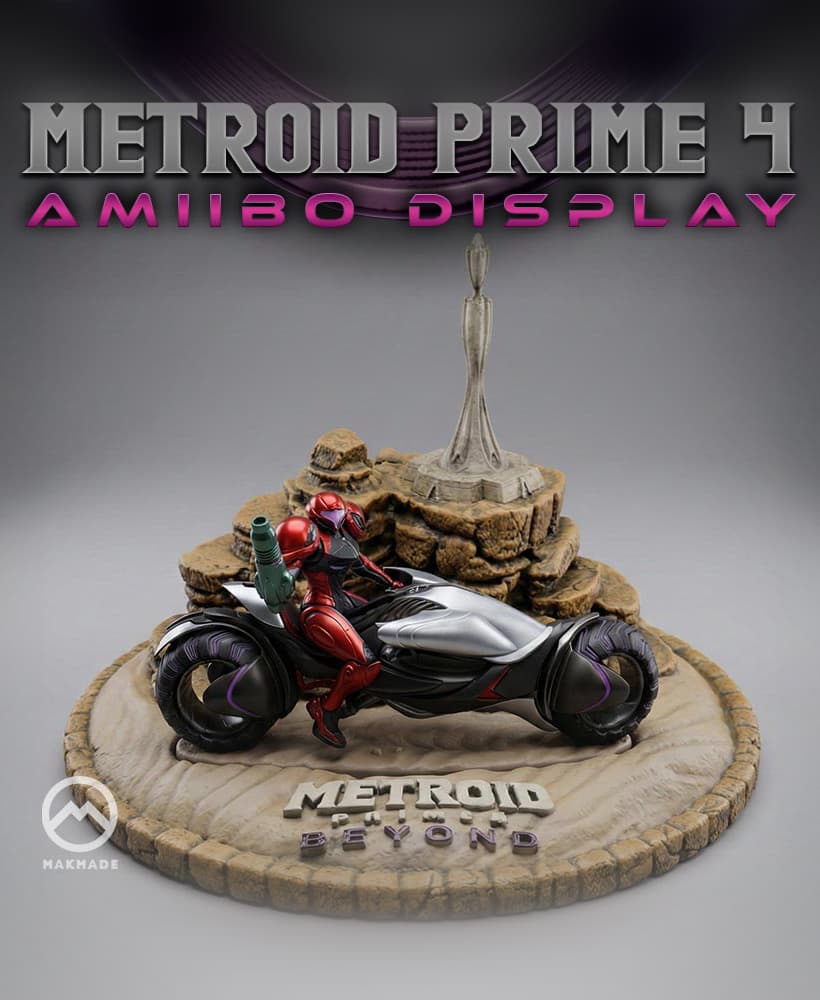
Metroid Prime 4 Beyond - Amiibo Display
Quadraxis V2 - Metroid Prime 2
Quadraxis from Metroid Prime 2
.png&w=3840&q=75)
Samus MP4 Cannon 3D Printer STL file
Samus' Varia Suit (articulated) - MP3:C

Planet Explorer, the Cyborg Scout
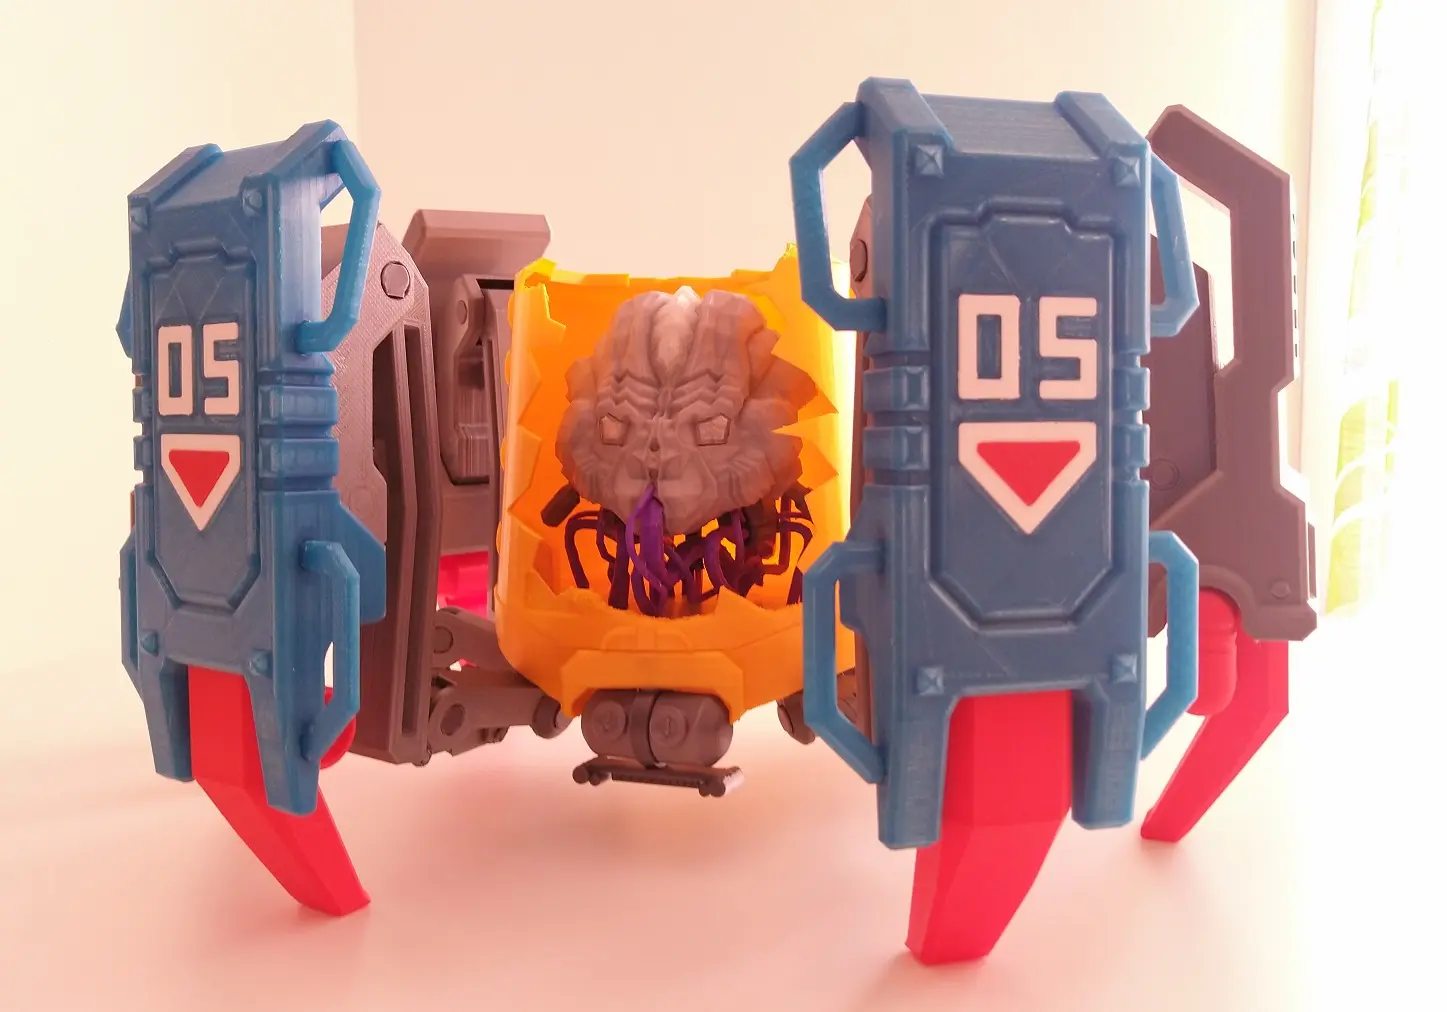
BOX Security Robot (Metroid Fusion)

Aurora Unit 242
Screw Attack
.png&w=3840&q=75)
Samus Vi O La Armor 3D Printer STL file
Stand for Metroid figures

Samus Arm Cannon - Hands of Power - Controller Holder Gaming Accessory Stand

Jack Skellington Pumpkin 2025 edition - Halloween Lantern Decor - No Supports 3D Print STL/3MF
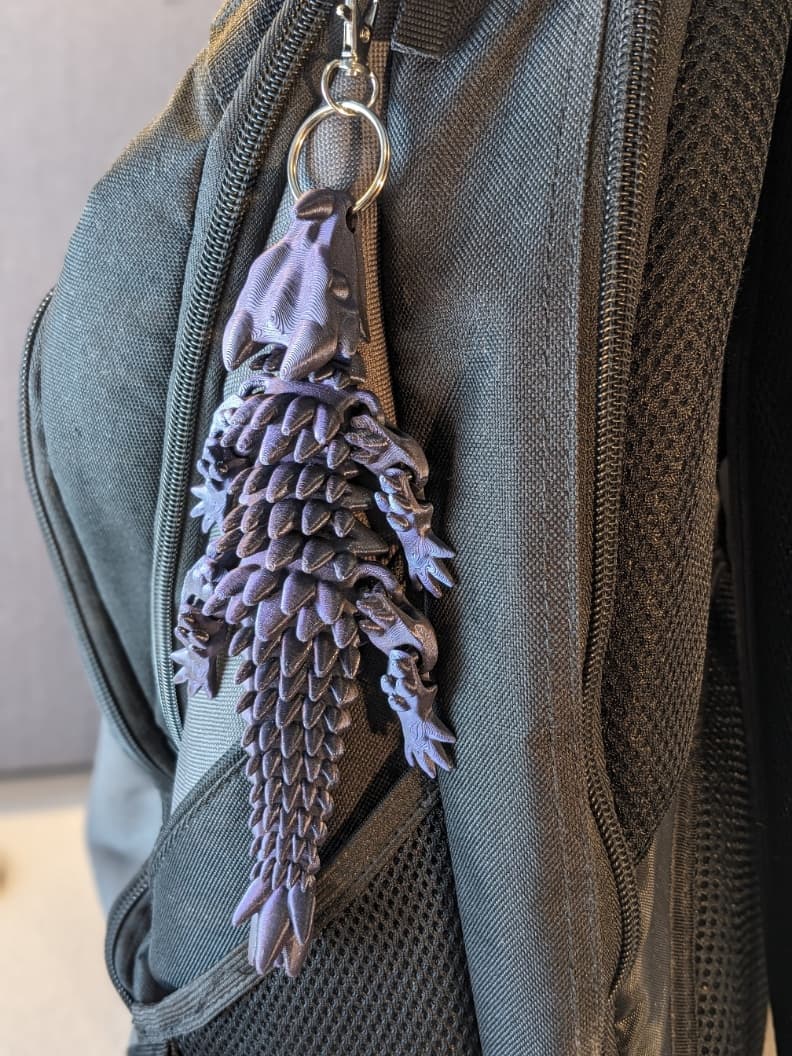
Small Baby Dragon - Articulated Dragon

Flexi Holding Cat (Print-in-place)
![[Official Remix] Flexi Extra Size Cat (Print-in-place) 3d model](/_next/image?url=https%3A%2F%2Fstorage.googleapis.com%2Fproduction-thangs-public%2Fuploads%2Fattachments%2F5aefa486-5c33-40eb-ab8f-60c35b42362b%2FExtra-Size-Cat-1-4.jpg&w=3840&q=75)
[Official Remix] Flexi Extra Size Cat (Print-in-place)

this is very cool my dude keep up the great work
Many thanks!