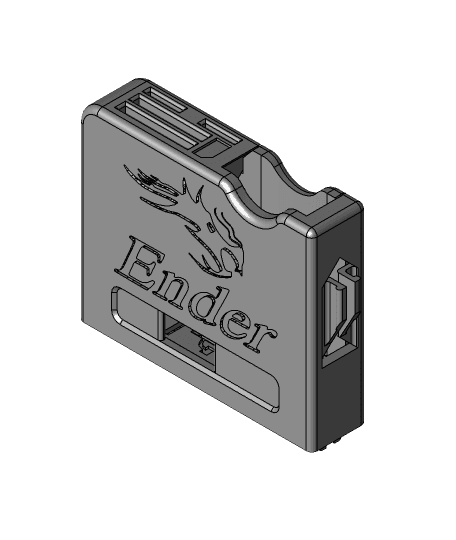
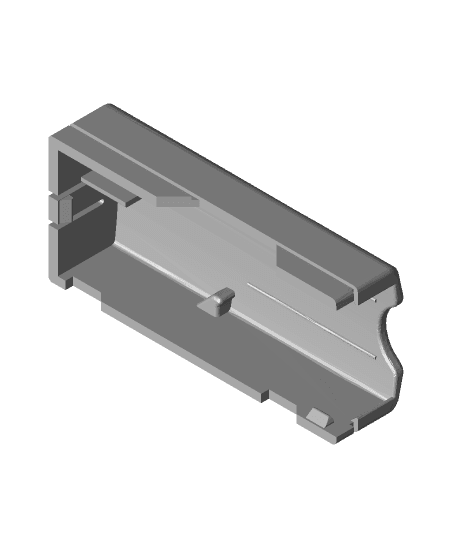
Ender 3 SD Card Adapter Housing with Fan Cowl\Shield
Model originally uploaded to Thingiverse at https://www.thingiverse.com/thing:3519227.
Please Note this fits the Ender 3 Only This does not fit the Ender 3 Pro
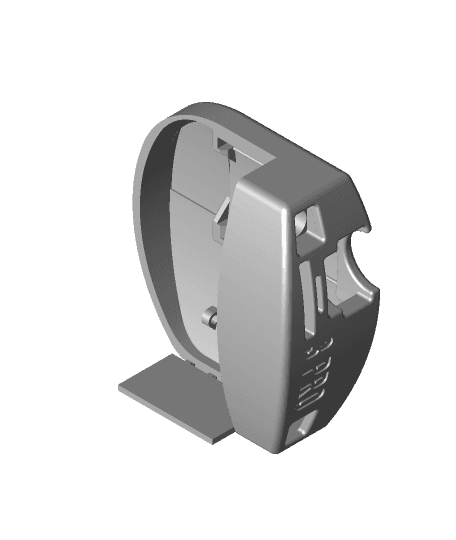
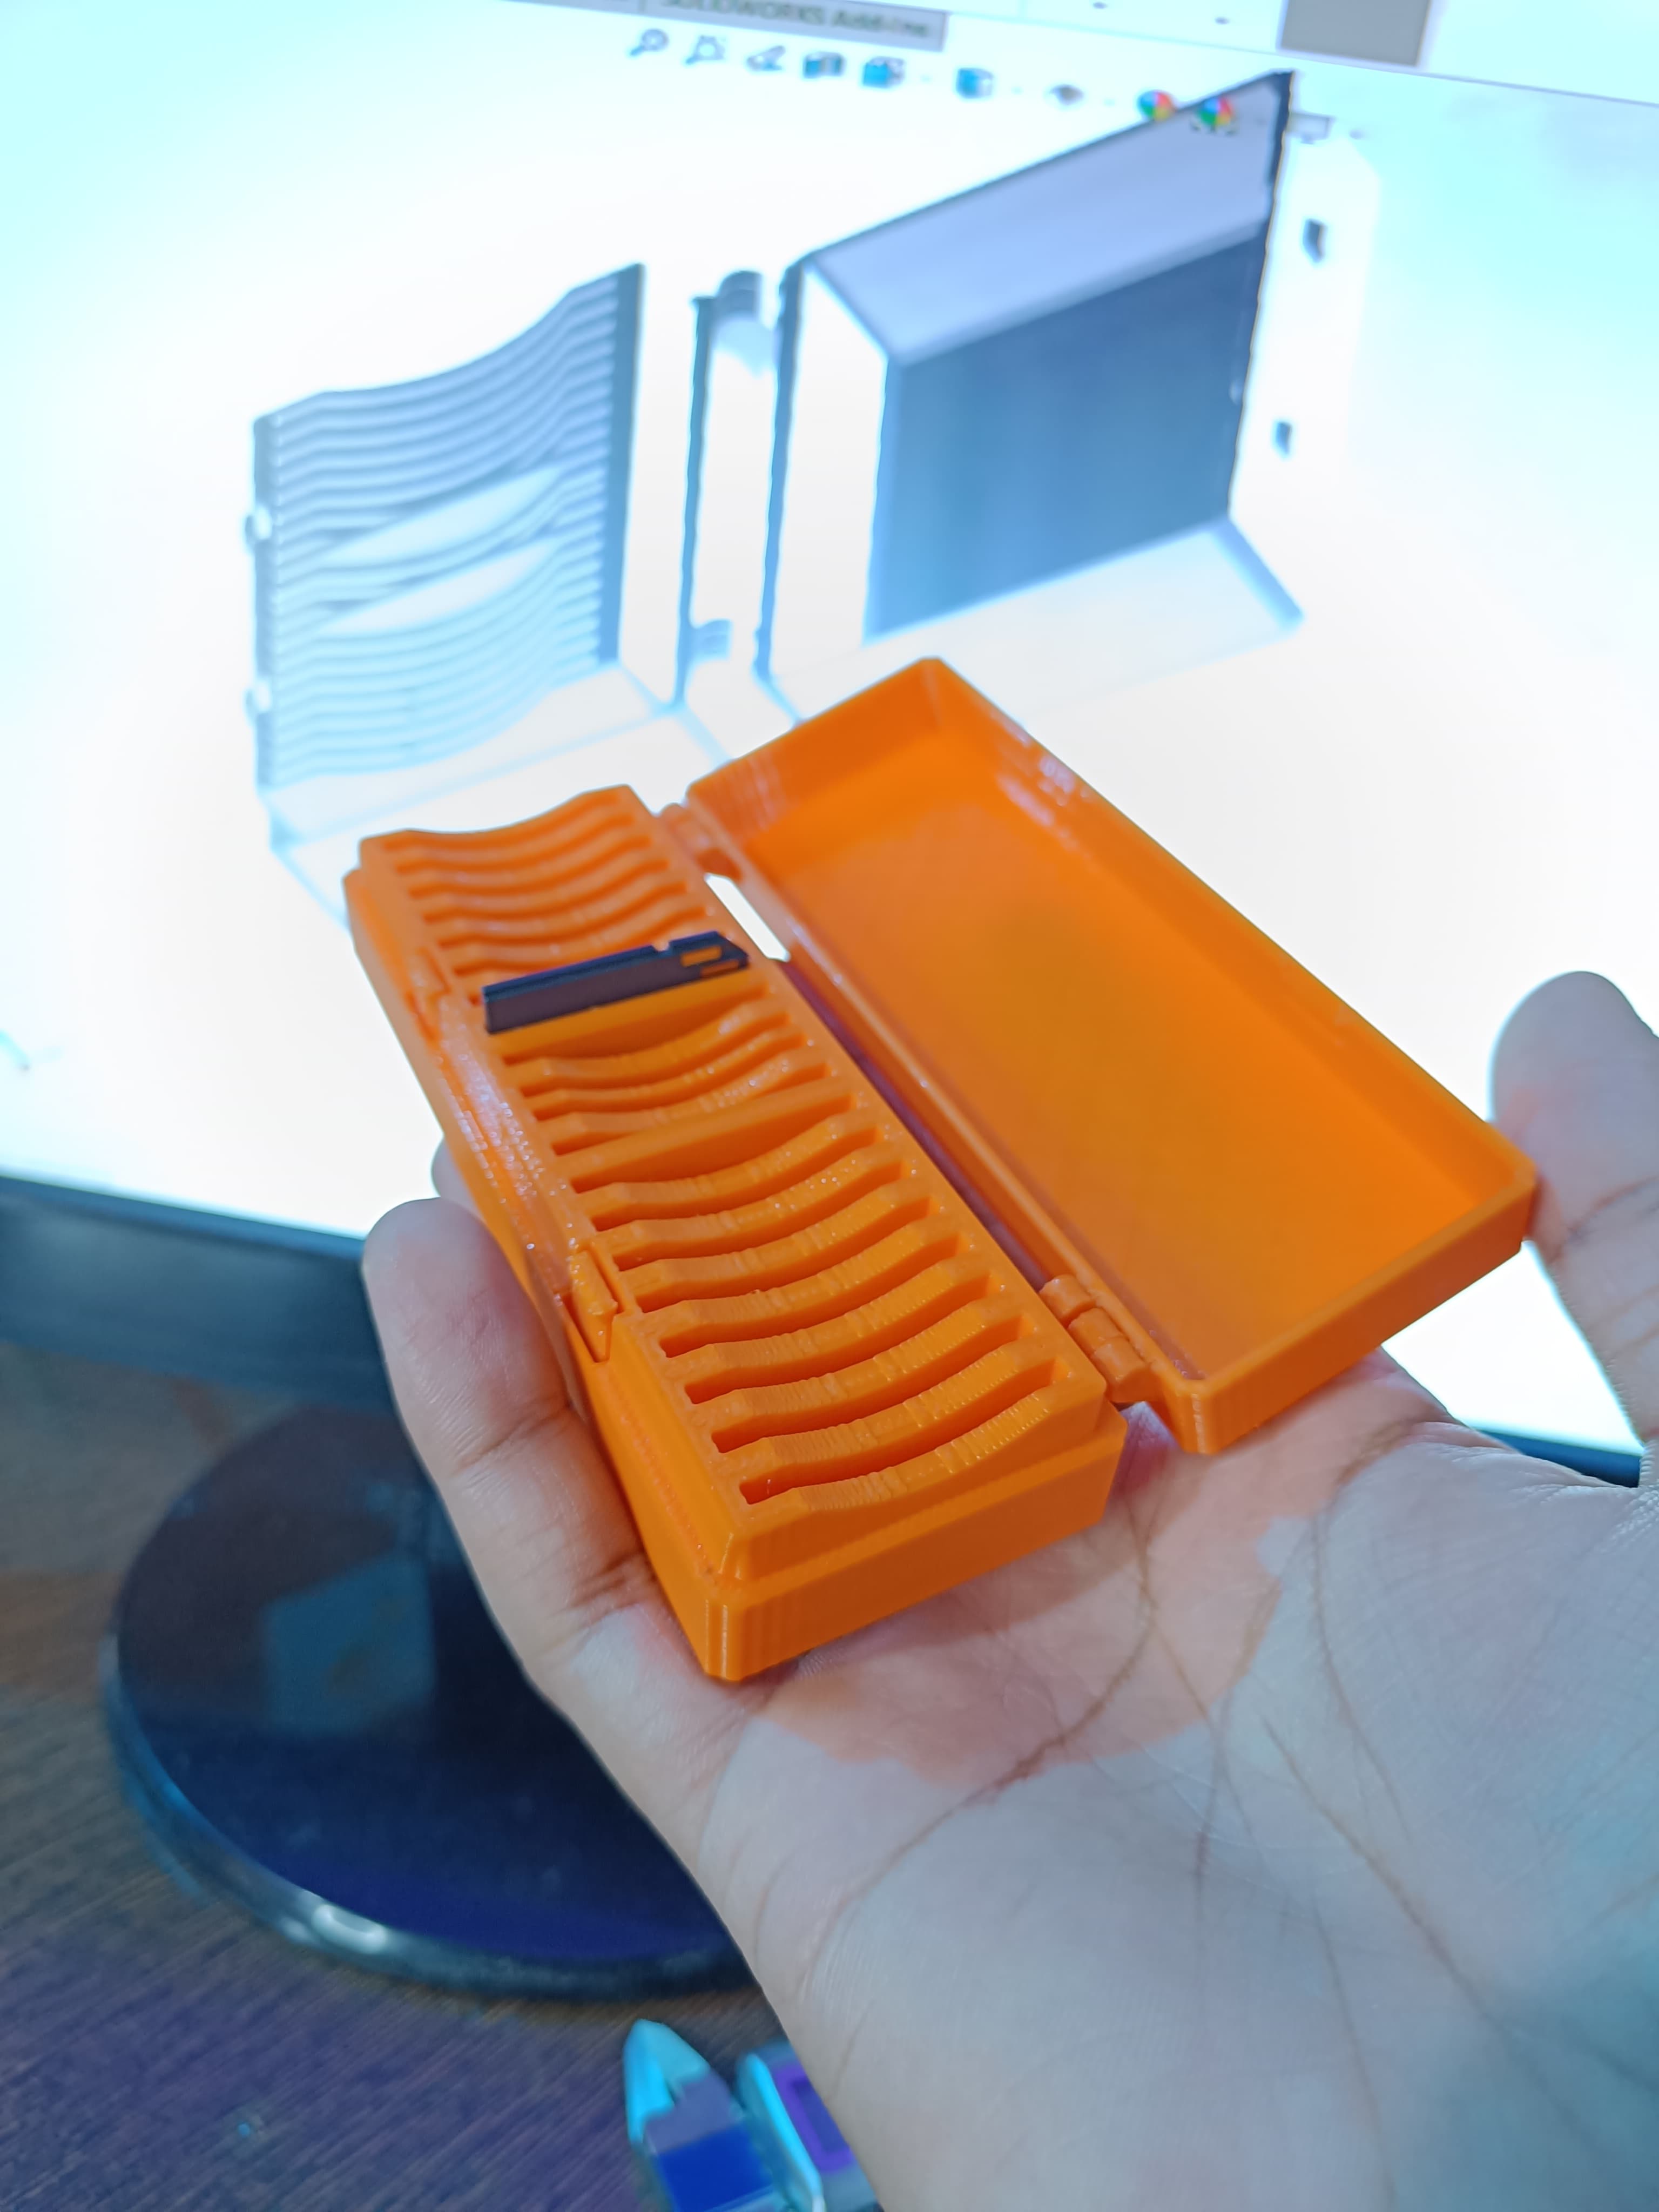
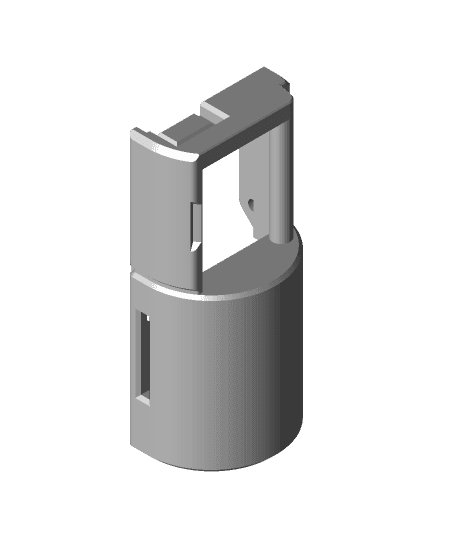
In this remix I have revised the SD Card adapter housing for the Creality Ender 3 to include an integrated fan cowl shield and removable debris guard.
Update:28\06\20
Uploaded Step File
Update: 28_05_19
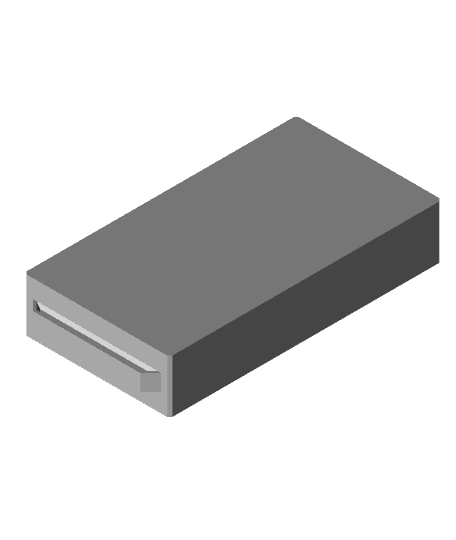
In response to a Thingiverse user request I have Uploaded a revised body with no USB aperture for when using with Octoprint.
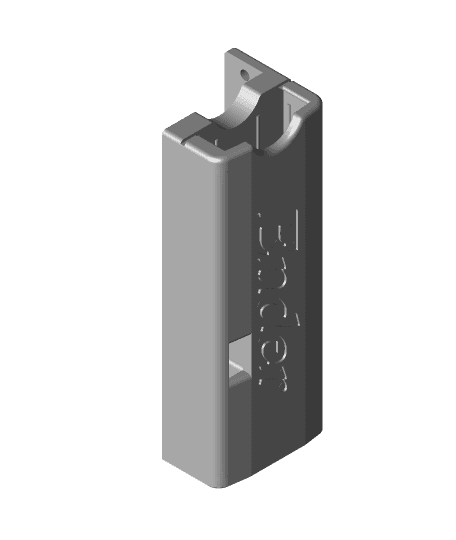
This thing attaches to the Ender 3 via the 2 front screws that attach the motherboard lid (the existing screws work fine).
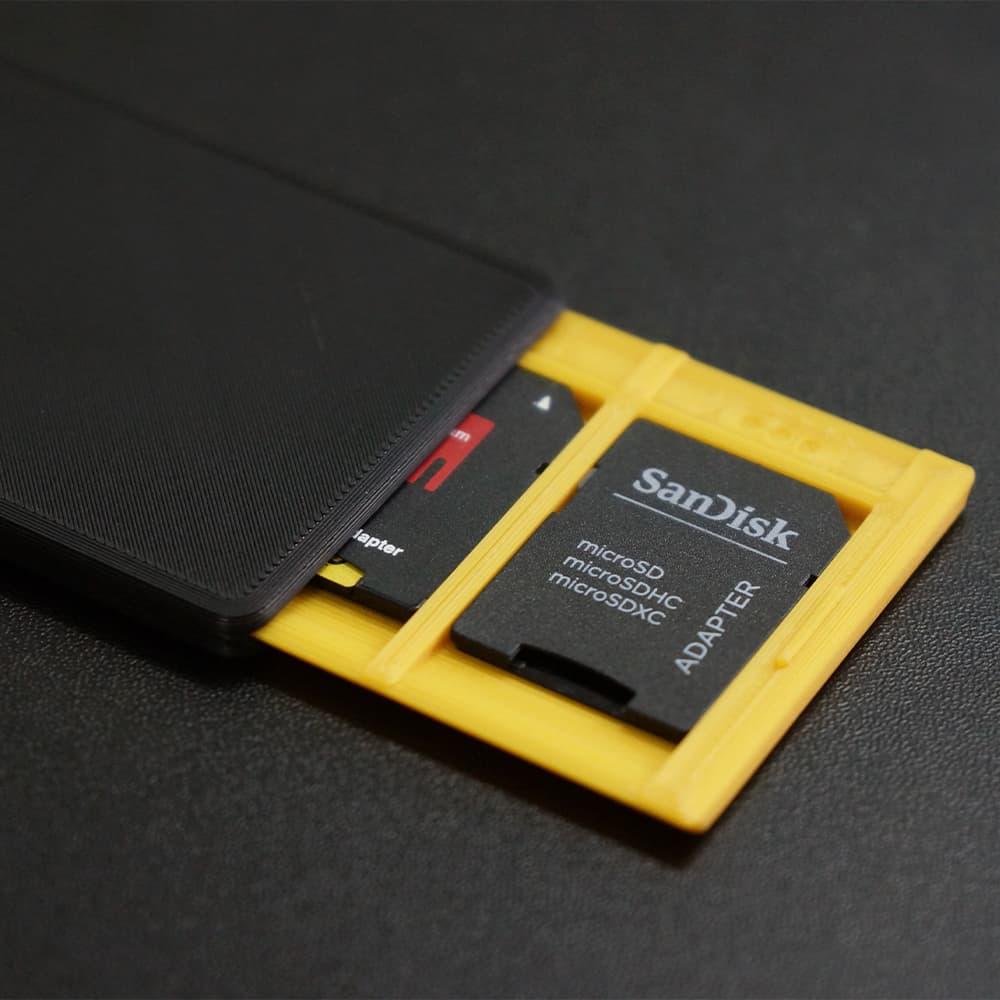
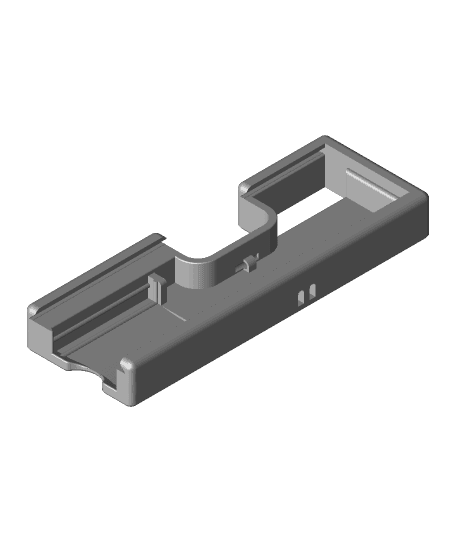
1.The thing includes an aperture to allow access to the USB port. 2.Storage for 1 x SD & 1 x Micro Sd card and a card orientation symbol. 3.I have included 2 cable knockouts (you may need side cutters to cut\trim these) to the right hand side of the unit for USB access for any Octoprint requirements. 4.I have included to sizes of grille, the skinny version is quite delicate
I used the foillowing Micro SD to Sd card adapter:
Amazon UK site: https://www.amazon.co.uk/gp/product/B01C84YKVA/ref=oh_aui_detailpage_o02_s00?ie=UTF8&psc=1&tag=tv-auto-20
Assembly:
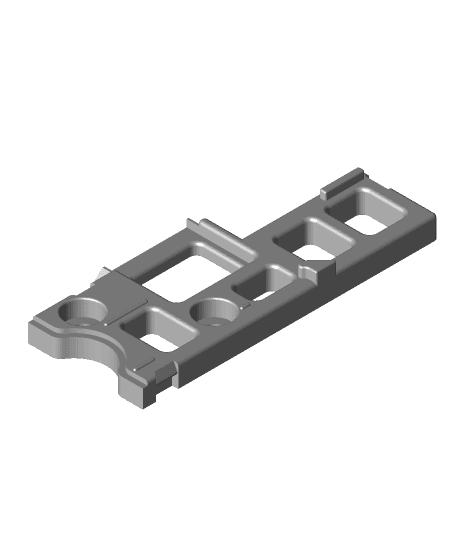
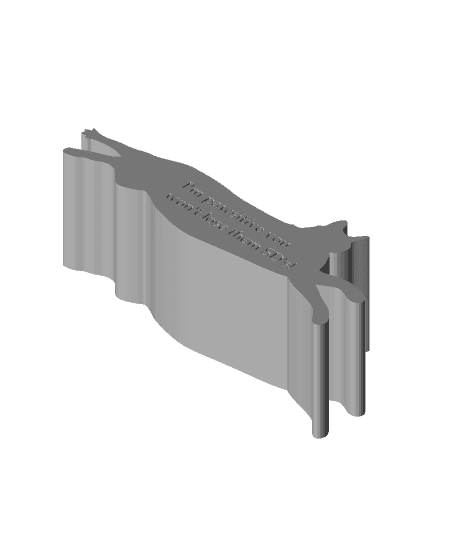
1.Insert adapter into housing. 2.Inserted and push in end stop until adapter is snug. Insert following the direction arrow to allow ratchet to work. 3.Tidy excess ribbon cable with an elastic band leaving 50mm to allow the end to be folded by 90 degrees. 4.Attach debris guard to shield. 5.Carefully insert Micro SD jack into appropriate slot. 6.Fix to lid via 2 x existing M3 hex bolts.
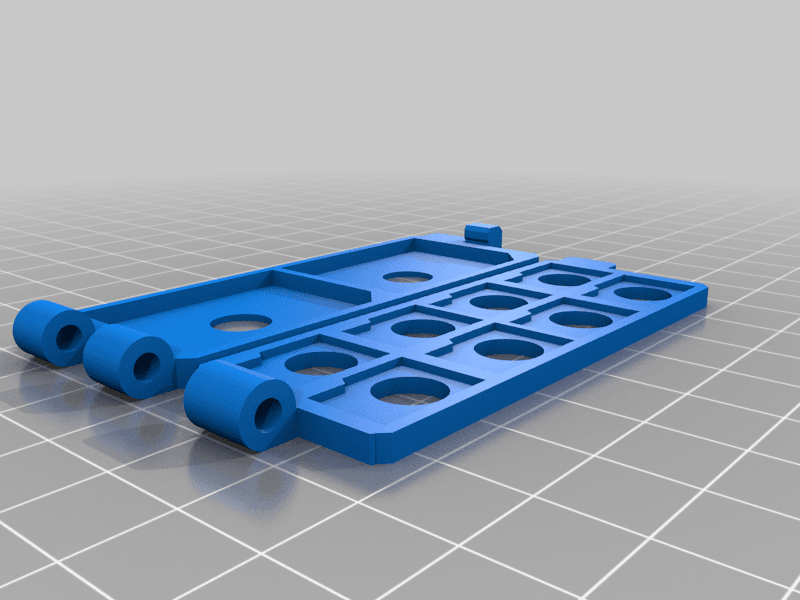
Printing:
1.The main body is printed vertically and does not need any supports. Dependent on build surface it may need a raft, all my prototypes worked fine without any raft. 2.Body printed @ 50mms 0.2 resolution and 20 % infill (Ender 5). 3.Grille printed @ 30mms, 0.12 layer height, 100% infill. 4.End stop printed @ 30mms, 0.12 layer height, 20% infill.
Ender 3 SD Card Adapter Housing with Fan Cowl\Shield
Remixed SD Card & micro SD Card Box with USB Stick Holder
SD Card Adapter Housing for Wanhao Duplicator I3 Plus, Balco Touch, Maker Select
Creality Ender 3 PRO SD Card Adapter Housing
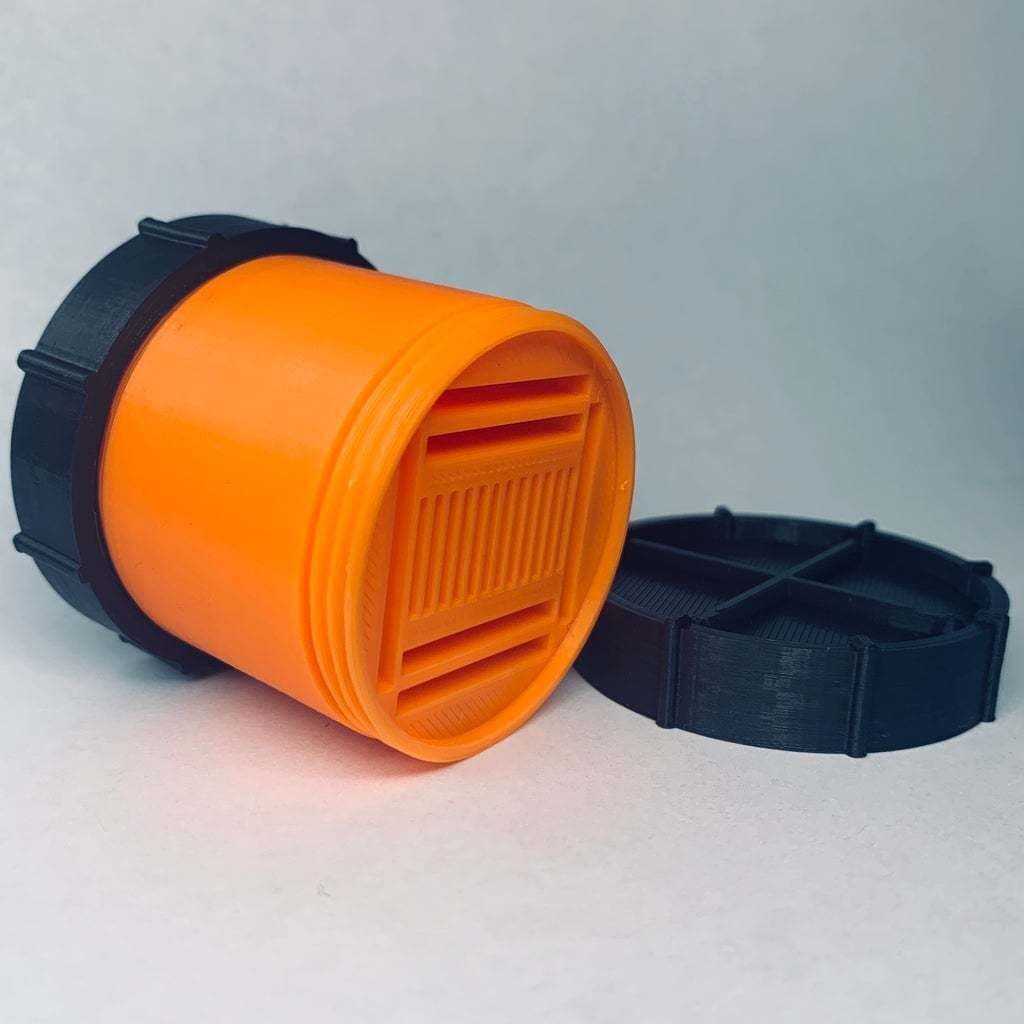
Safe 3D Printed SD Card Case (Store 20 Pcs SD Cards)
Ender 3 SD Card Adapter Housing

Creality Ender 3 PRO Compact SD Card Adapter Housing
SD Card adapter housing for the Creality Ender 5
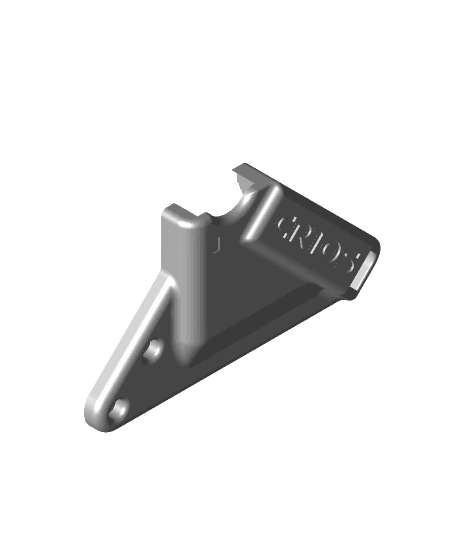
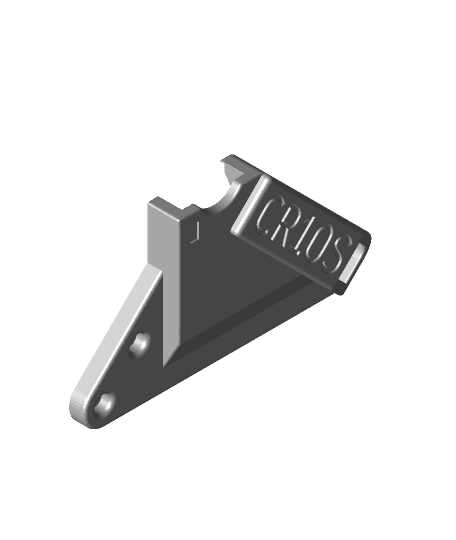
SD Card adapter housing for the Creality CR10\CR10S\Mini V2
SD Card Adapter Housing for the Creality CR10S\CR10
Minimal SD Card Wallet 8x micro 2x SD card
Ender 3 Pro V2 Compact SD Card Adapter Housing V4
Creality Ender 3 PRO & Compact SD Card Adapter Housing V3
Ender 3 PRO Skull Compact SD Card Adapter Housing
.jpg&w=3840&q=75)
CARTBOY SD & Micro SD Card Case
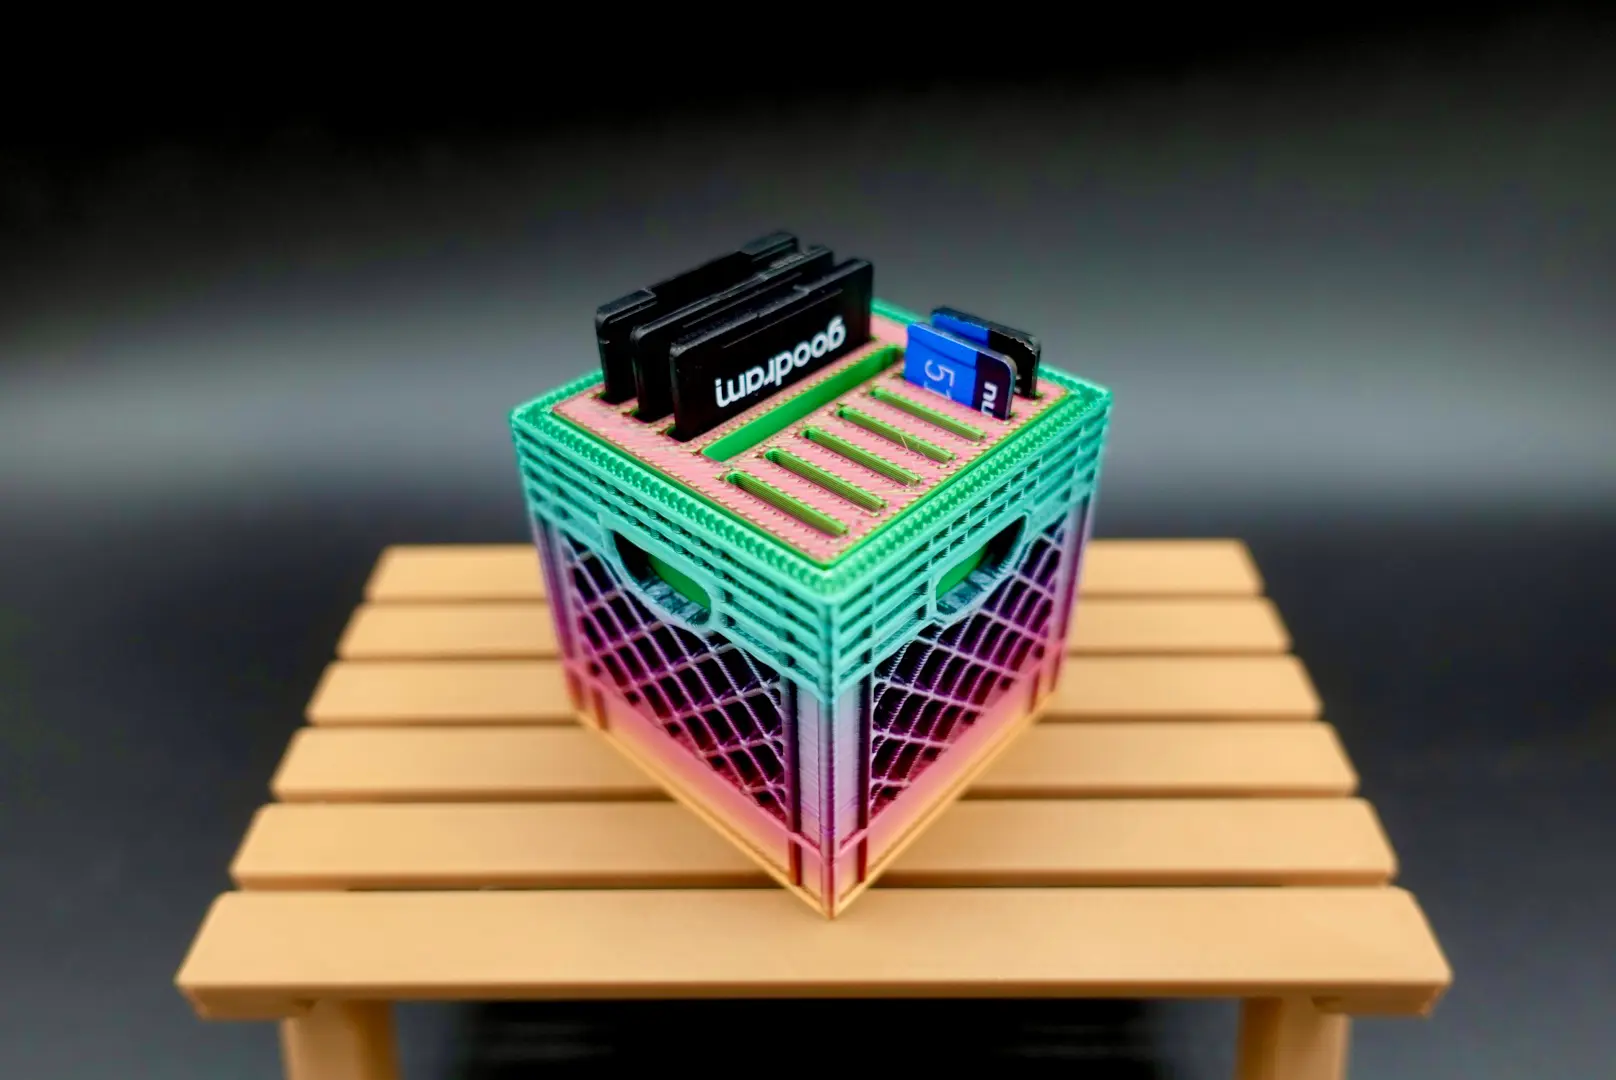
Micro SD / SD Card Holder (50% Scale Mini Crate)
Kick Drum SD | Micro SD Card Holder
Pawsitive Cat SD & Micro SD card holder
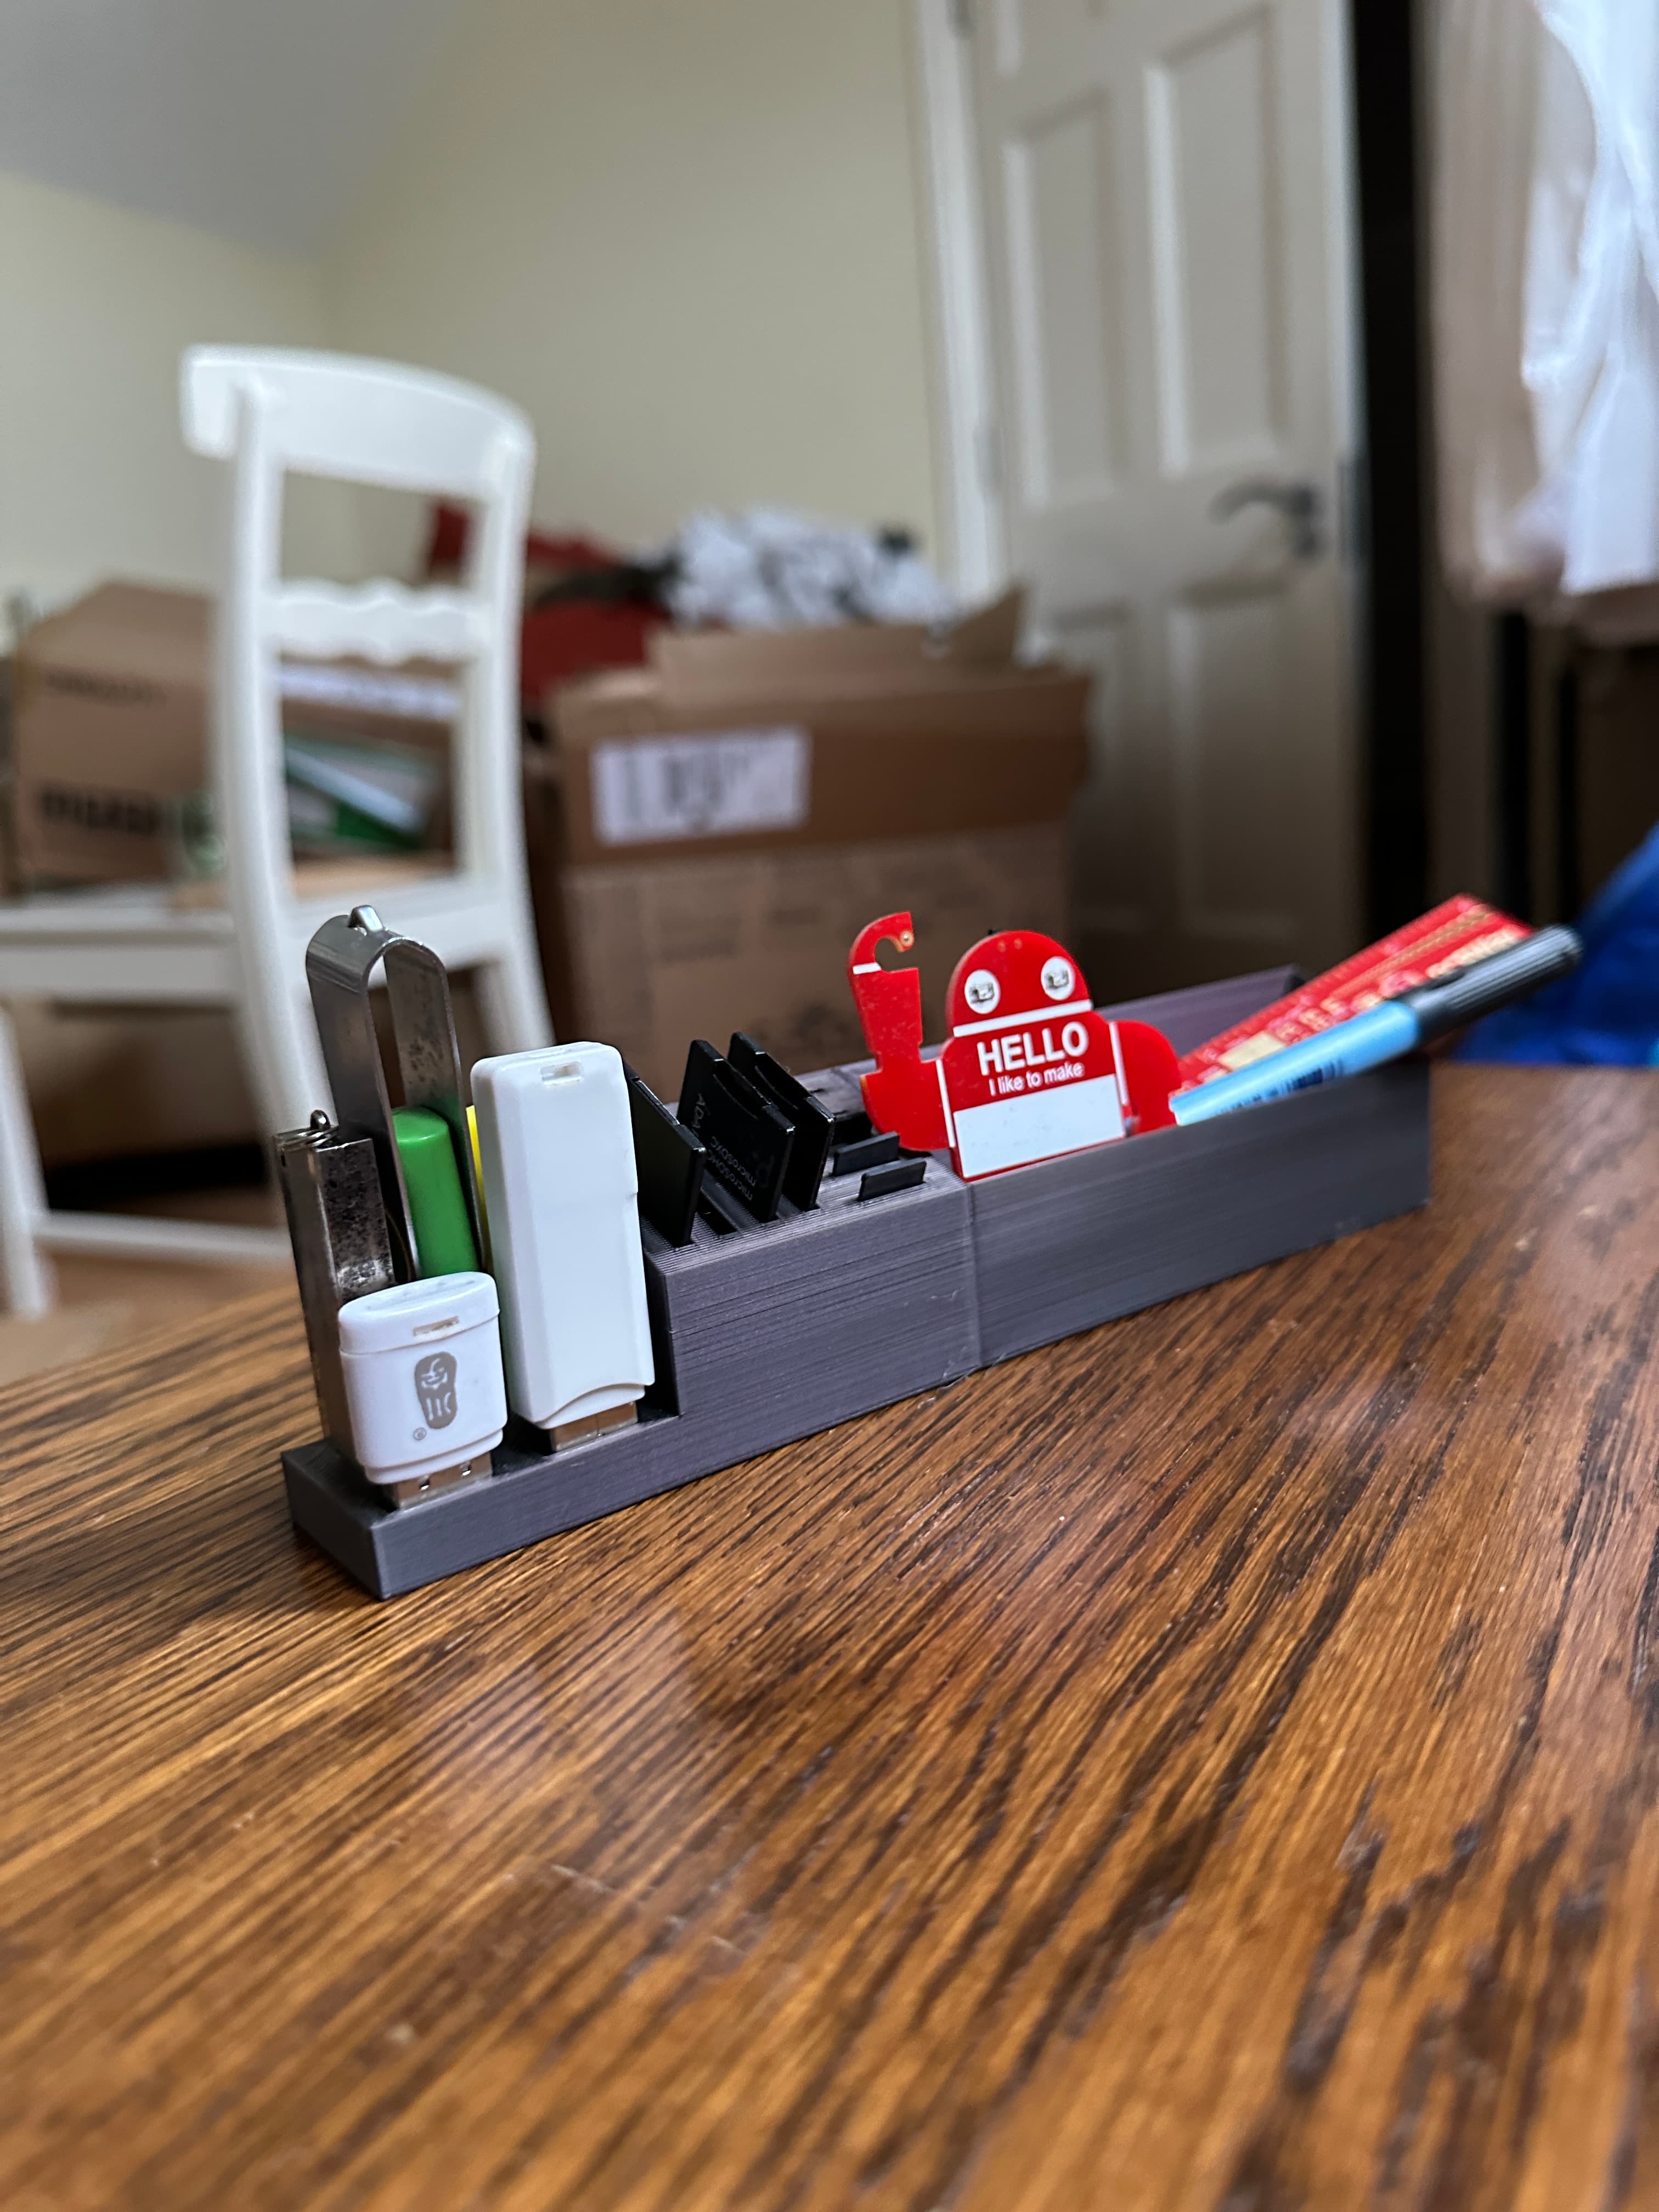
USB, Micro SD & SD Card Holder - BackToSchool - Desk Tidy
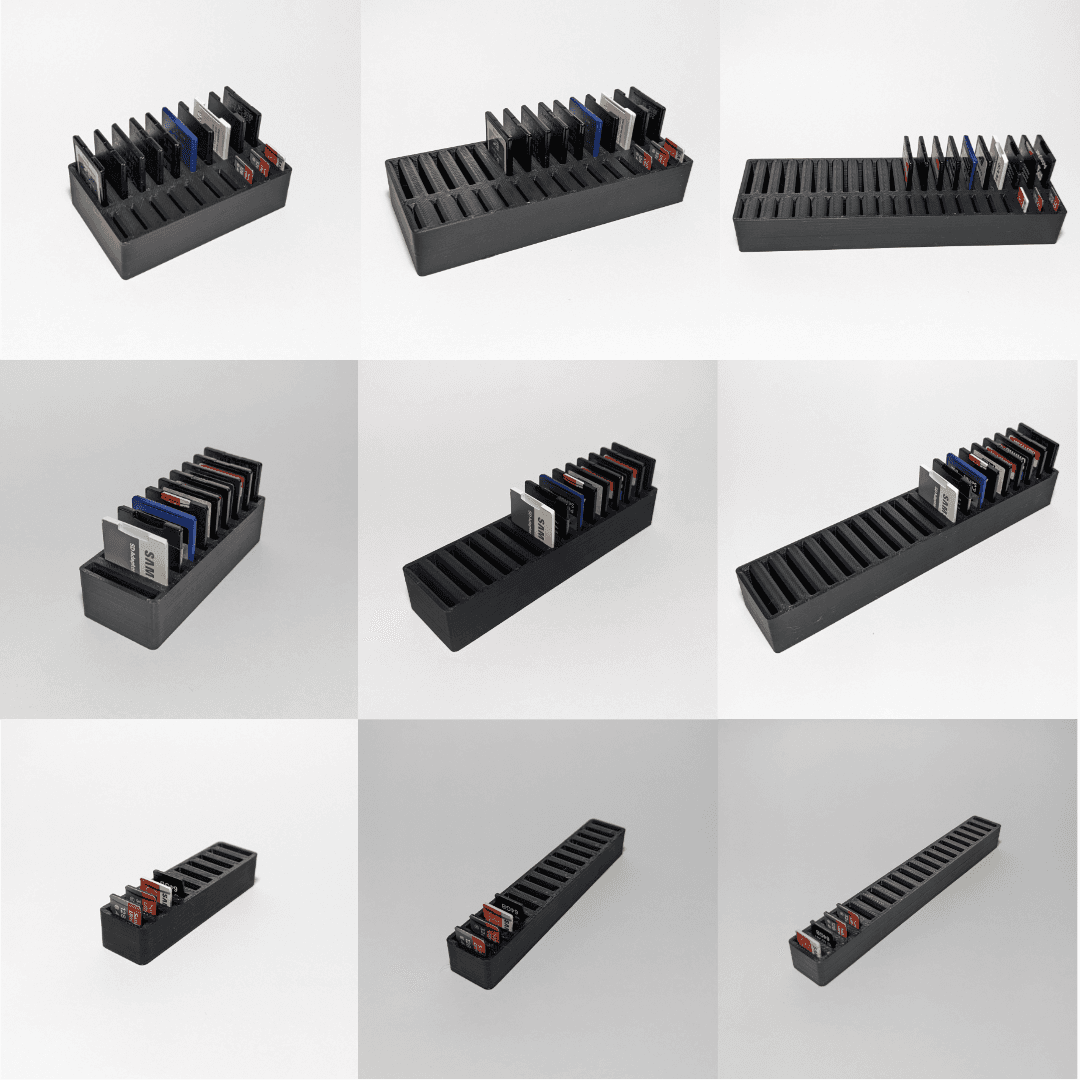
SD and micro SD card holder collection