

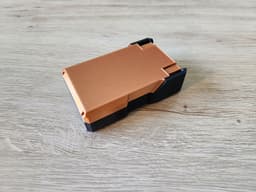

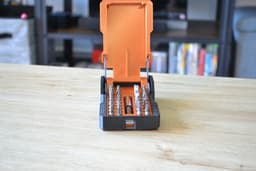
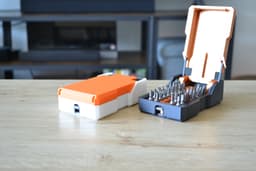
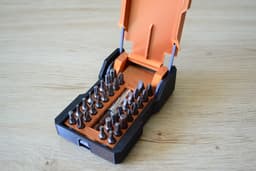
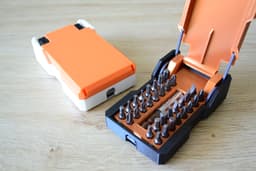


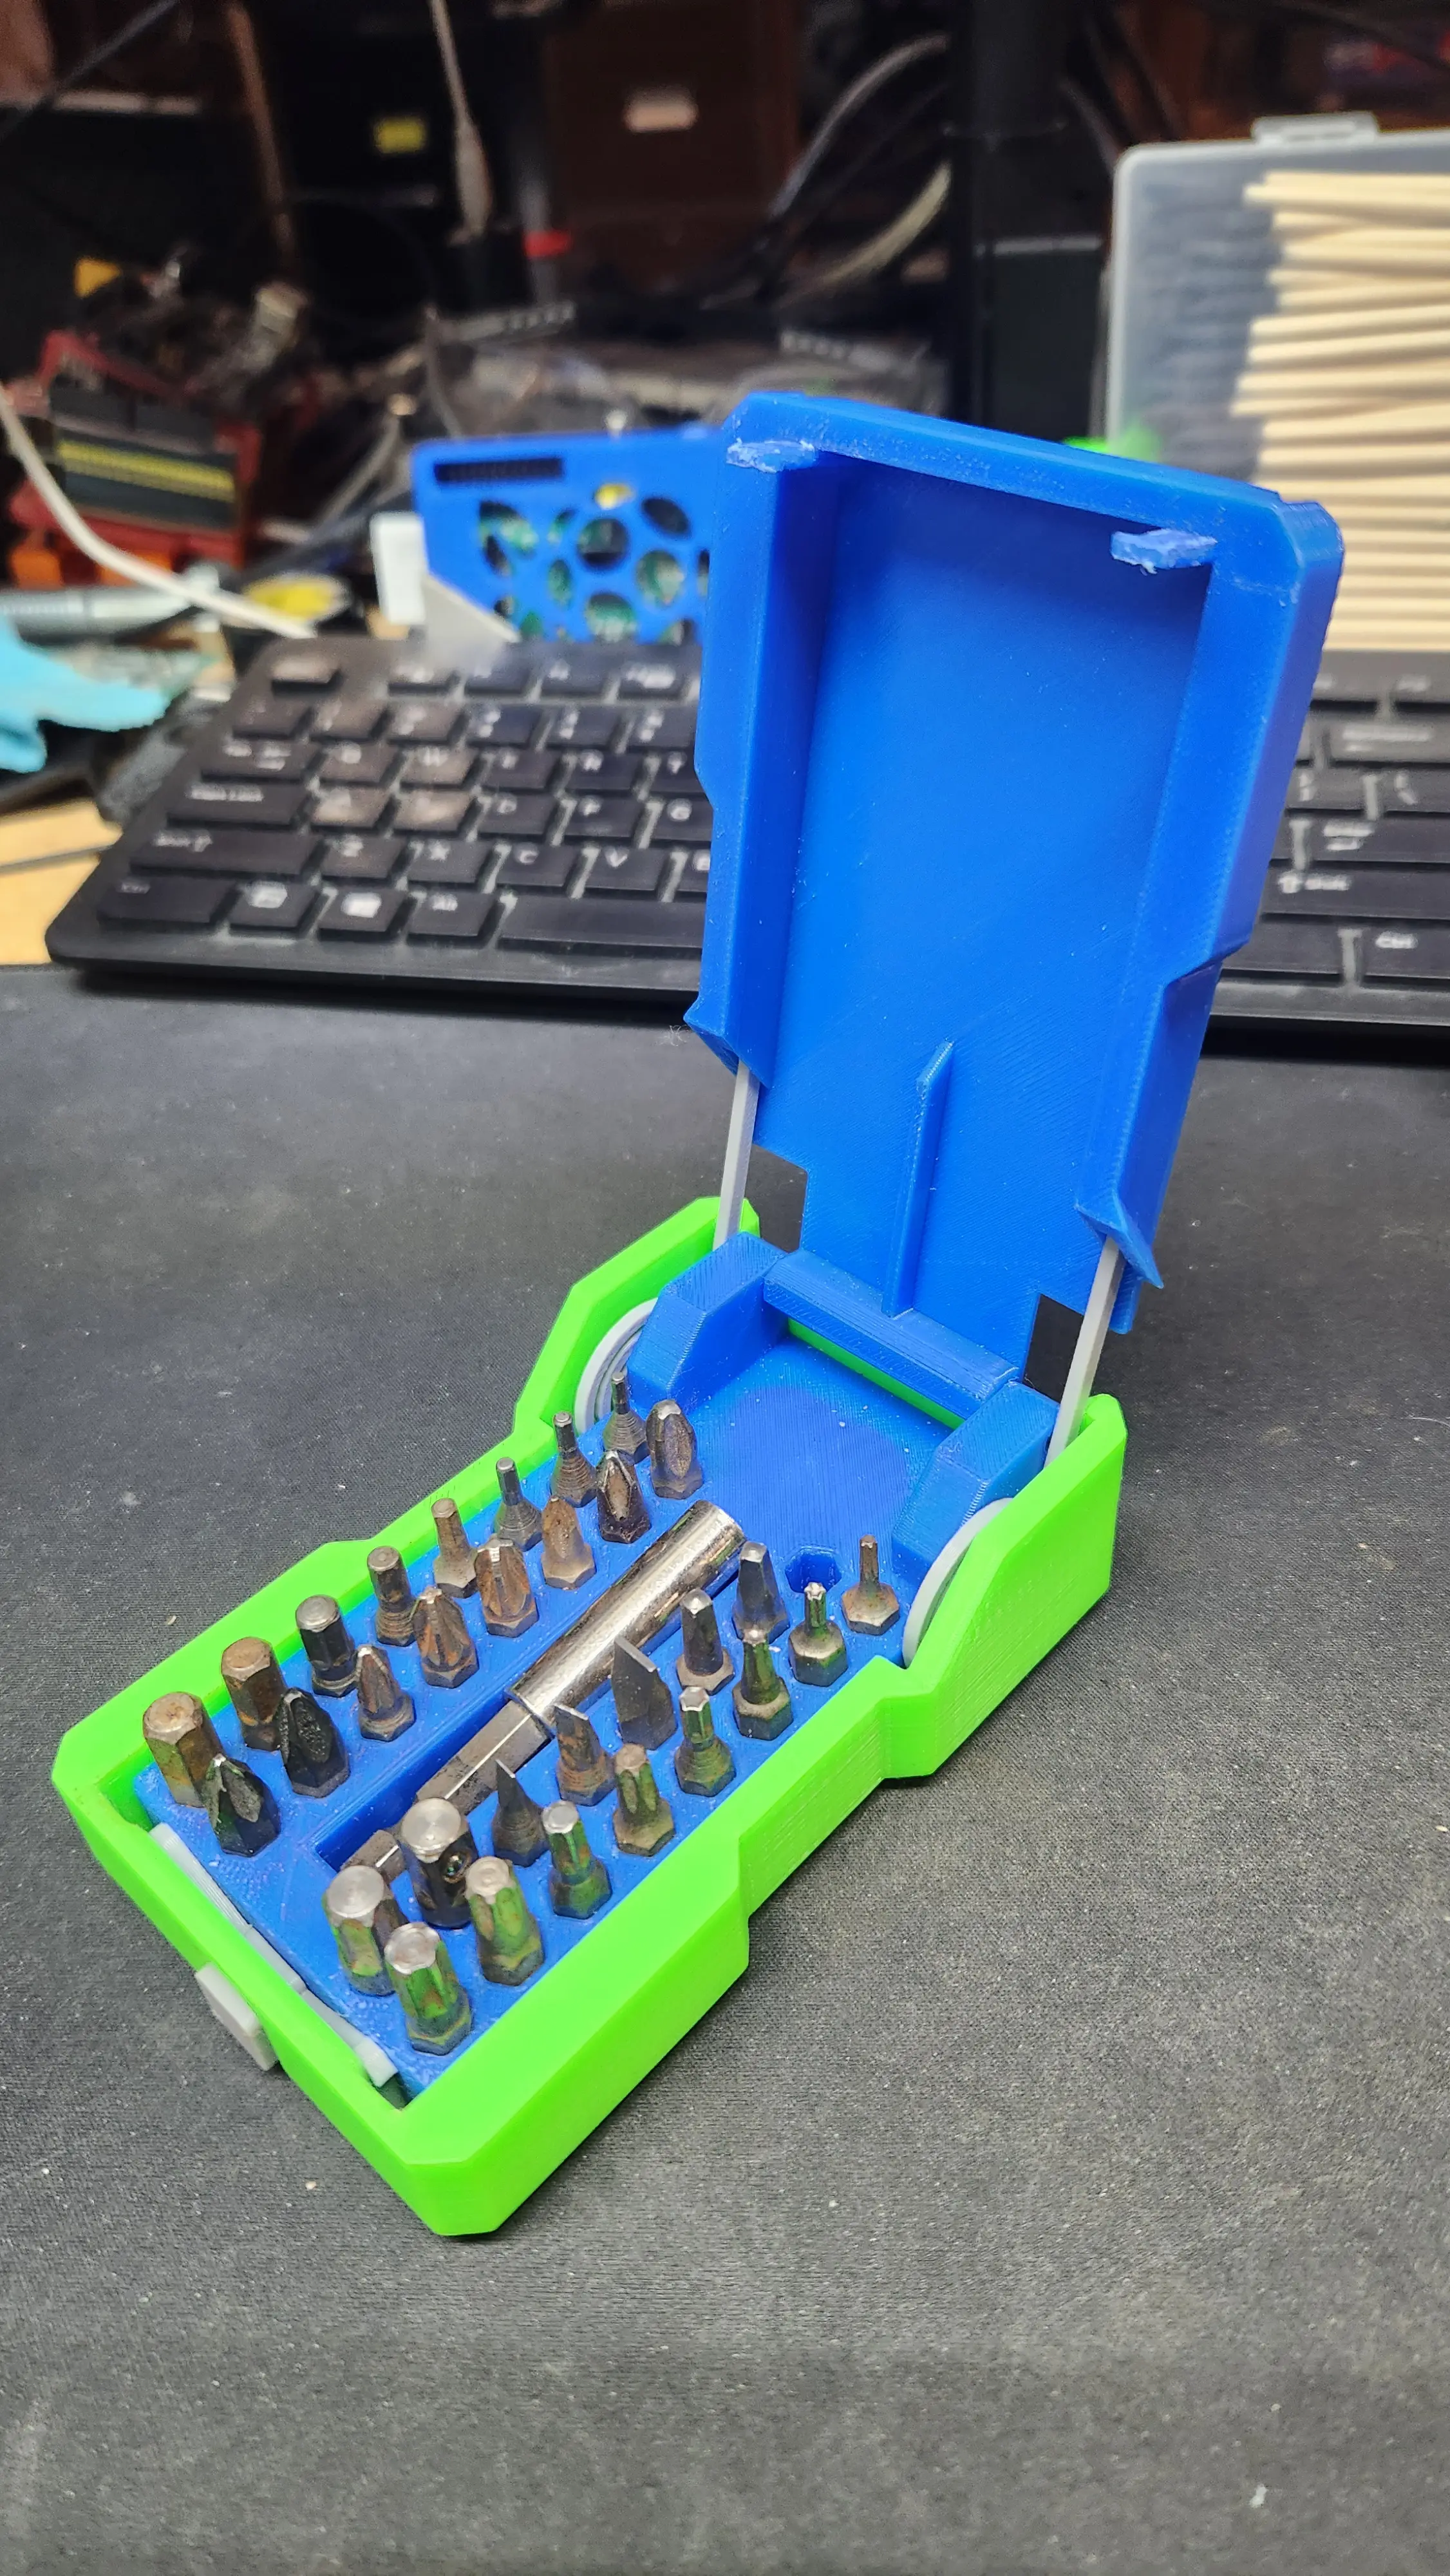
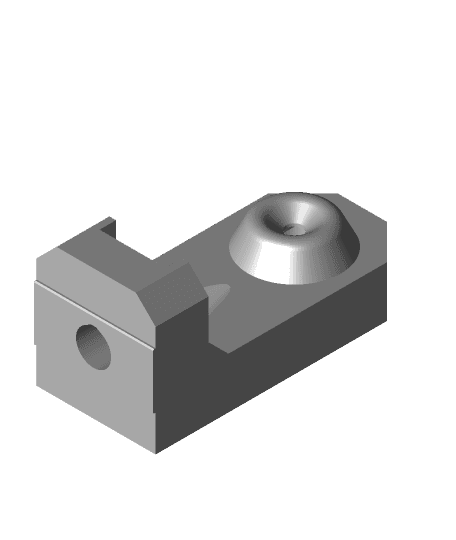
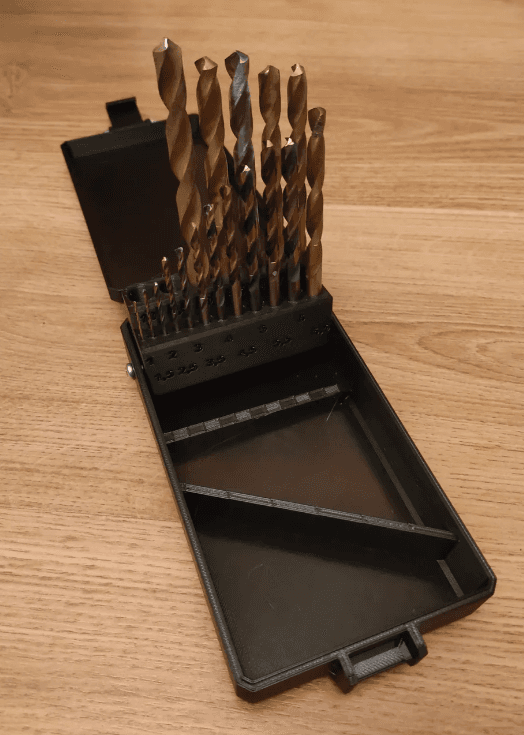
Spring-Loaded Hex Bit Case Box
Hey everyone, Bear here! I was never really satisfied with the flimsy case my hex bit set came in, so I took matters into my own hands and designed my own! What started as a simple storage solution evolved into a fun, fully 3D-printable, spring-loaded case! No extra hardware needed! Well, maybe some glue xD The springs are 3D printed too. With a simple push of a button, the lid pops open automatically. It's a satisfying little mechanism that adds a bit of joy to tool organization. This case can hold up to 32 hex bits and even has a dedicated space for an extension.
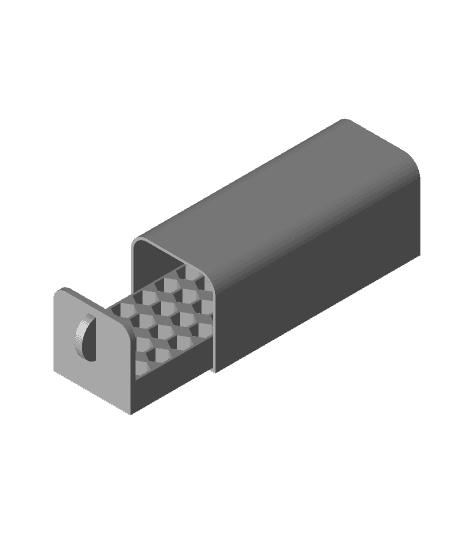
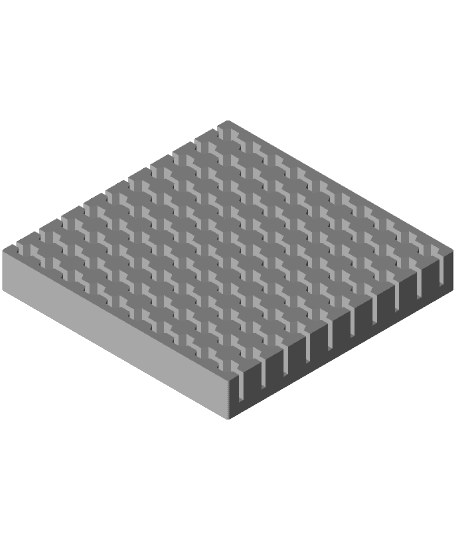
The model consists of 8 easy-to-print parts, none of which require supports:
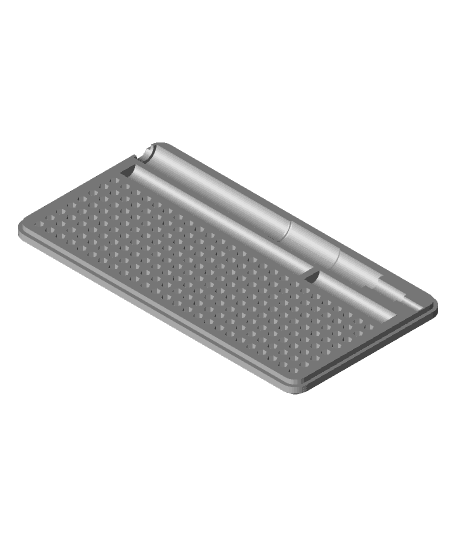
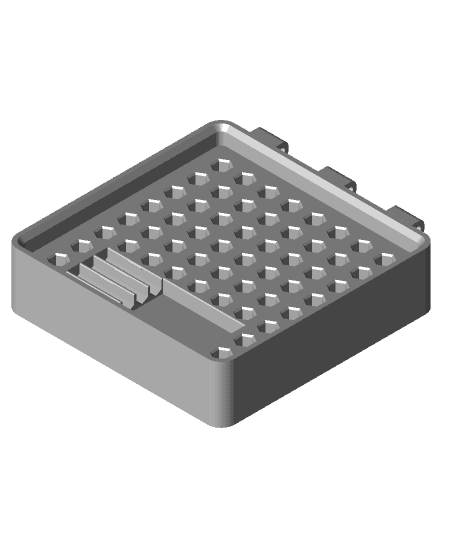
- Outer Shell - [HexbitOuterShell.stl] -Lid - [HexbitSpringLidV3.stl] -Container Grid - [HexbitContainerGridV4.stl] -Release lock mechanism - [HexbitReleaseLockV5.stl] -Hexagonal Pins (x2) - [HexbitHexagonalPin.stl] -Lid springs (x2) - [HexbitLidSpringV1.stl]
Assembly is straightforward but needs to follow this order:
- Push the release lock mechanism firmly into its designated slot in the Outer Shell. Set this aside.
- Attach the lid springs to the Container grid using the hexagonal pins.
- Insert the lid into the assembled springs and Container grid. Secure the lid by inserting small pieces of filament through the designated holes, cutting them flush inside the hex grid.
- Carefully insert the completed lid, spring, and Container grid assembly into the Outer Shell (with the locking mechanism already installed). I suggest adding some glue between the Container Grid and the Outer Shell.
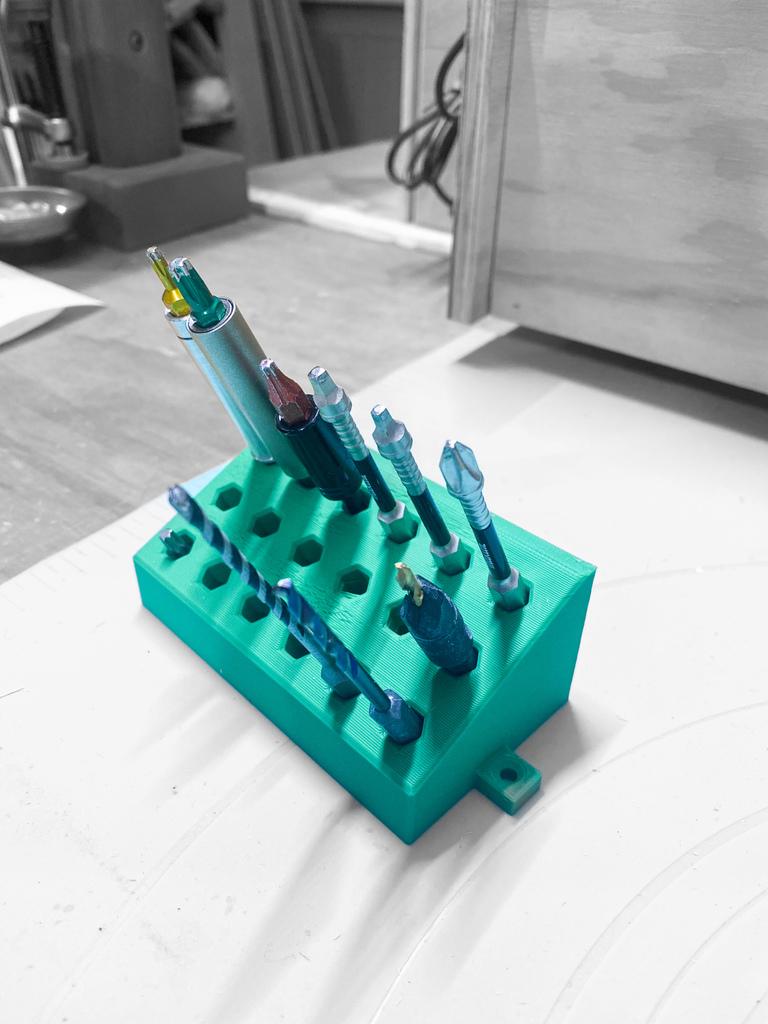
Once assembled, you can start loading your hex bits! I really enjoyed designing this project and hope you have just as much fun printing and using it!
Spring-Loaded Hex Bit Case Box
Hex Bit Storage Box Drill Hex Bits

Micro EDC Hex Bit Case
My Customized Hex Bit Holder100 Hex Bit Holder
Bear Reverse Bowden adapters compatible with Spring-Loaded, Roll-In Tee-Nuts

Compact Bit Box (pocket size driver bit storage)
Hex Bit Holder Angled (18 bits)

Hex Bits - Wall Holders
Xiaomi Wowstick & Mijia case and Bit Holder (holds 200 Bits)

Gridfinity 1x1 Hex Bit Holder-Torx-v2.3mf
Wowstick 1F+ 56 Bits Box

toy catapult spring loaded (+40m m range)

AT3ch Hex-bit Driver

Gridfinity 2x2 Hex Bit Storage with Tray

SORTSET 10 Position Nesting 1-4 in Hex Bit Holders for Multiboard
Hex bits holder
.jpeg&w=3840&q=75)
Hex Box

Compact Screwdriver Bit Case

SORTSET 10 Position 1/4in Hex Bit Driver Holder
Drillbox / Drill bit case

I feel like the lid could use a V2 which would separate the clips from the lid itself. As it stands, with the printing orientation, the clips for latching the box closed are way too easy to snap off. Maybe a V2 could include a separate clip that's printed flat and slots into the lid
I made this tonight however the bits are a very tight fit and some don't fit at all unfortunately. Made with a flash forge 5m adventure. I have a few collections of bits but none are usable in the box.
It printed well and looks good. Maybe I was a bit unlucky...