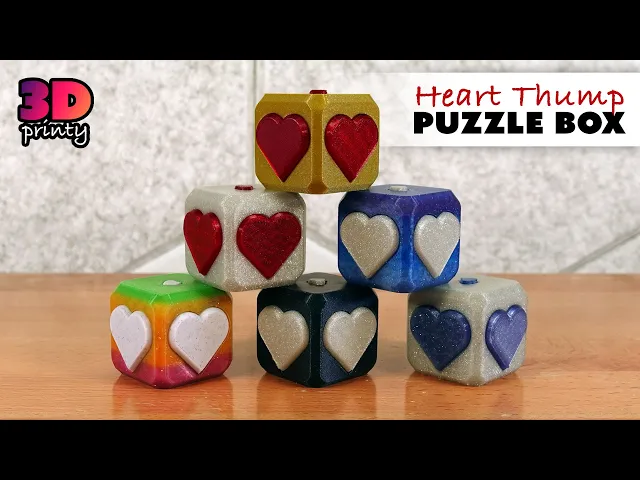


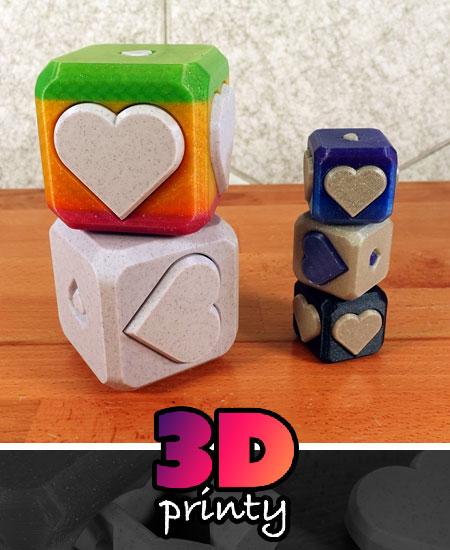
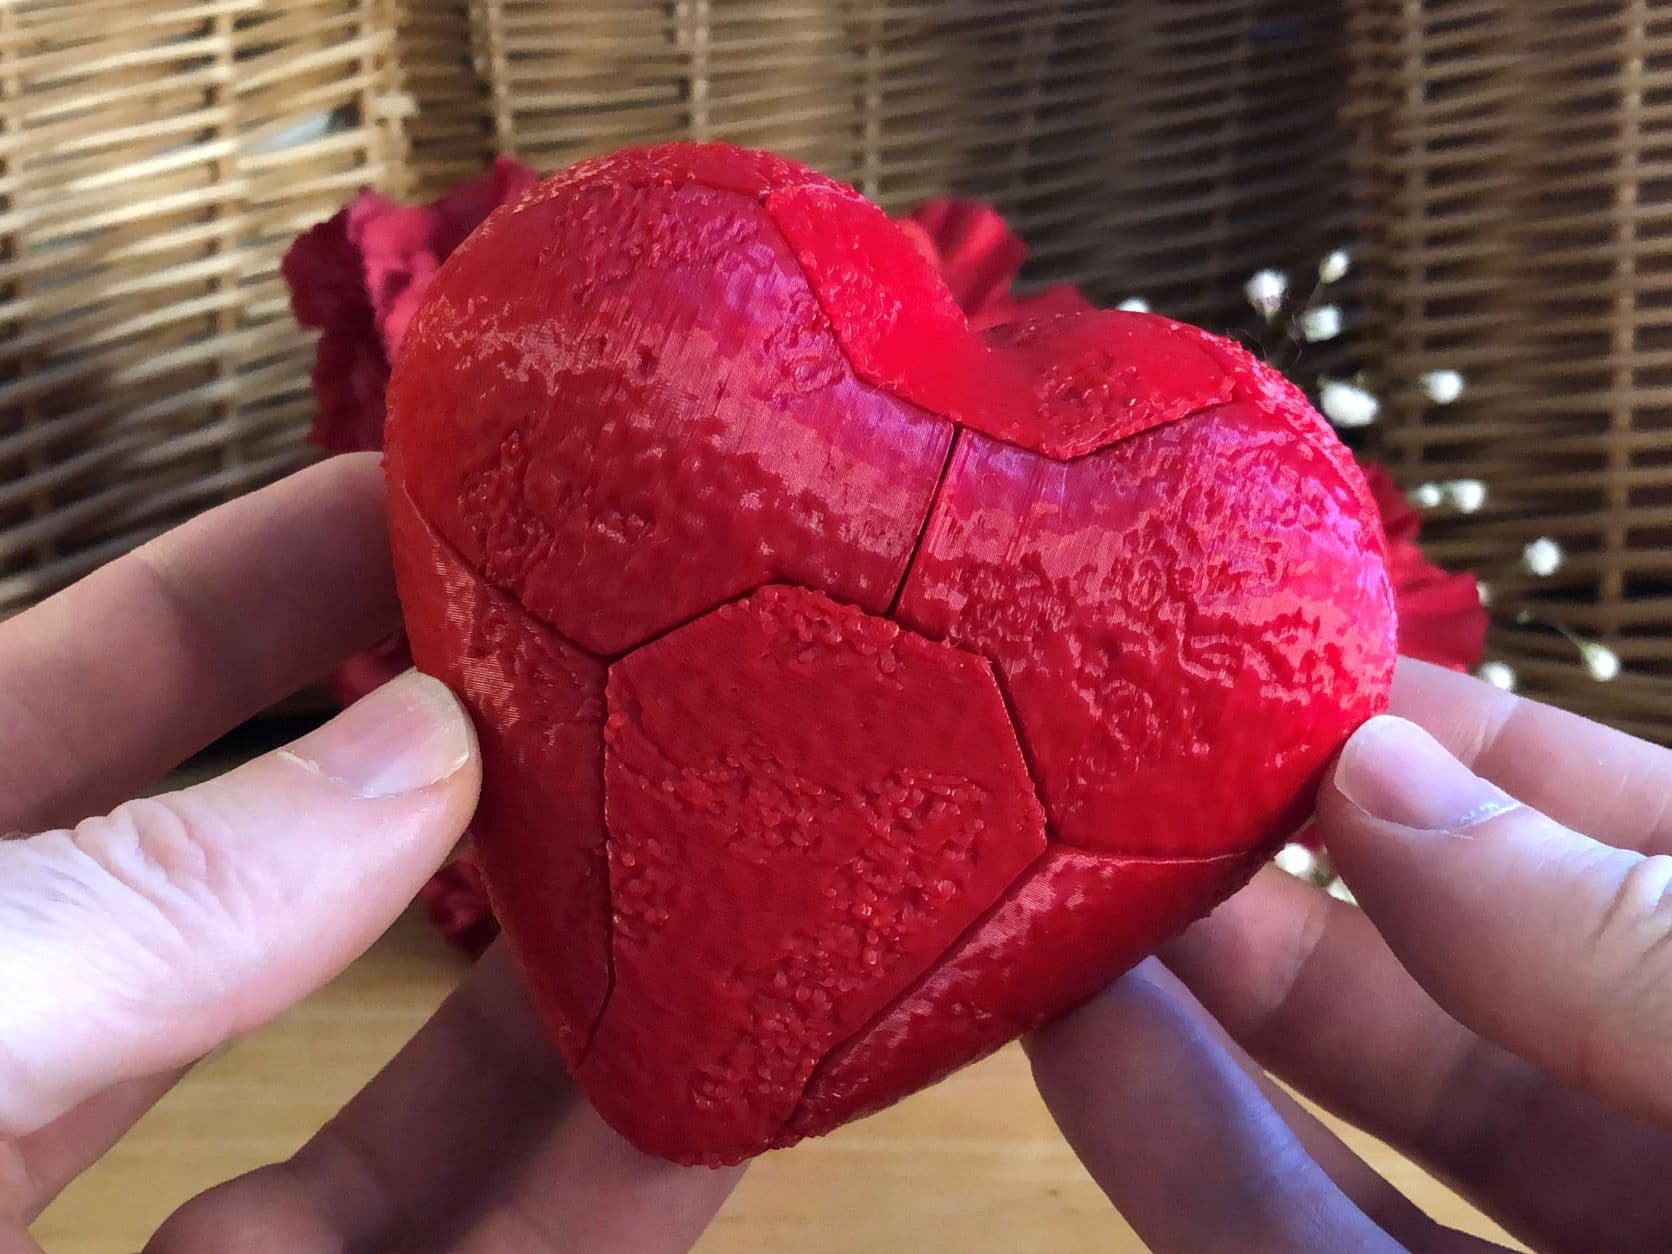
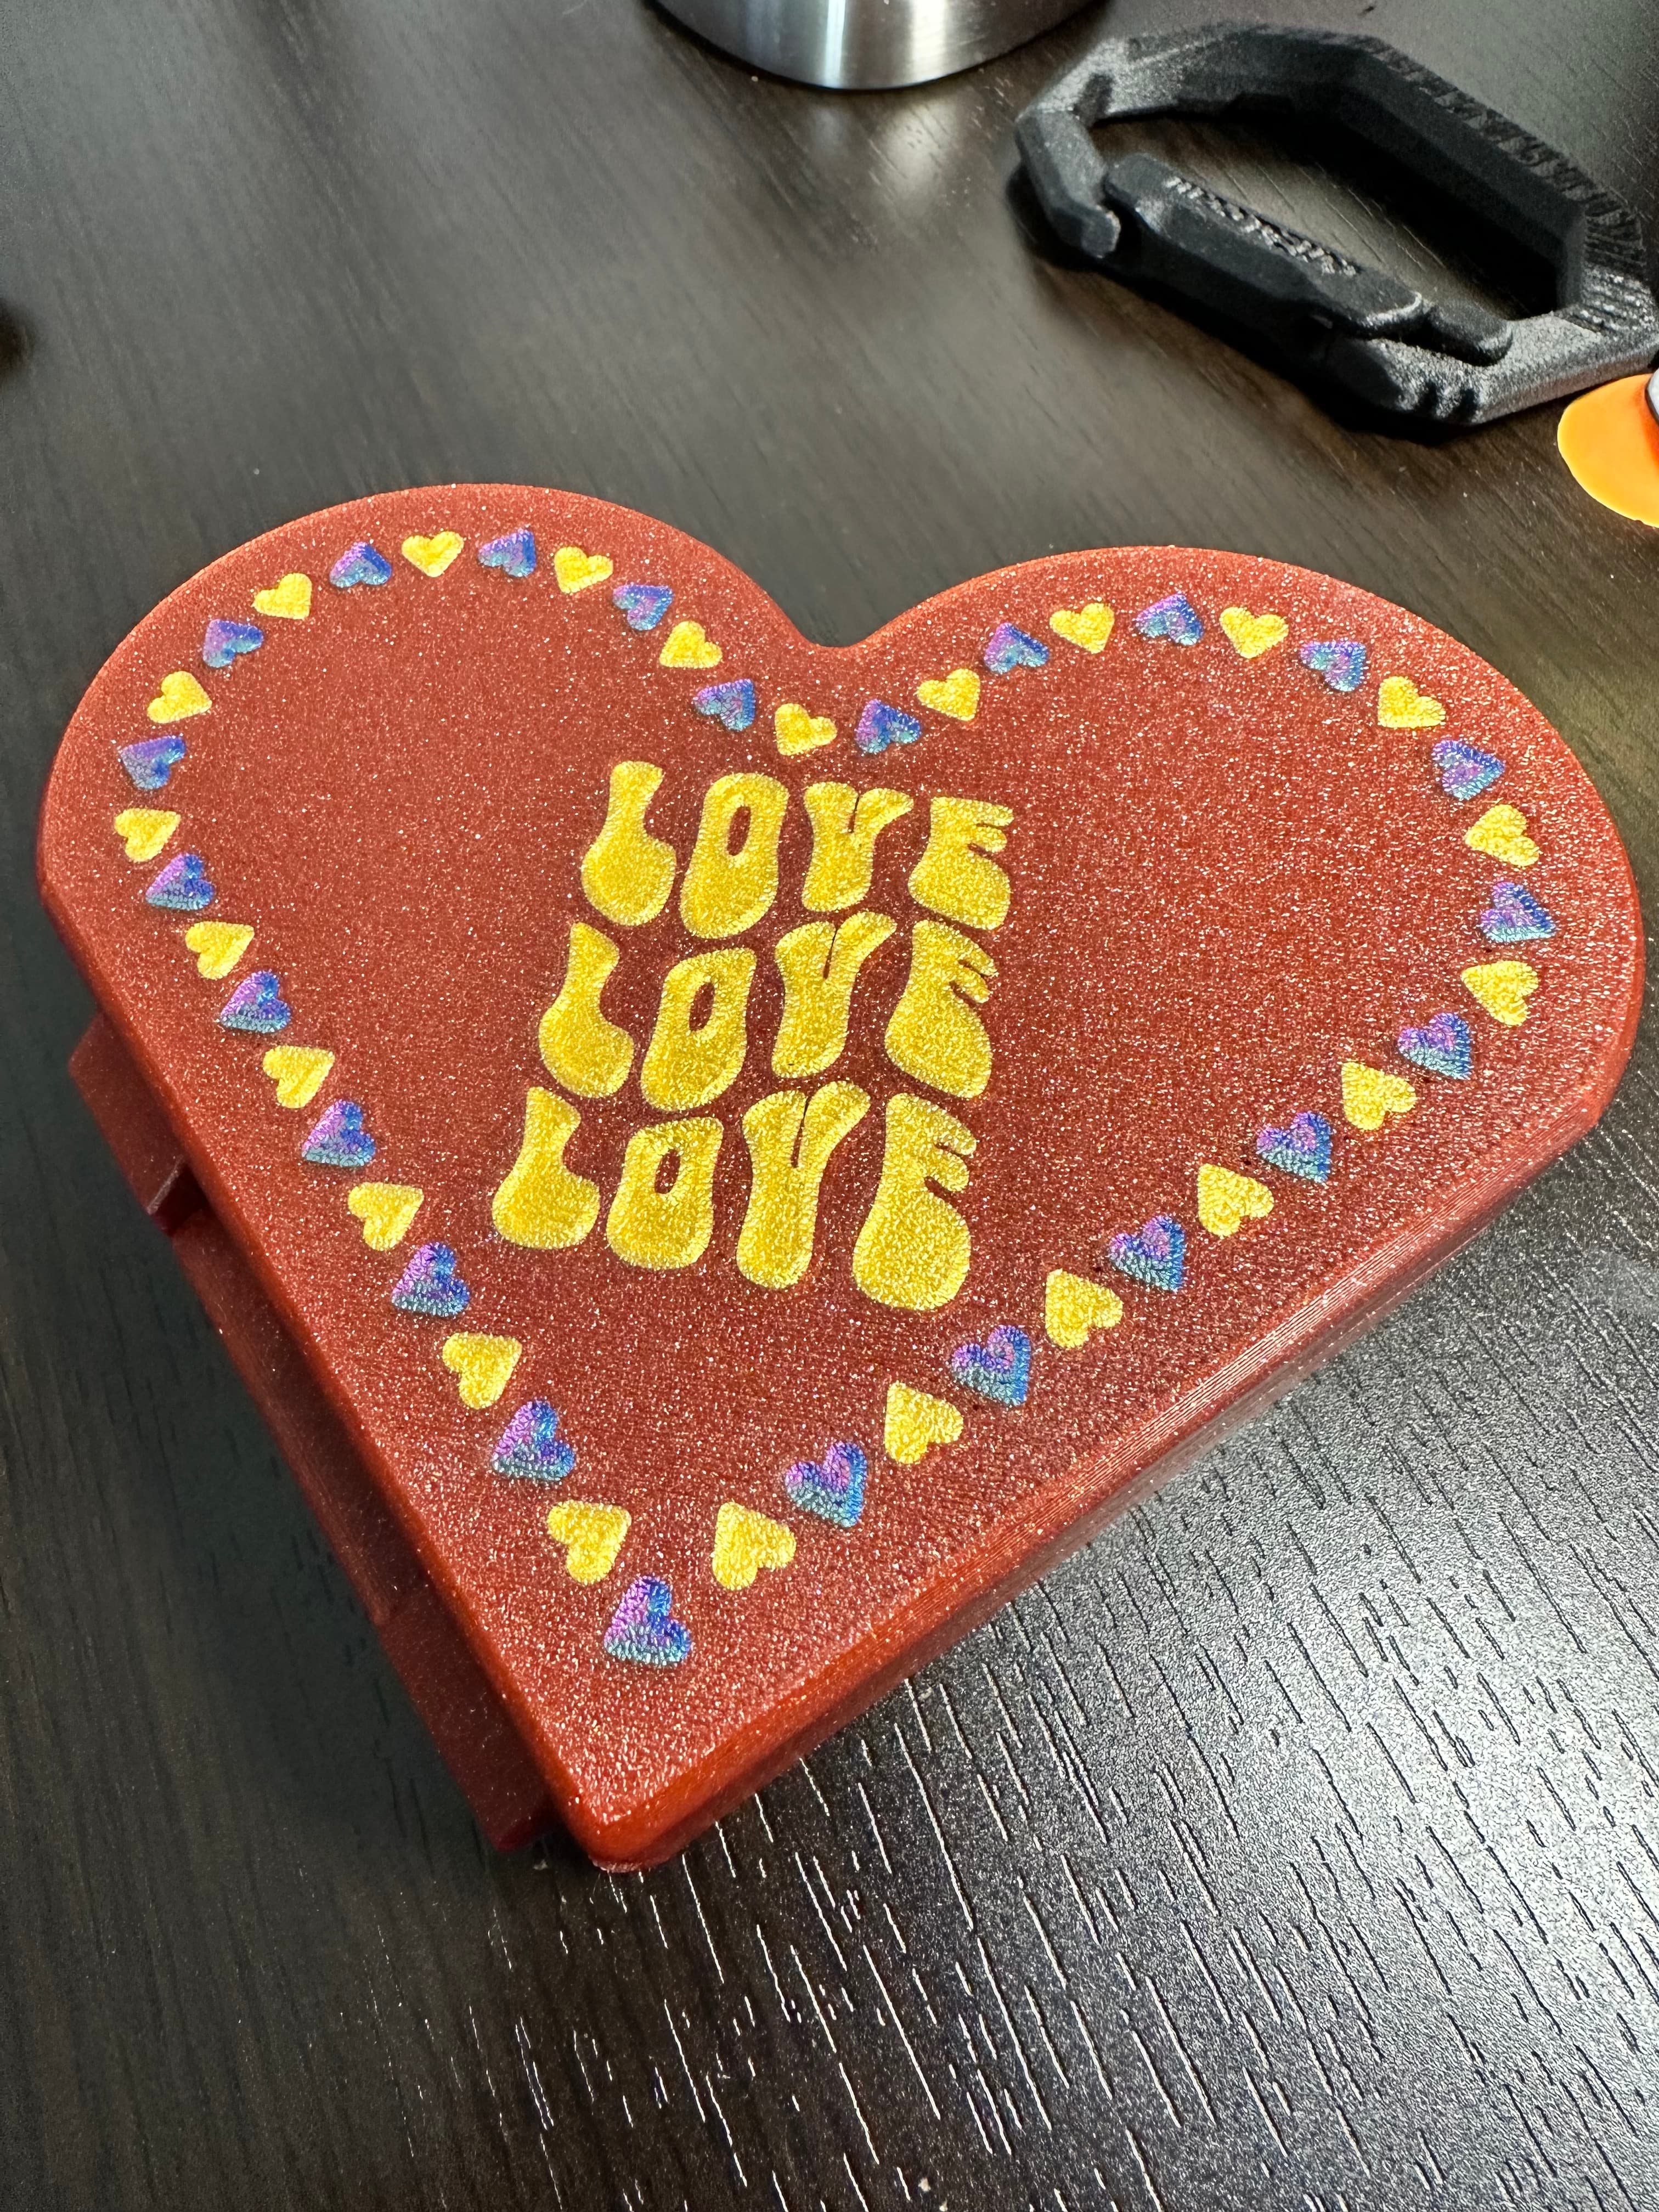
Valentine's Day Heart Thump Puzzle Box (Easy)
Gift-friendly Valentine's Day themed puzzle box: find the hidden heart.
Printing
- All parts can be printed without supports.
- Some printers may require brims for bed adhesion.
- Print two copies of the side model - one copy will fit on either side of the box.
- If you plan to assemble without any hardware, consider adding a very slight fuzzy skin texture to give the parts a tighter fit.
Hardware
This puzzle box does not require hardware to work, but the following additional parts are recommended to help guide pieces when opening and provide a nicer overall feel to the solution. You can also use a subset of the following requested hardware.
- 6x3mm cylinder magnets (qty: 8) These magnets provide a springy button feel to the puzzle core and firmly hold the side hearts in place.
- 3x3mm cylinder magnets (qty: 2) These magnets hold the key in place and provide a spring-like feel to its removal.
- 6-12mm M3 cap head bold (qty: 1) This bolt is used to permanently trap the puzzle core inside the case. This makes resetting the puzzle easier.
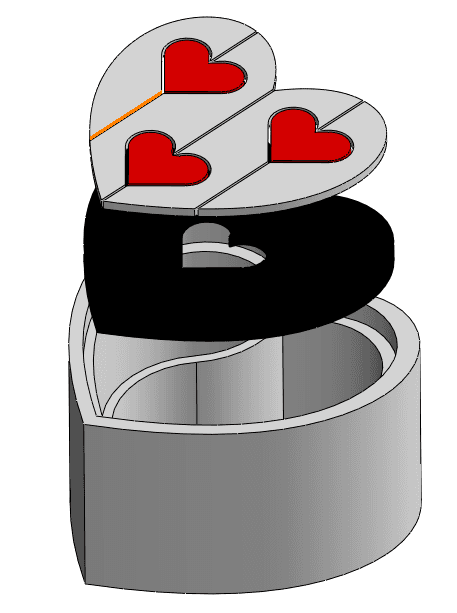
Assembly
Test fitting and hardware-free assembly
Go through the following steps to test fit all puzzle parts. These parts SHOULD slide together easily, but sanding may be required if parts are not printed accurately or with a consistent surface.
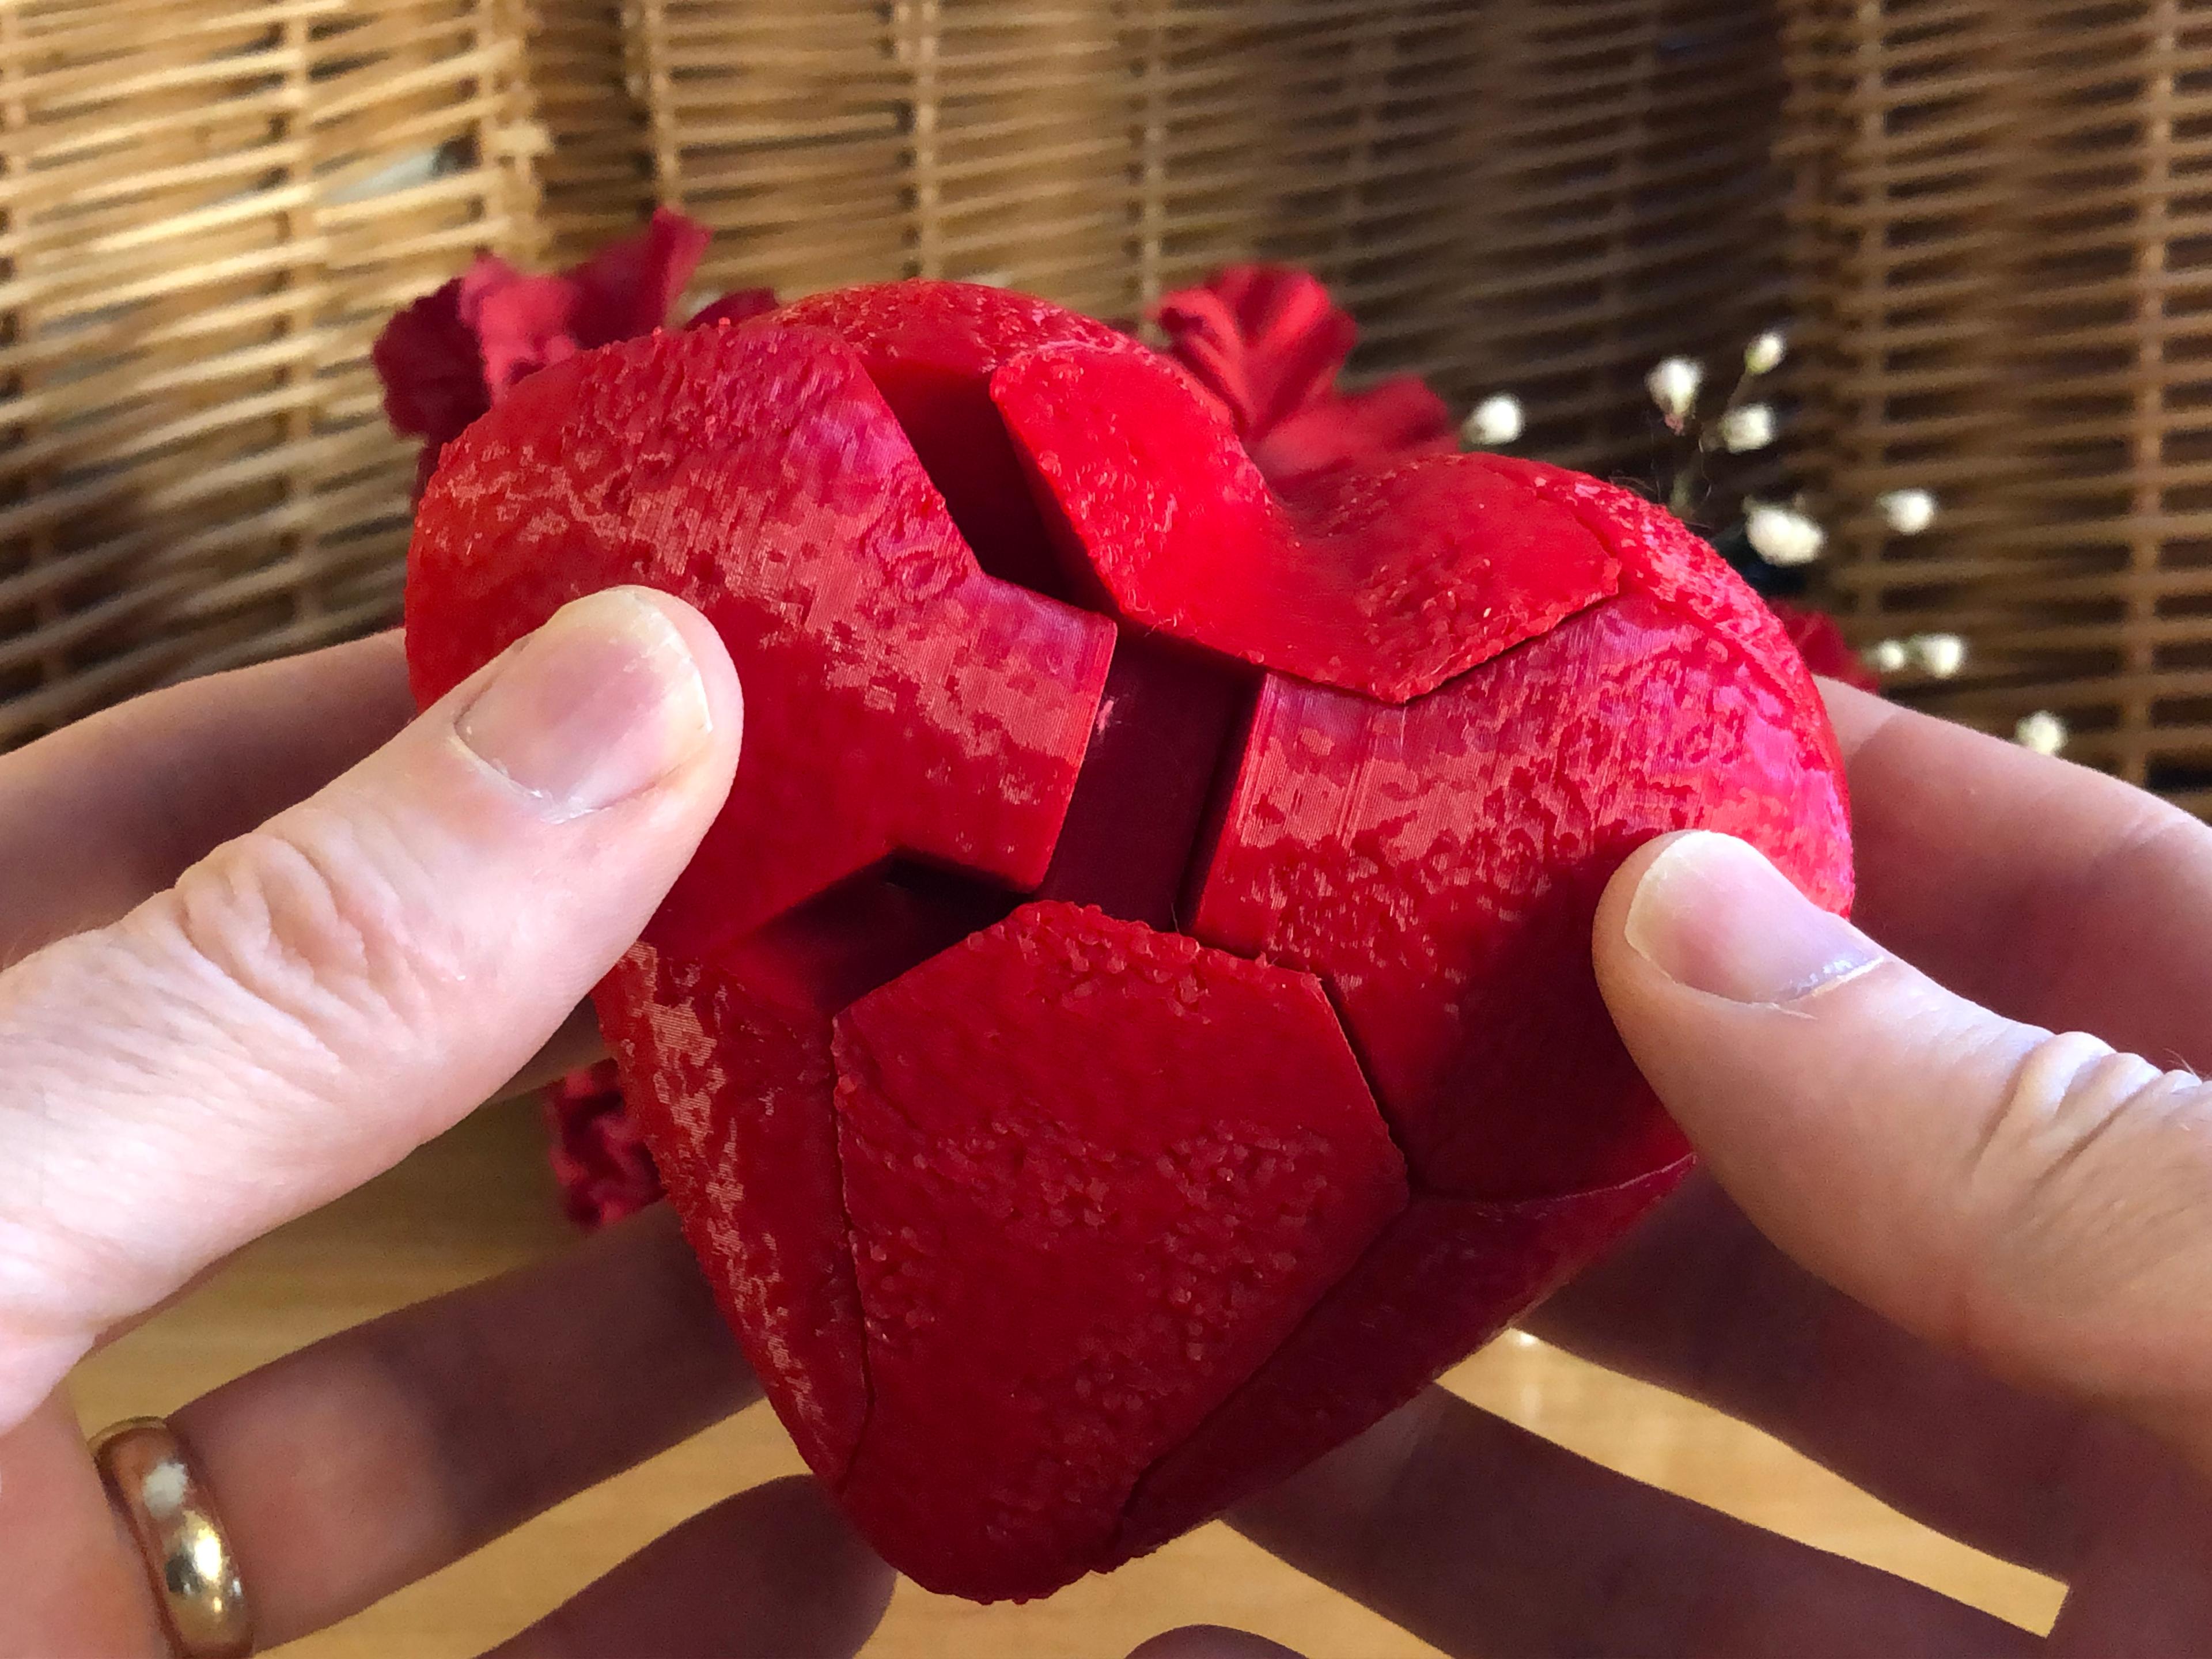
- Slide the puzzle core into the case so that the small heart-shaped hole at the top of the case lines up with the similarly sized heart-shaped hole that runs entirely through the side of the core.
- Press both side hearts into the case so that the core latches onto the track built into each side part. The heart on the right slides on first, so if both parts are not latching, reverse your assembly order.
- Lock the core in place by sliding the key vertically through the case and core. The key should rest flush with the top of the case.
If all parts fit, you can continue on to hardware assembly - or stop here if you want to use the puzzle without the recommended hardware.
Hardware Assembly
- After test fitting all parts as described above, take apart the puzzle
- Insert an M3 cap head bolt into the smallest hole in the puzzle core and tighten it until the cap head sits entirely within the recessed hole.
- Glue one 6x3mm magnet into each of the side hearts. For easier reassembly, use the same magnet orientation for each heart so it will not matter which heart is which.
- Glue one 6x3mm magnet into each side of the core so that the magnet orientation will pull the side hearts toward the core when latched.
- Glue two 6x3mm magnets into the holes near the bottom of the core. Because these holes are closely spaced, it may be easiest to insert the magnets with opposite orientations so they pull toward each while seated in their holes.
- While keeping the magnet orientations from the previous step in mind, glue two 6x3mm magnets into the case so that the magnets will pull the siding core toward its neutral position. This is easy to mix up, so double check the magnets before gluing them in.
- Glue a 3x3mm magnet into the puzzle key. Make sure the magnet is pushed all the way into its hole to prevent future jamming.
- Use a flathead screwdriver or other long flat metal tool to glue a 3x3mm magnet into the recessed magnet hole hidden inside the long heart-shaped shaft that runs through the middle of the puzzle core. This spot is easy to miss, so use a light to find it before attempting to insert the magnet. Depending on the magnet orientation, the key can either be set to jump out to the puzzle solver or snap back to its neutral position. Both options are good, but the latter makes removing the key slightly trickier.
- Once all glue is set, add the puzzle prize to the core then insert the core into the case.
- Slide the puzzle core so that the M3 bolt installed in step 2 is visible through the heart-shaped key hole at the top of the puzzle. Loosen the bolt by a couple turns so it no longer sits entirely within its recessed hole. Verify that the core can still slide back and forth, but automatically stops before sliding out of the case in either direction.
- Continue assembling the puzzle using the test fitting steps from before.
Can I sell copies of this?
Yes! This project was shared under the Creative Commons - Attribution license.
This license allows selling copies, but you must provide proper attribution, as detailed in the license itself.
Please note that any other projects linked here (remixes or related projects) may have a different license. Please respect those licenses.
This license applies only to the model files (STL, 3MF, STEP, F3D) included in this project. It does not apply to photos, videos, my logo, or other supplemental graphics attached to or displayed with this project.
Valentine's Day Heart Thump Puzzle Box (Easy)
Giant Valentine's Day Heart Thump Puzzle Box (Easy)

Valentines Day Heart Box w/Print in Place Hinges - Heart Shaped Gift Box
'Forever Together' Puzzle-Piece Chocolate Heart for Valentine's Day :: Delicious Desserts!
Valentine's day heart puzzle

celtic heart wall art valentines day heart wall decor heart decoration

melting hearts wall art heart wall decor individual hearts decoration valentines day

hearts in hearT VALENTINES DAY WALL ART LOVE HOME DECOR

string of hearts wall art valentines day wall decor heart vine decoration

Mandala Heart wall art valentines day heart wall decor holiday decoration

4 heart pendants valentines day jewelry broken heart keychain luck charm

3D Valentine's Day Hearts, 4 pcs. Bundle for Valentine’s, Surprise and Gift for Couple, LoveArt

LOVE MELTED WITH HEART / TEXT STAND / VALENTINES DAY OR MOTHERS DAY GIFT / HOMEDECOR
.png&w=3840&q=75)
Knit Heart Valentines Day Box
Valentine’s Heart Puzzle
Thangs Valentine’s Day Contest - Jigsaw Heart Box - Remix of Simple Heart Box with Lid

4 valentines day jewelry heart pendants love keychain lock hearts luck charms

Mother's Day Heart Box (fast printing) / GIFT BOX / VALENTINES DAY / MOTHERSDAY

set of 4 melting hearts wall art heart wall decor valentines day decorations
PRINT IN PLACE THREADED LOCKING VALENTINES DAY HEART BOX WITH A TWIST!