
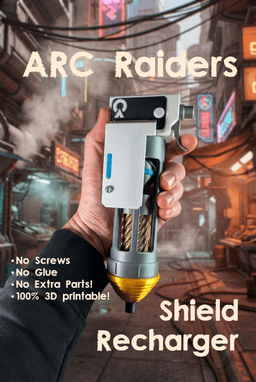


Shield Recharger - Arc Raiders
ARC Raiders Shield Recharger - Assembly Guide Listen up, Raider—getting vaporized by ARC drones because your shields are down is embarrassing, so print this recharger and stay in the fight!
Instructions Print all parts using your preferred filament settings or from the prepared 3mf file. Every Part needs to be printed once. I would suggest to use a brim for better print adhesion and support enabled.
Building the Recharger: Take the Connector and screw it onto the Tip. Assemble the power core: Screw together the Copper Coil, the Middle Coil, and the Upper Coil. Screw this completed coil assembly into the Tip. Screw the Main Body onto the Connector. Prepare the electronics housing: Press-fit the Sideplate onto the Top Cover. Screw the assembled Top Cover onto the Main Body. Insert the Trigger Screw into the Trigger, then press-fit it into the hole on the Top Cover. Tip: You can use a screwdriver or a pen to push it securely into place. Have a look into the pictures to see how it is build!
You are finished. Enjoy your recharged shields!
Shield Recharger - Arc Raiders

Moduluma - Orbiflora Lampshade Add-On

Moduluma - Prisma Petal Add-On

Moduluma - Organic Lampshade 2 Colors

Moduluma - Arboris Shade Addon

Moduluma - Florahedron Lampshade Add-On

Moduluma - Organce Lampshade One Color

Moduluma - Modular Shade Downwards

Moduluma - Modular Upward Shade

Moduluma - Lotus Shade

Moduluma Modular Vase Big

´Moduluma - Modular Vase

Moduluma - Big Spiral Vase

Moduluma - Vase Spiral

Moduluma - Small Vase

Moduluma - Big Modern Vase

Moduluma - Leaf Art Nouveau

Moduluma - Techy Leaf

Moduluma - Autumn Leaf

Moduluma - Leaf Crystal
