


Arrow's Wrist Pi #HalloWearables
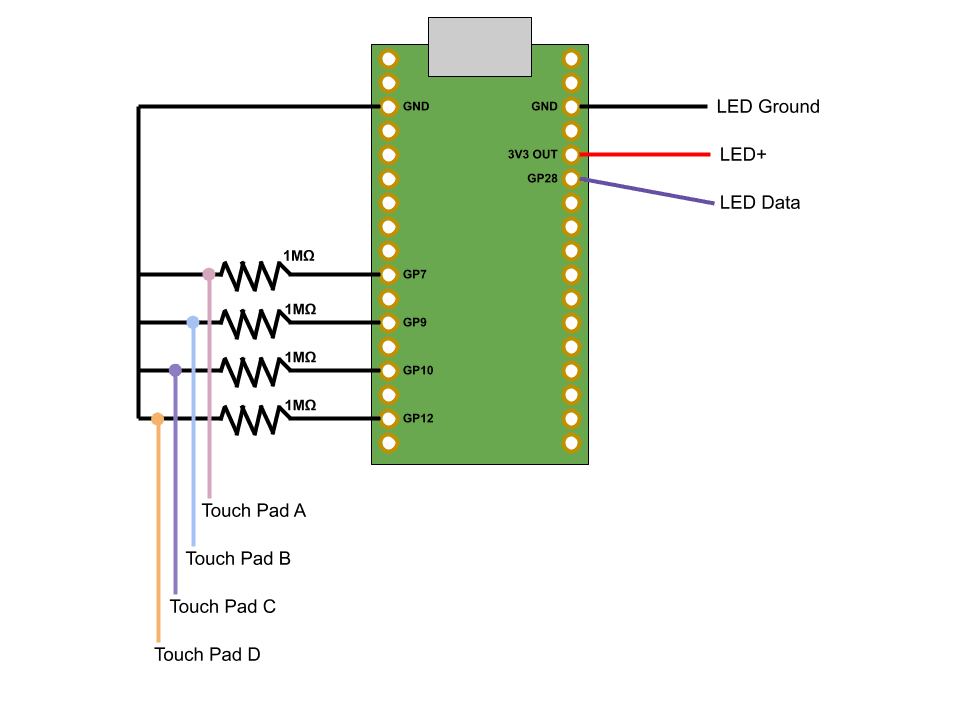
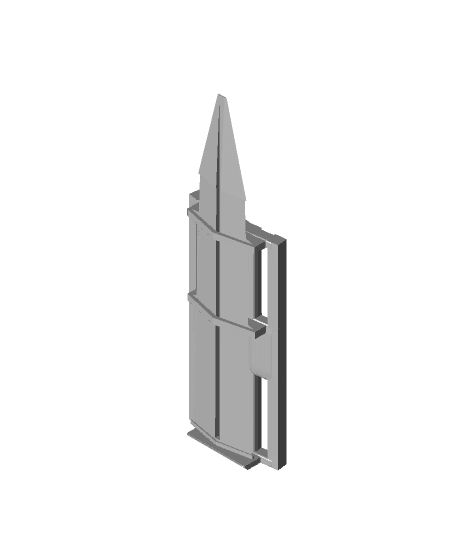
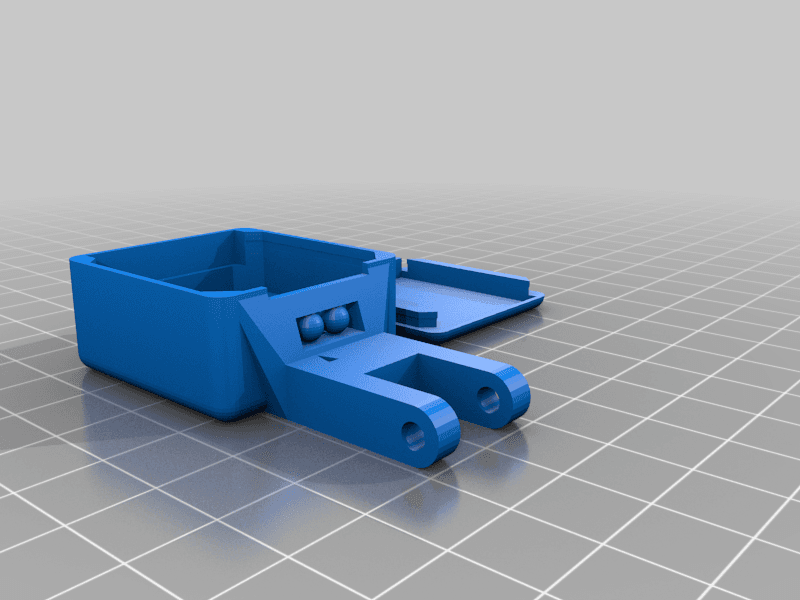
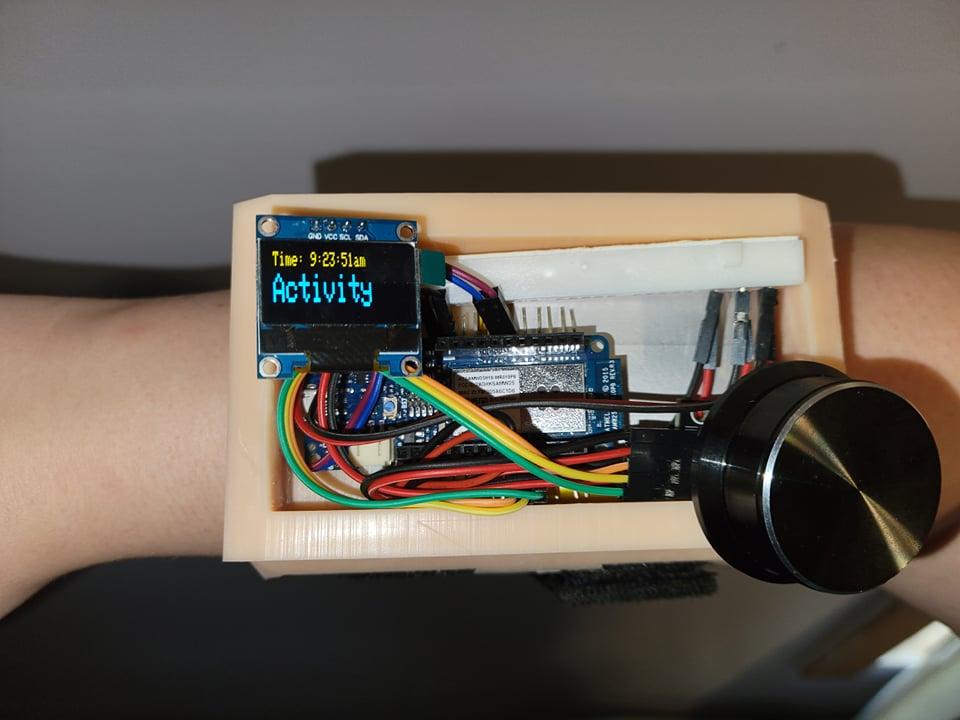
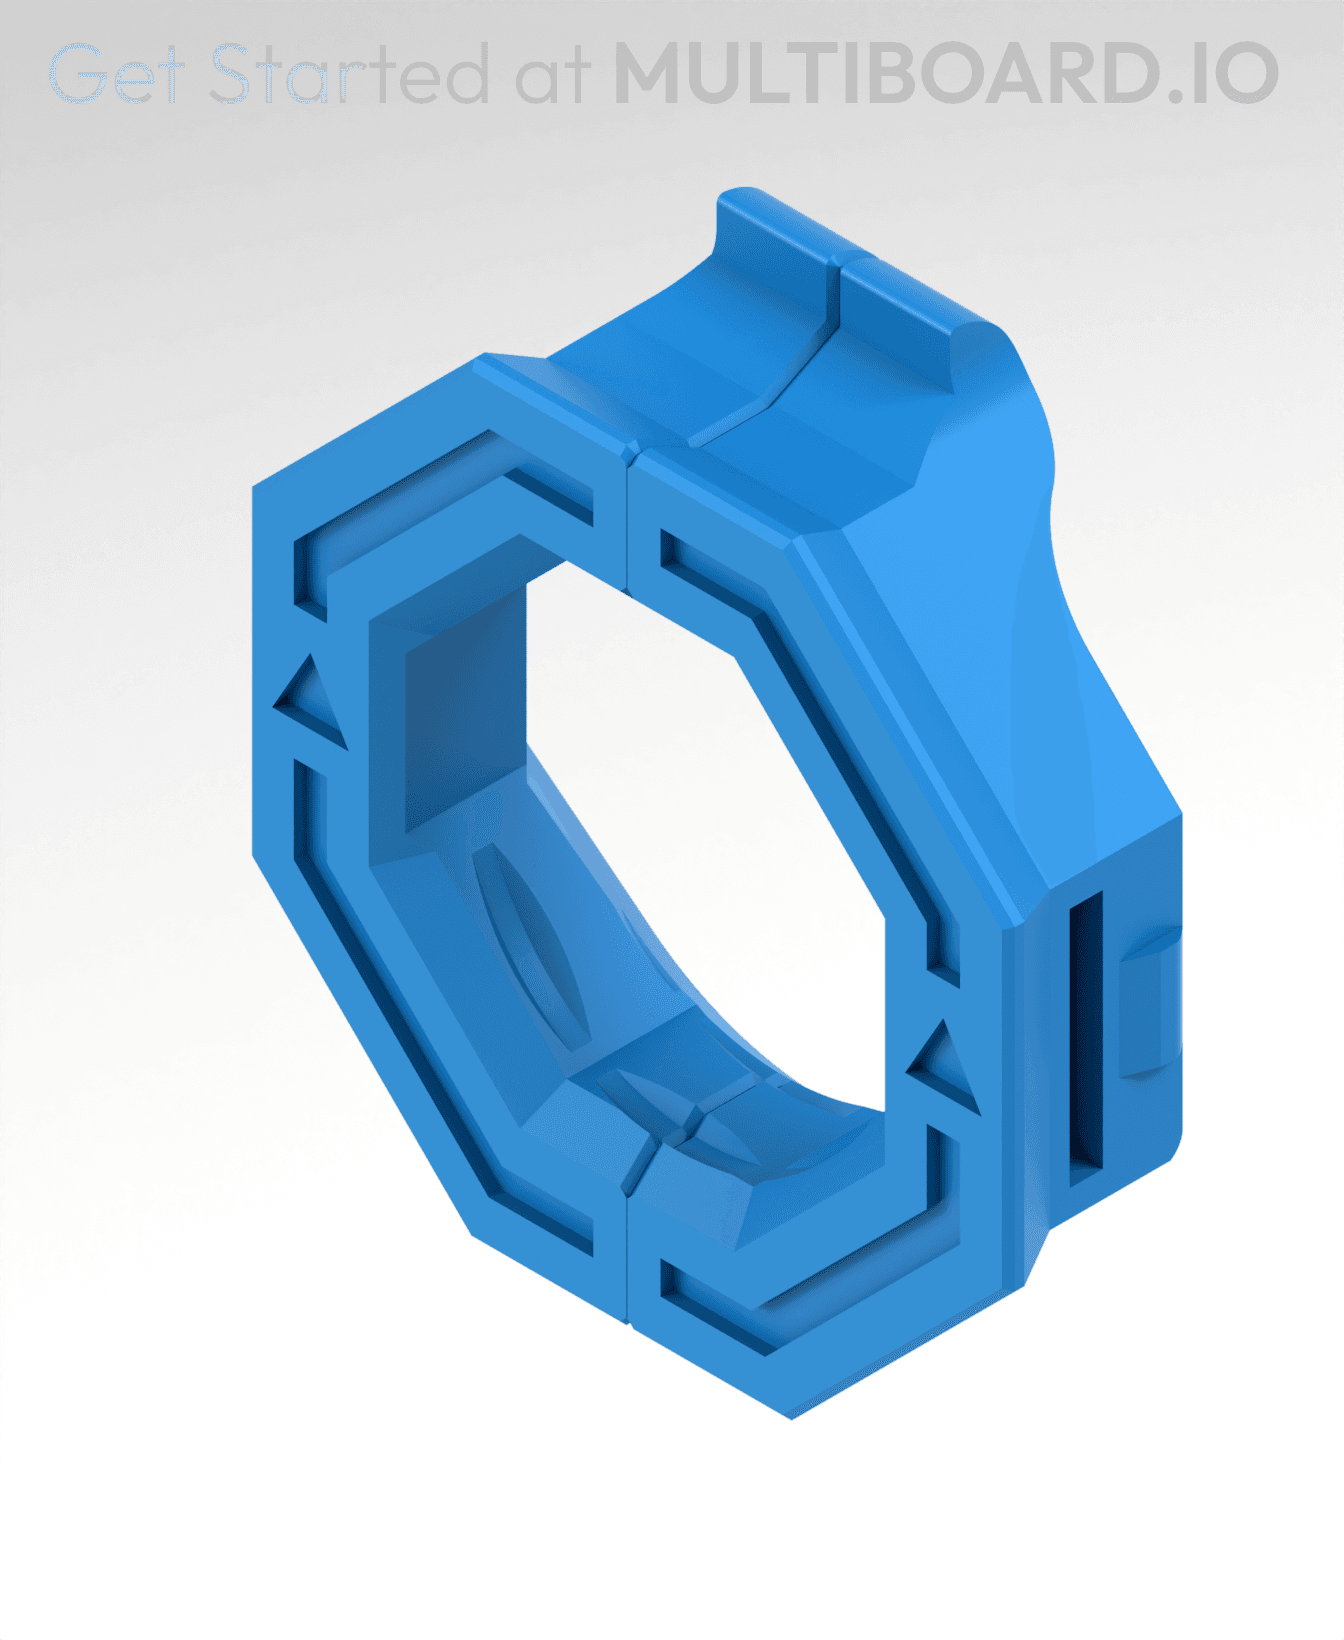
You love the Raspberry Pi and wish you could take it everywhere. Behold, McWrist PiFace Arrow’s Wrist Pi. Print and assemble this model to strap the Pi directly to your arm and feel its warm embrace as the Pi converts power into waste heat. This case is provisioned for a screen which attaches directly to the GPIO header for a compact fit! Gaze deep into the arrow imprinted in the side of the model and subtly be influenced by it. You like this wearable. It could be because the arrow is an upvote, but it is more likely that you envision yourself playing DOOM on your arm. Upon craning your neck trying to play, you realize it doesn’t go as well as you had hoped. But at least you have a cool gimmick to show all your friends! It may also be used on your wrist as a handy device in post-apocalyptic life.
Be sure to check out the Build Instructions.
I made a really quick video with no sound if you want to see what the final build looks like.
Bill of materials
- Raspberry Pi 4 Model B
- Micro SD Card
- Keyboard (I use a Logitech K400 Plus)
- USB power bank with 5V and 3A or more output: I use https://www.amazon.com/gp/product/B07H6LB4J4
- USB C cable
- LCD display: https://www.amazon.com/gp/product/B07L1215W5 (I used and recommend rev C. Rev B should work too, but I did not test this)
- 10x M2x8mm self-tapping screws: https://www.amazon.com/gp/product/B00YBMRAH4
- 2x 1mm x 77mm round rod: https://www.amazon.com/gp/product/B082ZNWQ5Q Cut to 77mm easily with a handheld rotary tool and cutting wheel. Rods greater than 77mm will not fit. 76-77mm should be fine. Check your cut rods with a caliper. Be sure to deburr your rods if necessary.
- (Optional) Heatsinks for Raspberry Pi 4: https://www.amazon.com/gp/product/B07VPP642H (or similar)
- (Optional) Gamepad
#HalloWearables
Arrow's Wrist Pi #HalloWearables
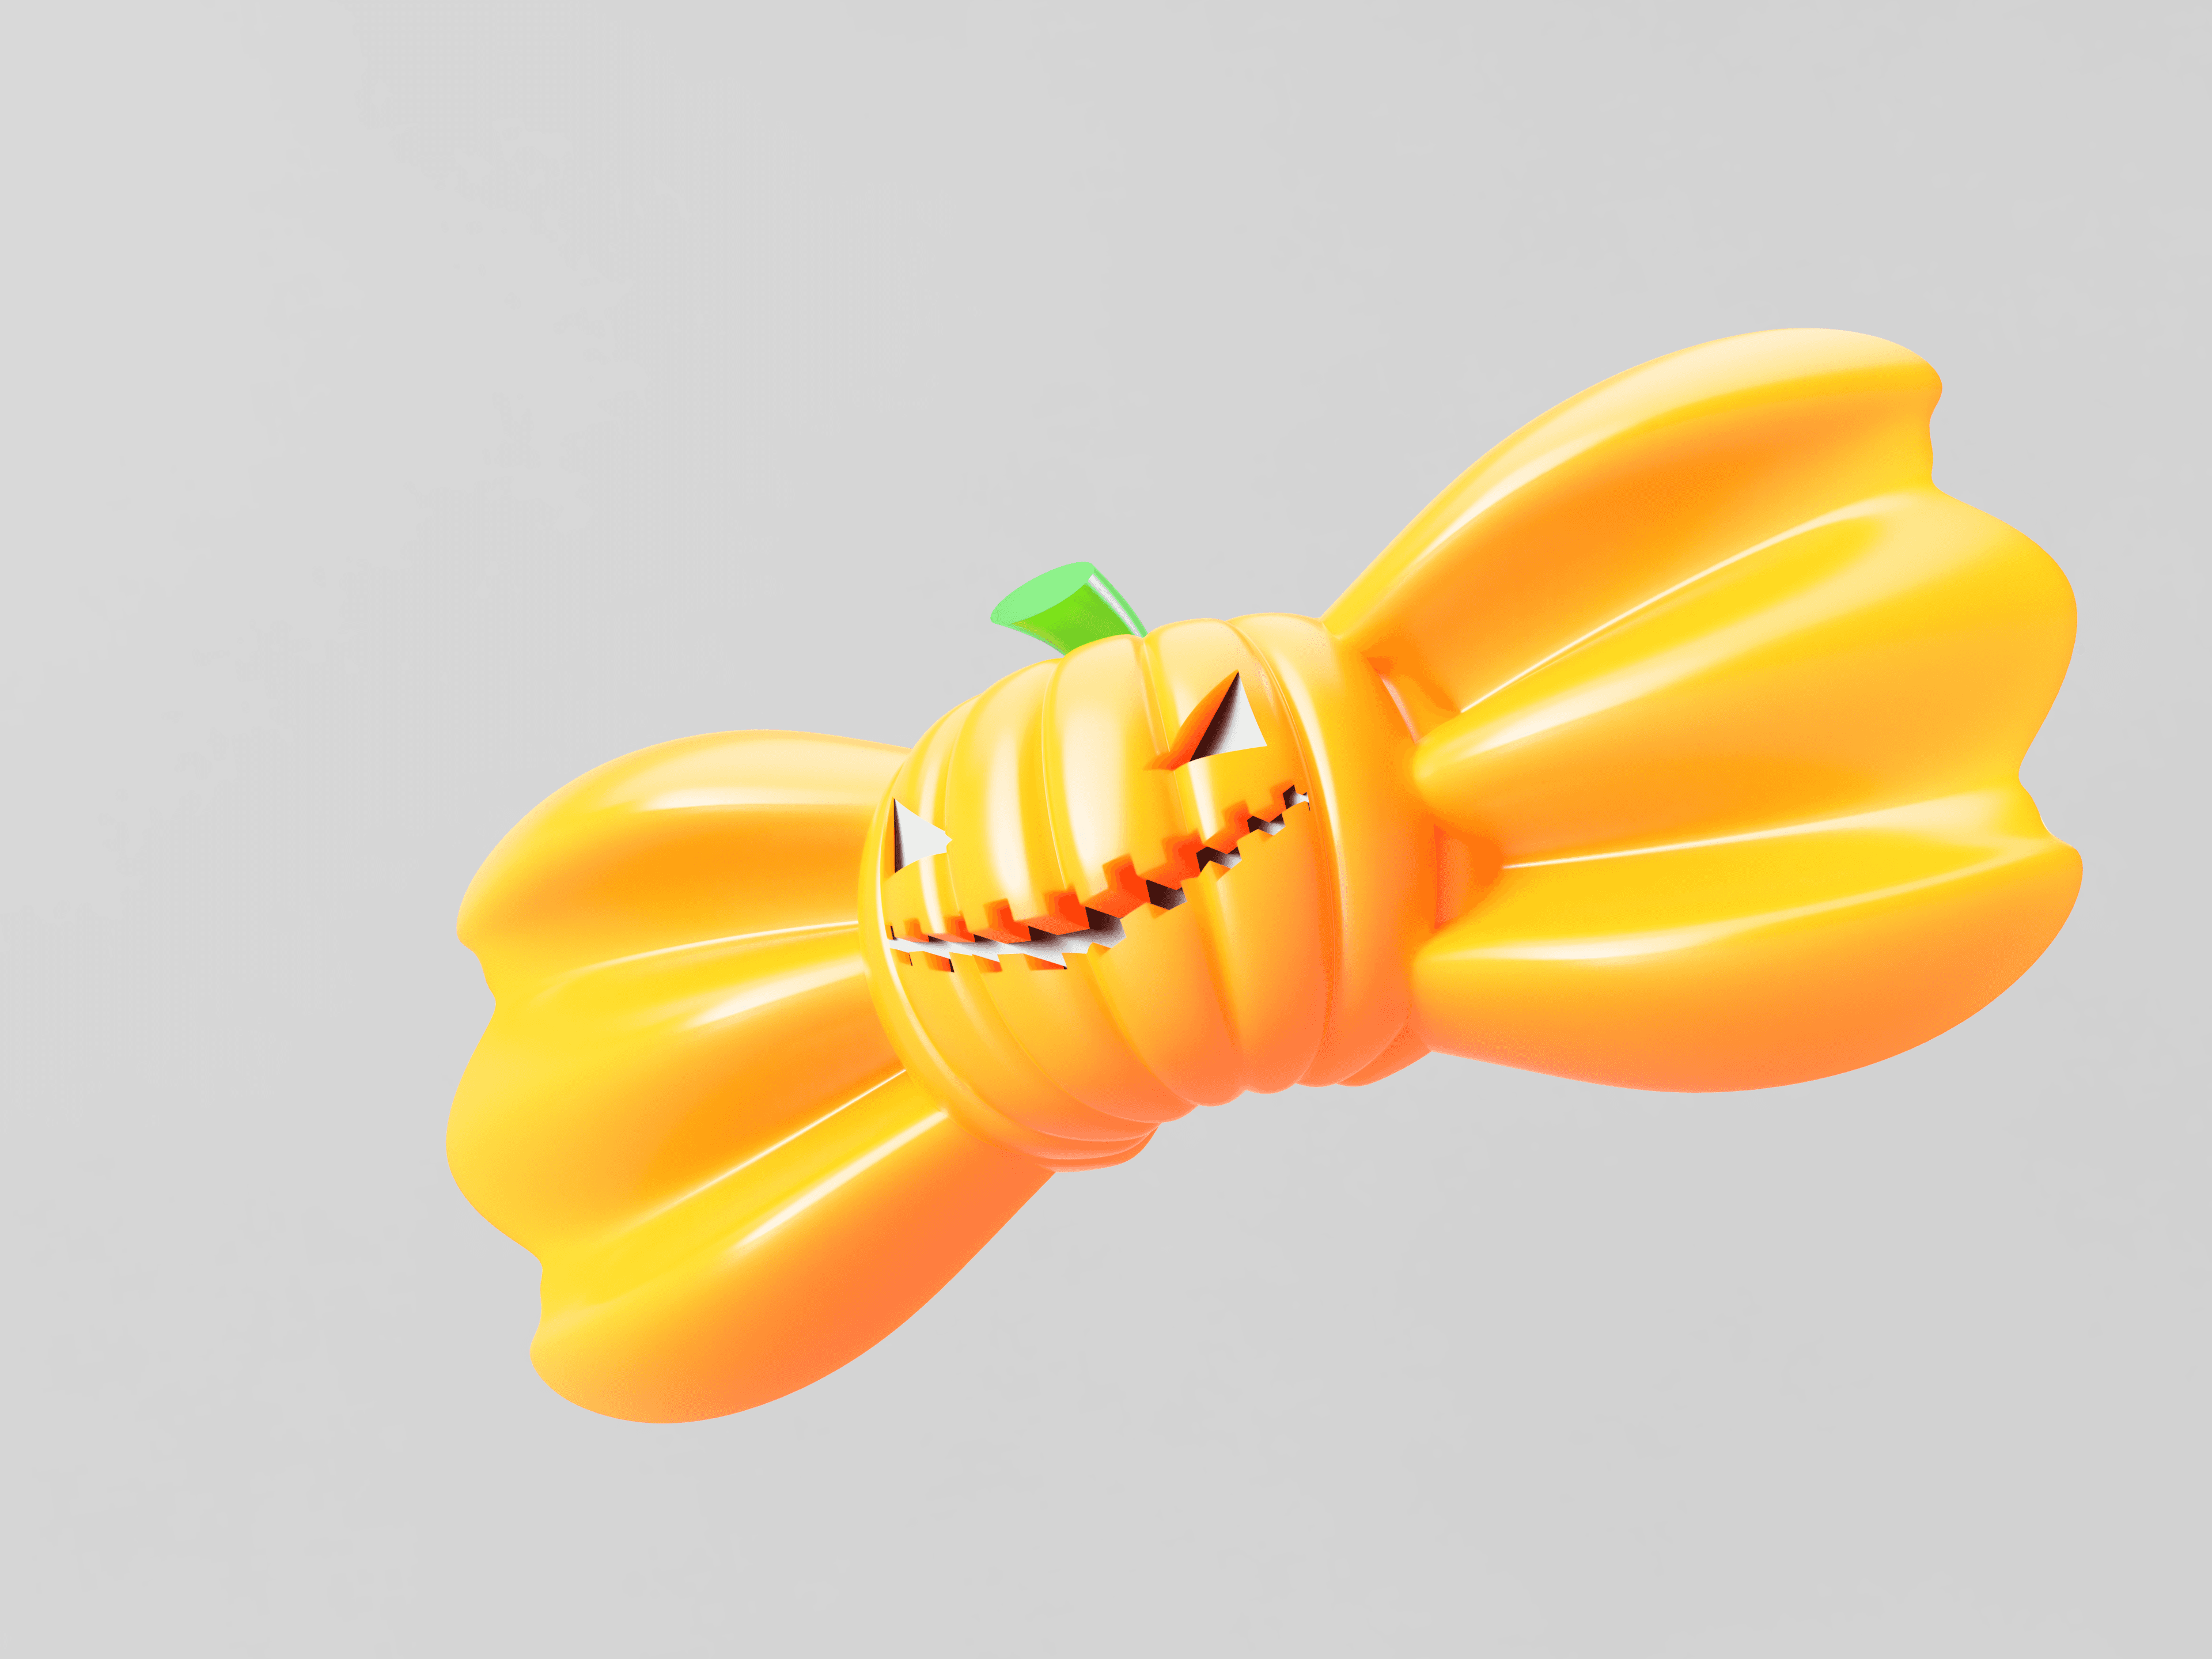
PUMPKIN BOWTIE (VERSION 1)

PUMPKIN BOWTIE (VERSION 2)
roLED Addressable RGB Wristband #hallowearable #hallowearables
Wrist mounted bottle cap launcher
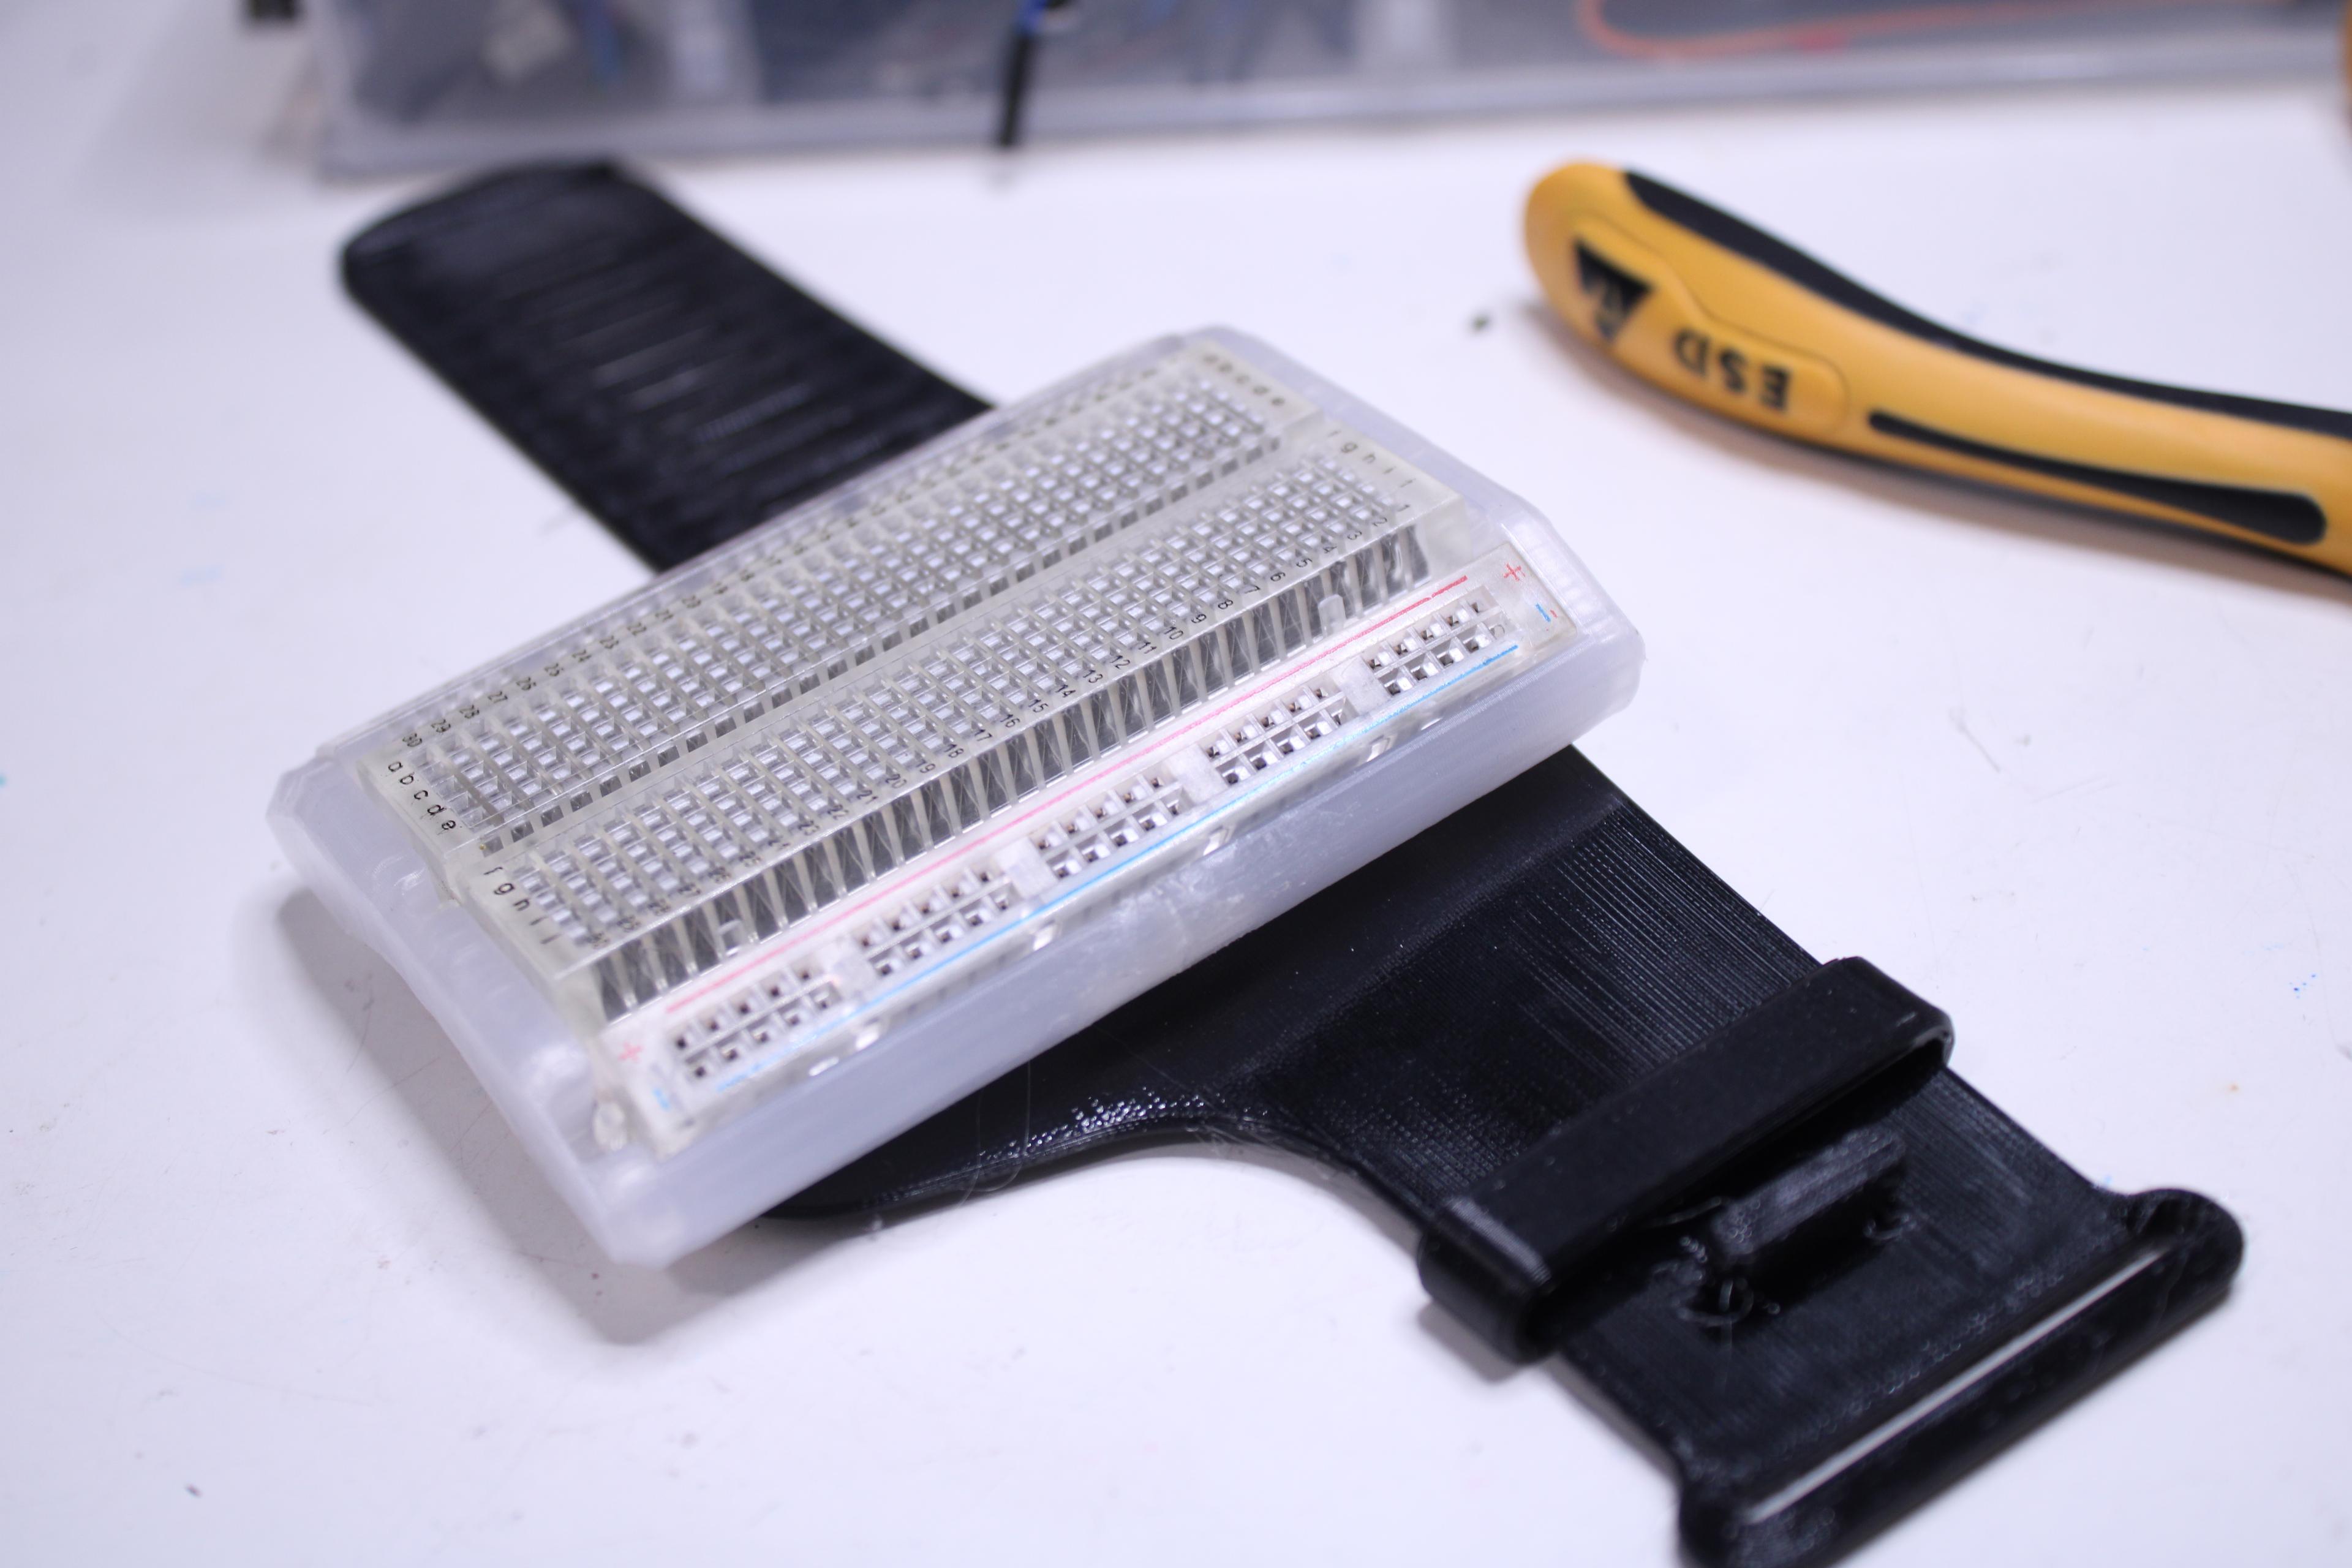
WearaBreadboard - Breadboard On Your Wrist
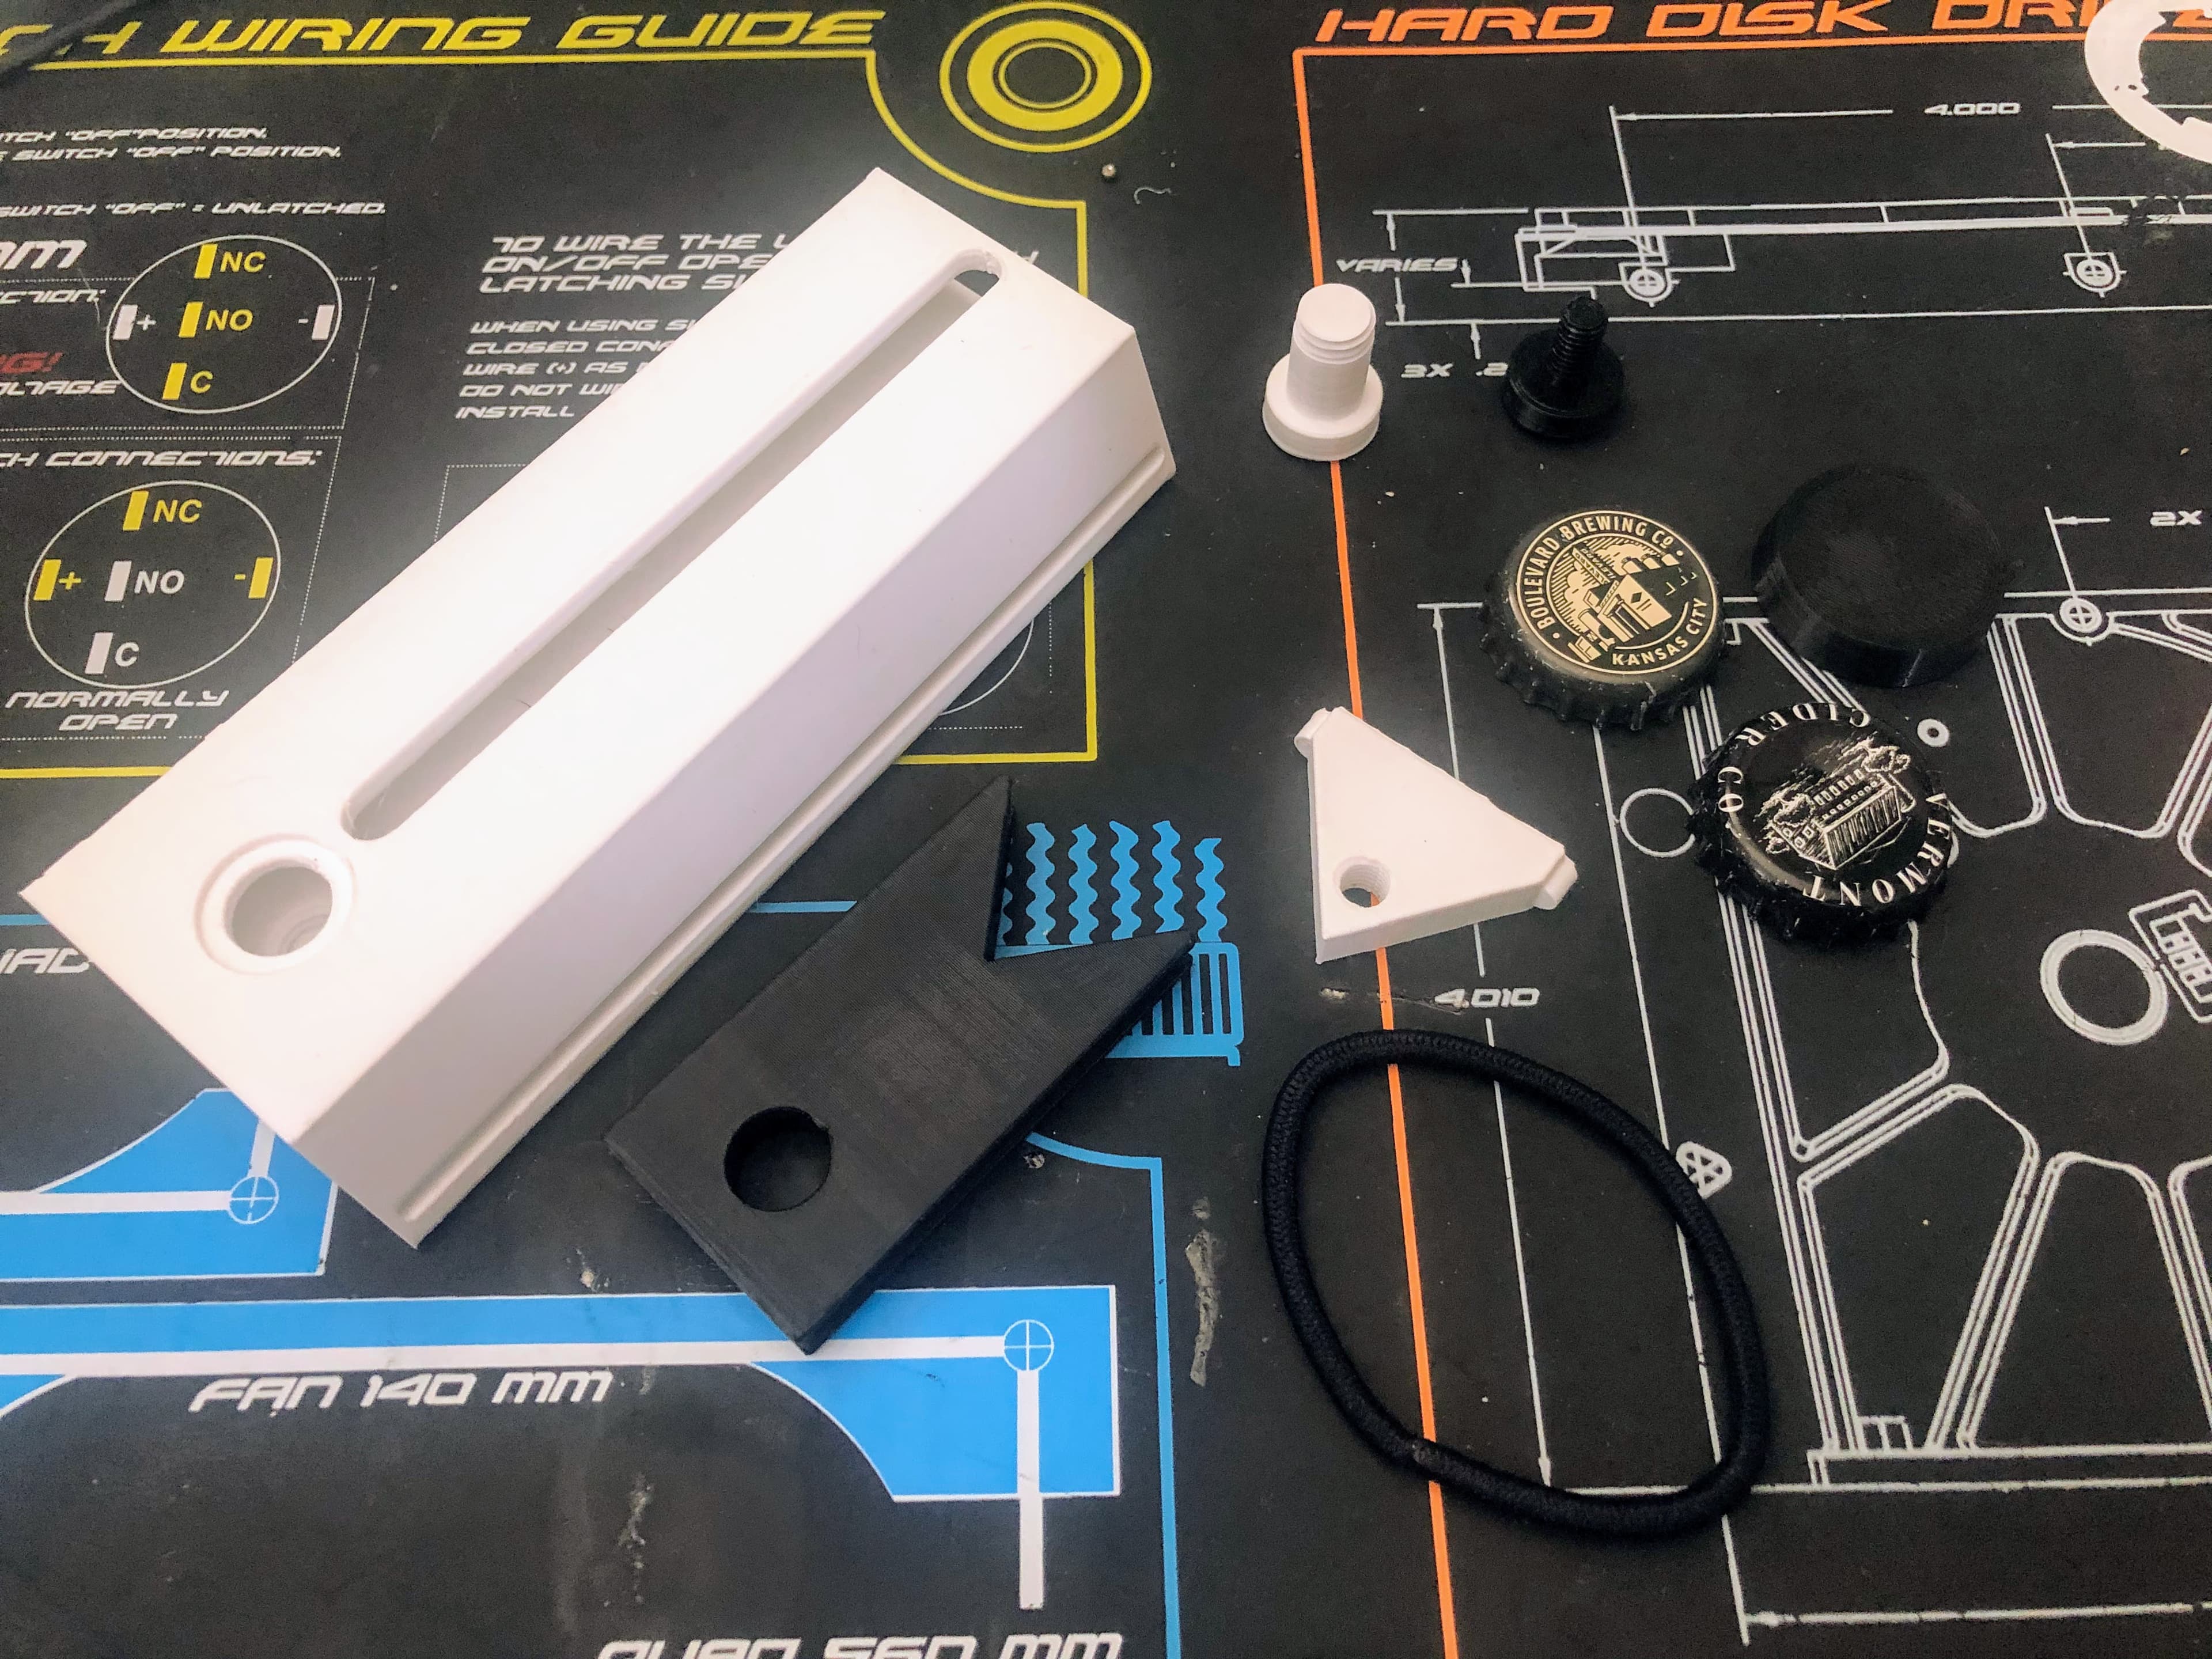
Flick out knife.stl
Bright Pi Camera Case
Wrist-Mounted Computer Housing v0.6
.png&w=3840&q=75)
Voidstar Data Blaster Mk1
The Sideclick! A wearable monitor for your furry sidekick!
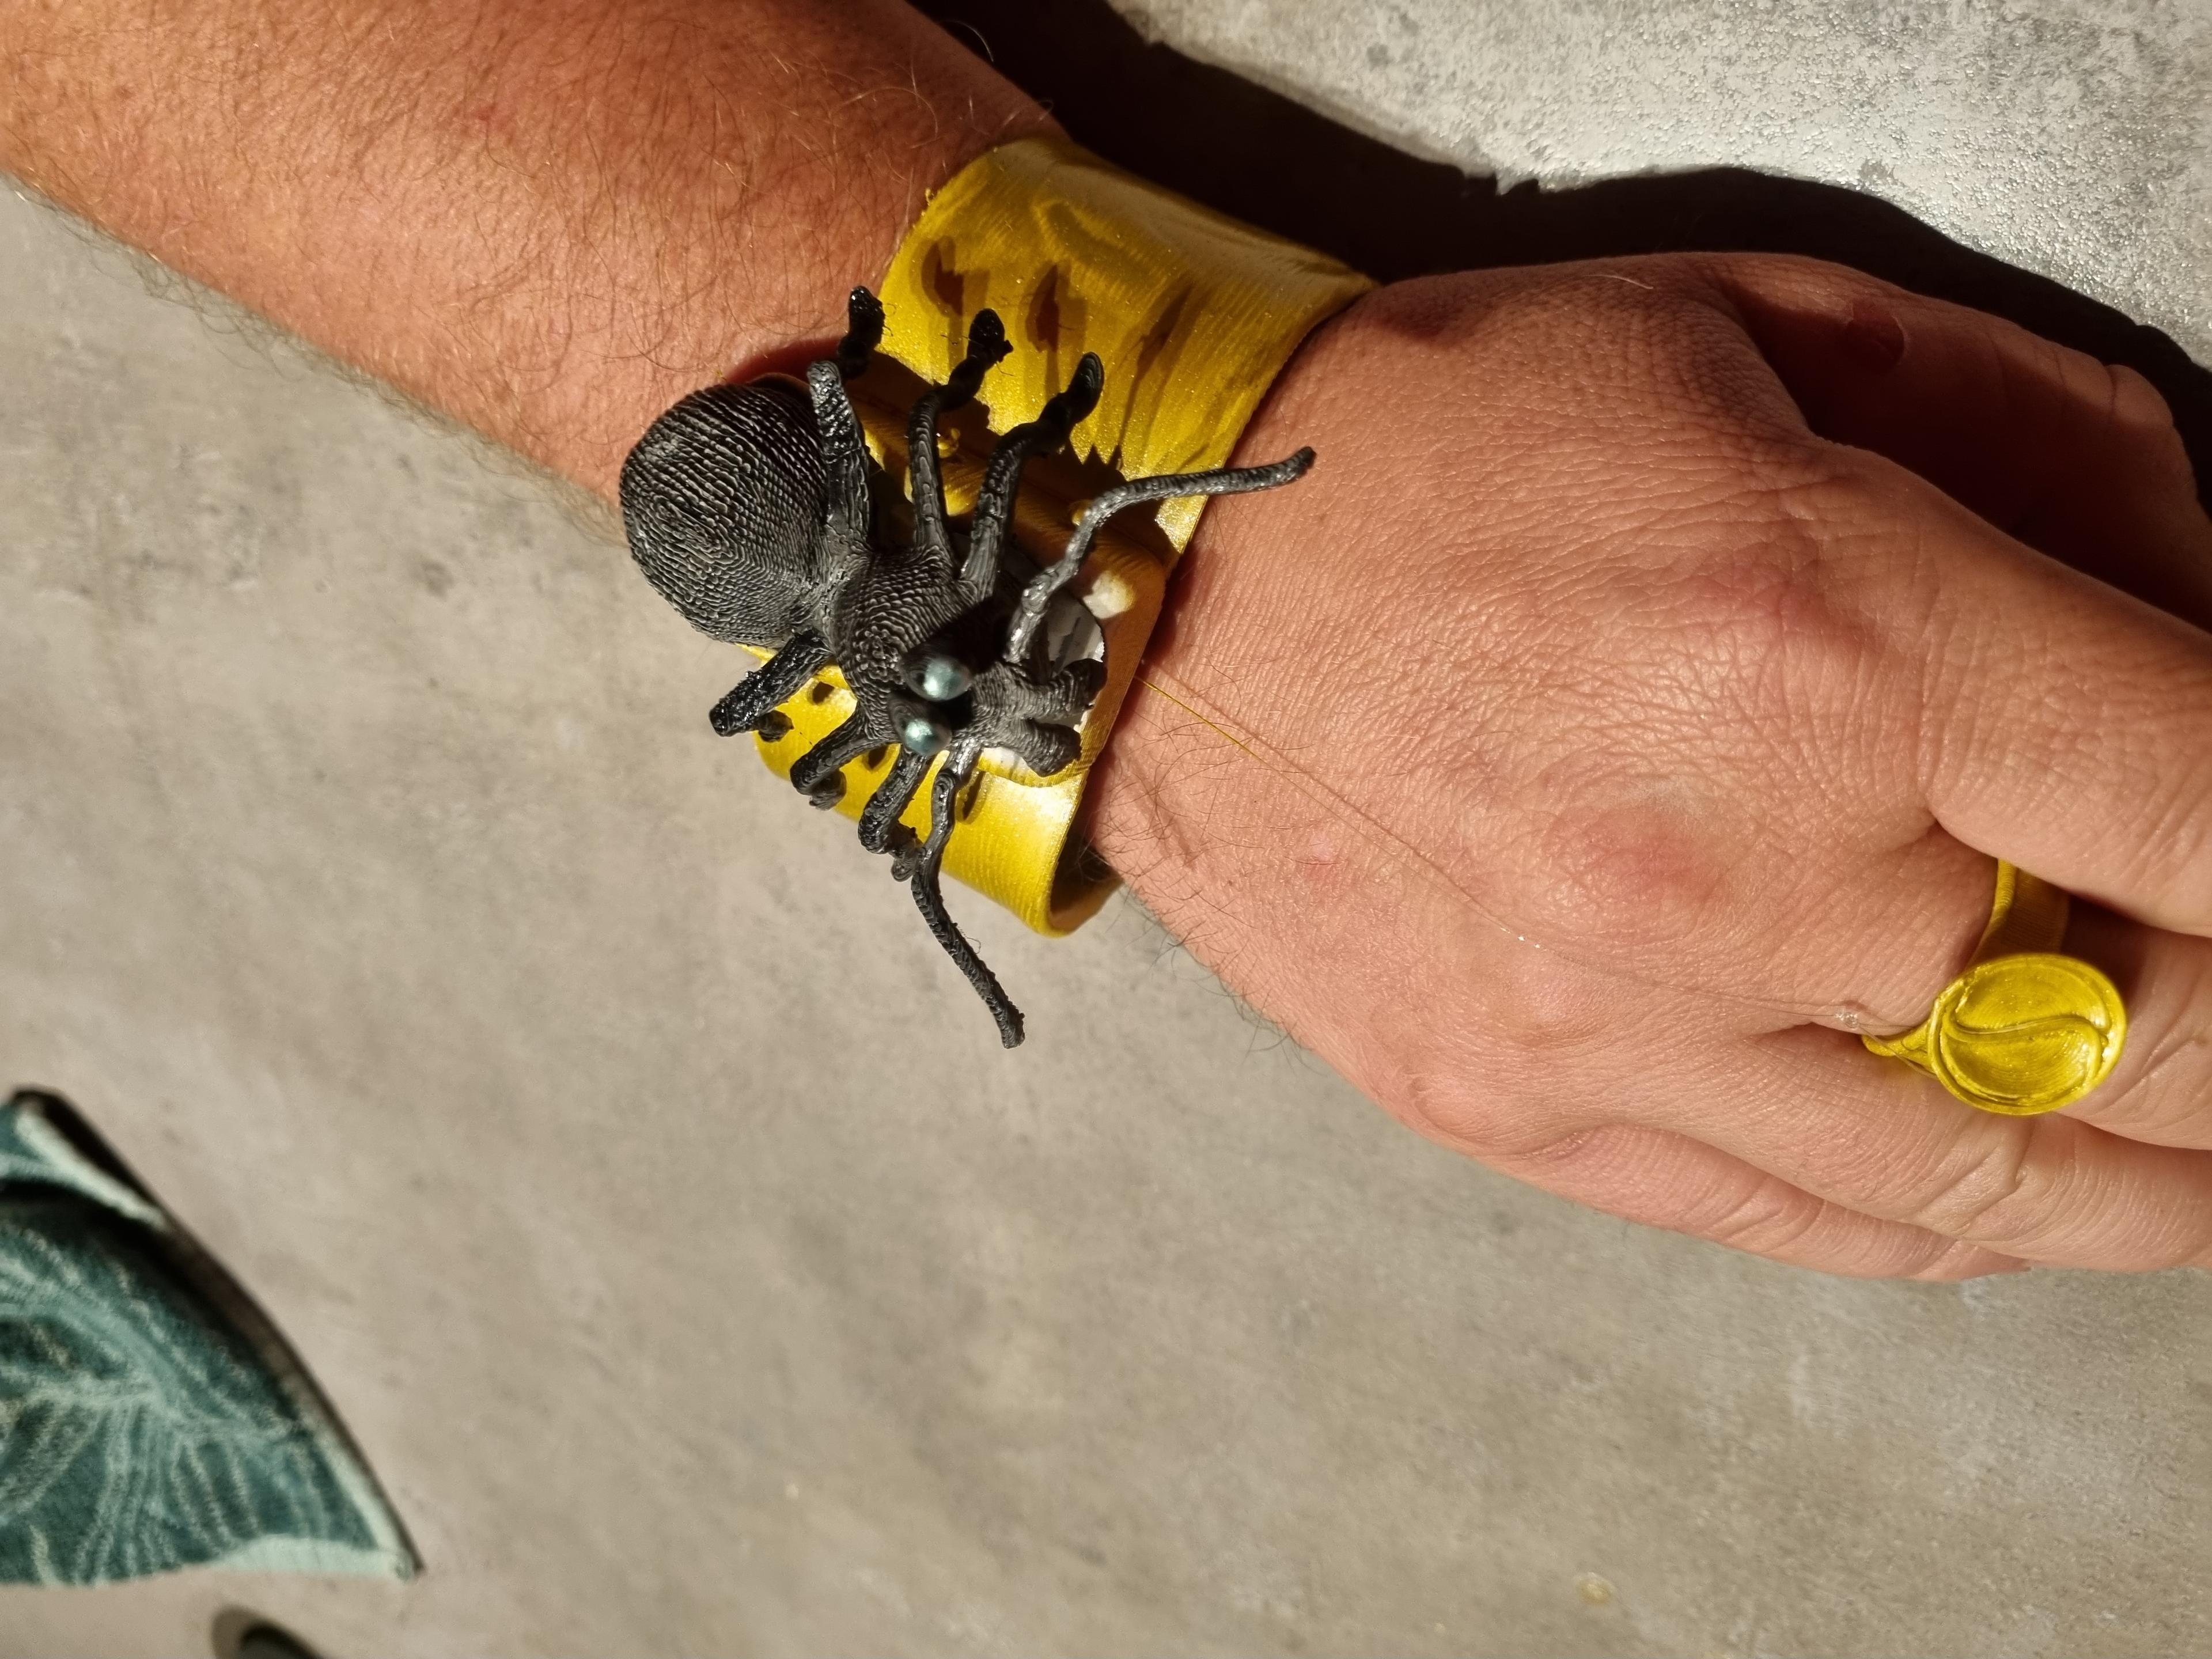
spider v61 #hallowearable .stl
#HalloWearables #HalloWearable Customizable ChainedGhost
Jerk Juice: Wearable Kinetic Energy Generator for #HalloWearables

Suspicious (sussy!??!?!??) Looking Step Tracker #HalloWearables #HalloWearable

Raised Moderate Weight-Bearing Snap

Moderate Weight-Bearing Snap
Raised Heavy Weight-Bearing Hook Snap
Heavy Weight-Bearing Hook Snap
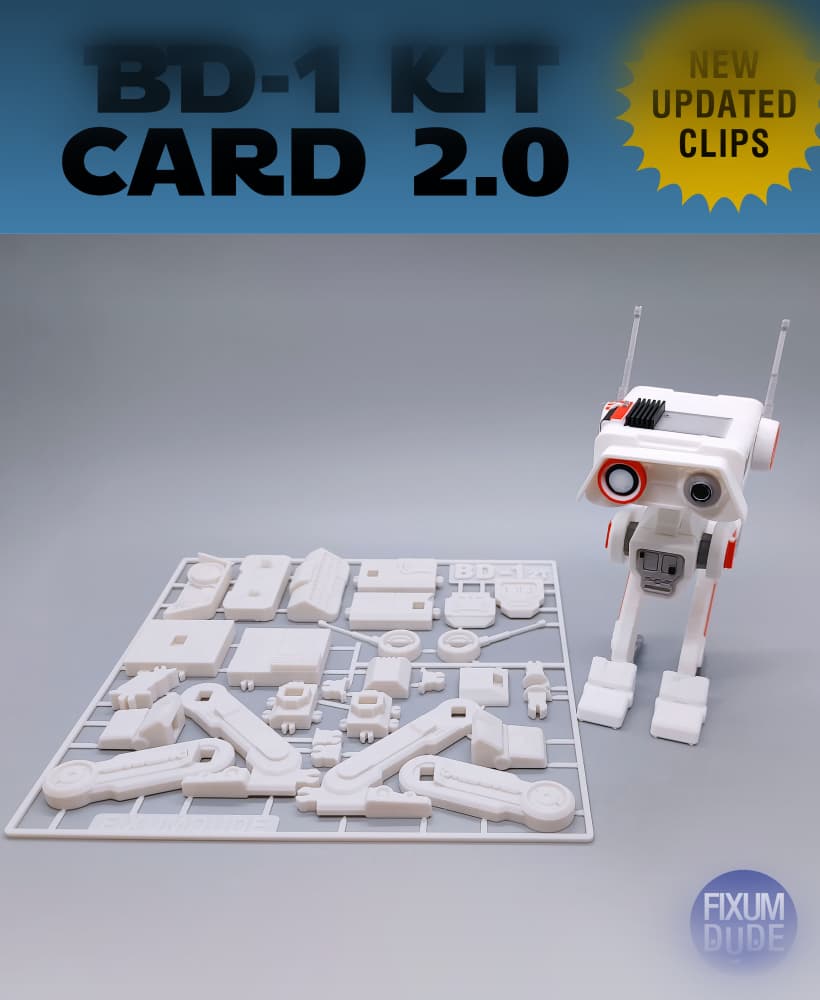
BD-1 Droid Kit Card 2.0

Hey, do you have the CAD file for this? I would like to make a revision that adds space for a battery bank.
Okay, thanks for the reply!
Also, I do have good news, I managed to order one for a reasonable price today! Meaning once I get the whole thing printed and assembled, I'll send a pic of the finished product! Any recommendations or tips for once I get it assembled? (i.e. programs to download or troubleshooting tips)
Unfortunately the screen lists only the Pi 4th gen as supported. I am not entirely sure if the 3rd gen would not work. Physically the parts would almost fit the 3rd gen but the port holes are for the 4th gen.
I have a question, are there any other models of the Rasberry Pi that would be compatible with this? Because the Pi 4B is nearly impossible to find nowadays, unless I want to fork over hundreds which I don't -_-
Amazing project though, can't wait for when all my parts get printed!
This is close to my entry... But so much better I would never complain, great job!