


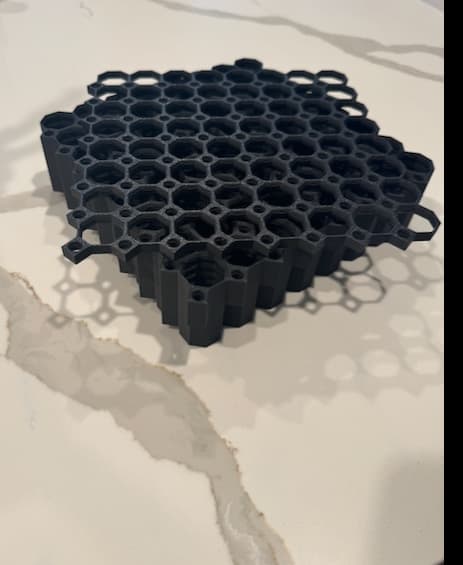
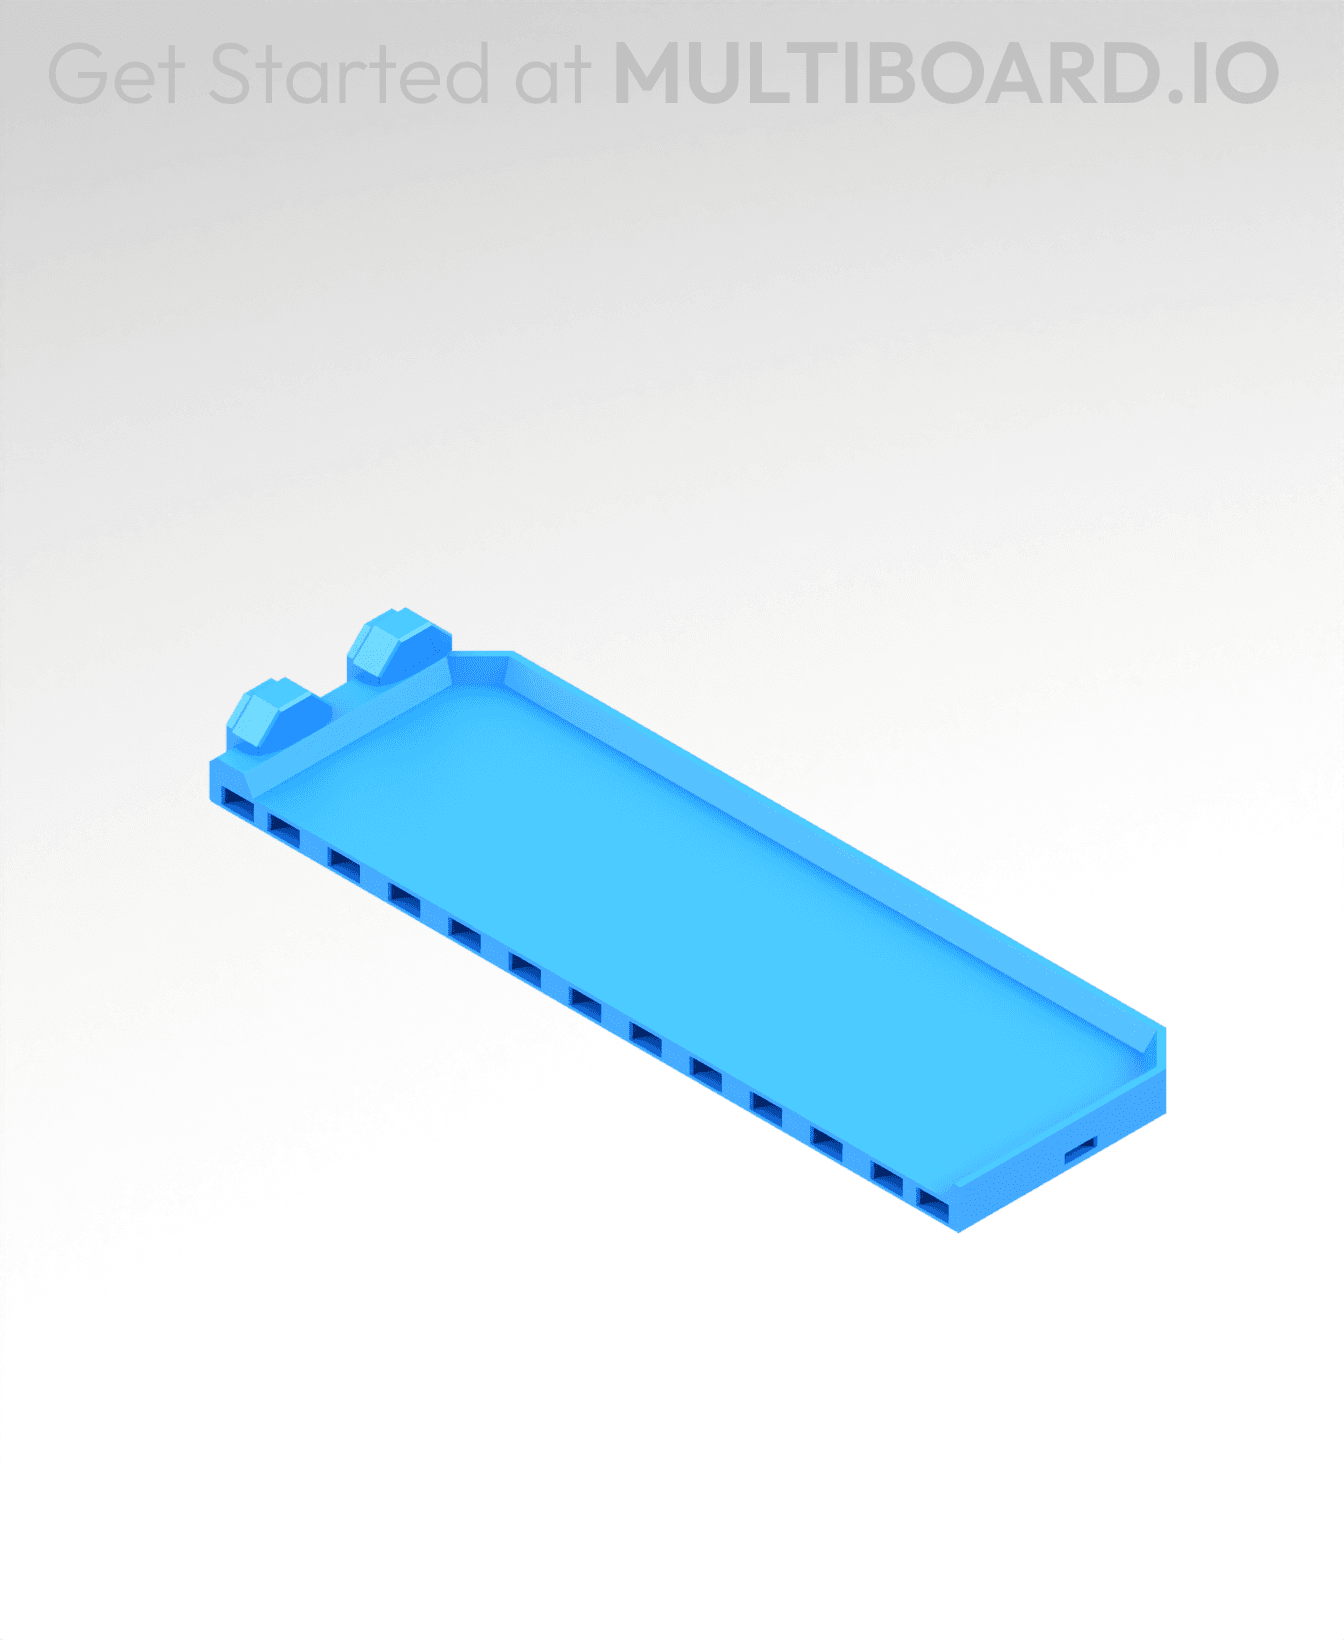
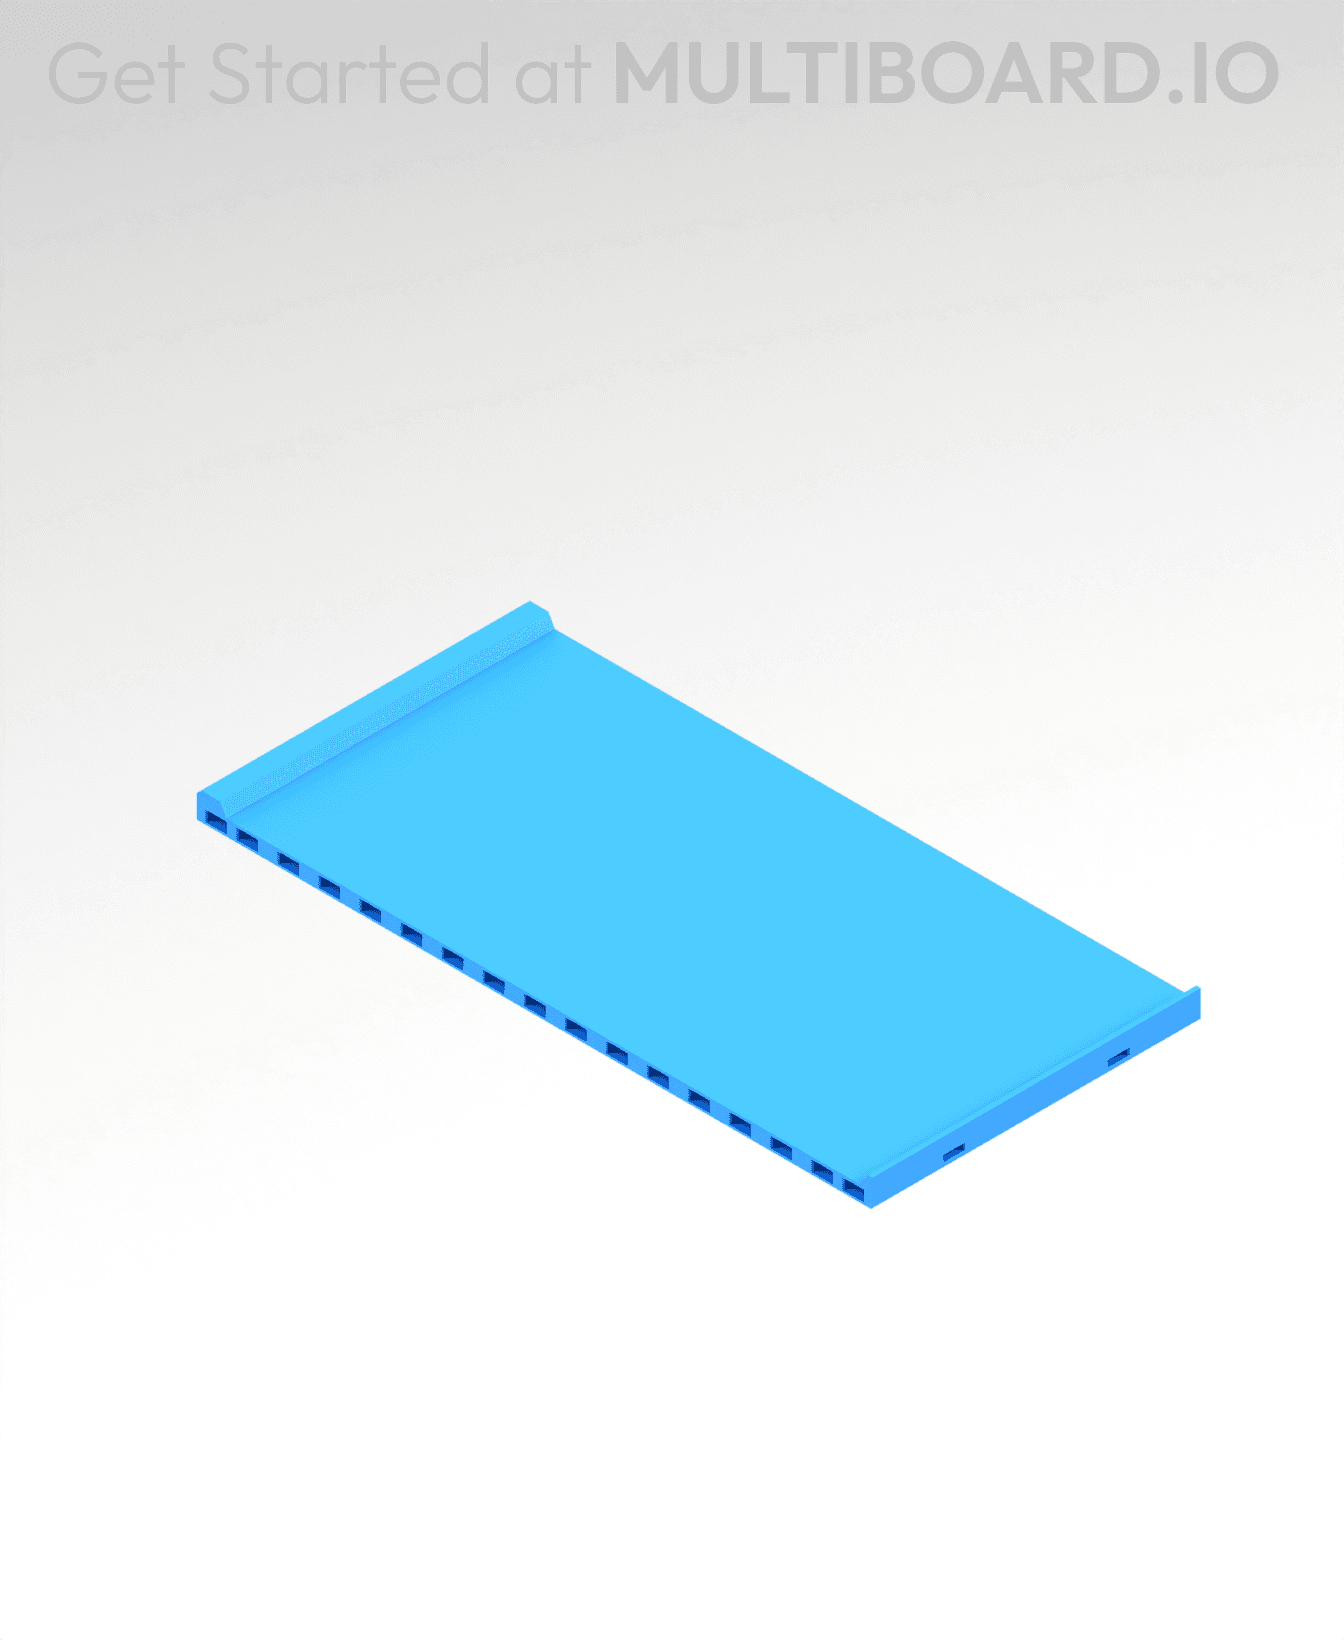
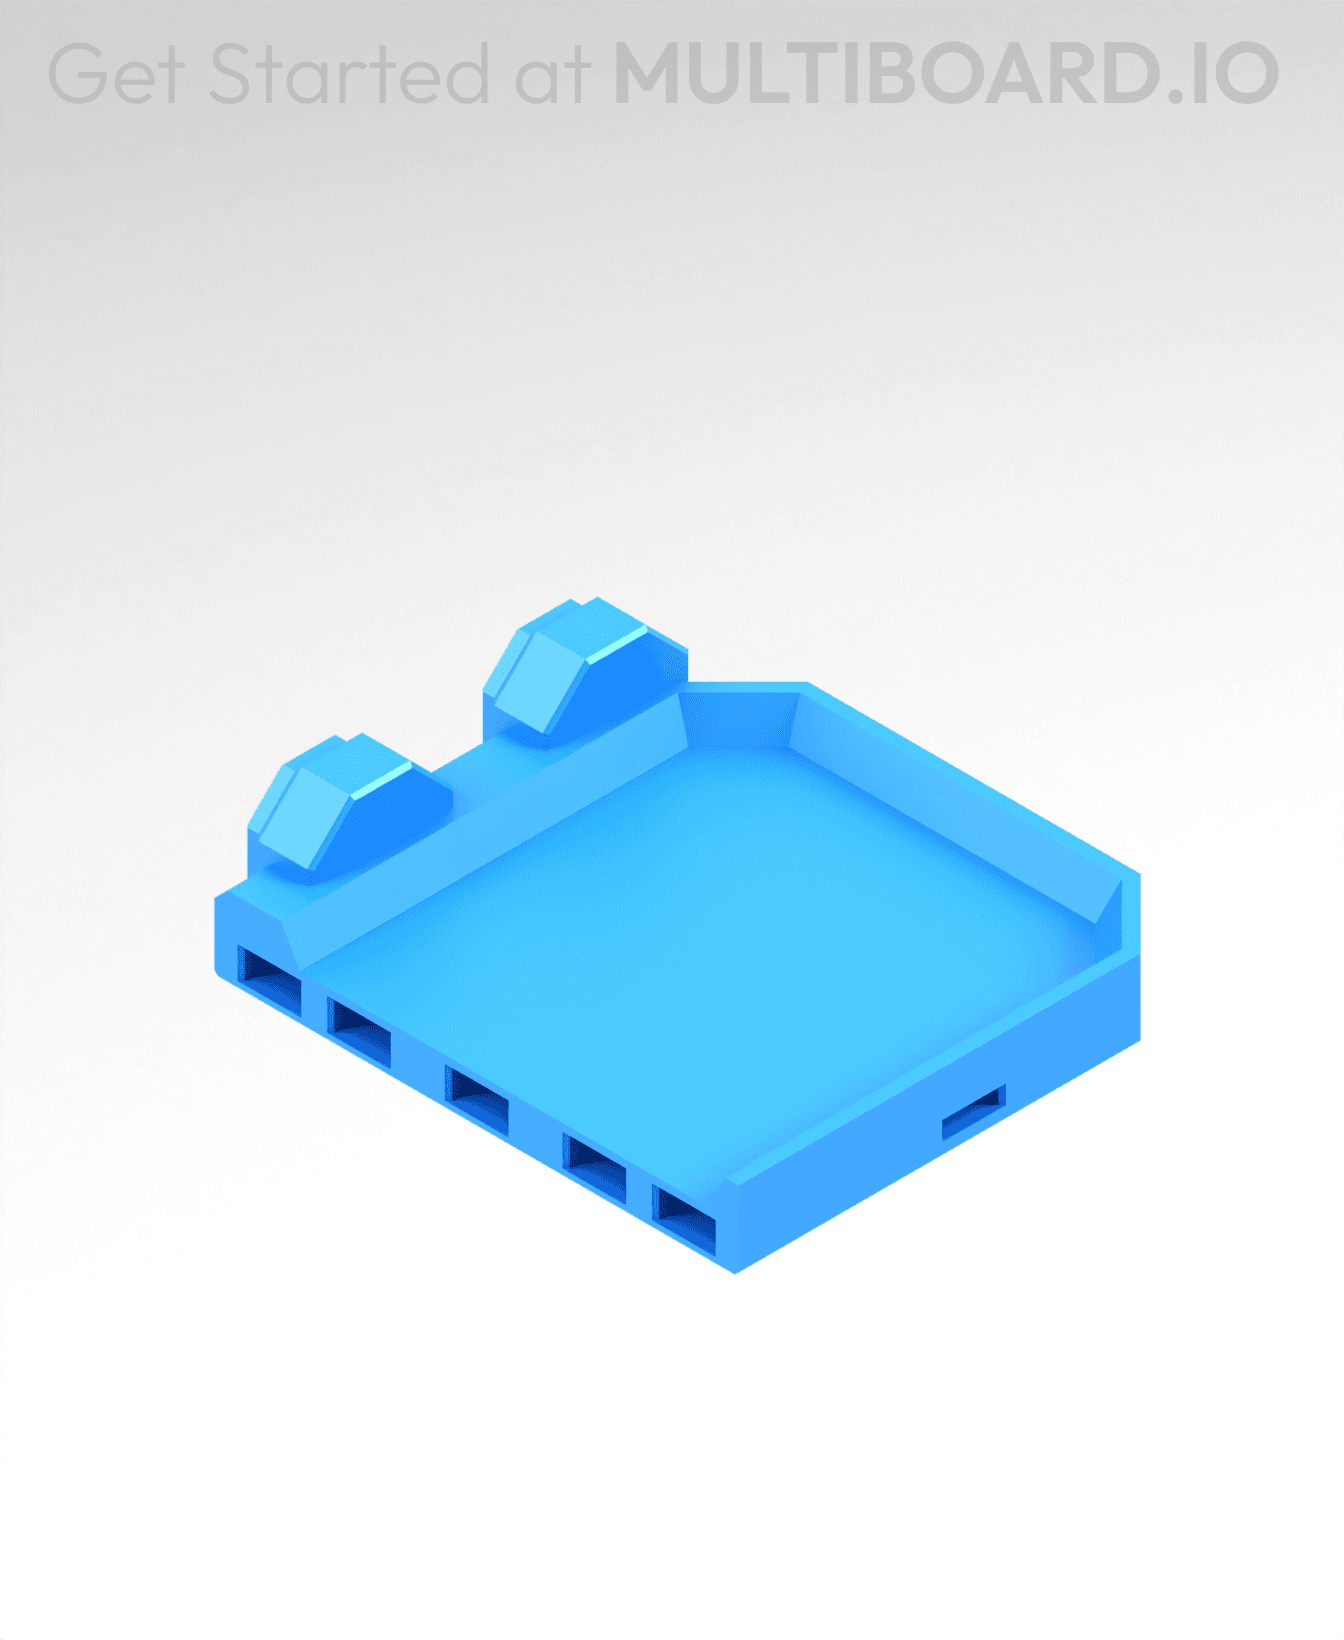
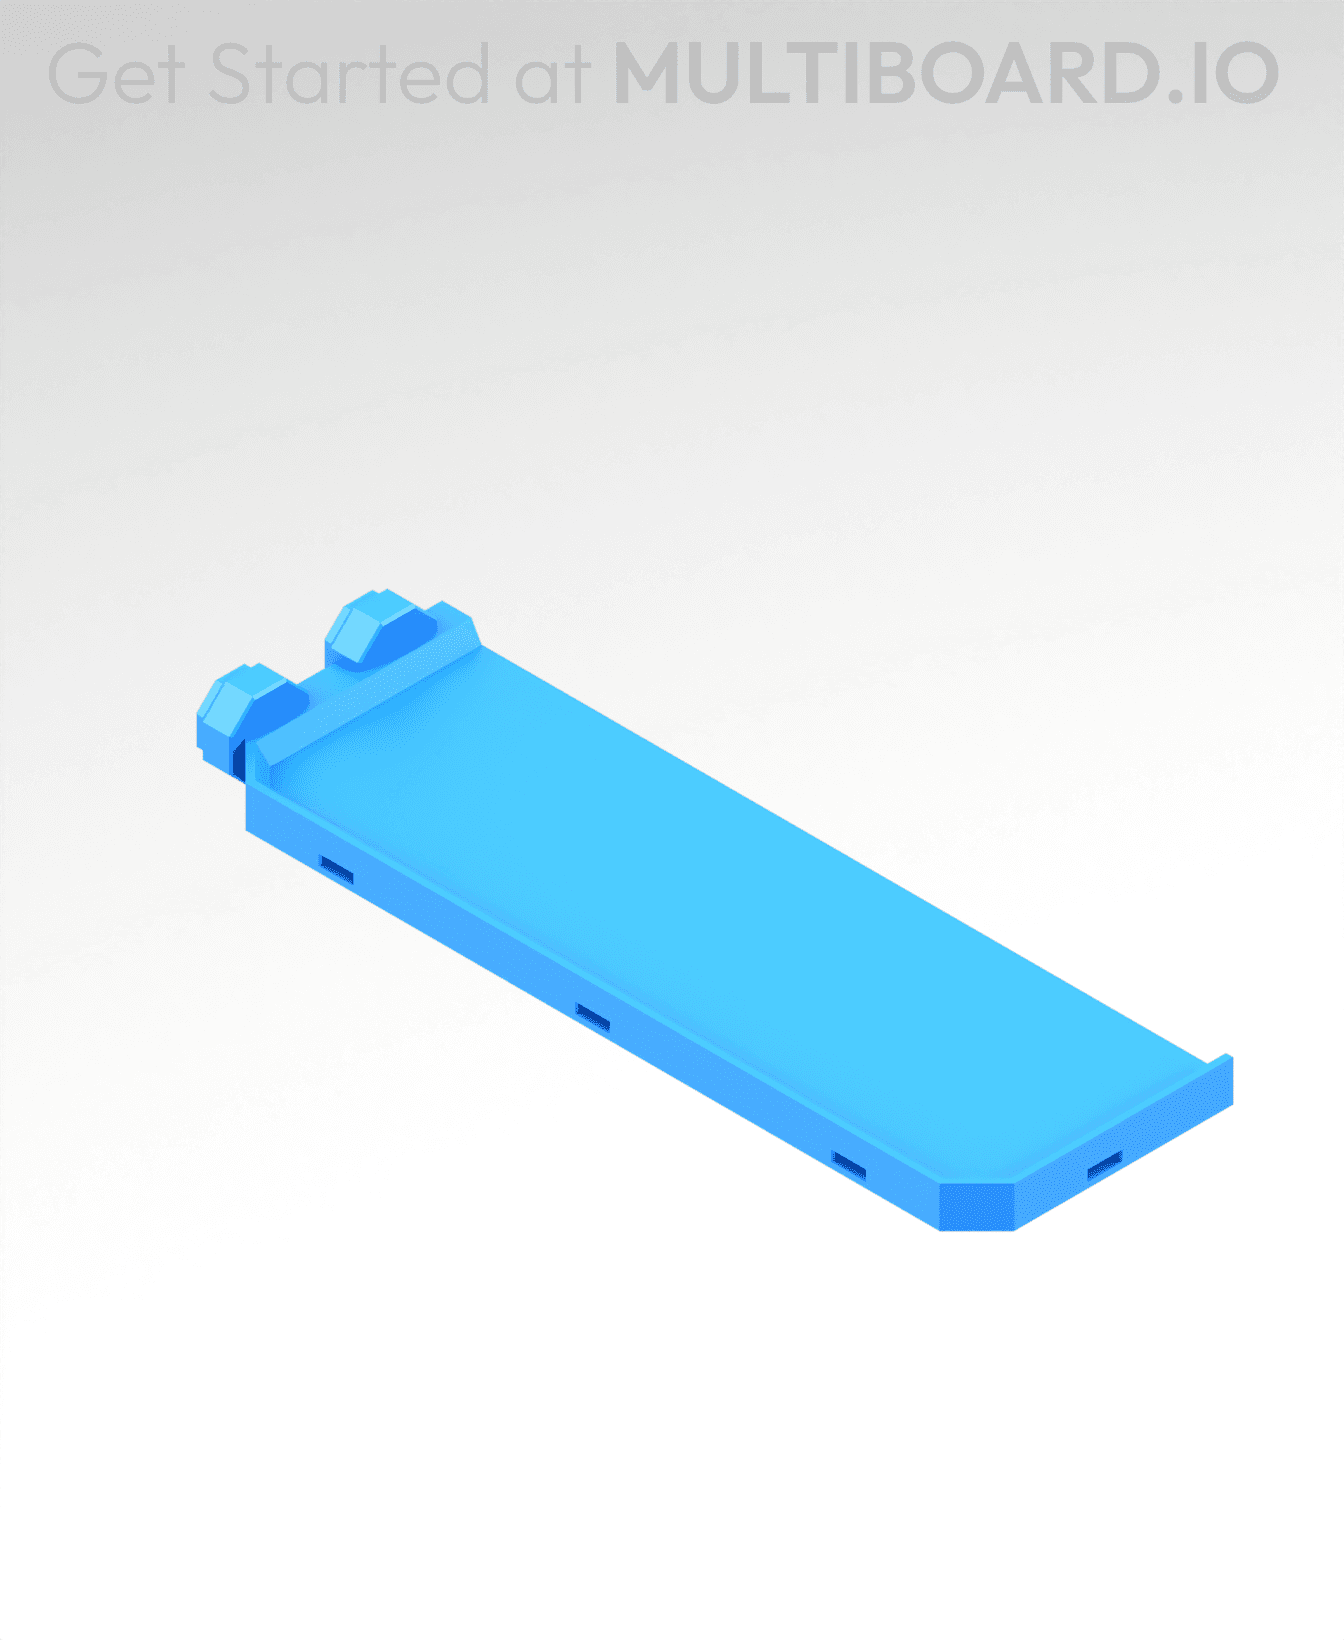
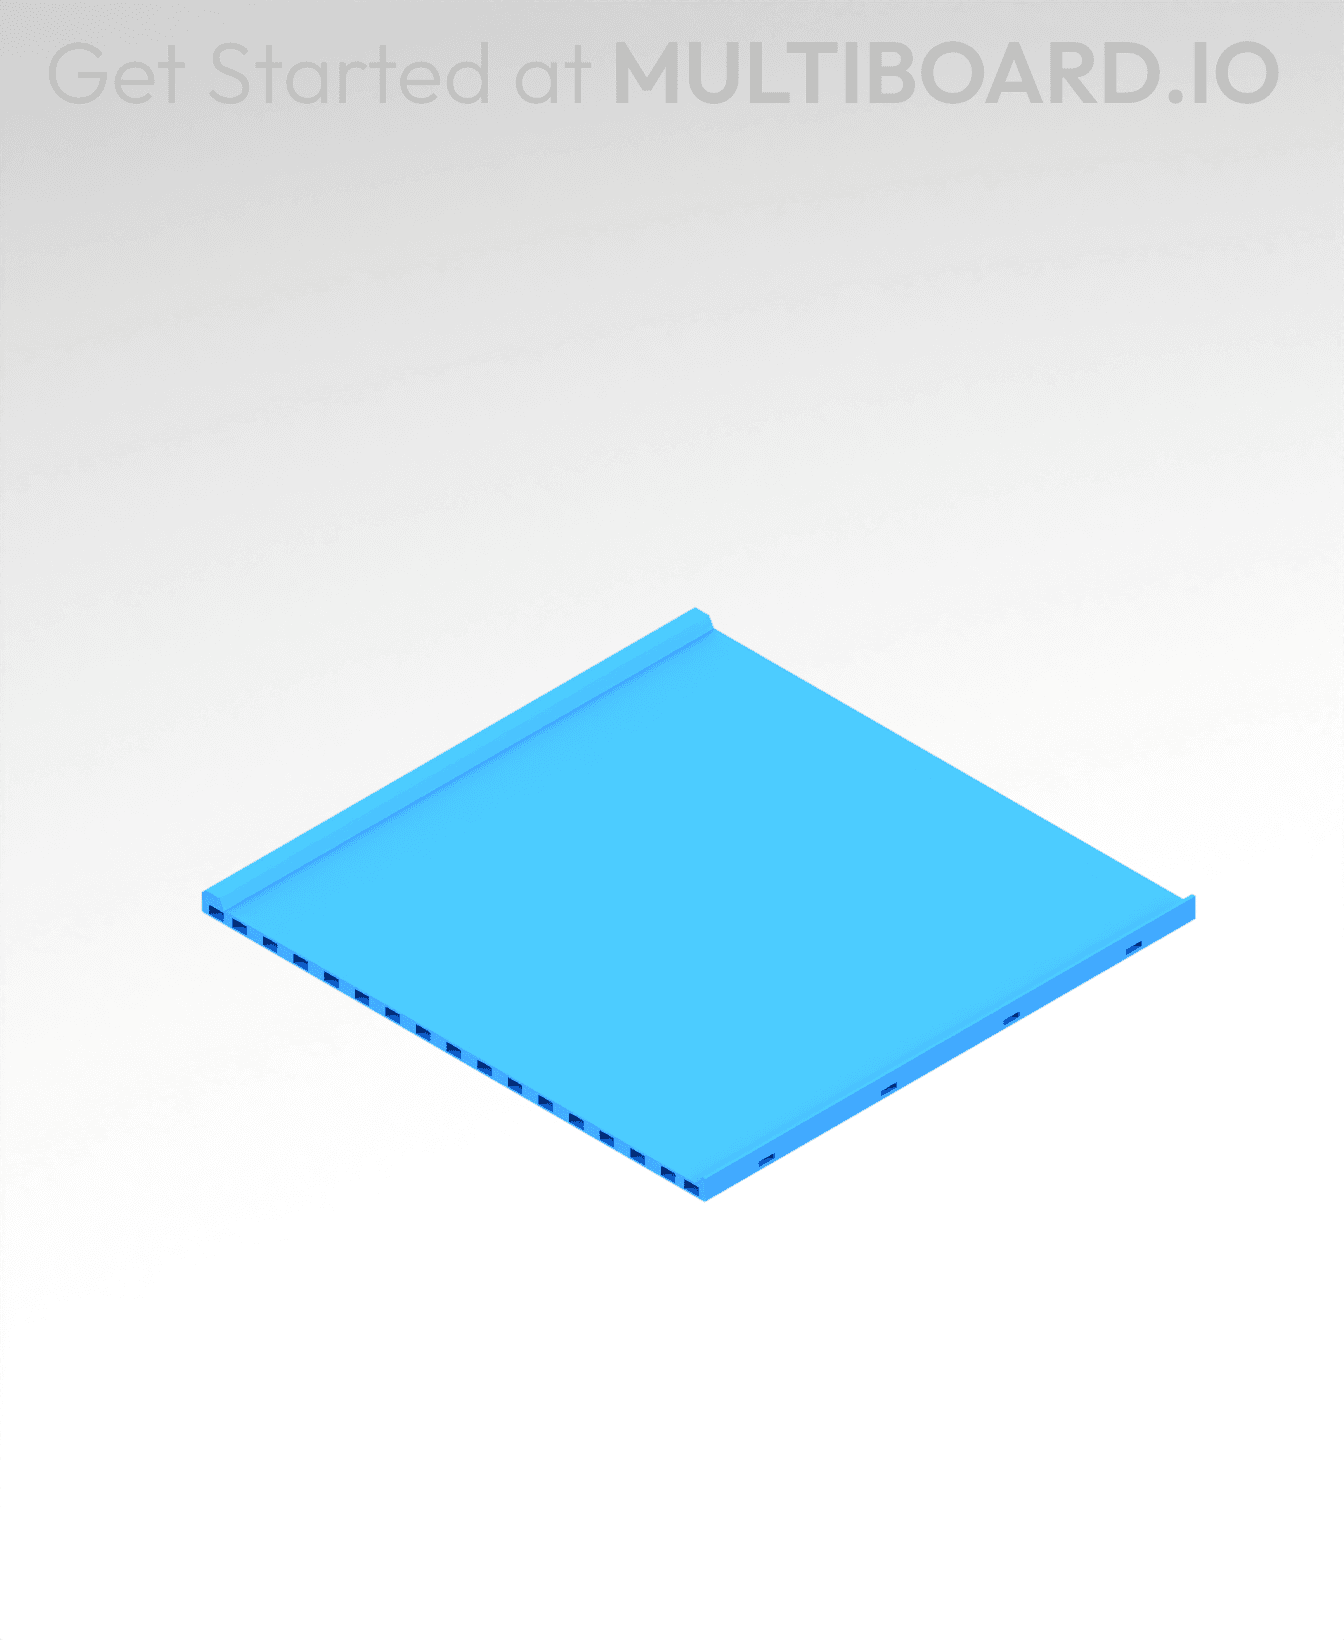
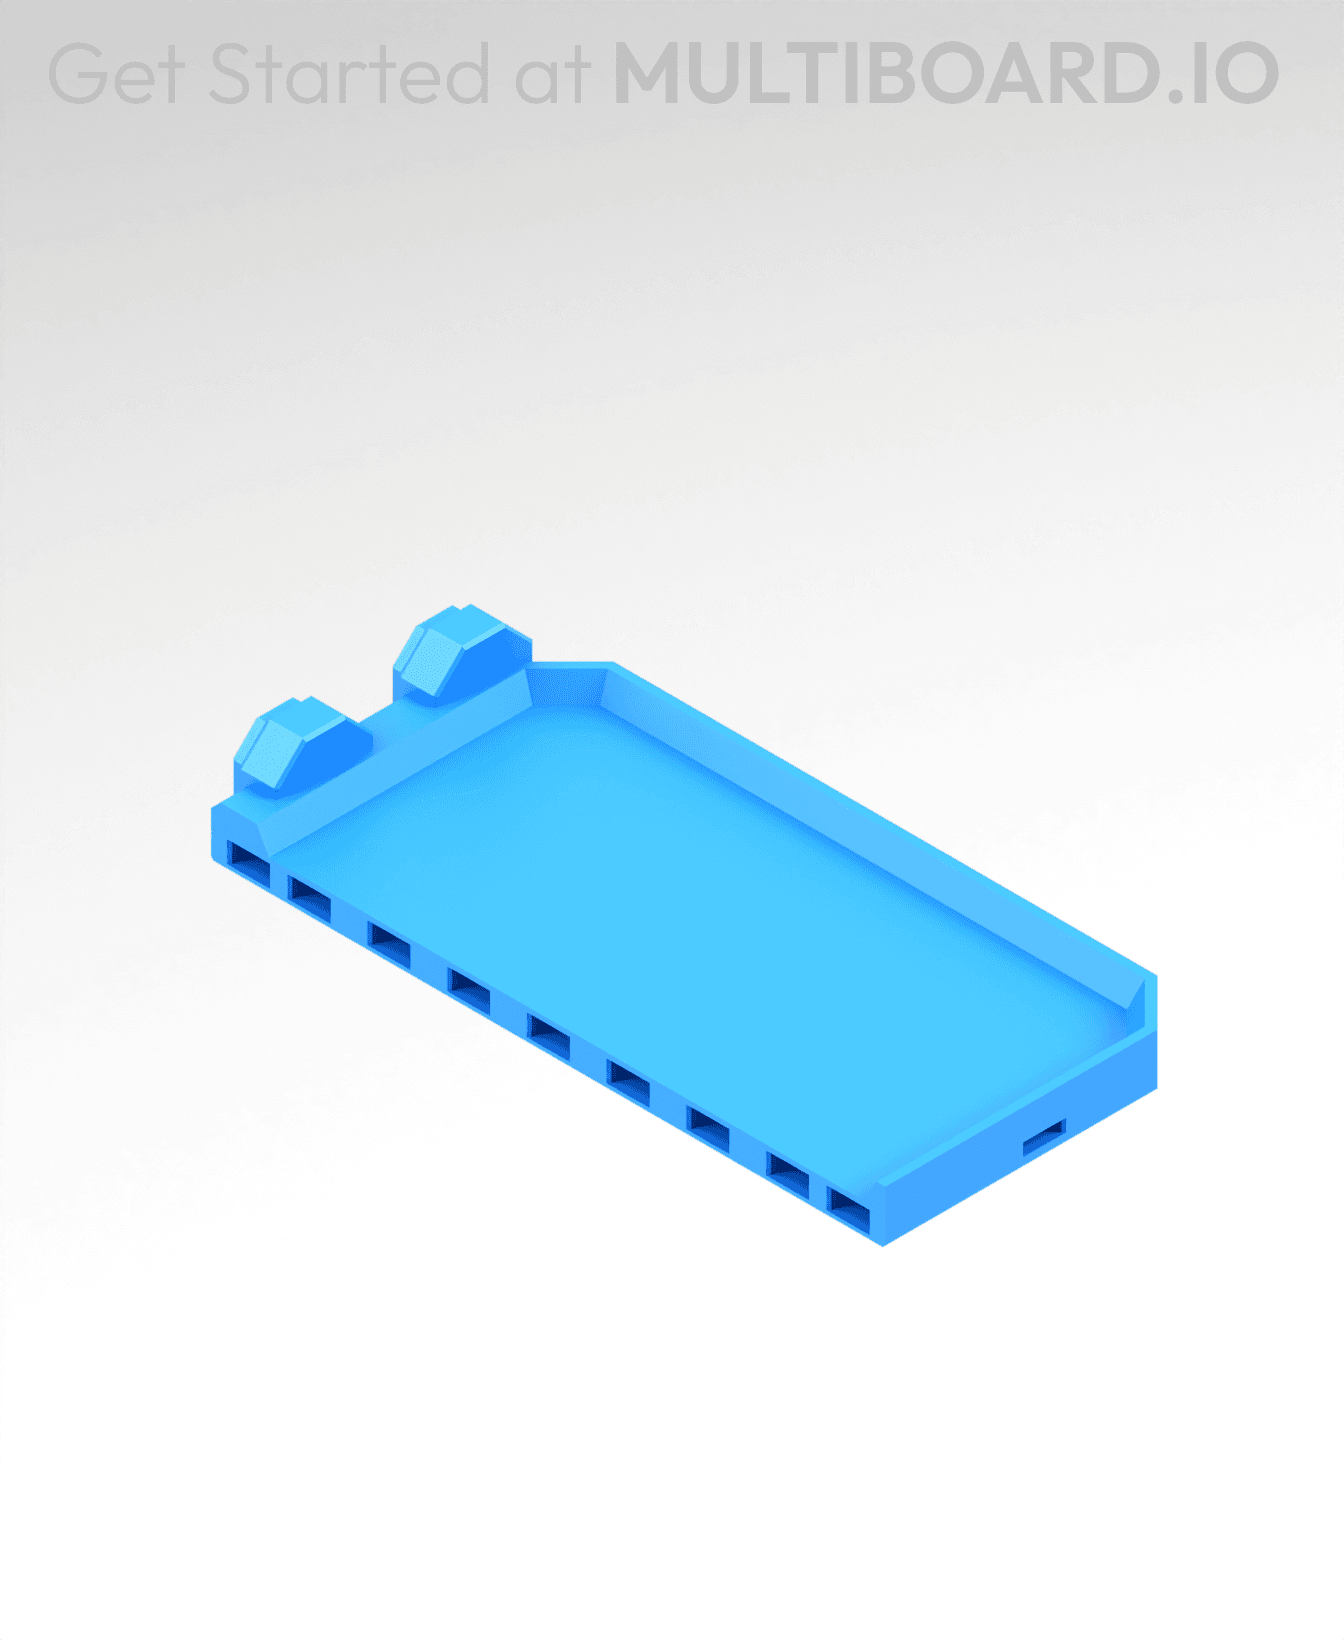
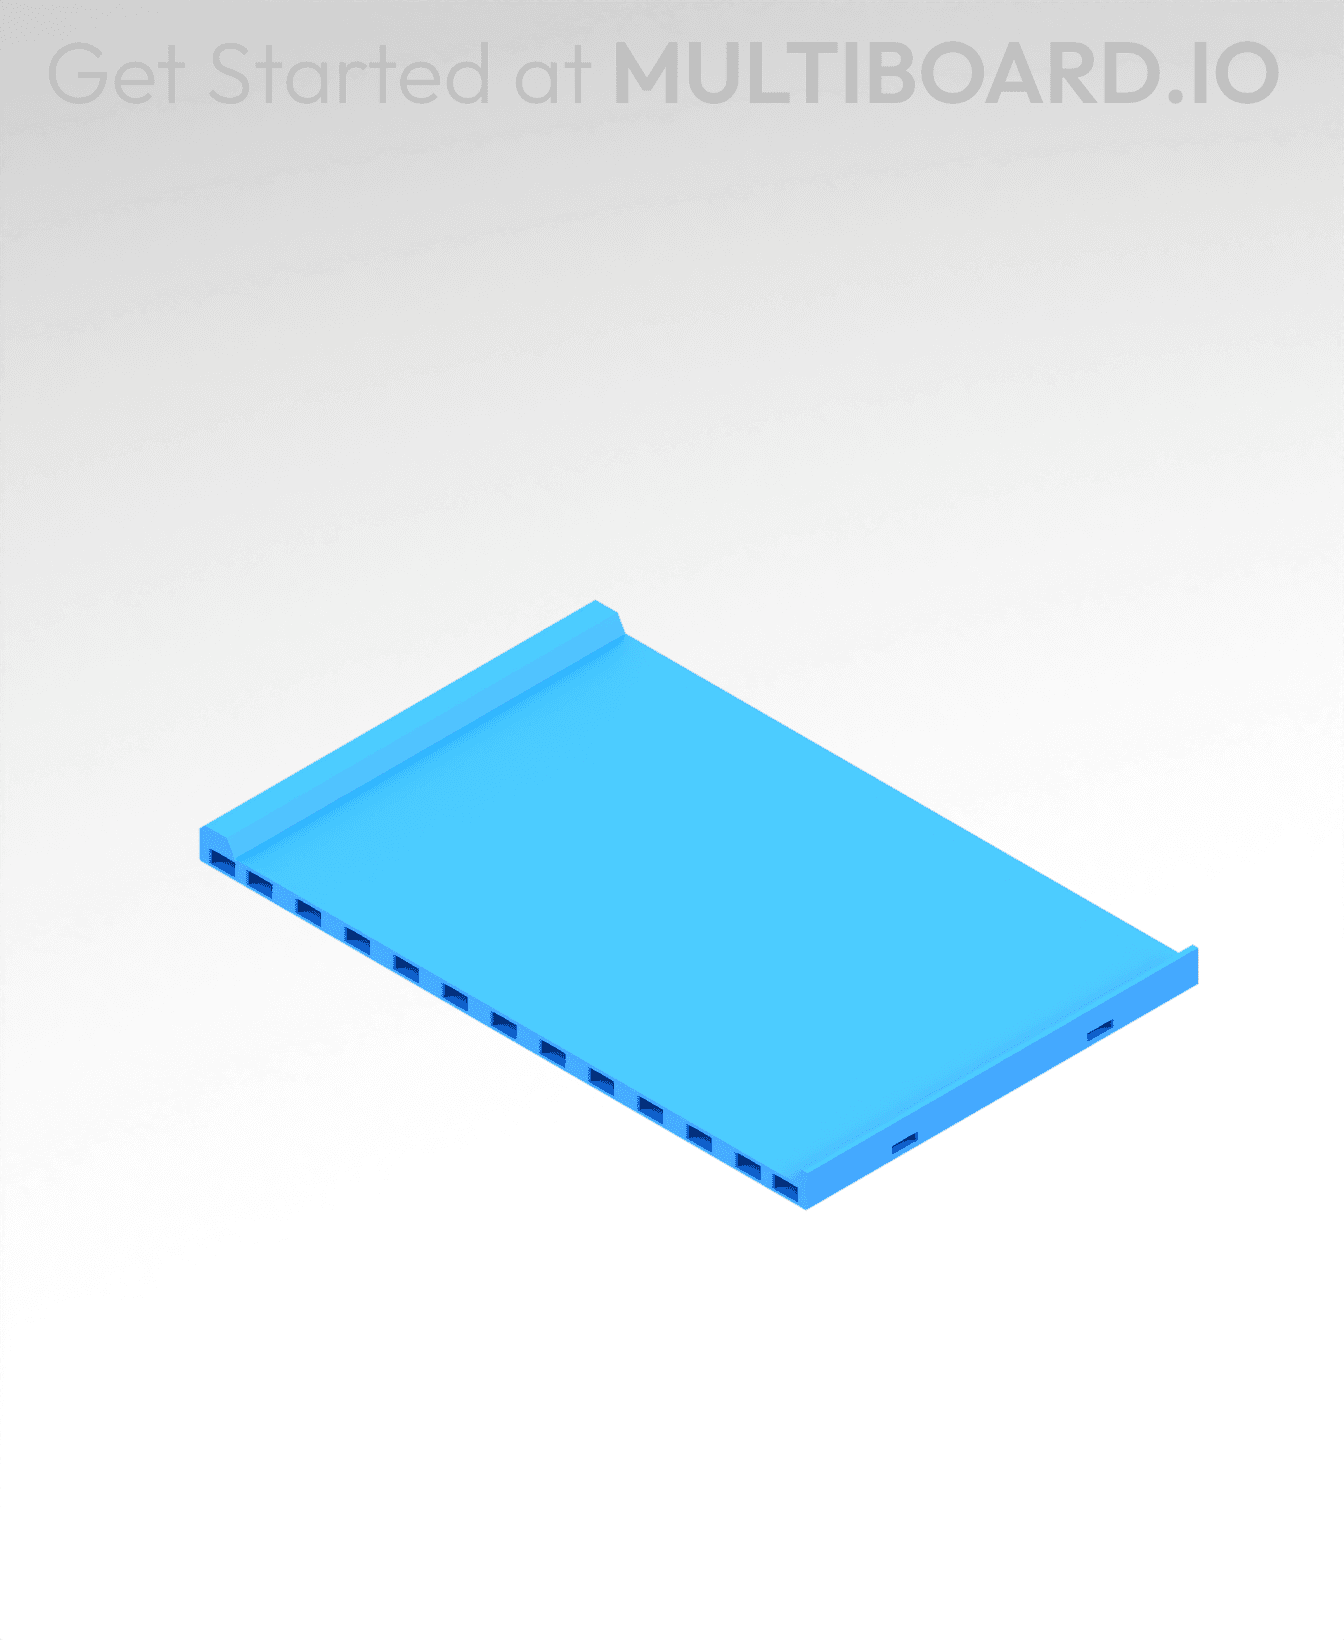
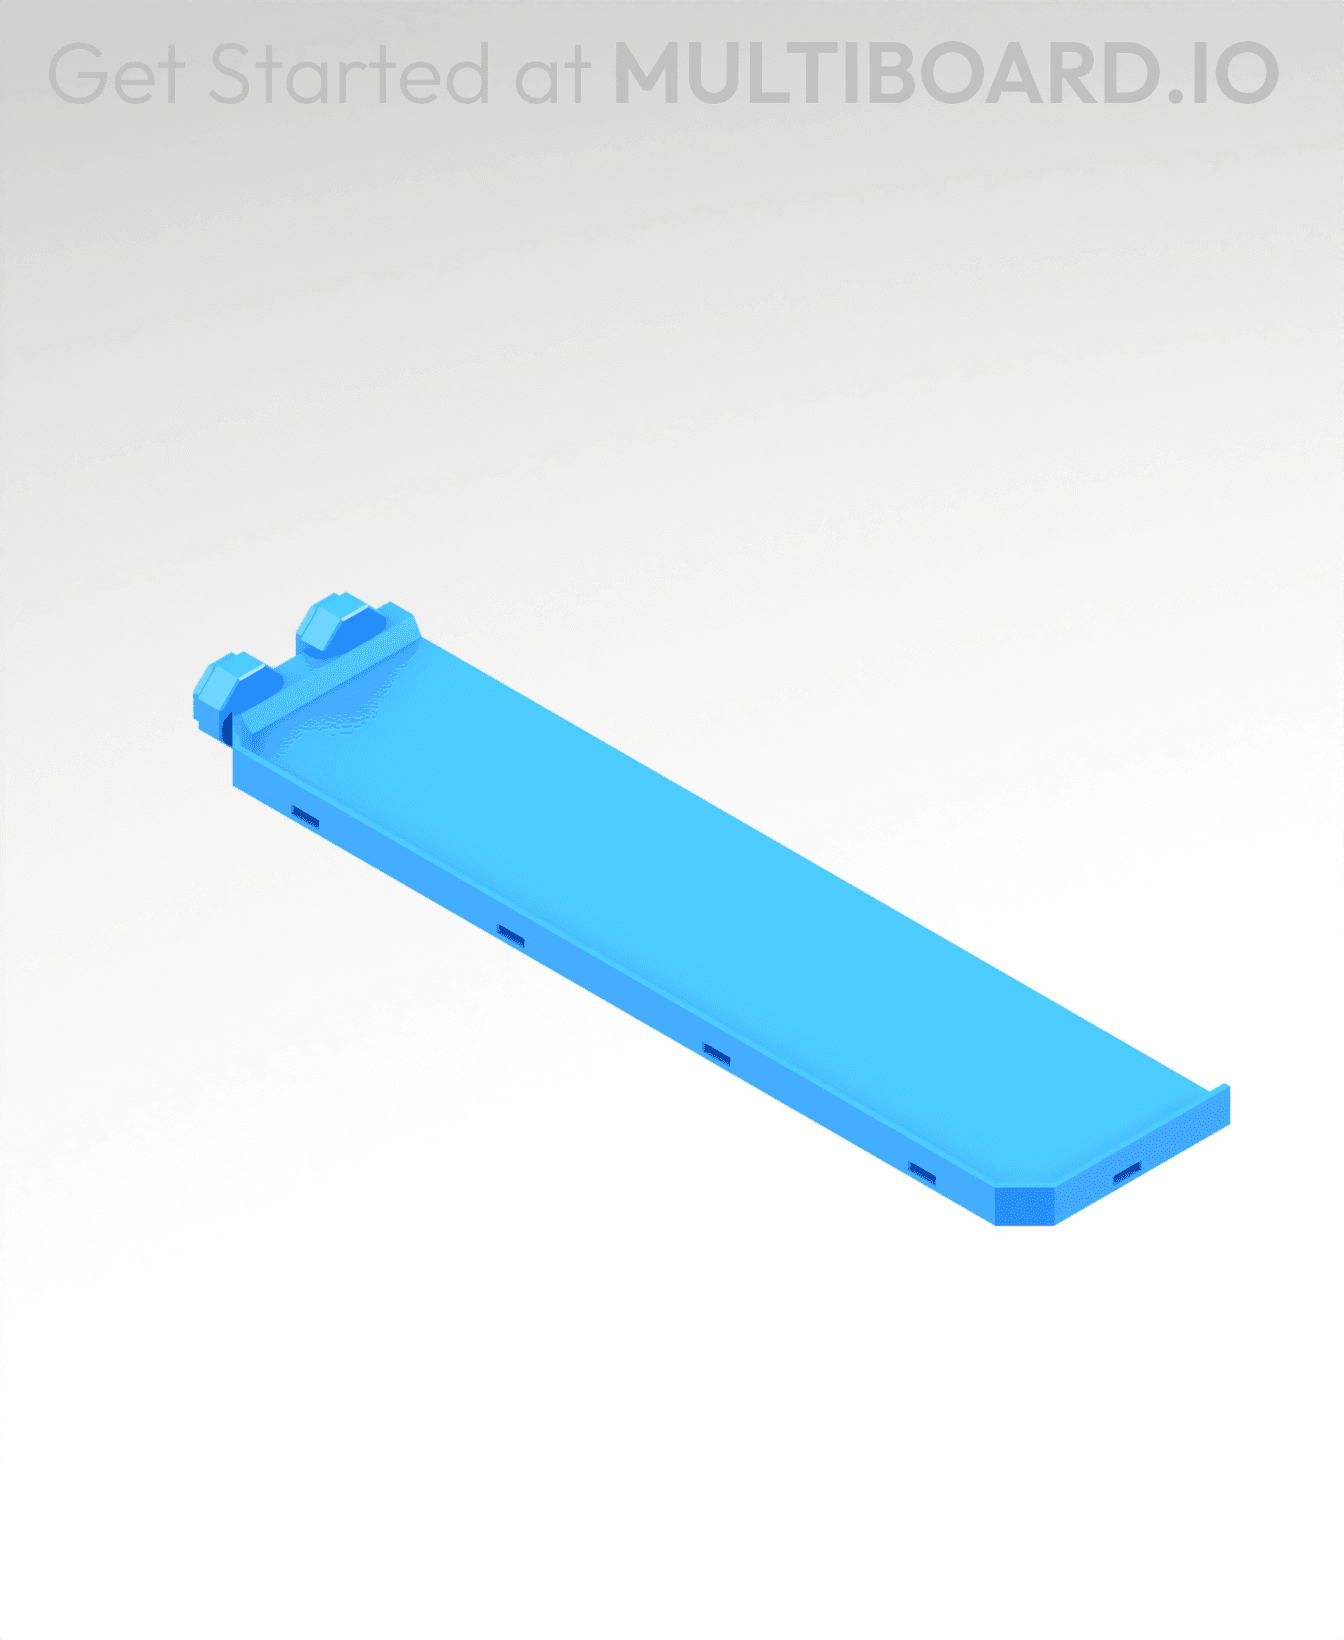
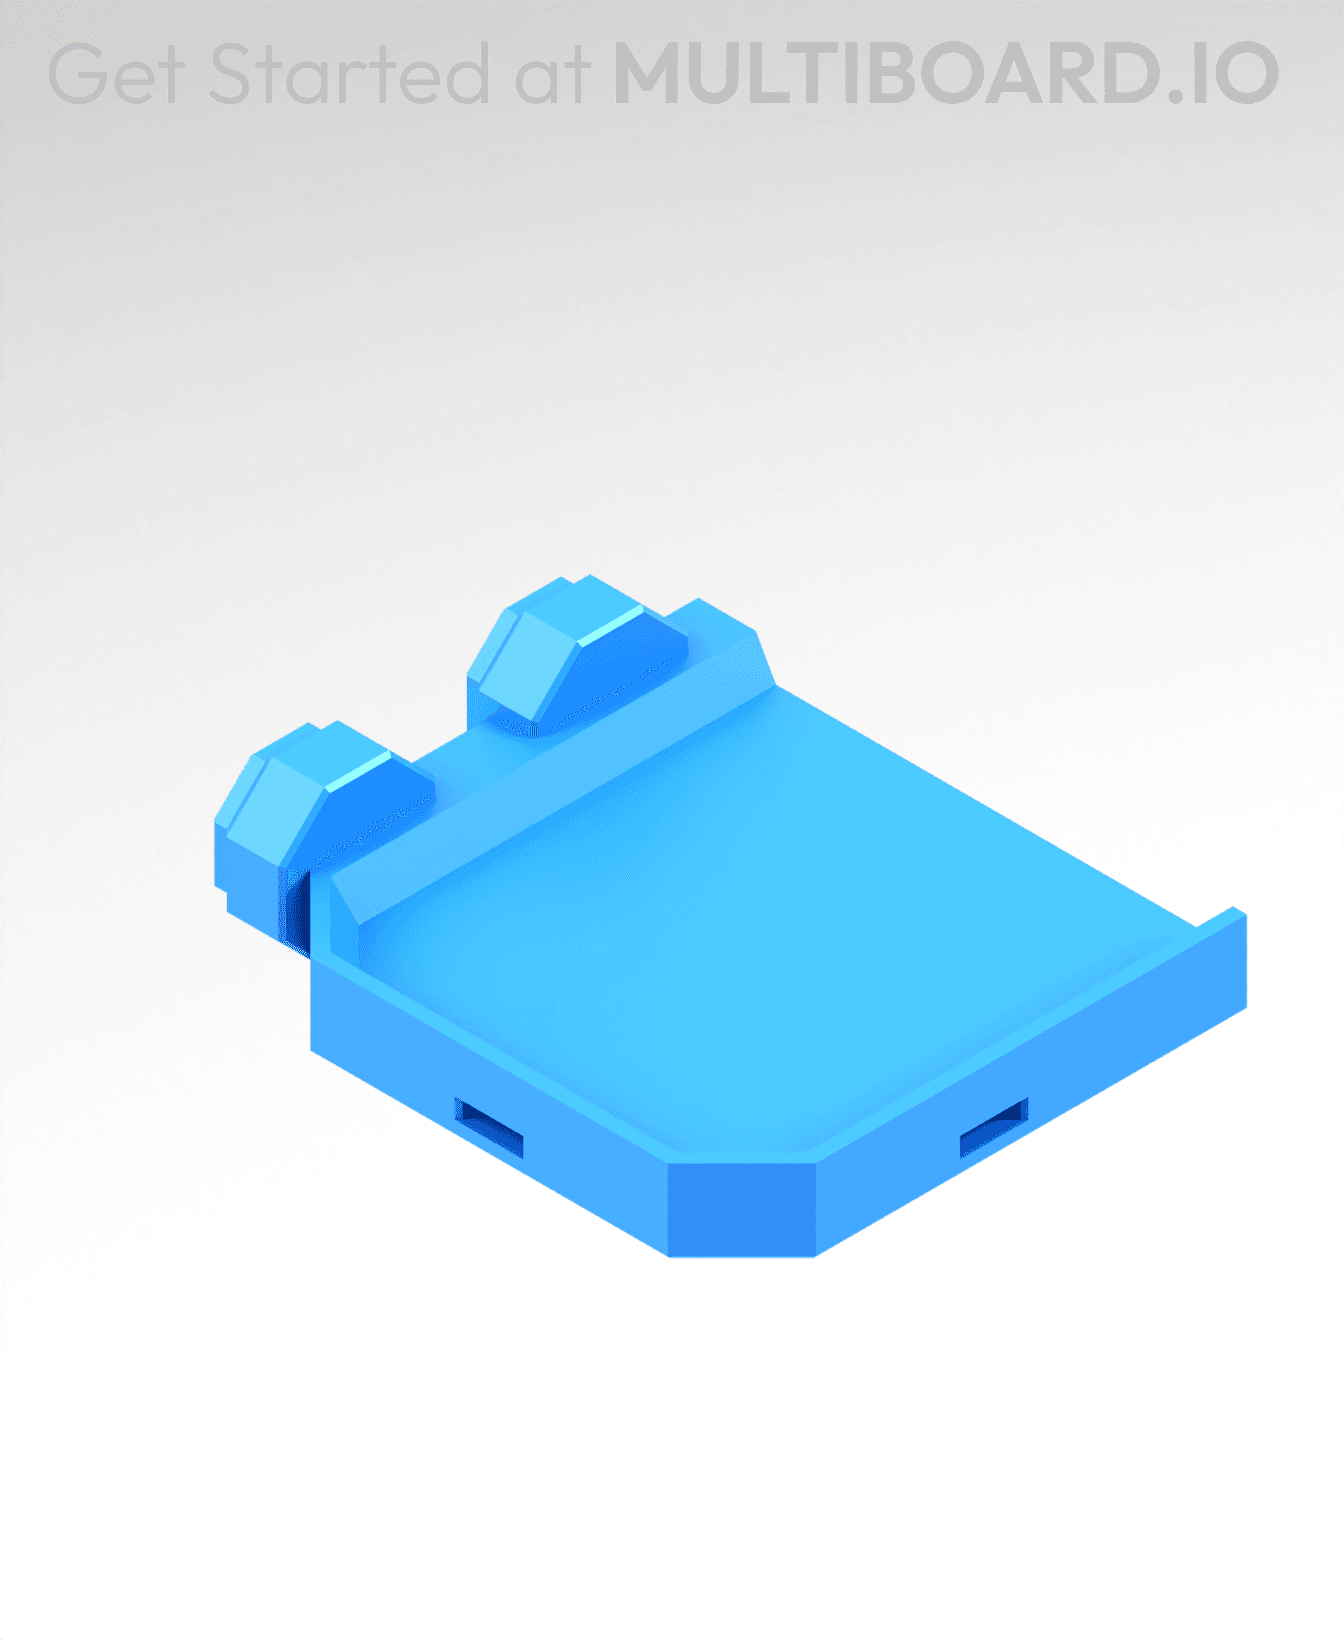
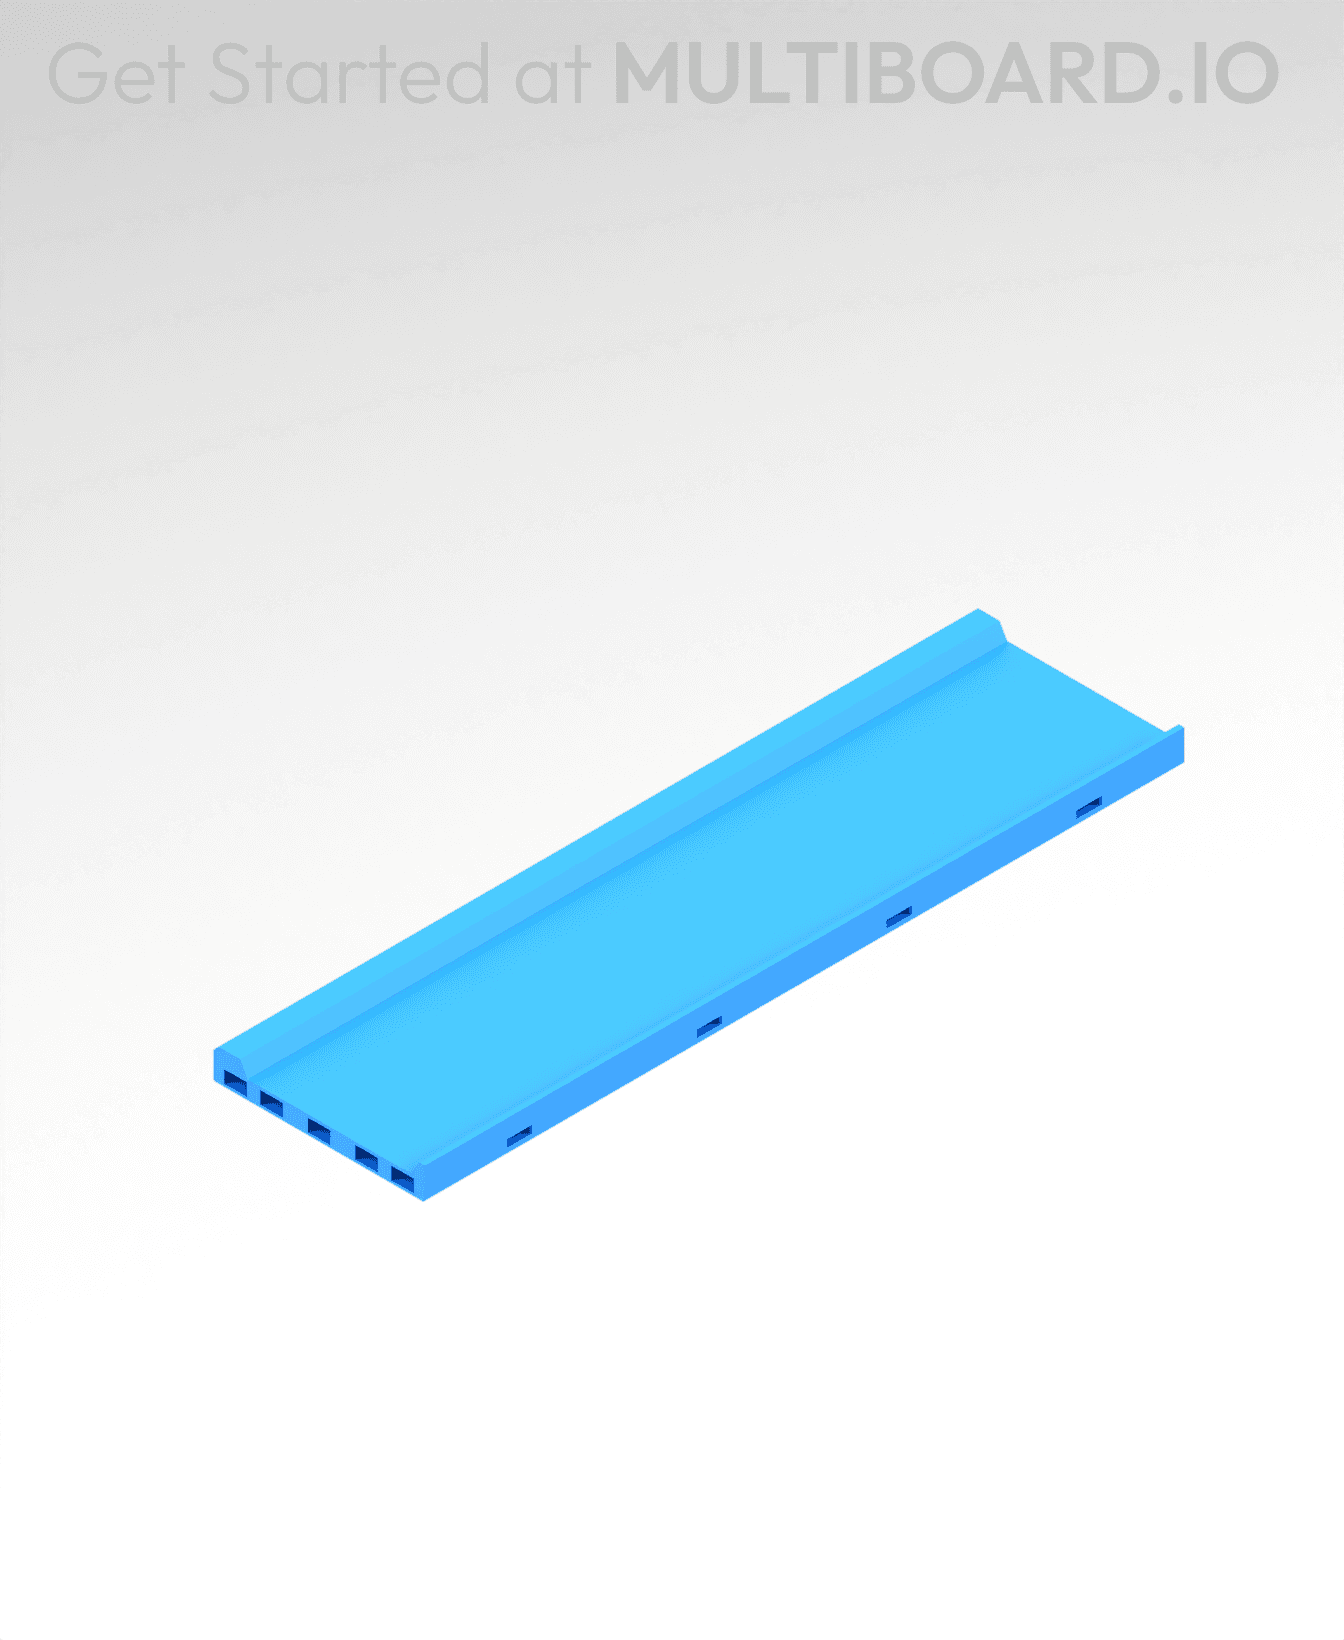
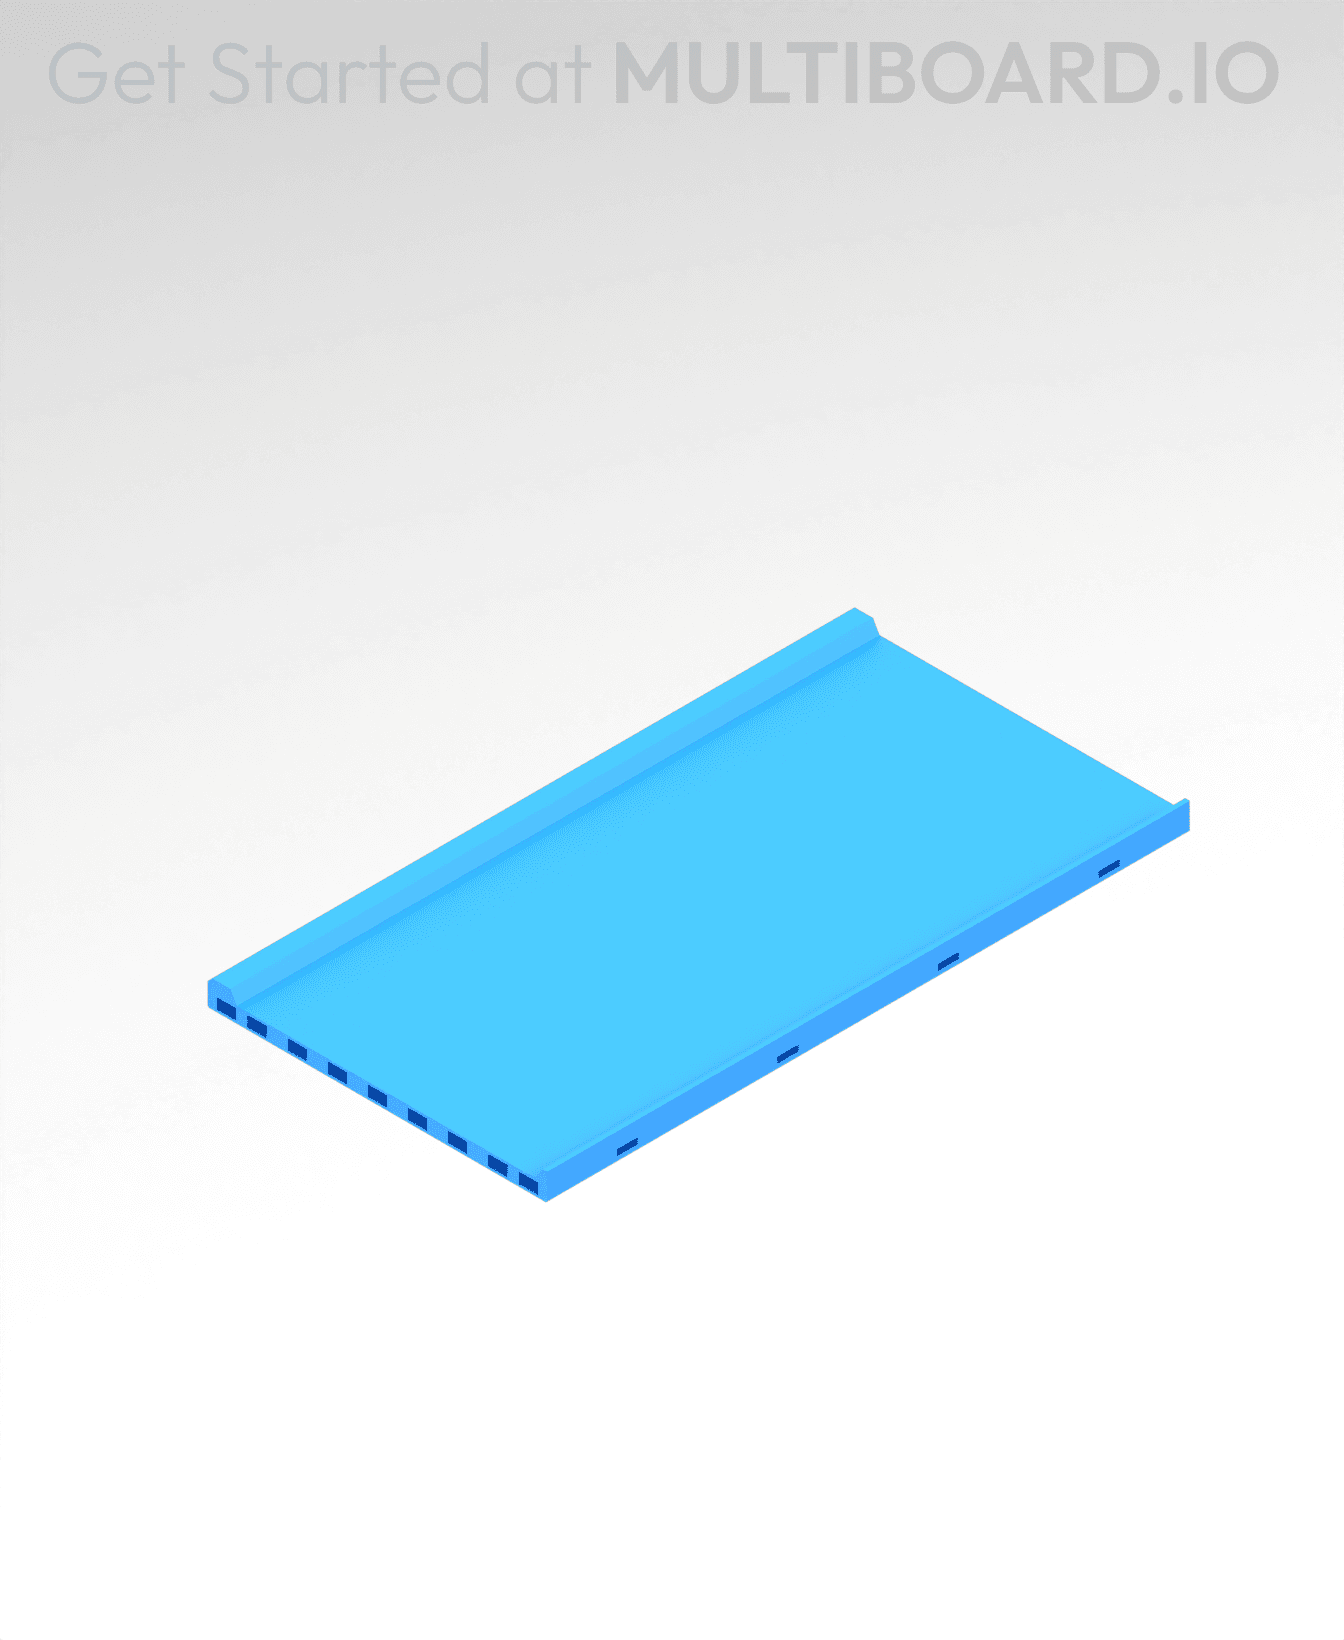
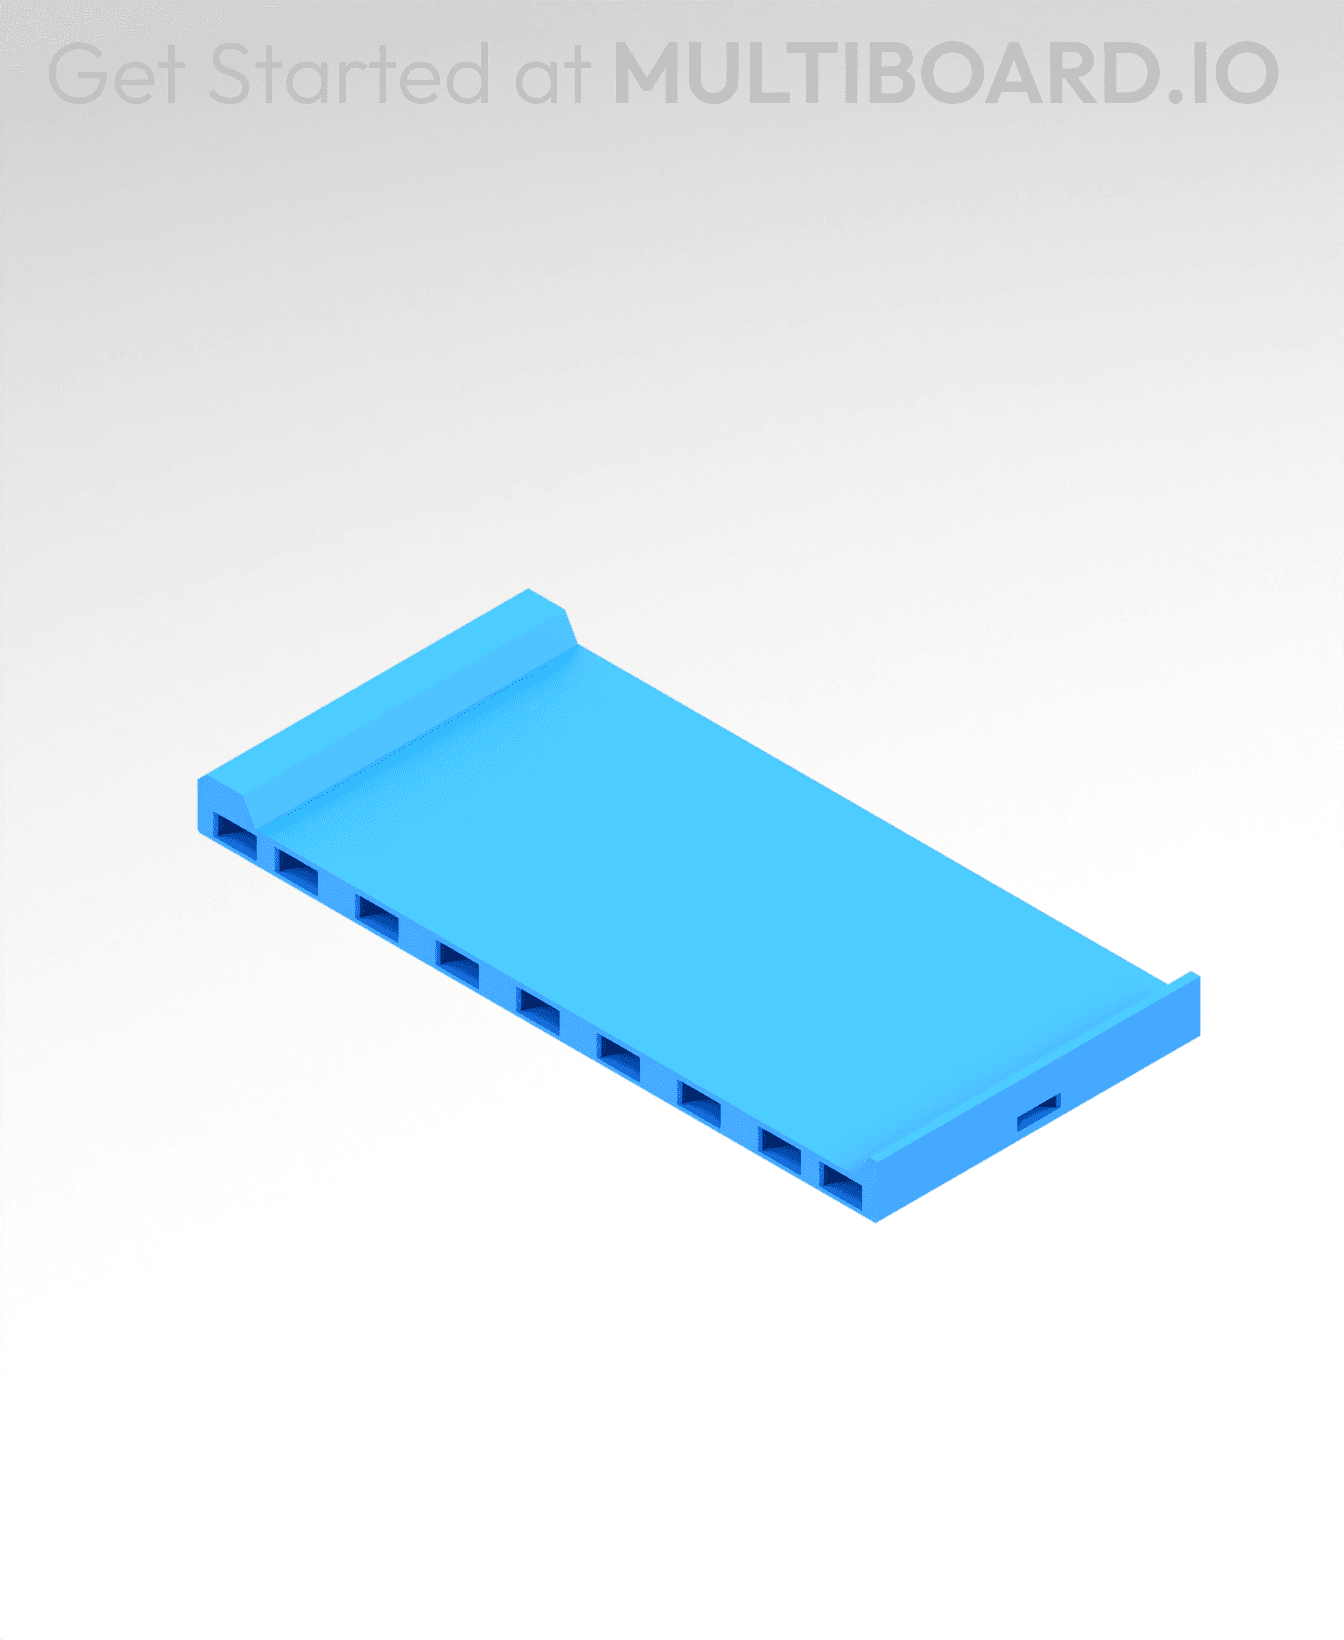
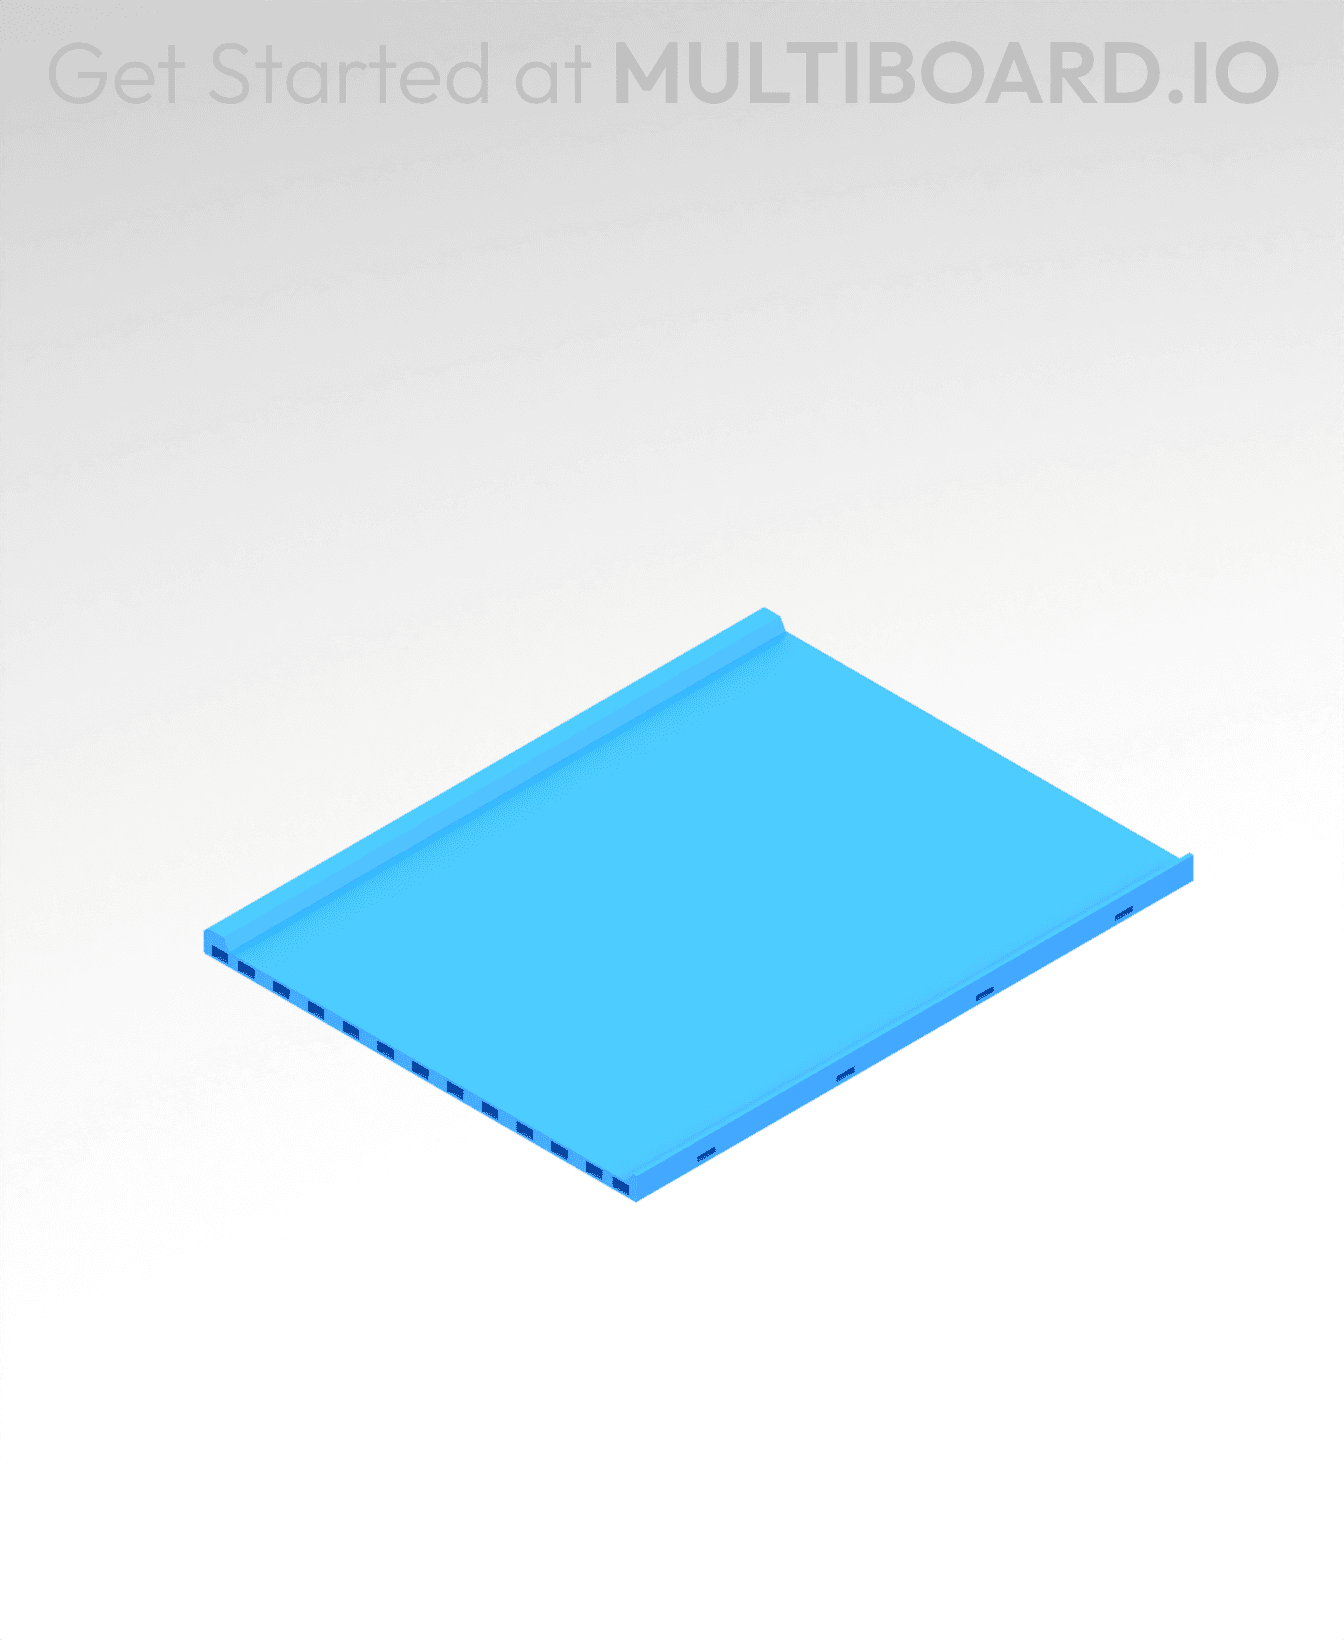
8x8 Legacy Tiles - 3x3 Board - Ironing Stack
This stack creates a 3x3 Board that is 600x600 mm or 23.6x23.6 inches.
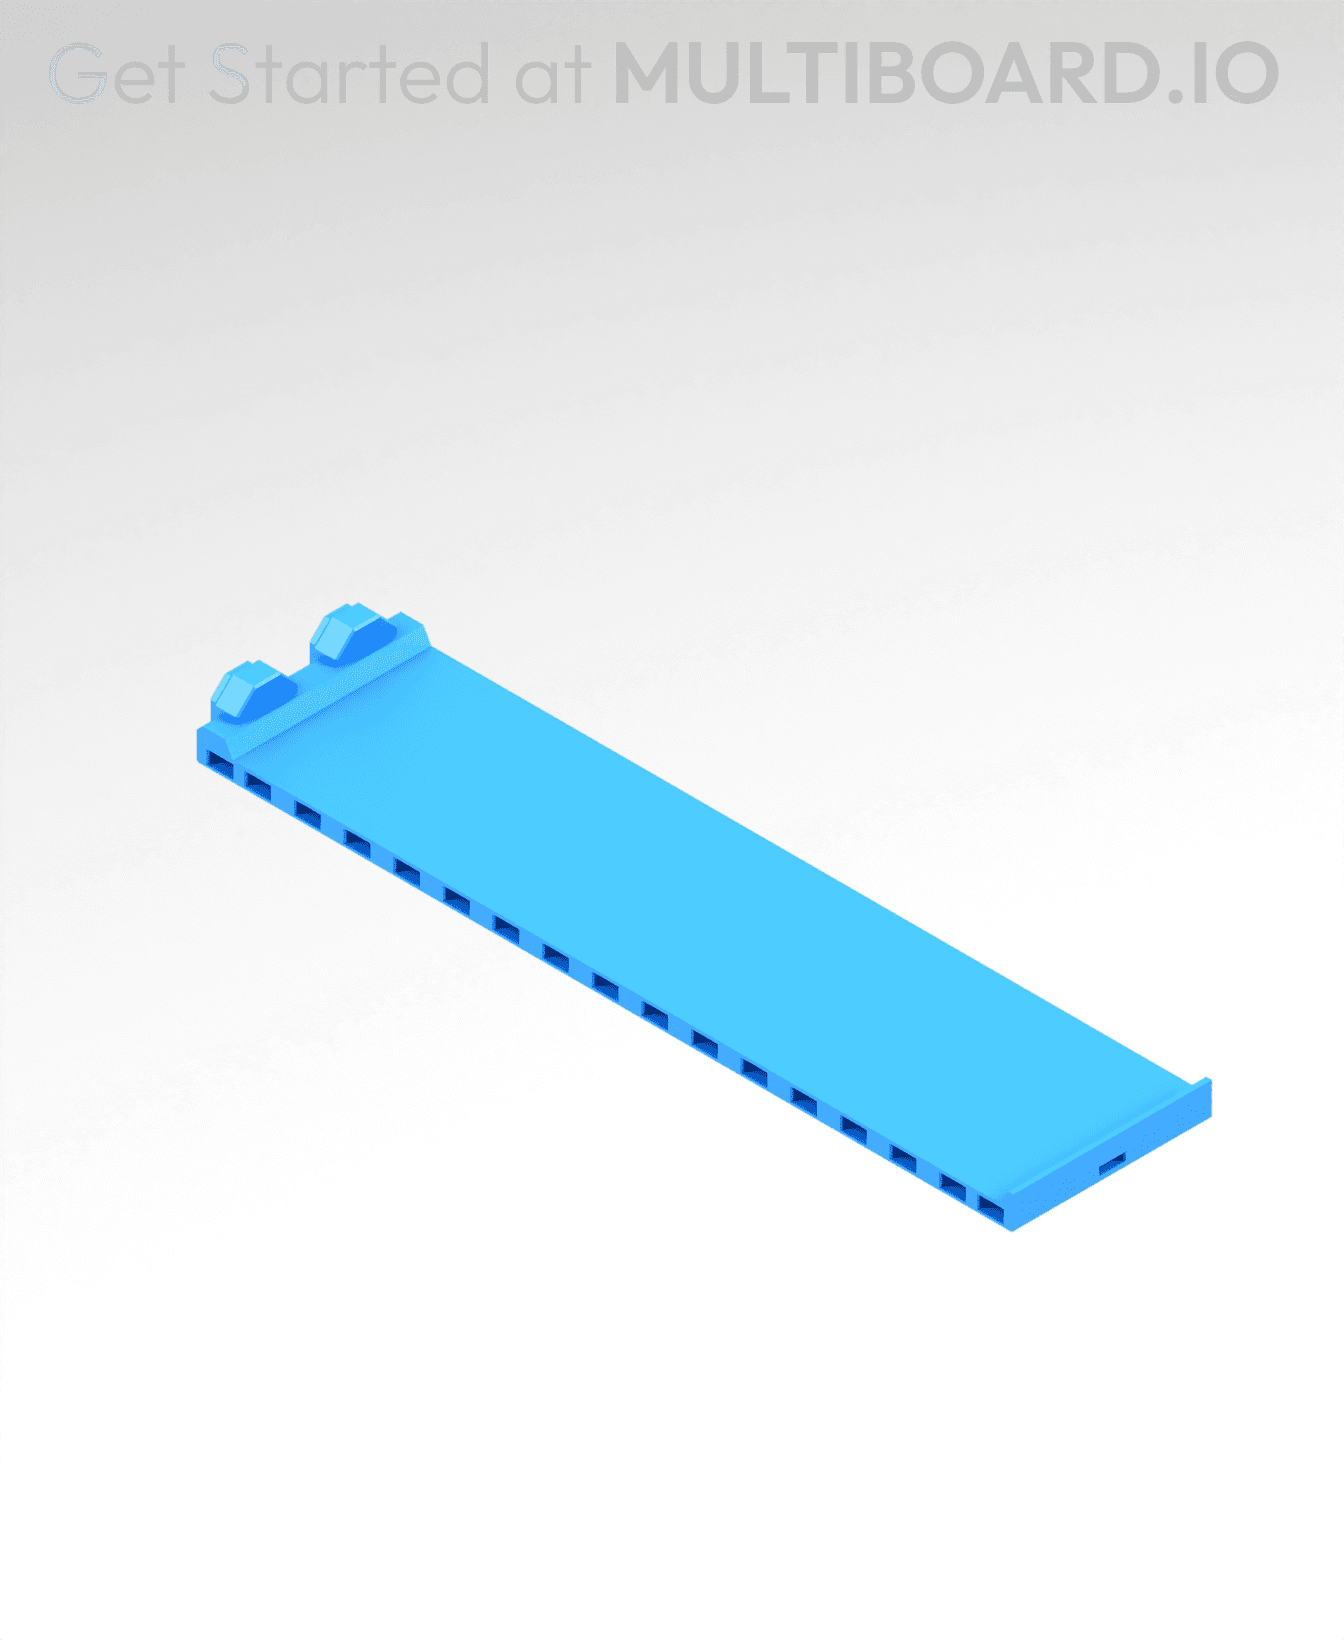
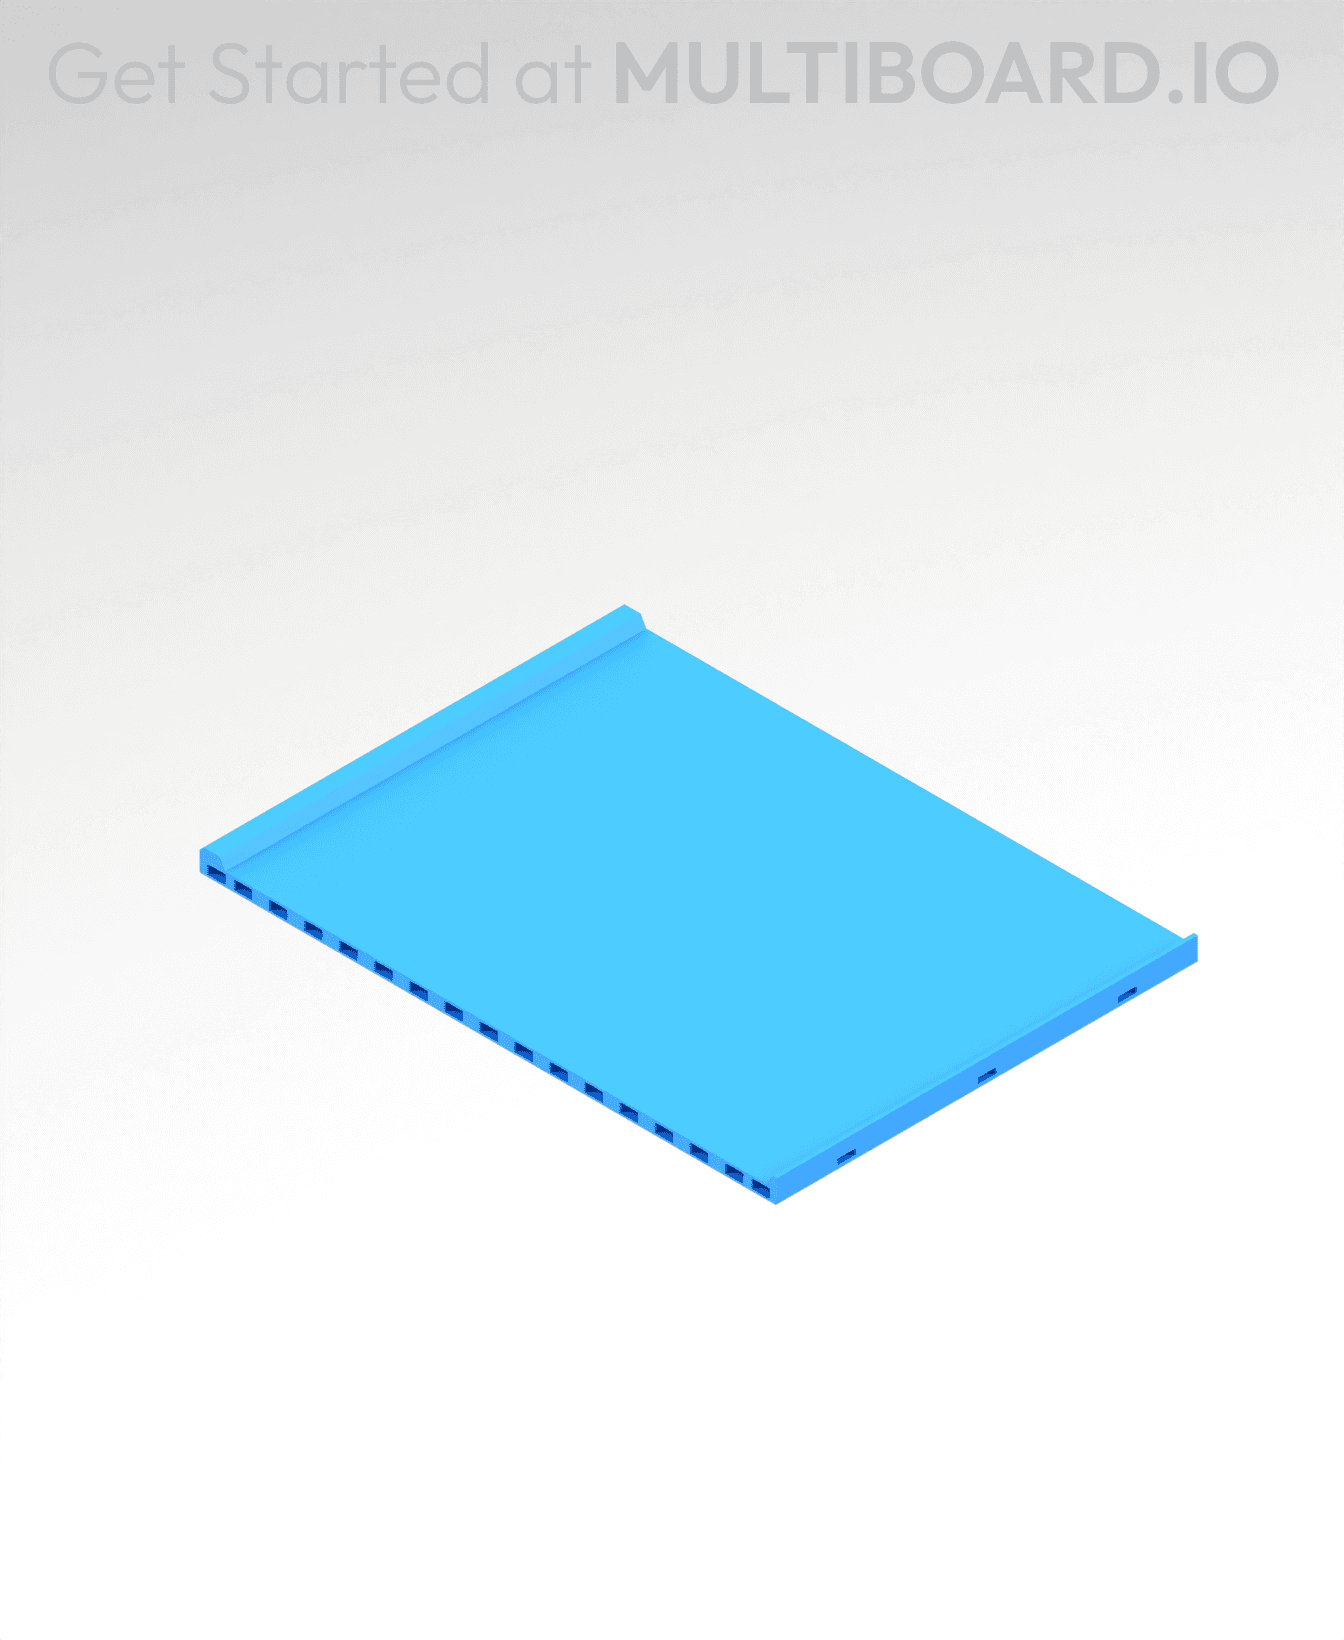
The stack is made of 4 Core Tiles, 4 Side Tiles, and 1 Corner Tile. Each Tile is an 8x8 (approximately 200x200 mm).
The Tile layout is as shown in the images.
These Tiles can be mounted to the wall using these pre-made mounting packs:
- 3x3 Board - Offset Snaps - Screw-On Mounting Pack
- 3x3 Board - Offset Snaps - Command Strip Mounting Pack
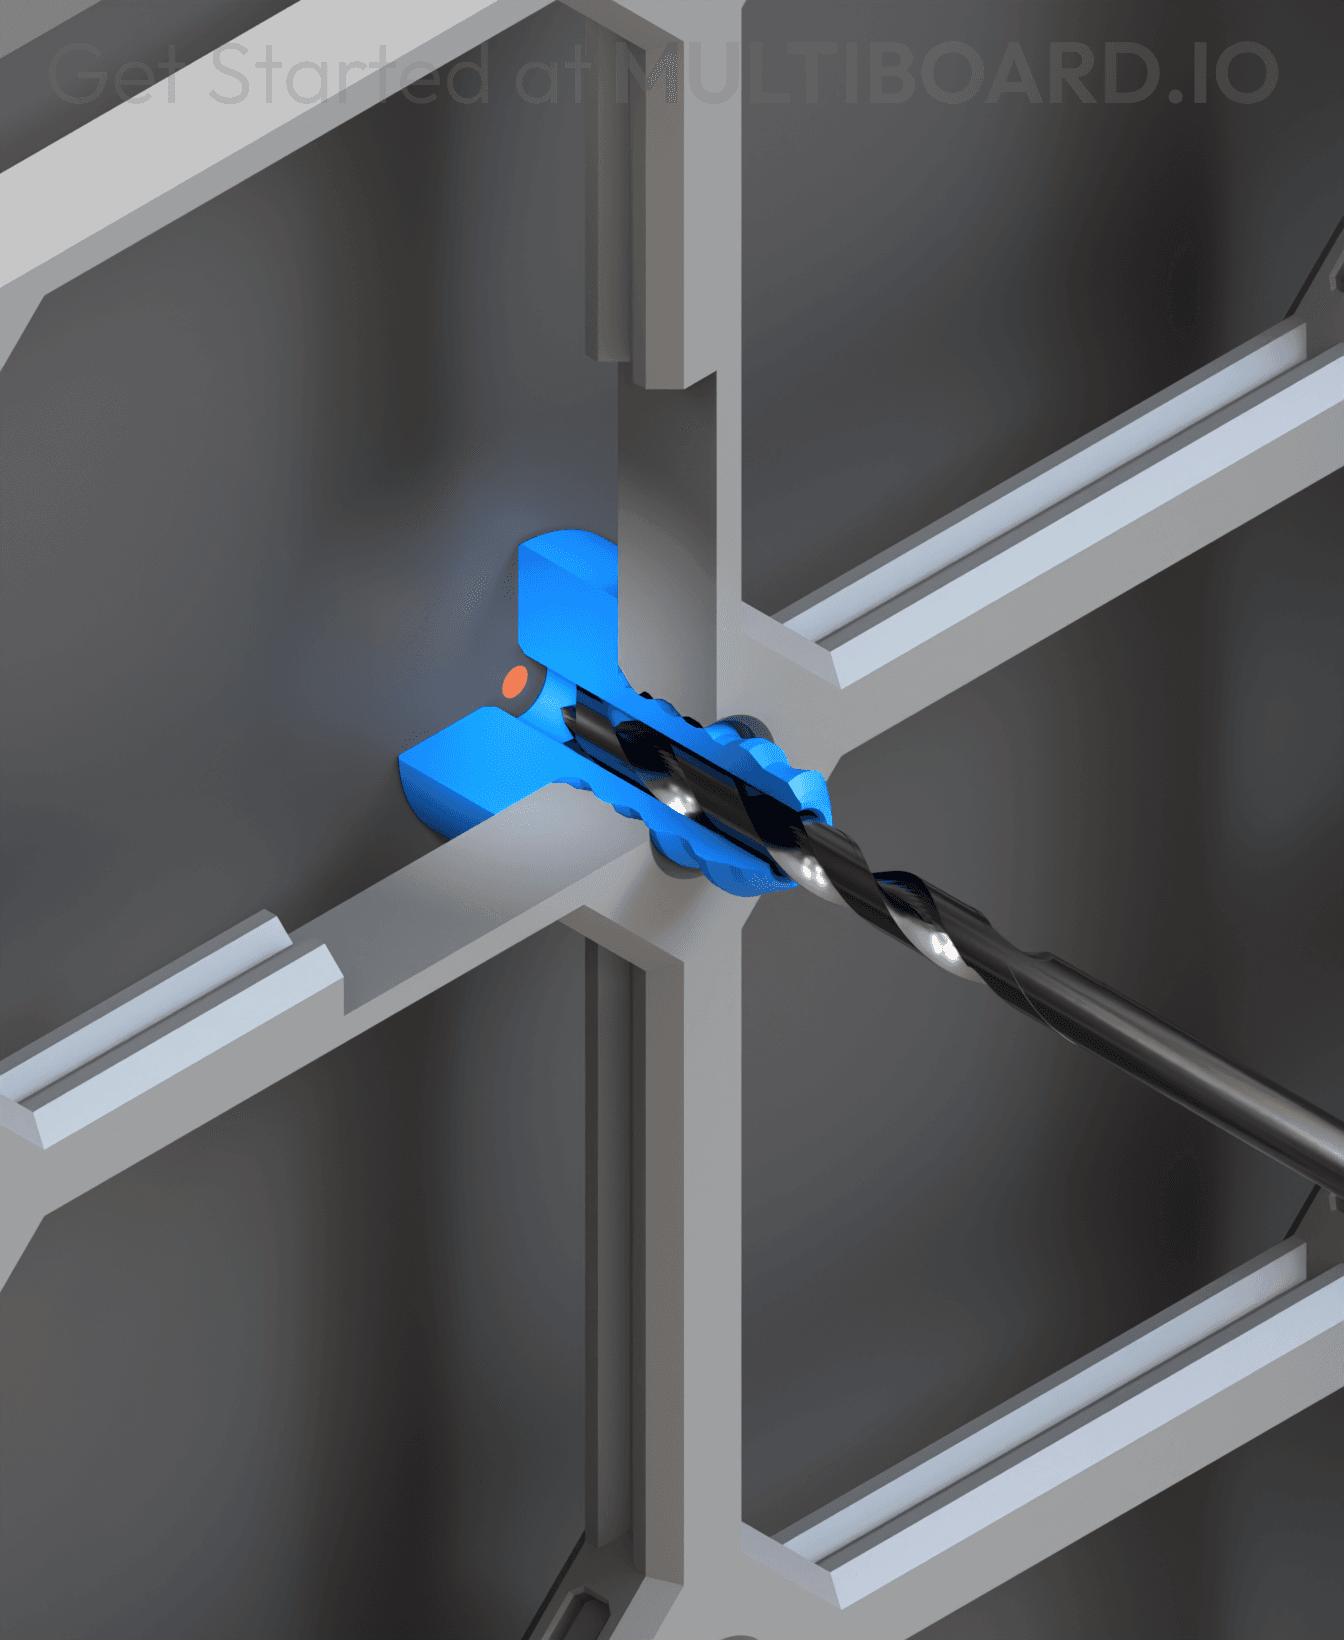
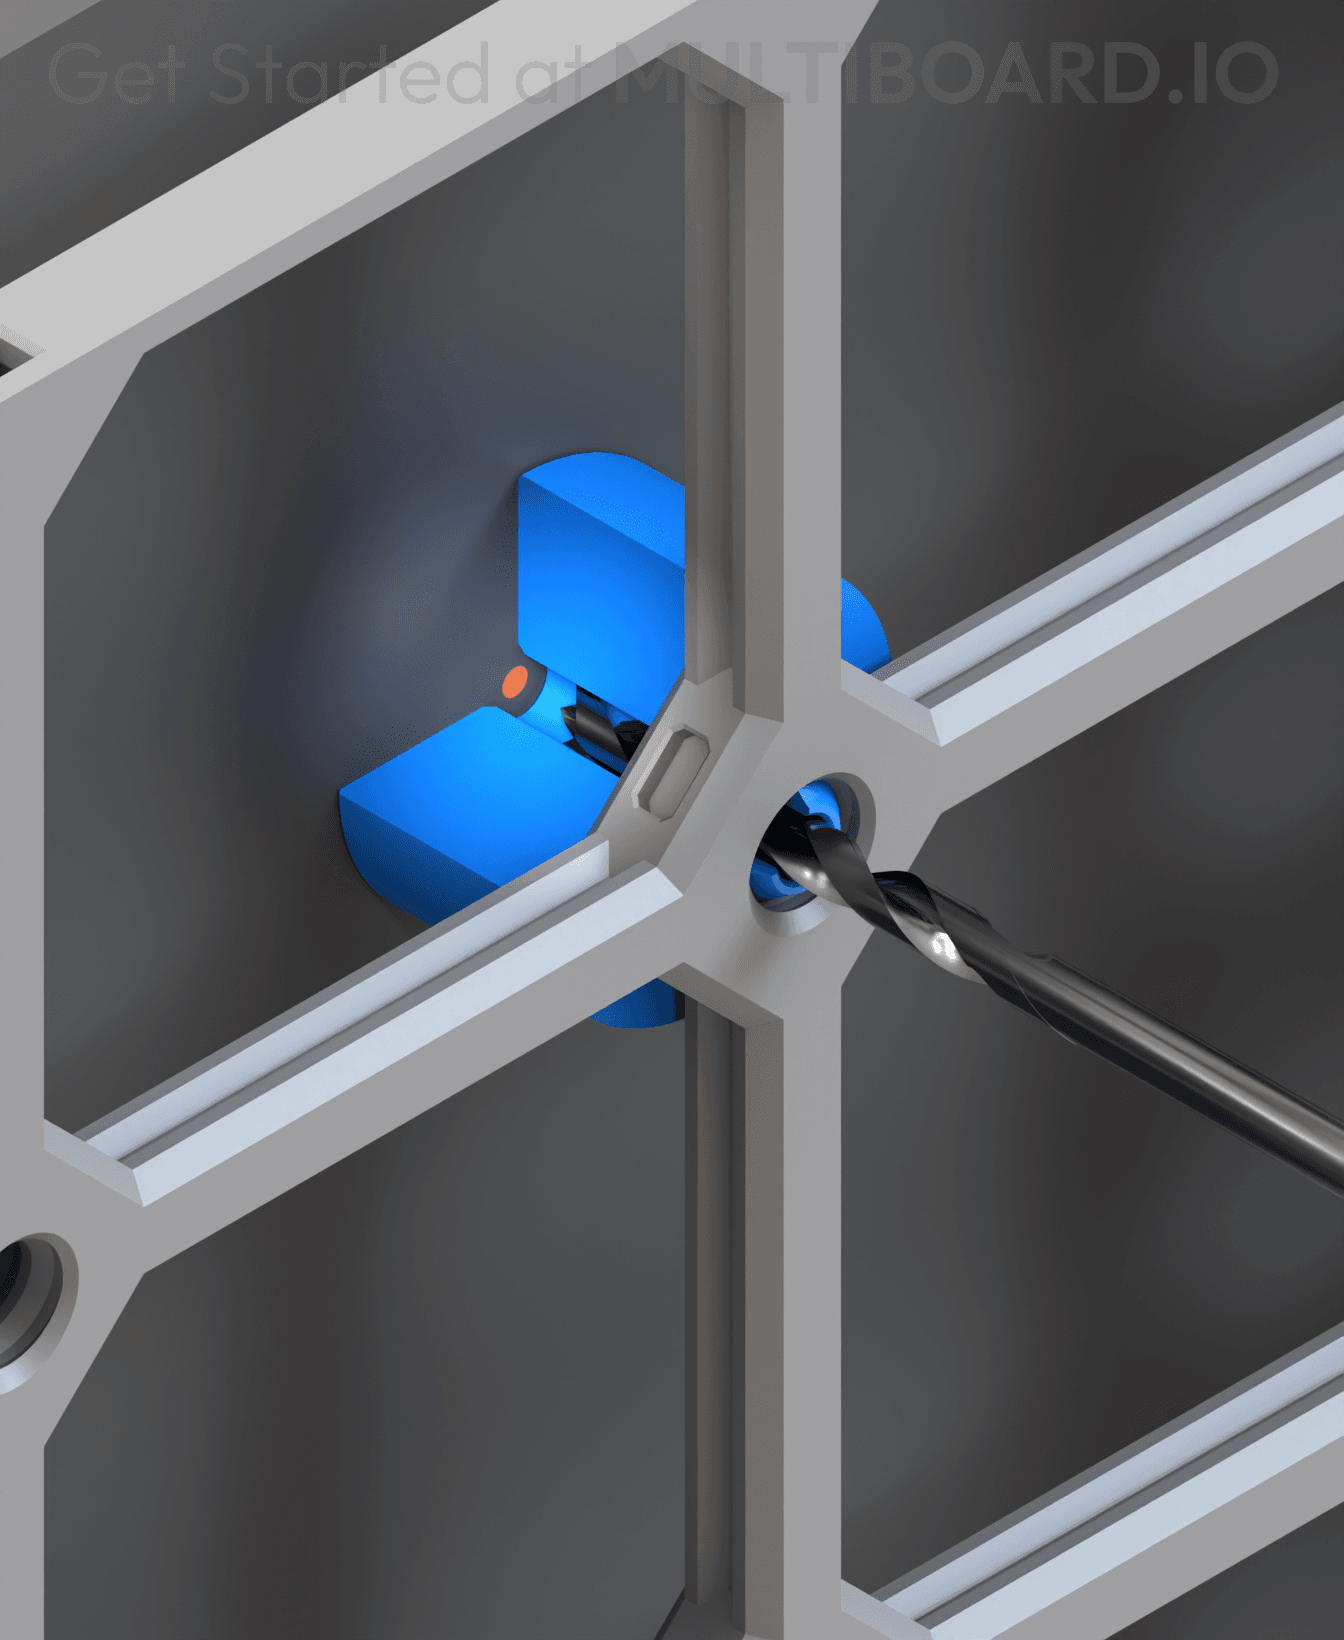
Learn about other mounting options at https://multiboard.io/knowledge-hub
Printing Guidelines
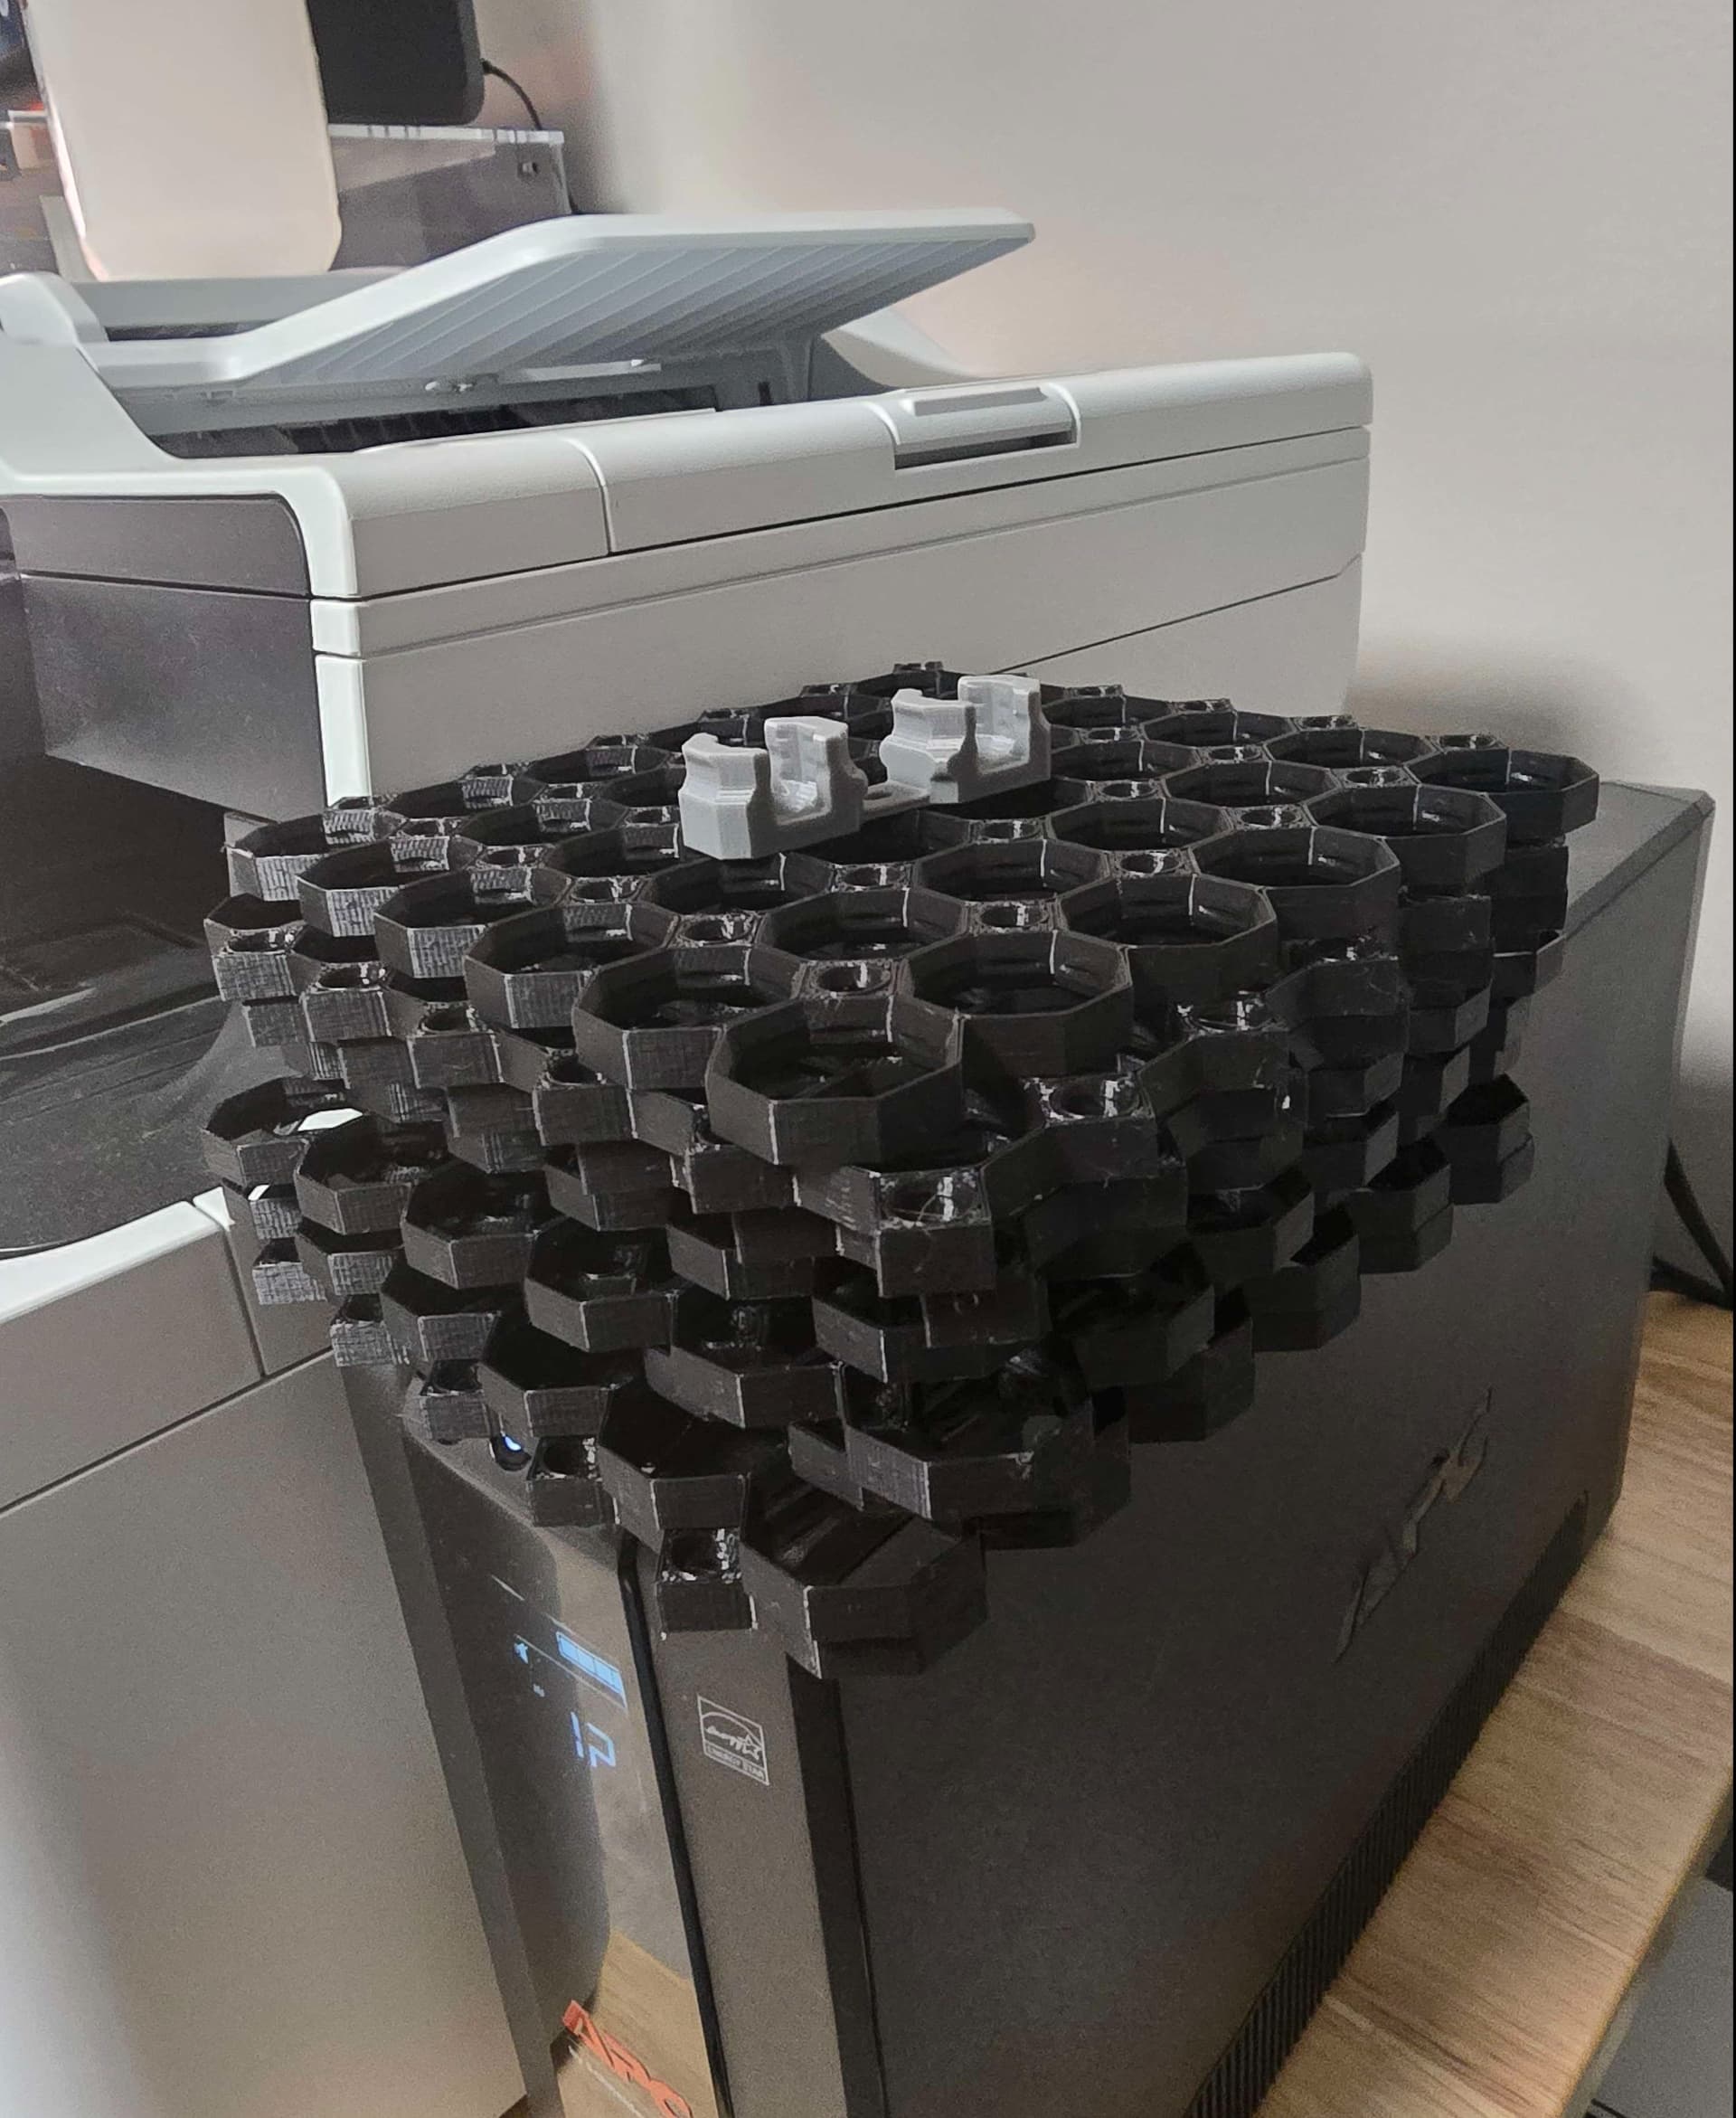
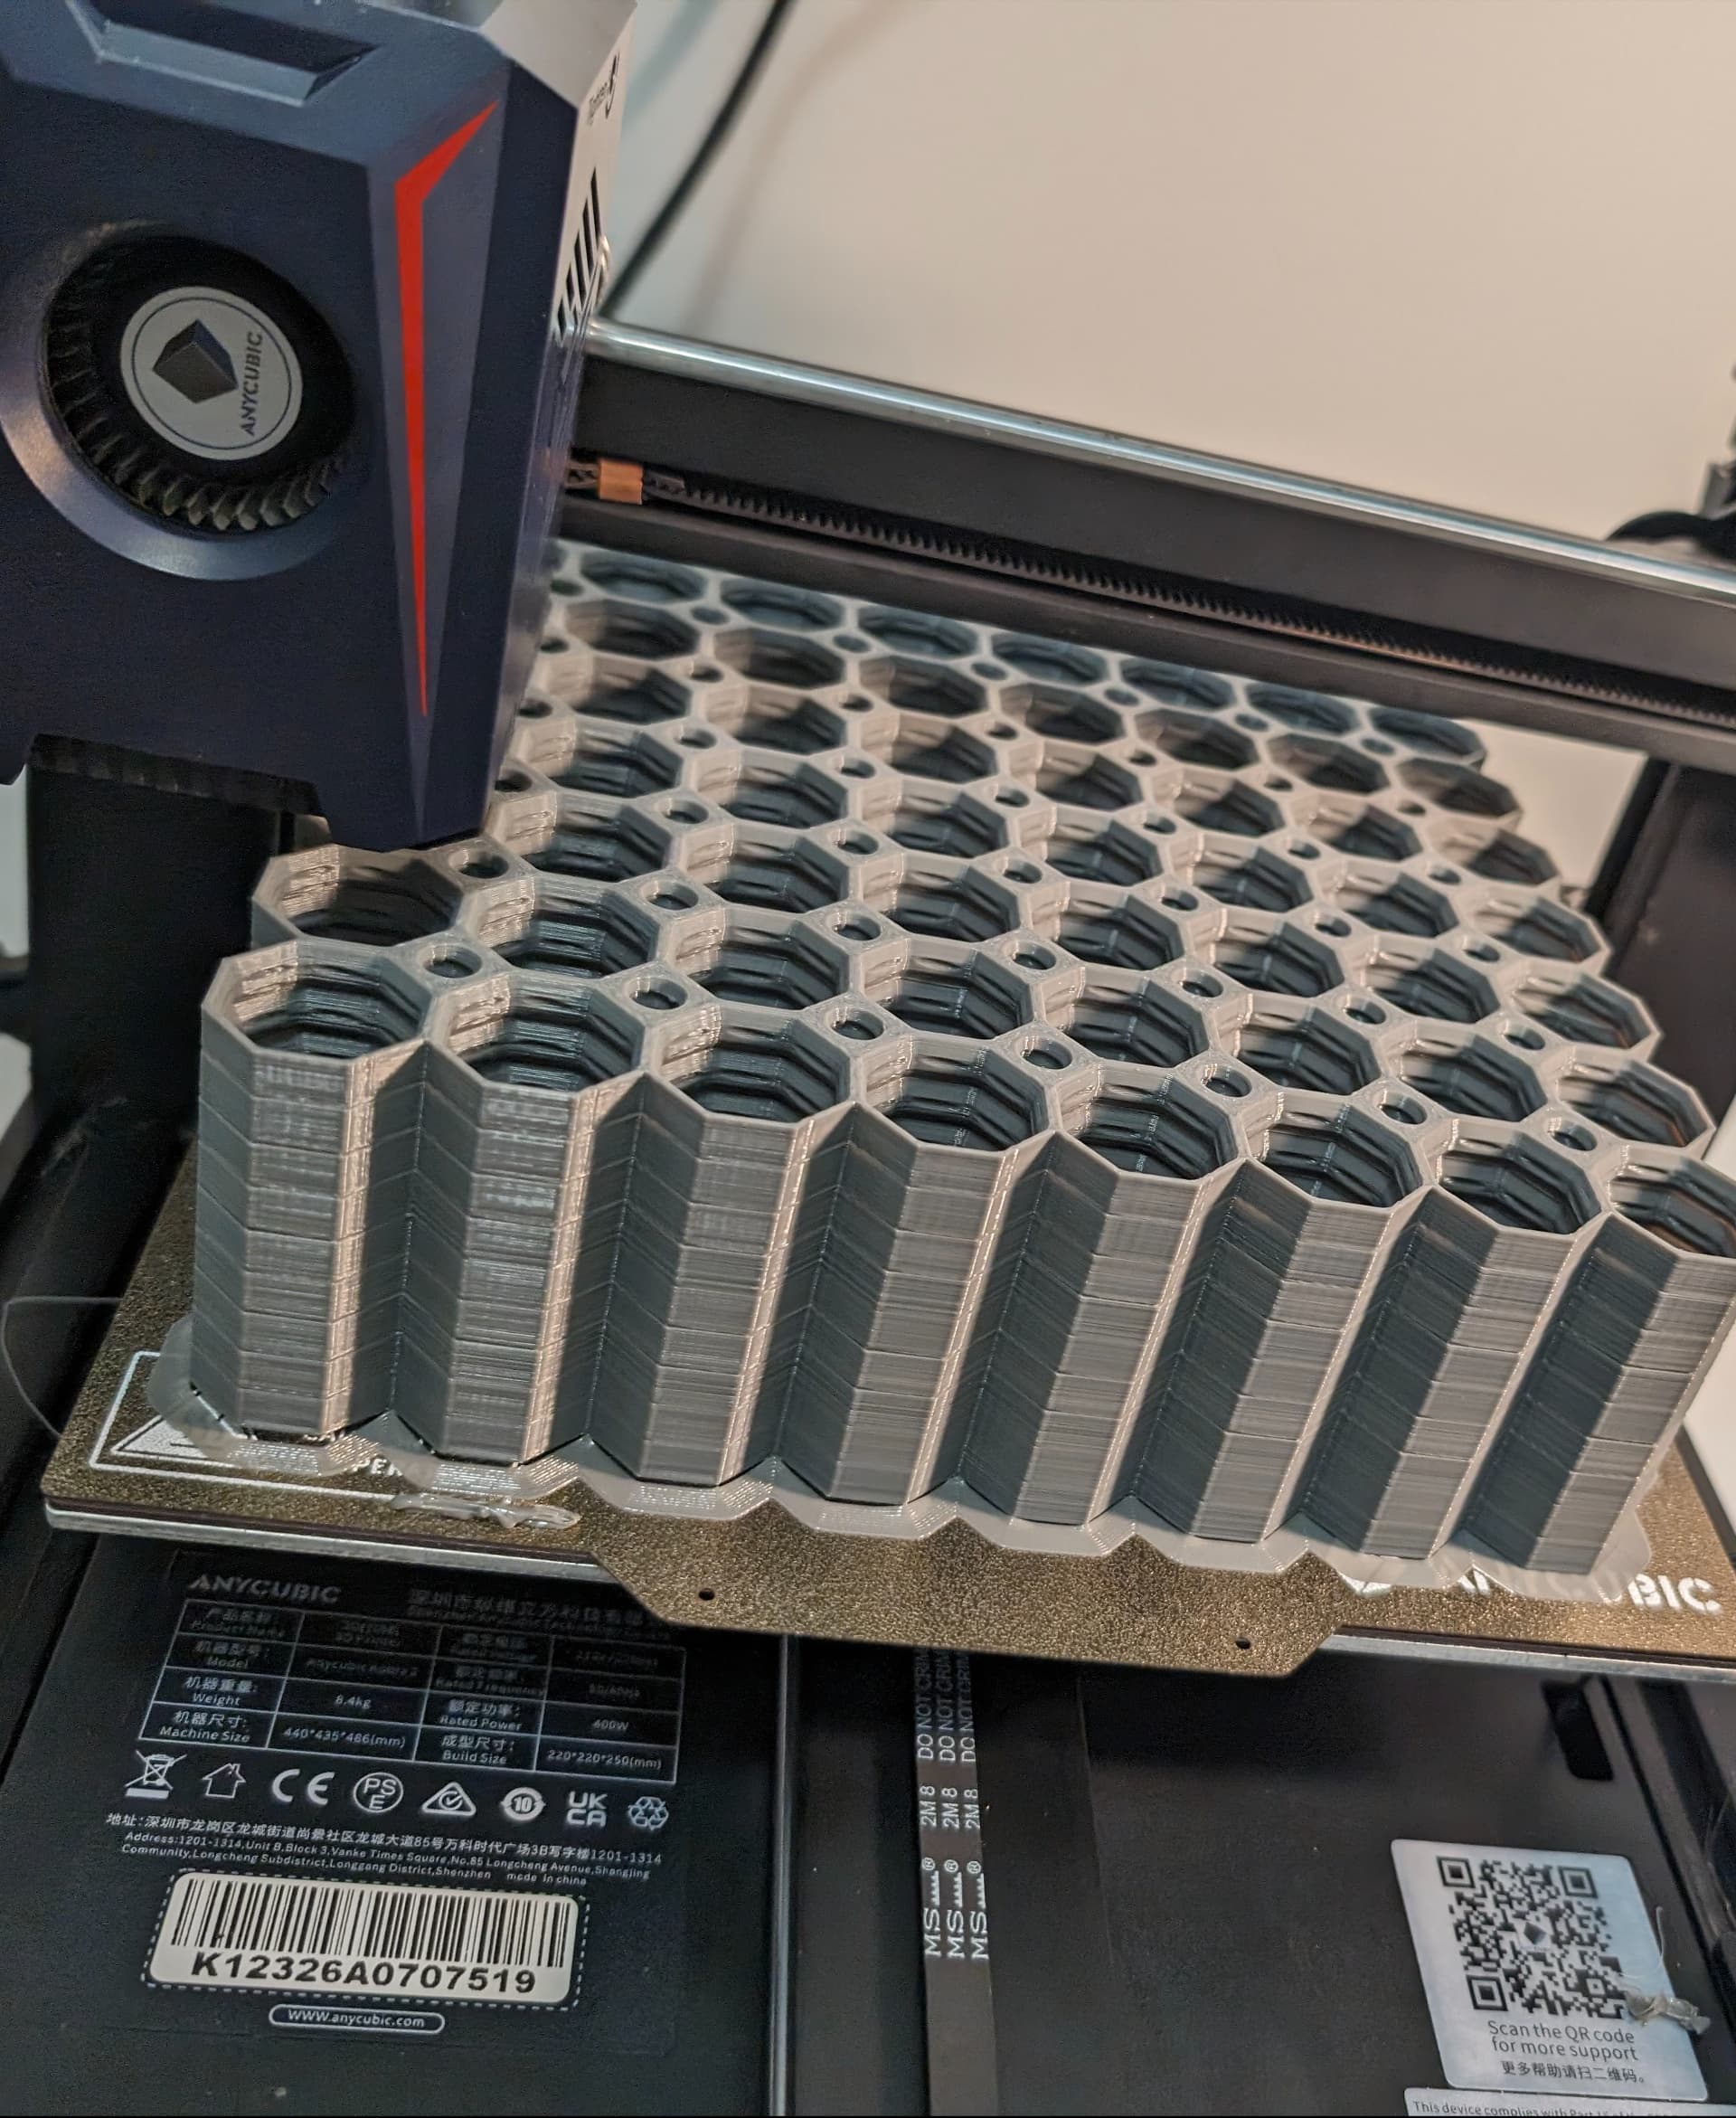
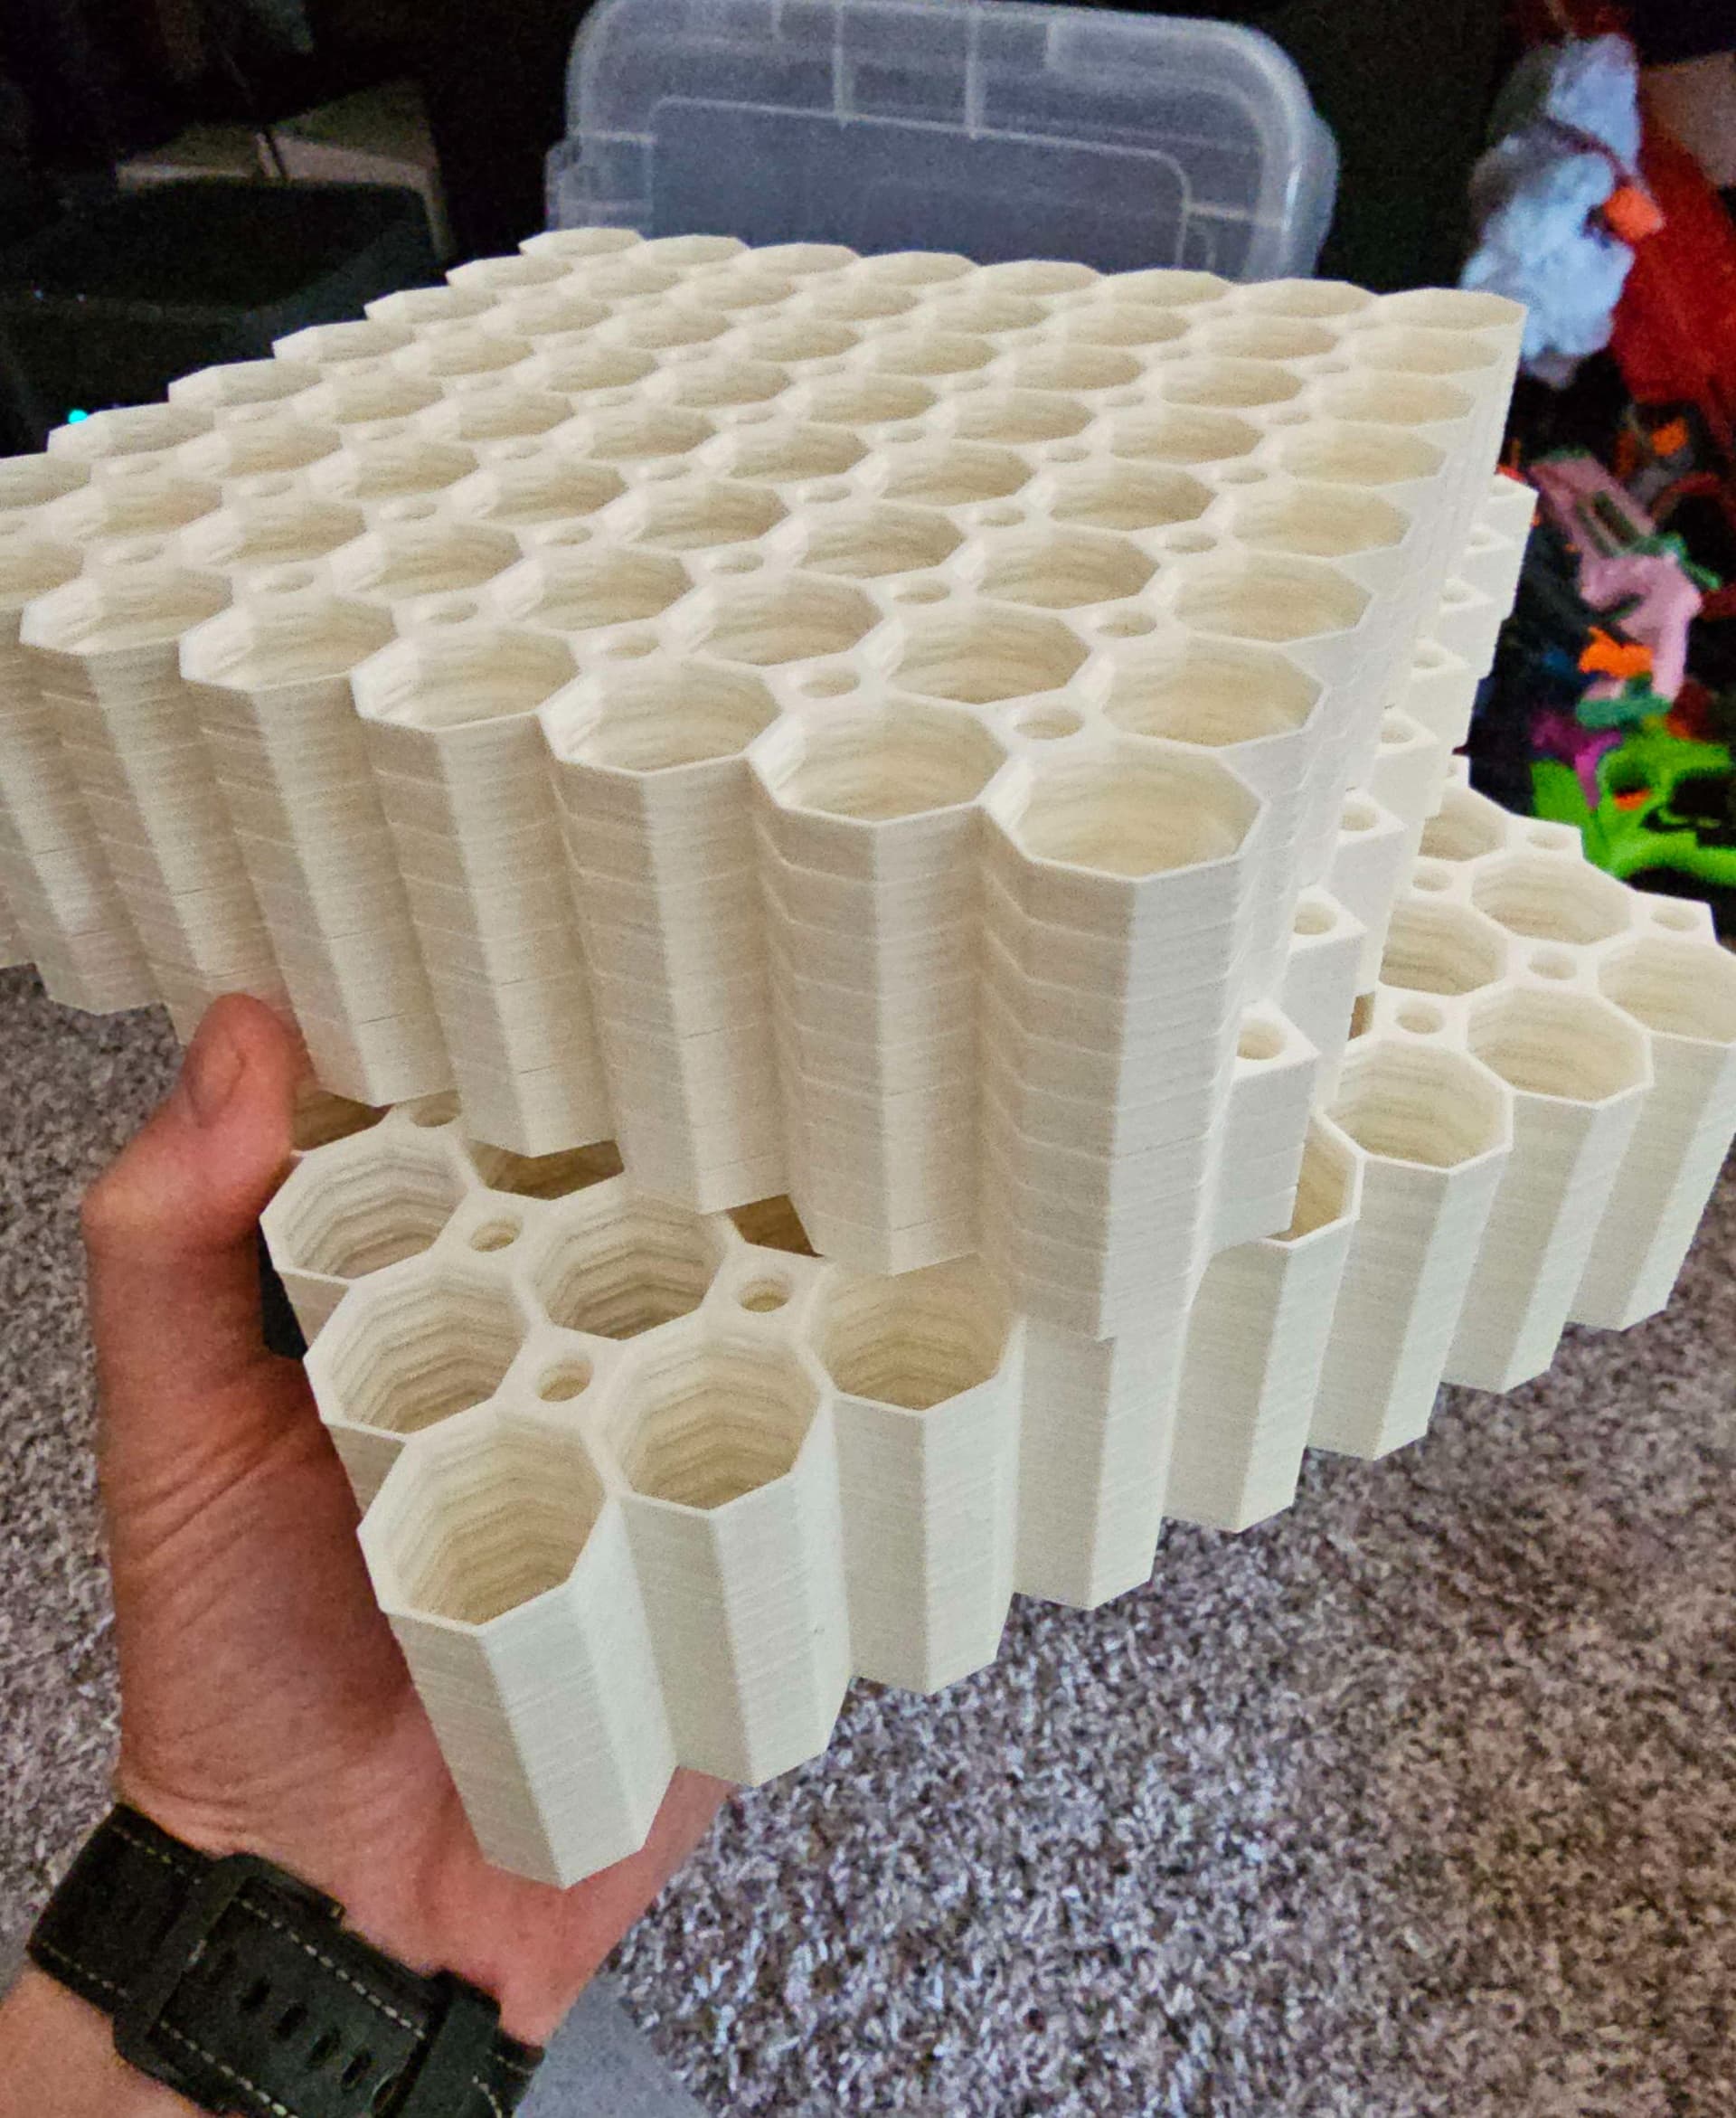
Stack Prints are parts that are printed on top of each other. This stack print uses the "Ironing" method, click here to watch a video tutorial about it.
The printing orientation is as provided in the file. Make sure the downloaded files are .STL.
Printer Settings: Turn on "ironing" for top surfaces. Set seam position to "random" for more strength (optional). Use 3 perimeter wall thickness, 0.2 mm layer height, 15% infill, and no supports. Apart from that, use your printer's default settings.
Also, keep in mind that one side of the tiles aren’t going to come out as nice as printing individually (in case you want to use them double-sided).
Test out Ironing Stack Printing using this test file: https://than.gs/m/977033
If Ironing Stack Printing doesn't work for you, then try out Multi-Material Stack Printing.
For more information about printing options and guidelines, click here.
This object is part of Multiboard, a FREE and ridiculously modular organization system with thousands of parts for creating the most adaptable workspace possible. Learn more and find ALL the parts at https://multiboard.io

8x8 Legacy Tiles - 3x3 Board - Ironing Stack
Fix Point to Countersink Adapter

Flush - Small Hole Center Marking Tool
6.25 Offset - Small Hole Center Marking Tool
12.5 Offset - Small Hole Center Marking Tool
2x6 MU - Right Support End - Modular Bolt-Locked Shelf
4x8 MU - Center - Modular Bolt-Locked Shelf
2x2 MU - Right Support End - Modular Bolt-Locked Shelf
2x6 MU - Left Support End - Modular Bolt-Locked Shelf
8x8 MU - Center - Modular Bolt-Locked Shelf
2x4 MU - Right Support End - Modular Bolt-Locked Shelf
4x6 MU - Center - Modular Bolt-Locked Shelf
2x8 MU - Left Support End - Modular Bolt-Locked Shelf
2x2 MU - Left Support End - Modular Bolt-Locked Shelf
8x2 MU - Center - Modular Bolt-Locked Shelf
8x4 MU - Center - Modular Bolt-Locked Shelf
2x4 MU - Center - Modular Bolt-Locked Shelf

2x8 MU - Right Support End - Modular Bolt-Locked Shelf
8x6 MU - Center - Modular Bolt-Locked Shelf
2x8 MU - Center Support - Modular Bolt-Locked Shelf
It would be helpful if the description of these packs contained the area that they can cover. Example: This pack contains 9 8x8 grids of varying types which will assemble into a 2ft by 2ft square.
Yes Please! The descriptions currently are very generic to the project not the object in question. This is needed on all parts.
Agreed!
Agreed!
yes, this please!
How are you getting them to print stake? Mine stops at 65% on Bambu studio. I paid the $5 membership is that why?
I am curious is there a reason 2 of them together are not 16 inches on center for mounting to studs?
The Multiboard grid is 25mm, which is just slightly less than an inch (~25.4mm) so things don't quite line up, especially over longer spans.
Can we get a bambu profile with support rafts in between objects? separating these is a real challenge
37 hours
Anycubic Kobra 2
Anycubic PLA+
215.73m filament used - about 80% of my spool
used a brim as my first few test prints had issues adhering to print bed. Even though towards the end, it separated
removed them with a putty knife