


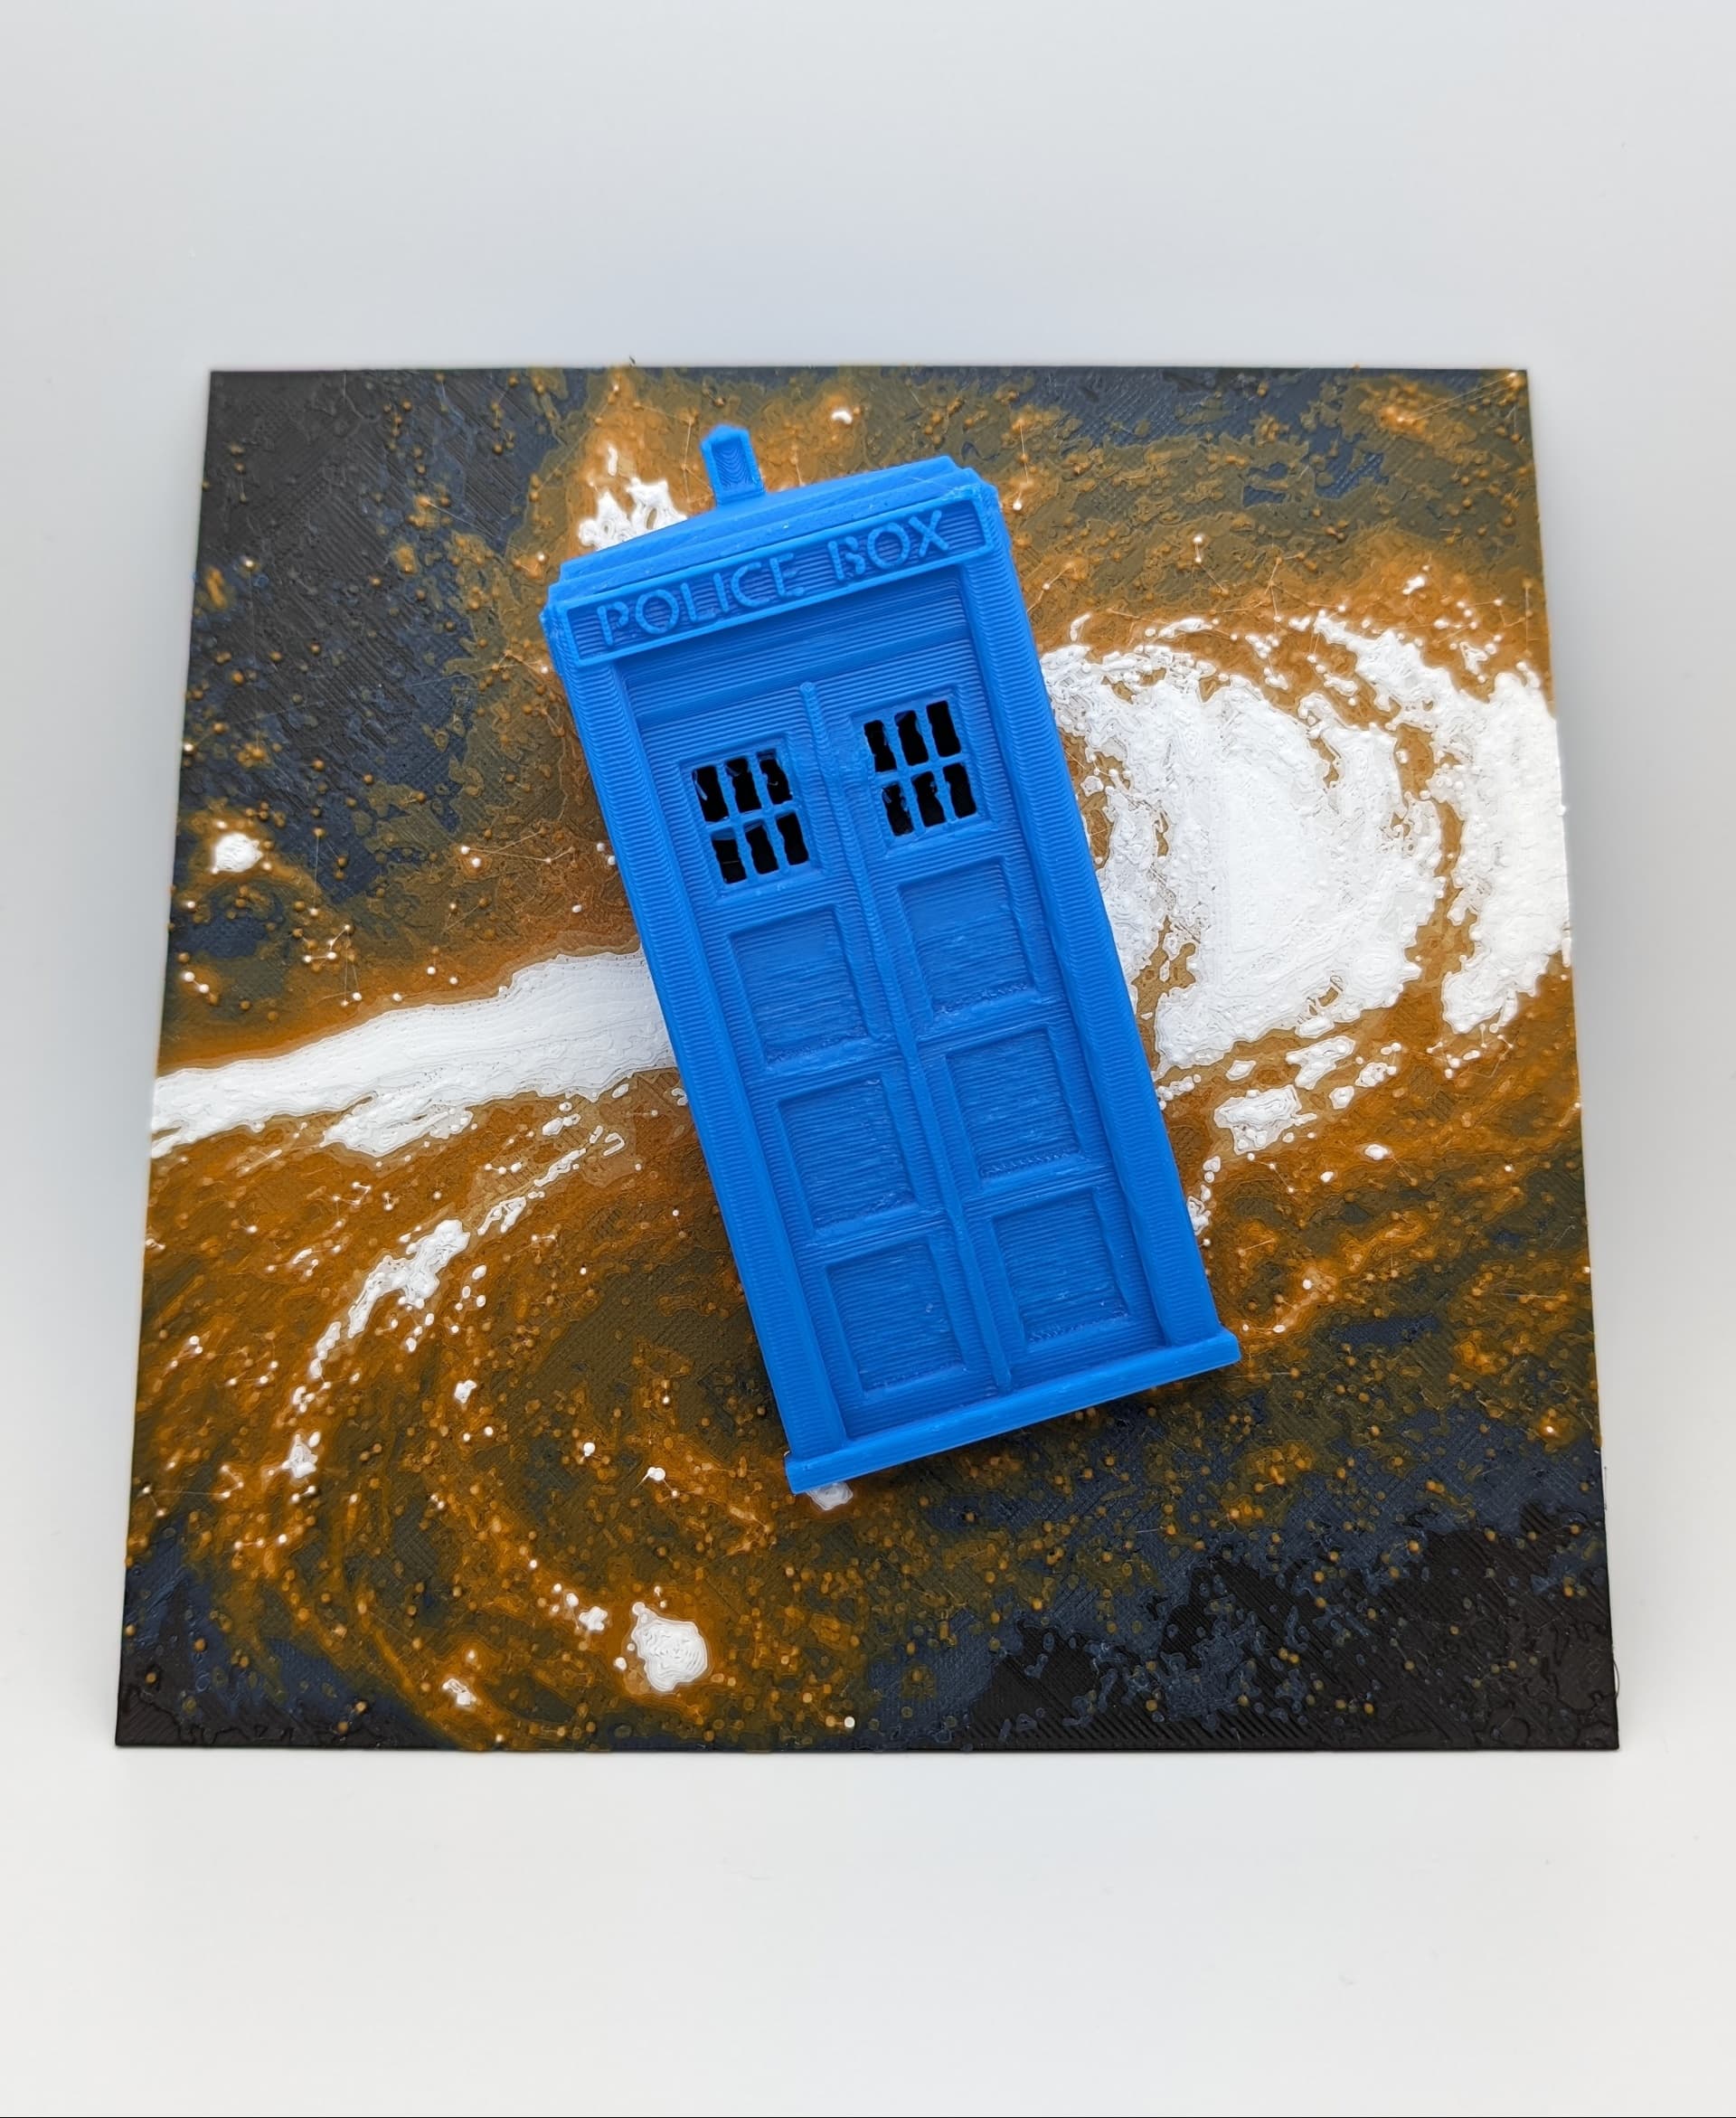
Tardis in Space - Hueforge Hybrid Print
A wibbly wobbly timey wimey model for all the Whovians out here!
This is another Hueforge Hybrid print, where the Tardis ‘pops out’ of the print for a little personality. This print combines Hueforge filament painting methods with traditional 3D printing to create a lovely pop art style print.
Note: If you are using the 3MF for one click printing, all settings will have been applied to the model. I used 5 filaments for this on one AMS and swapped one spool out of the AMS when the colour was finished printing for the 5th colour.
Note 2: This print also has steep overhangs with no supports. If you're not confident in your printer handling supports with my 3MF file settings, do not use the one-click printing function and import the 3MF file into your slicer and adjust the settings for the ‘Tardis_Export3.STL’ part of the assembly to suit your own supports/overhang settings.
If you are not using the one-click 3MF, the print instructions and recommendations are as follows:
- This printed without supports, but I enabled slow down for overhangs. This print DOES require your printer / filament to be dialled in to be able to print the overhangs for the Tardis effectively. If you're not confident, I would enable supports. You would not be able to see it or remove it as the supports should only be applied to areas inside the Tardis.
- I used a layer height modifier to modify the layer height specific to the Tardis (2.04mm - 33mm) to increase it to 0.16 to speed up the print.
- I also modified the infill for the the Tardis and the ‘Generic Cube’ to only print at 10% with 4 walls and 4 top and bottom surfaces.
- Since this print re-uses the Blue and the Black, if you are using only 1 AMS, I suggest swapping out Slot 3 (should be orange) for the white when you are swapping the colours out.
- My recommendation is to have Black, Blue, Orange, Yellow in Slots 1,2,3, and 4 in the AMS, and then swap the orange for white when the orange is done printing.
- If you want to use a different colour for the Tardis, then you can swap out the Blue accordingly
Filament Instructions
Print at 100% infill with a layer height of 0.08mm with a base layer of 0.2mm
Filaments Used:
- PLA Kingroon Black Transmission Distance: 0.4
- PLA+ Polymaker Starlight Neptune (Blue) Transmission Distance: 1.8
- PLA CC3D Orange Transmission Distance: 7.4
- PLA CC3D Lemon Yellow Transmission Distance: 8
- PLA Kingroon White Transmission Distance: 8
Swap Instructions:
-
Start with Black
-
At layer #8 (0.76mm) swap to Starlight Neptune (Blue)
-
At layer #9 (0.84mm) swap to Orange
-
At layer #15 (1.32mm) swap to Lemon Yellow
-
At layer #17 (1.48mm) swap to White
-
At layer #24 (2.04mm) swap to Black
-
At layer #27 (2.52mm) swap to Starlight Neptune (for the Tardis!)

Tardis in Space - Hueforge Hybrid Print

Shelf Studs - Cause you can nail 'em!

Barty the Gargoyle

Apple Pencil 2 Jig for Eufymake
.JPG&w=3840&q=75)
Navessa Allen's Into Darkness Trilogy Inspired Book Nook

Game On Inspired Pen Holder

Gothic Window with Ledge

Oversized Mewtwo Pokemon Card - Hueforge Hybrid

Vi (Arcane) Back Tattoo - HueForge Print

Fortnight - TTPD Christmas Ornament

Caught Up Inspired Helmet/Pen Holder

Reading Challenge Book Trophy

WoodForge - Aztec Style Star Wars Print

Taylor Swift - Life of a Showgirl Flatforge

A Lil Reading Ghost

Terrasen, Velaris and Lunathion Shelf Signs

Babel Tower and HueForge Map inspired by Babel by RF Kuang

Lights Out Inspired Skull / Pen Holder
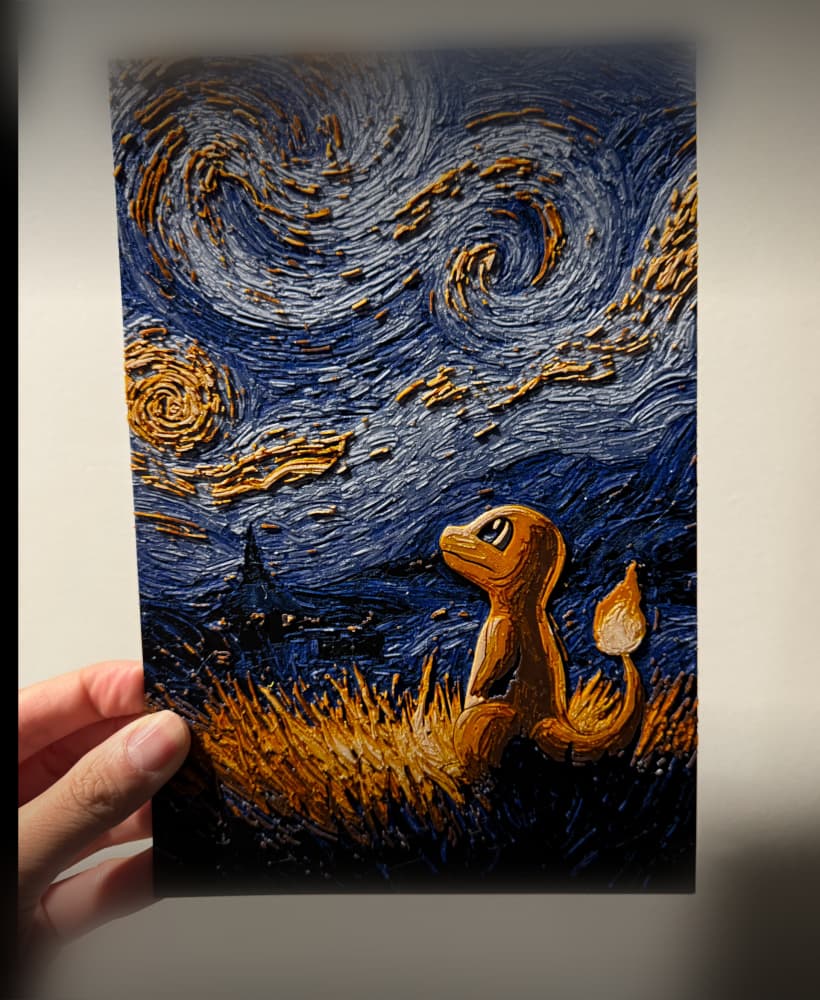
Starry Night Charmander

Starry Night Gengar

Love this make!!
Hi! Your models are awesome! Thank you! But I am having trouble downloading this particular file. The .STL won't download and the .3MF wont open for me in Cura or Meshmixer. Can you double check for us please? Thank you so much!
Absolutely I’ll check! The 3MF will only work on Bambu Studio (maybe orca?) but I’ll definitely check the STL!
Hi Cyanidesugar, I'm still having no luck downloading the STL. The only two files that download are the 3MF and .step files. I'm hoping to print this as a Christmas present :) ... Thank you so much for all your work! It's amazing! :)
Hey hey! Are you able to see if the STL is downloadable now? It should just be called TardisFinalV2.stl :)
Yeeesss!!!! I was able to download it!!!! Thank you so so much!!!!! :)