
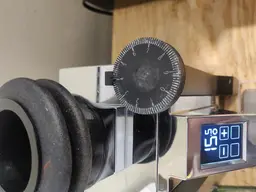

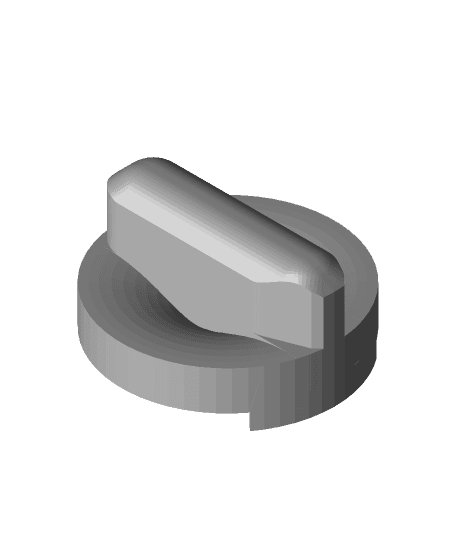
Eureka Mignon Large Knob Dial
99 downloads · 5 years ago · A larger knob with 100 markings making your dialing process much easier.
Use double-sided tape to a
A larger knob with 100 markings making your dialing process much easier.
Use double-sided tape to attach the arrow to the grinder body.
To pain the numbers you can either use thinned with acetone nail polish and apply with syringe or you can apply acrylic pain on the model and clean the top without cleaning the paint from the numbers. You can also sand down the top if some glue left on it.
I have uploaded OpenSCAD file which you can use to customize the dial. You can increase tolerances if it doesn't fit your knob or change the dial lines length, change the font, the number of ticks on the dial, etc.
To download the SCAD file click on "Download All" and it will be in the archive.

Eureka Mignon Large Knob Dial
99 downloads · 5 years ago in and
Eureka Mignon XL OpenGBW scale addon
Gottwald Hydraulic Lever Knob (Large)
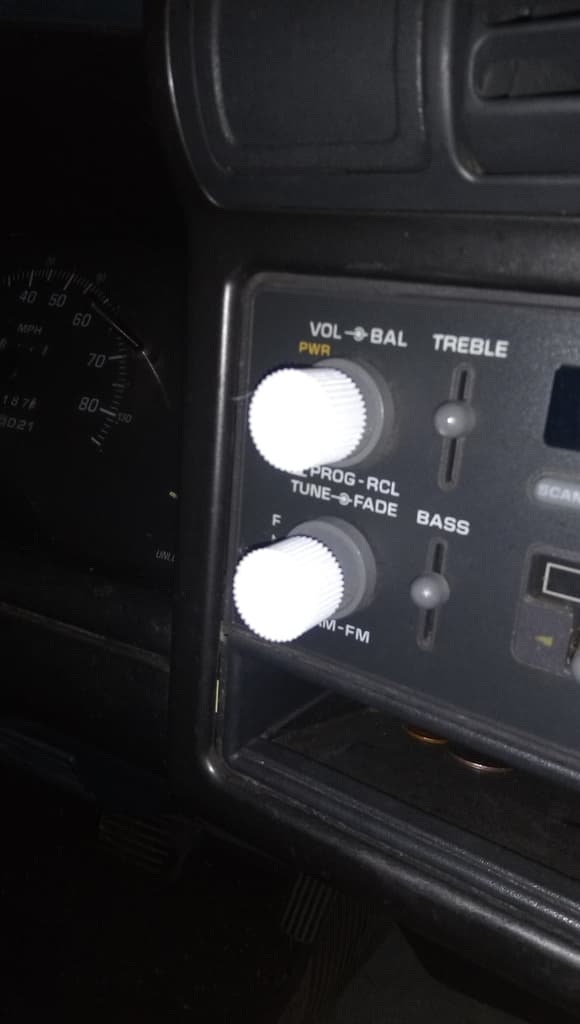
1994 Chevrolet S-10 Radio Dial Knobs
2007-2009 Hyundai Accent AC Large Knob

BRIDE JDM Seat knob reclining dial

FHW: Large drawer knob round indent with assorted faces
Roper Washing Machine Washer Control Knob or Dial

Large (35mm) leveling adjuster knob
Universal Microwave Knob – Replacement 3D Printed Control Dial
Meta Quest 3 Adjustable Strap
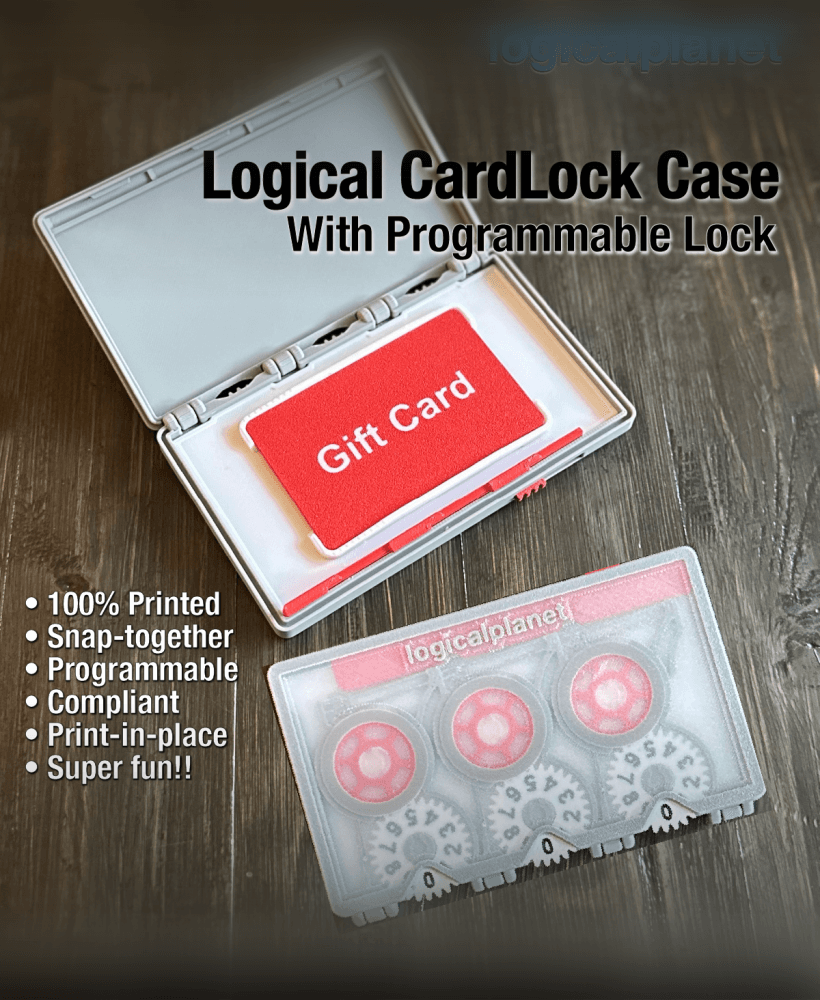
Logical CardLock Case - The Programmable Gift Card Case with a Twist
Professional Ender 3 v2 Extruder Motor Knob
Ace (Bambu Lamp Kit 001 - Generic LED puck 61-71 mm)

Tactile Triangle Teaching Tool - Protractor Remix

Tactile Triangle Teaching Tool
FanBlade.stl
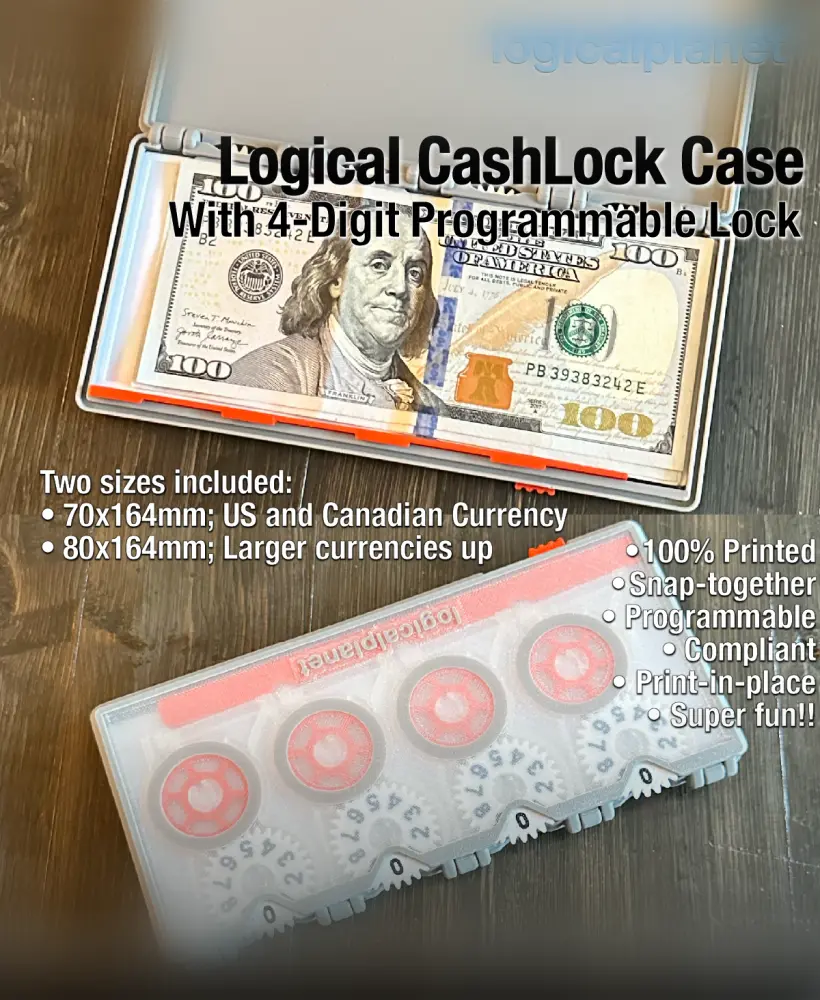
Logical CardLock Case - The Programmable Cash Case with a Twist
Gnurly Knob
Dial Button.stl
If anyone struggles fitting the knob over the original one I have updated the design to add more tolerances. I also added SCAD file you which you can use to customize any settings you want. The knob is fully parametric and generated through code.
This is a great design! Thank you so much for sharing. I'm having trouble printing it unfortunately. the layers that have the numbers separate from the rest of it which printed fine. I'm using an Ender 3 pro with Hatchbox PLA. I also increased the temperature to 210 but still the same issue.
There's a guy selling something that looks exactly the same here: https://www.etsy.com/listing/1084360977/eureka-mignon
Same description too.
The creator recommended using double sided tape to fix the arrow to the machine. Preferably a thicker or heavy duty double sided tape.
How did you fix the arrow to the machine?
hello mike1808 , thank you for posting this!
If anyone needs OpenSCAD file let me know