


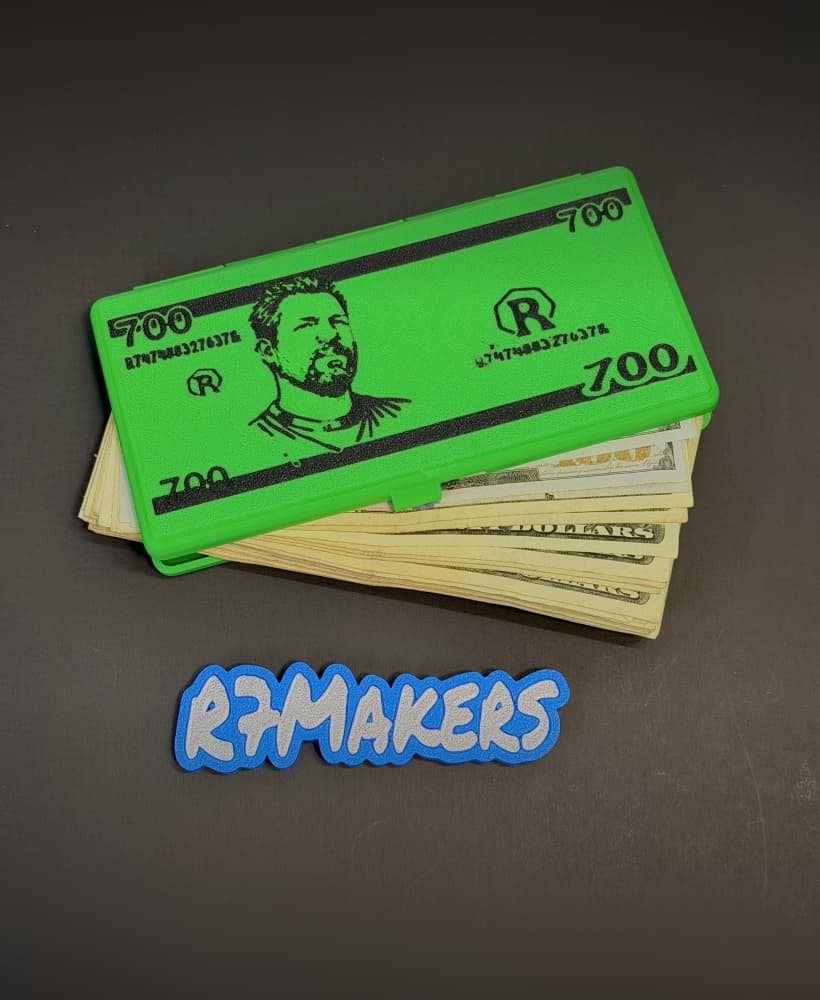
R7Vault Savings Fund Wallet | Folded Bill | Custom Photo Insert Wallet (3D Print STL)
I set out to make a beach-themed wallet… but the original design didn’t have enough space for real detail. So I rebuilt it with a swappable front panel—and it turned into something way more useful.
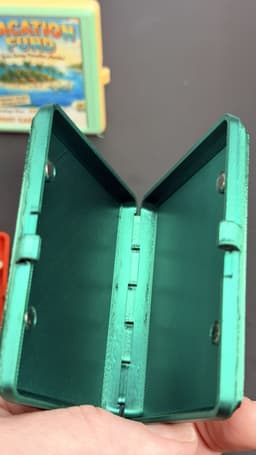
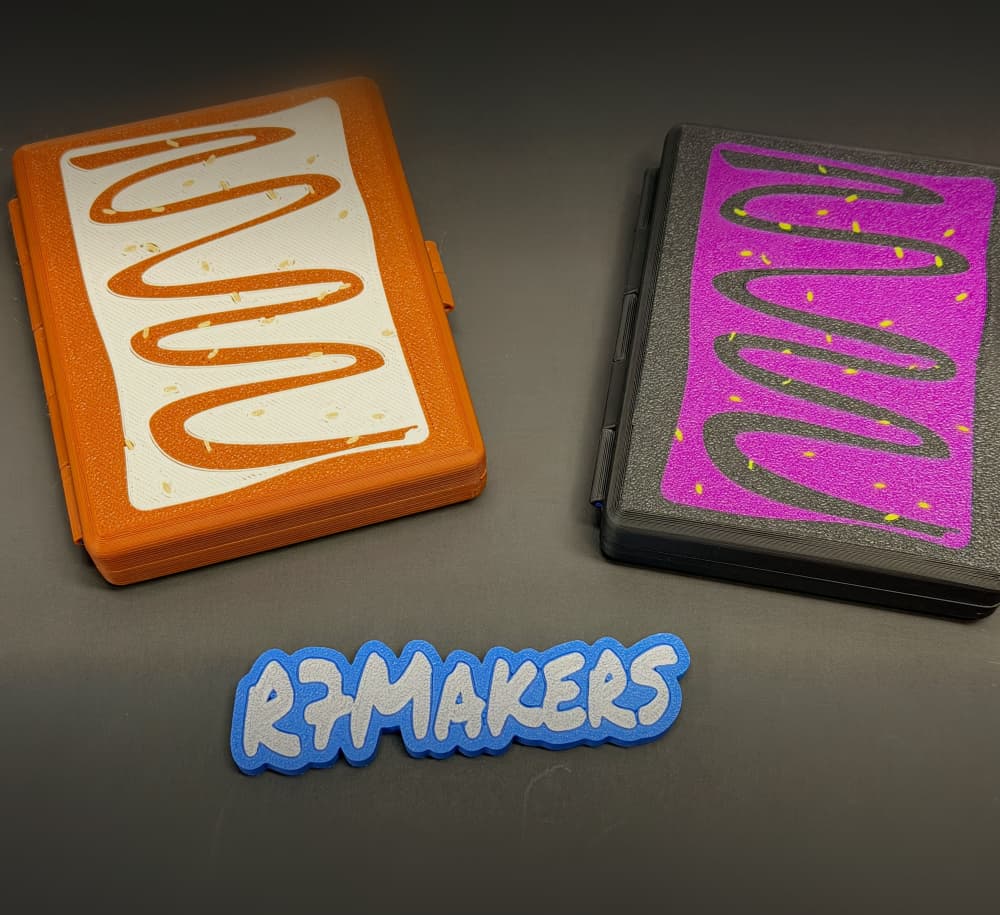
The R7Vault Savings Fund Wallet is a compact, 3D-printable wallet that holds folded bills and cards, with a customizable front insert. Add your own photo, artwork, AI-generated image, or use the included designs to create a wallet that actually means something to you.
Think: vacation fund, emergency stash, gift wallet, or a personalized everyday carry.
🔑 R7Makers Members get:
- Monthly model releases
- Instant welcome pack — 214+ files immediately
- 50% off the back catalog
- Commercial rights to sell physical prints of any R7Makers design
👉 JOIN THE R7MAKERS LAB: https://thangs.com/designer/r7Makers/memberships
WHAT'S INCLUDED
- Wallet body — folded bill size with front panel recess
- Support piece for single extruder printing (see below)
- 8 sample Savings Fund art panel images (56mm x 69mm)
- PDF instruction guide — image generating, sizing, printing, and attachment methods
- Custom Photo / Art Insert – 56mm x 69mm front panel fits photos, drawings, or printed designs
- Magnetic Closure – Uses 5x3mm neodymium magnets for a secure snap
- Filament Hinge – Tool-free hinge using standard 1.75mm filament
- Fast Print Option – Separate support insert reduces print time
- Single or Dual Extruder Compatible
- Panel size: 56mm x 69mm
- Print 2 panels on one standard 4x6 photo
- Works with photos, AI art, or hand-drawn designs
- Attach with double-sided tape or adhesive photo paper
- Full instructions included in the PDF 🎨
- Orientation: Print face down
- Walls: 2
- Infill: 15%
- Supports: See options below
Print PLA model with PETG supports.
⚠️ Use a PETG profile with a 50C bed temp to prevent heat creep during material switching.
🔧 Single Extruder Method
- Print support insert in PETG
- Let it cool fully before removal
- Pause main print before layer 5 (~1mm)
- Insert support piece and resume print
Tip: Lower aux fan to keep the insert stable during printing.
🧩 Assembly- Insert magnets (secure with glue if needed)
- Cut image to 56mm x 69mm
- Apply tape or adhesive backing
- Press into recessed panel
Note: The 0.8mm recess gap is intentional for a snug fit.
The support piece also significantly reduces total print time as a bonus.
ASSEMBLY HARDWARE- As an Amazon Associate I earn from qualifying purchases.
- 🧲 400 Pack Small Magnets, 5x3mm Neodymium Magnets
- 💧 12 x 3g Super Glue Gel — secure your magnets so they never come loose
- 🖇️ 3M 300LSE Double Sided Tape .39x36ft — for attaching your art panel
- 🧵 Filament Hinge: Use a short length of your own 1.75mm filament — any color, any brand
- 🎨 ERYONE Silk PLA - Silk Christmas Green
- 🎨 SUNLU Silk Dual Color PLA - Red/Blue
- 🎨 3DHoJor PLA Pro - Red
- 🎨 ZIRO PLA Matte - Beach
- 🎨 Creality Hyper PLA - Brown
- 🎨 3DHoJor Matte PLA - Pink
- 👉 R7 Minimalist Wallet — the original slim carry
- 👉 R7 Vault: Full Bill Edition — unfolded full bill version
- 👉 R7 Pastry Vault — because why not 😄
R7Vault Savings Fund Wallet | Folded Bill | Custom Photo Insert Wallet (3D Print STL)
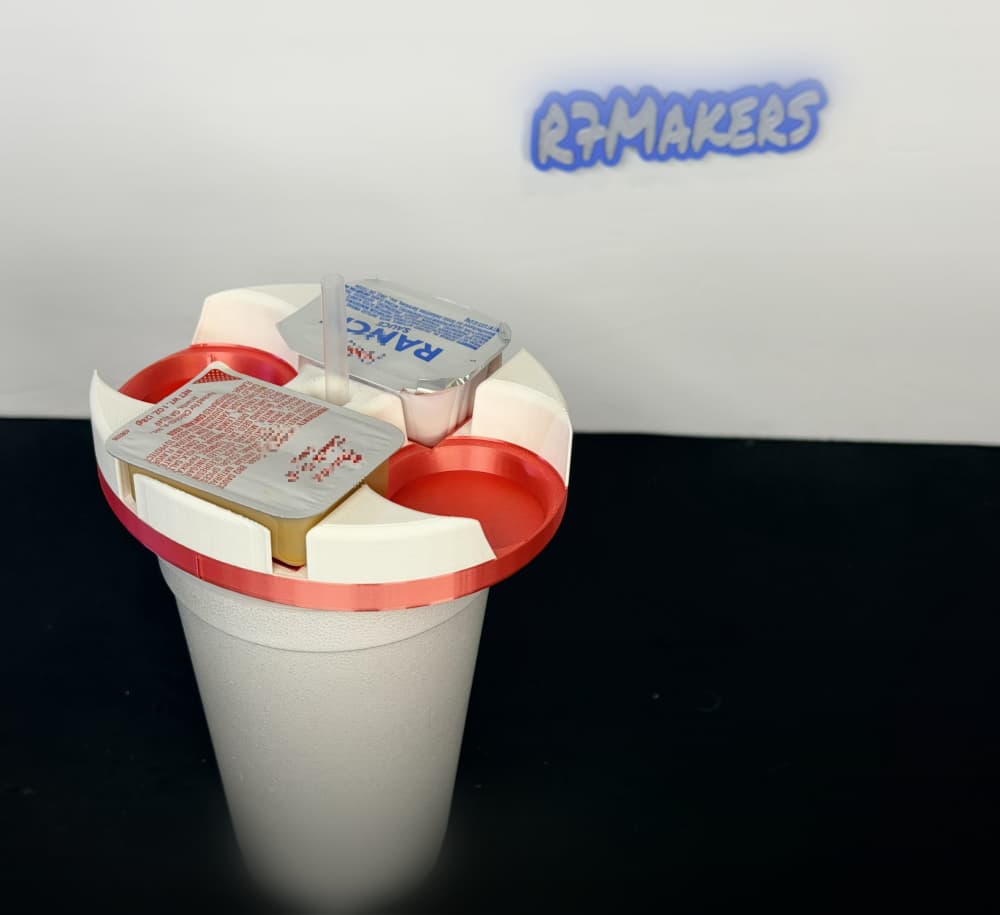
R7 ToGo Sauce Caddy (Slim Version) | Car Cup Holder Sauce Organizer | Condiment Holder | R7Makers

R7 ToGo Sauce Caddy | Car Cup Holder Sauce Organizer | Fast Food Condiment Holder | R7Makers
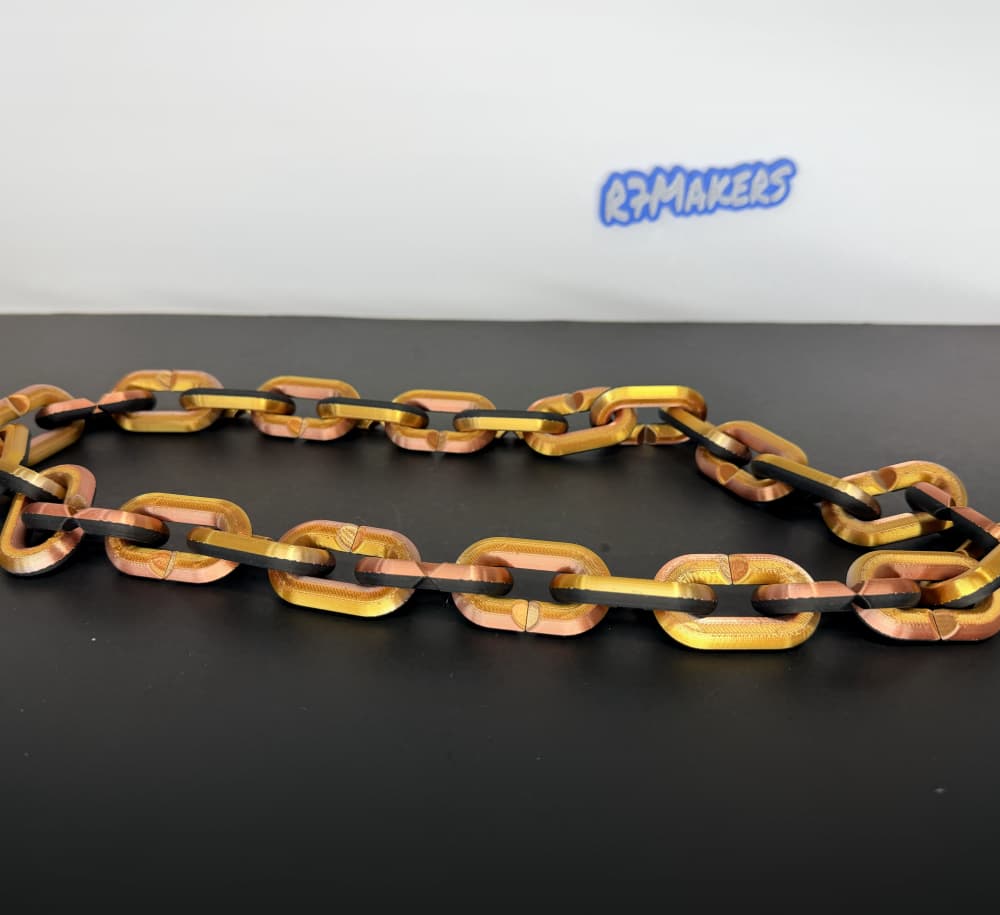
R7 Hype Chain | Chain Links | Teacher Appreciation | R7Makers

R7 Teacher Hype Chain | Personalized Pendant | Mr. Mrs. Ms. A–Z | R7Makers

R7 Lattice Magnetic Marker Basket | Personalized Initial | Mr. Mrs. Ms. A–Z | R7Makers

R7 Lattice Magnetic Dry Erase Marker Basket | Mr. Mrs. Ms. | Teacher Appreciation | R7Makers
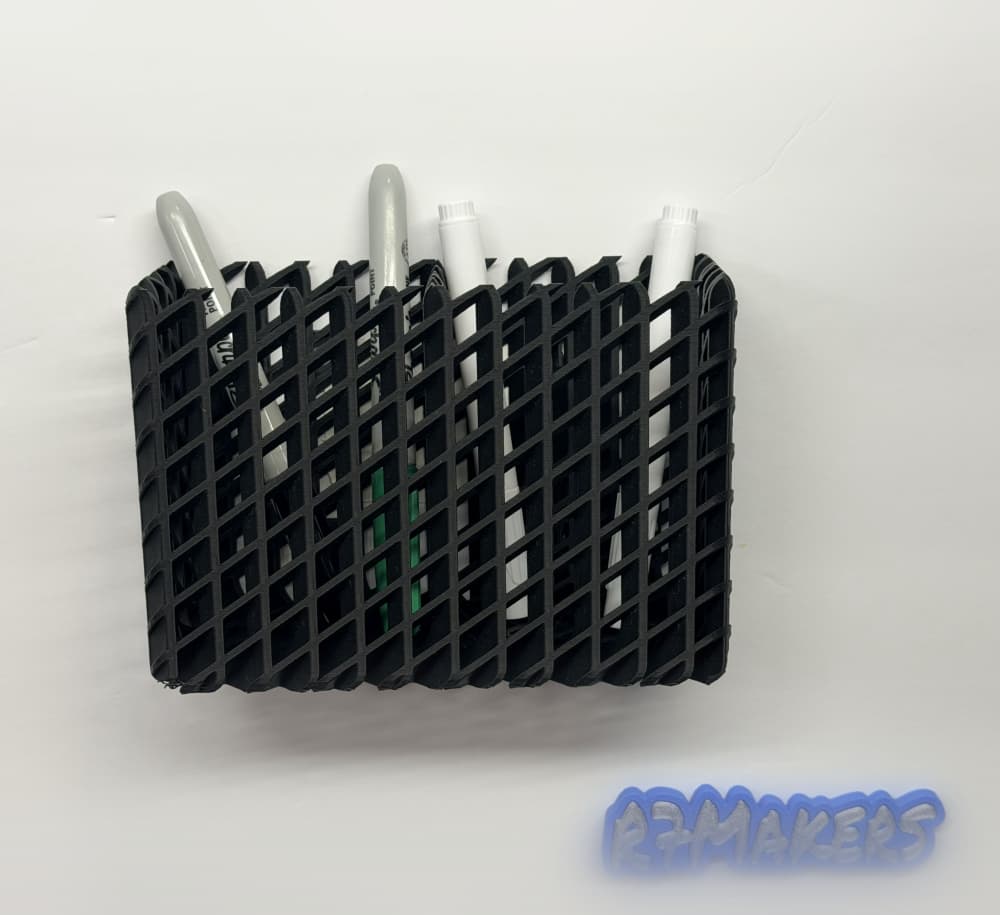
R7 Lattice Magnetic Dry Erase Marker Basket | Teacher Appreciation | R7Makers
Toolbox Labels | Style D Essential Set | 6-Piece Starter Pack | R7Makers
Complete Toolbox Organization (116+ Labels) | Style D | R7Makers

"Pay with the Pointer" Wand | Teacher Appreciation Tap-to-Pay Extension | R7Makers

R7 Gyro Flower | Rolling Petal Edition | Spring Fidget Toy | R7Makers
R7 Gyro Flower Fidget | Spring Gyro Fidget Toy | R7Makers

Aquarium Undersand Tunnel & Cove | Fish Hide | 3D Printable | R7Makers

“Pay with Good Looks" Wand | Tap-to-Pay Magic Mirror Extension | R7Makers Member Exclusive

R7 Gyro Egg | Ultimate Prize Egg | Large Shell Fidget with Hidden Cavity | R7Makers

R7 Gyro Egg Fidget | Full Gyro Ring Edition | Easter Fidget Toy | R7Makers

R7 Gyro Egg Fidget | Layered Shell Fidget Toy with Hidden Cavity | R7Makers
R7 Vault: Full Bill Edition | R7Makers
R7 Pastry Vault – The Tactical Toaster Pastry Case | R7Makers
