.png&w=256&q=75)
Froggy Derby Car w/ Rolling Wheels + Fly Driver
Time to get a little froggy on the race track! Meet the Froggy Derby Car and its fearless pilot, the Fly Driver. Together they weave through cones at lightning speed in a mad dash to the finish line 🏁
Assembly Information
Derby Car parts are printed by object and require some easy assembly. I know print by object sometimes requires some extra work but we couldn't have this awesome model any other way!
Much of the car fits snuggly together, but in some areas you may want to use a small amount of super glue, such as for the seat, steering wheel, eyes, and tailpipes.
I have found that the wheels, axles, handles, and spoiler snap in securely and do not usually require glue, although results may vary depending on your printer settings and filament as well as who is going to be playing with it.
Printing Instructions and 3MF Information
There are so many different combinations of plates that I tinkered with try to get just the right setup, but honestly I think you will be the one to decide what works best for your colors choices, time, and printer availability.
Derby Car Printing Instructions 🐸🏎️
2 plates = approximately 2 hours
Multiple plate arrangements are included for flexibility.
Preferred Print Setup (use 3mf labeled "Optimal")
Plate 1: Derby Car Body, Spoiler, Wheels, and Number
Plate 2: All Remaining Parts & Traffic Cones
Plate 3: Fly Driver
Optional Setup
Use 3mf labeled ALL Parts and choose your own!
Fly Driver Printing Instructions 🪰
The Fly Driver will add a bit to the total print time since it is a print-in-place model.
If you have the extra time, you may want to consider using the Optional Plate 2 setup from the ALL Plates File.
📣 Note: This model, along with all of my designs, is not intended for children under 3 years old. It contains small parts that may present a choking hazard. Adult supervision is recommended whenever children are handling or playing with these objects.
Bambu Studio Printer Settings:
Coloring: 🎨The 3mf includes pre-painted objects that are colored by parts as well as the painting tools. Feel free to change color presets and adjust colors as needed.
Check final results in the slice preview before printing!
Print Settings: 🖨️
3 Walls and 10-15% Gyroid infill (the 3mf includes these settings)
0.16-0.2 layer height
Make sure to keep brim 0.3 outer-only on the axles and tailpipes to aid in adhesion.
I didn't do any scale testing (let me know if you do!)
Froggy Derby Car w/ Rolling Wheels + Fly Driver

Honey Collectors - Full Set (Snapmaker).3mf

Largemouth Bass
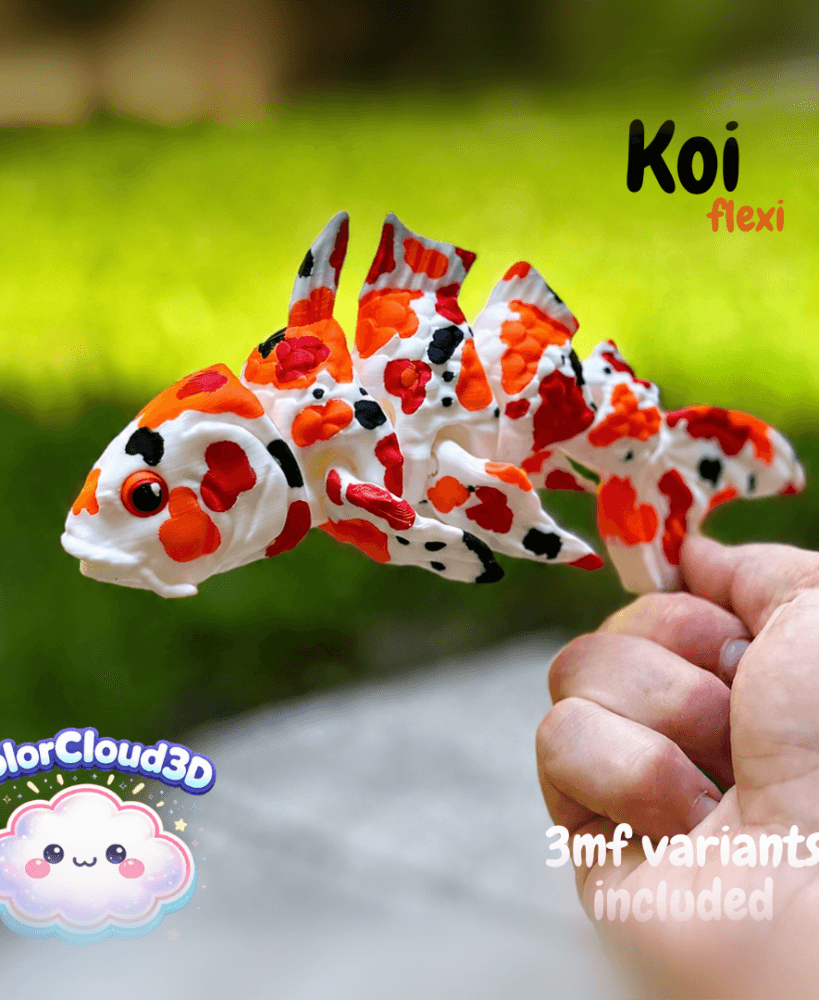
Koi Fish

Rainbow Trout

Koi Fish - Articulated Realistic Model

Shoebill Stork
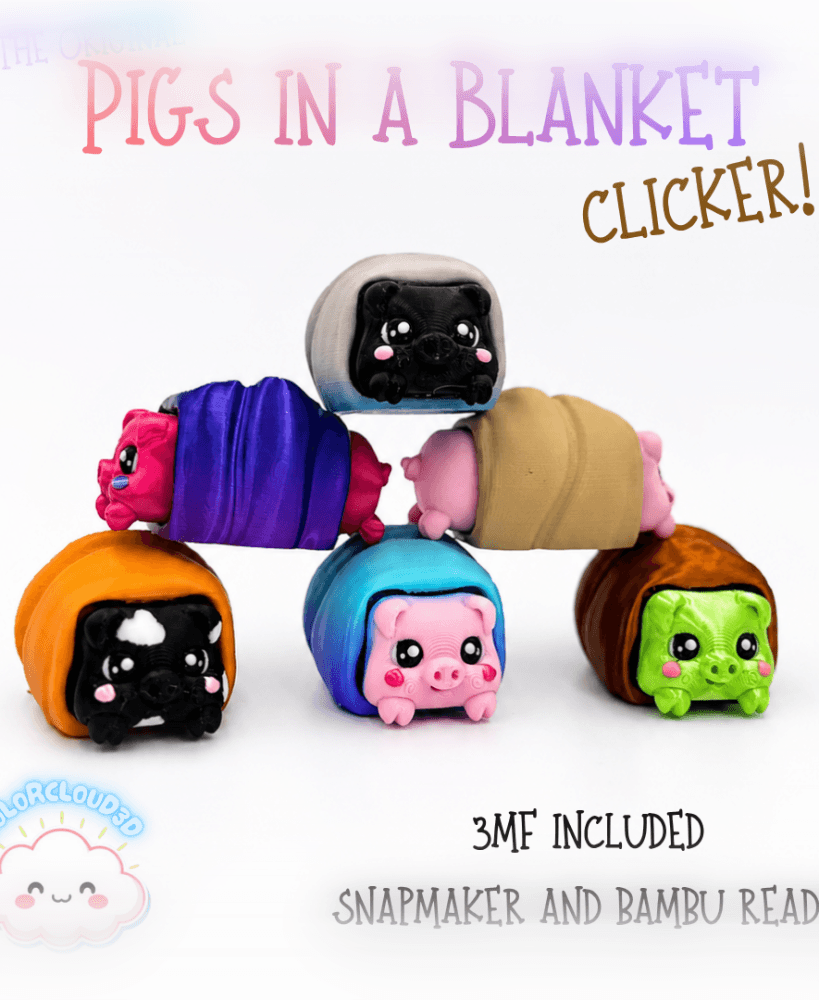
Pig in a Blanket Clicker (The Original)

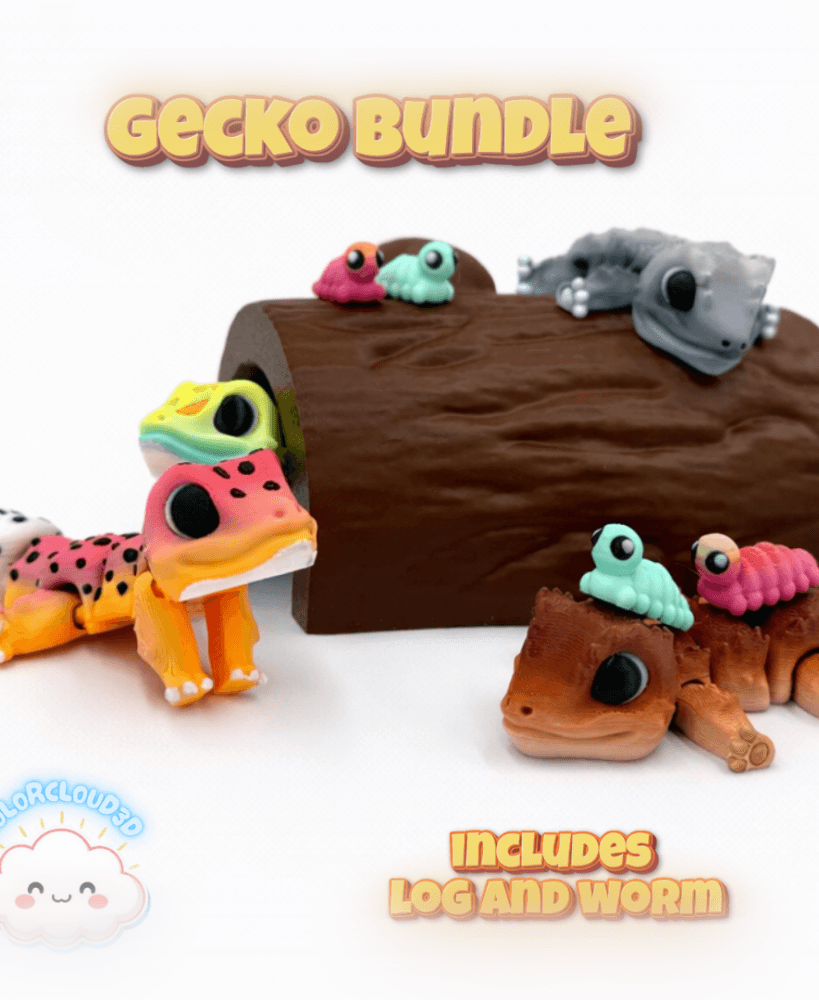
Garden Foragers

Mudskipper
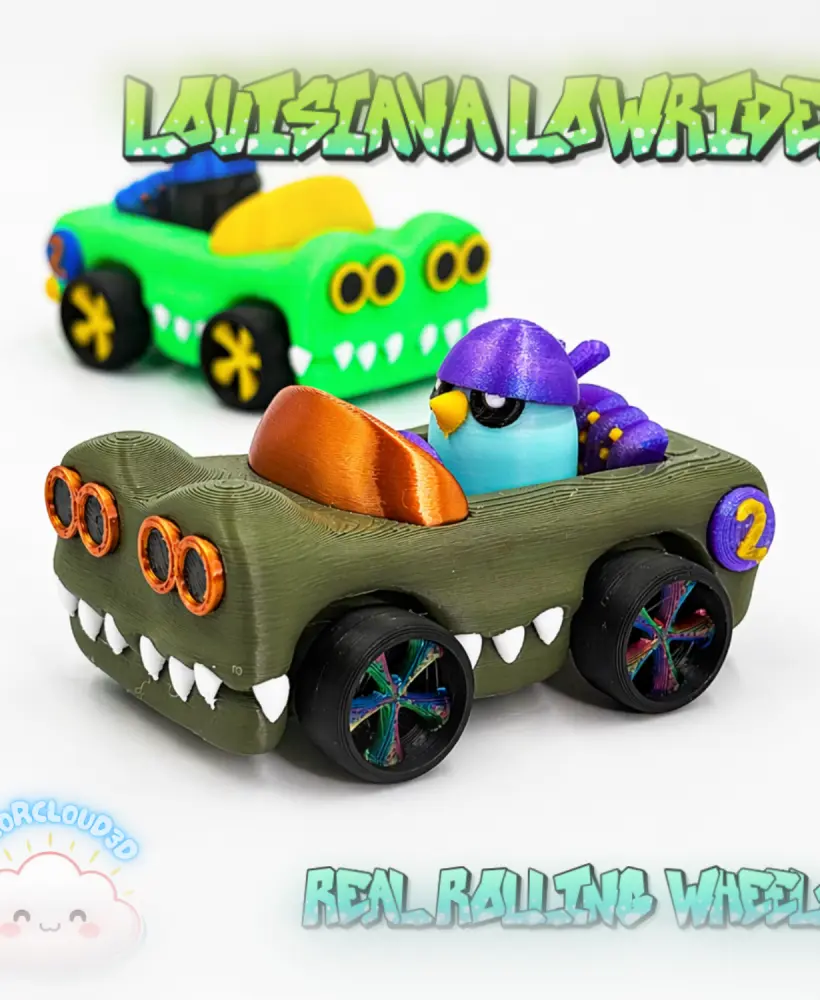
Louisiana Lowrider - Real Race Toy!
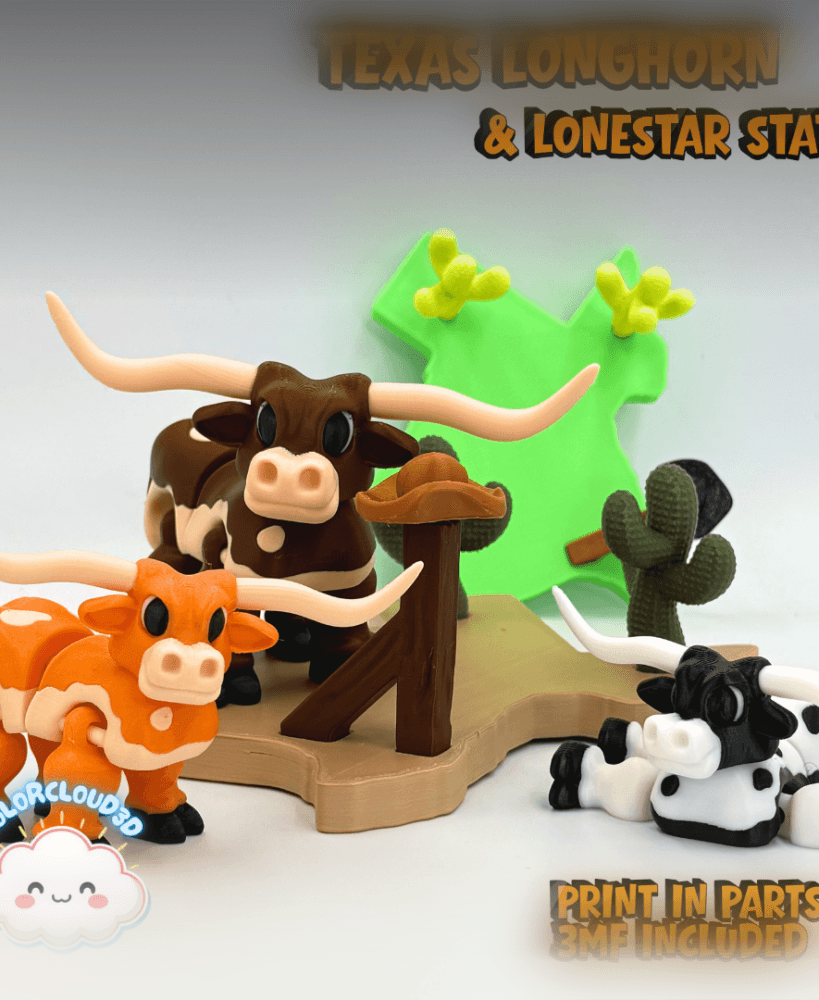
Texas Longhorn + Lonestar State

Oakhart - The Forest Guardian
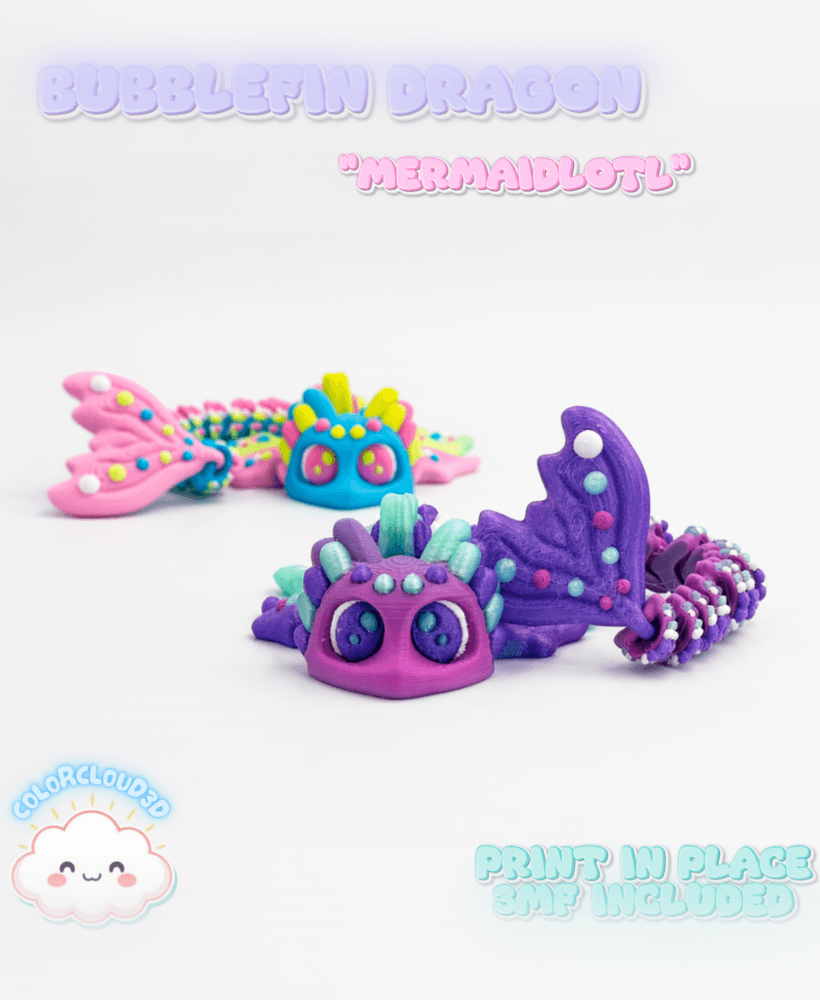
Bubblefin Dragon (Mermaidlotl)

Louisiana Lowrider - Real Rolling Car! (Racer #2 in series)

Bearded Dragon

Nekomori - Fae Kitty

Mallard Duck - Flexi

Dragonfly Flexi

Kawaii Kitty Bookcase + Sleepy Kitty & Star Trophy