


Easter Egg (with Flowers & Bunnies) Pass Through Fidget
The center shape of many pass-through fidgets remind me of flowers - so that is the theme I went with for this Easter Egg Pass-Through Fidget 🌸 Initially I covered the whole thing in flowers, but it felt like too much 😂 so I dialed it back and added a few bunnies 🐇🐇🐇
3D Printing Instructions: PLA works great 0.20 mm Layer Height for Egg_outside, Egg_inside, & flower center pieces 0.12mm Layer Height for Bunny & Flower pieces 15% Infill Supports needed for bunny piece (more specific instructions below ↓)
I have included a 3mf project file with the following print plates: Print Plate #1 (Egg_outside): 3 colors,... Quality section: Outer wall & Inner wall line width 0.6mm Seam Position: nearest Strength: 3 walls Speed: Outer wall speed 50mm/s & Inner wall speed 100mm/s Print Plate #2 (Egg_inside): 2 colors Print Plate #3 (bunny x 3): 1 color, 0.12mm layer height, variable layer height + Ironing of top surfaces, supports added (Top Z distance 0.29mm to make supports easier to remove) Print Plate #4 (flower x3): 1 color, 0.12mm layer height, variable layer height + Ironing of top surfaces Print Plate #5 (flower center x3): 1 color
Note about printing the Egg_outside: I test printed several of these eggs and found that my above settings worked best to get a smooth, curved underside of the egg without an ugly seam.
Note about printing the Bunny & Flower pieces: I reduced the layer height, adjusted the variable layer height and added ironing to make the top surface of the bunny pieces and flower pieces smoother.
To assemble: Push bunny pieces into place. To attach the flowers, insert the flower center piece through the flower and then snap into the corresponding areas on the outside of the egg.
Have fun printing and Happy Easter! 🌷Erin
Easter Egg (with Flowers & Bunnies) Pass Through Fidget

Twisty Fidget Tree (2 Styles)

Alphabet Layered Fidgets

Big Beads: Sports Themed

Cupcake & LED Candle Set (with Cupcake Stand and Magnetic Match)
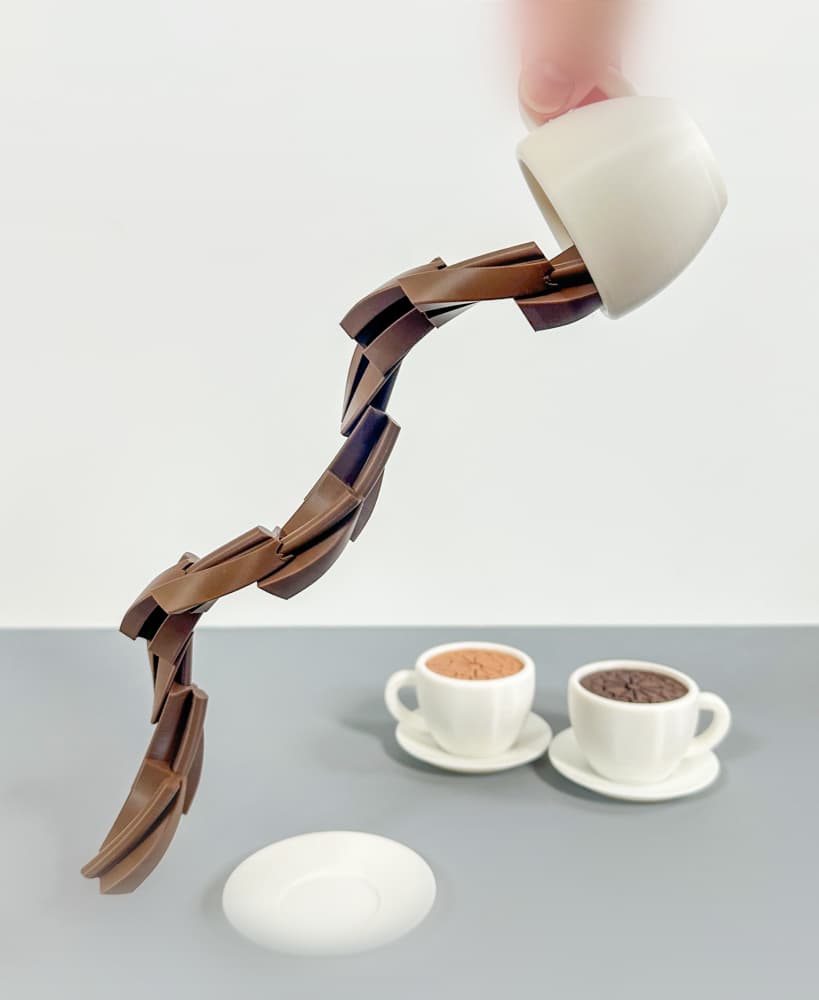
Spill the Tea Fidget

Football Layered Fidget

Potted Flowers and Watering Can

Flower Stand for Potted Flowers with Watering Can

Pixel Flower Fidget (2 sizes) with Stems, & Vases (3 styles)
.JPG&w=3840&q=75)
Fidget Fabric Fried Egg Set (play or coaster set)

Twisty Pint Fidget (2 Styles)

Clicky Phone Fidget (2-in-1 Fidget)

Fry Pan, Spatula and Fork

Green Eggs (requires mesh fabric), Slinky Ham and Plate

Number & Symbol Big Beads (for Horizontal and Vertical Stringing)

Big Letter Beads
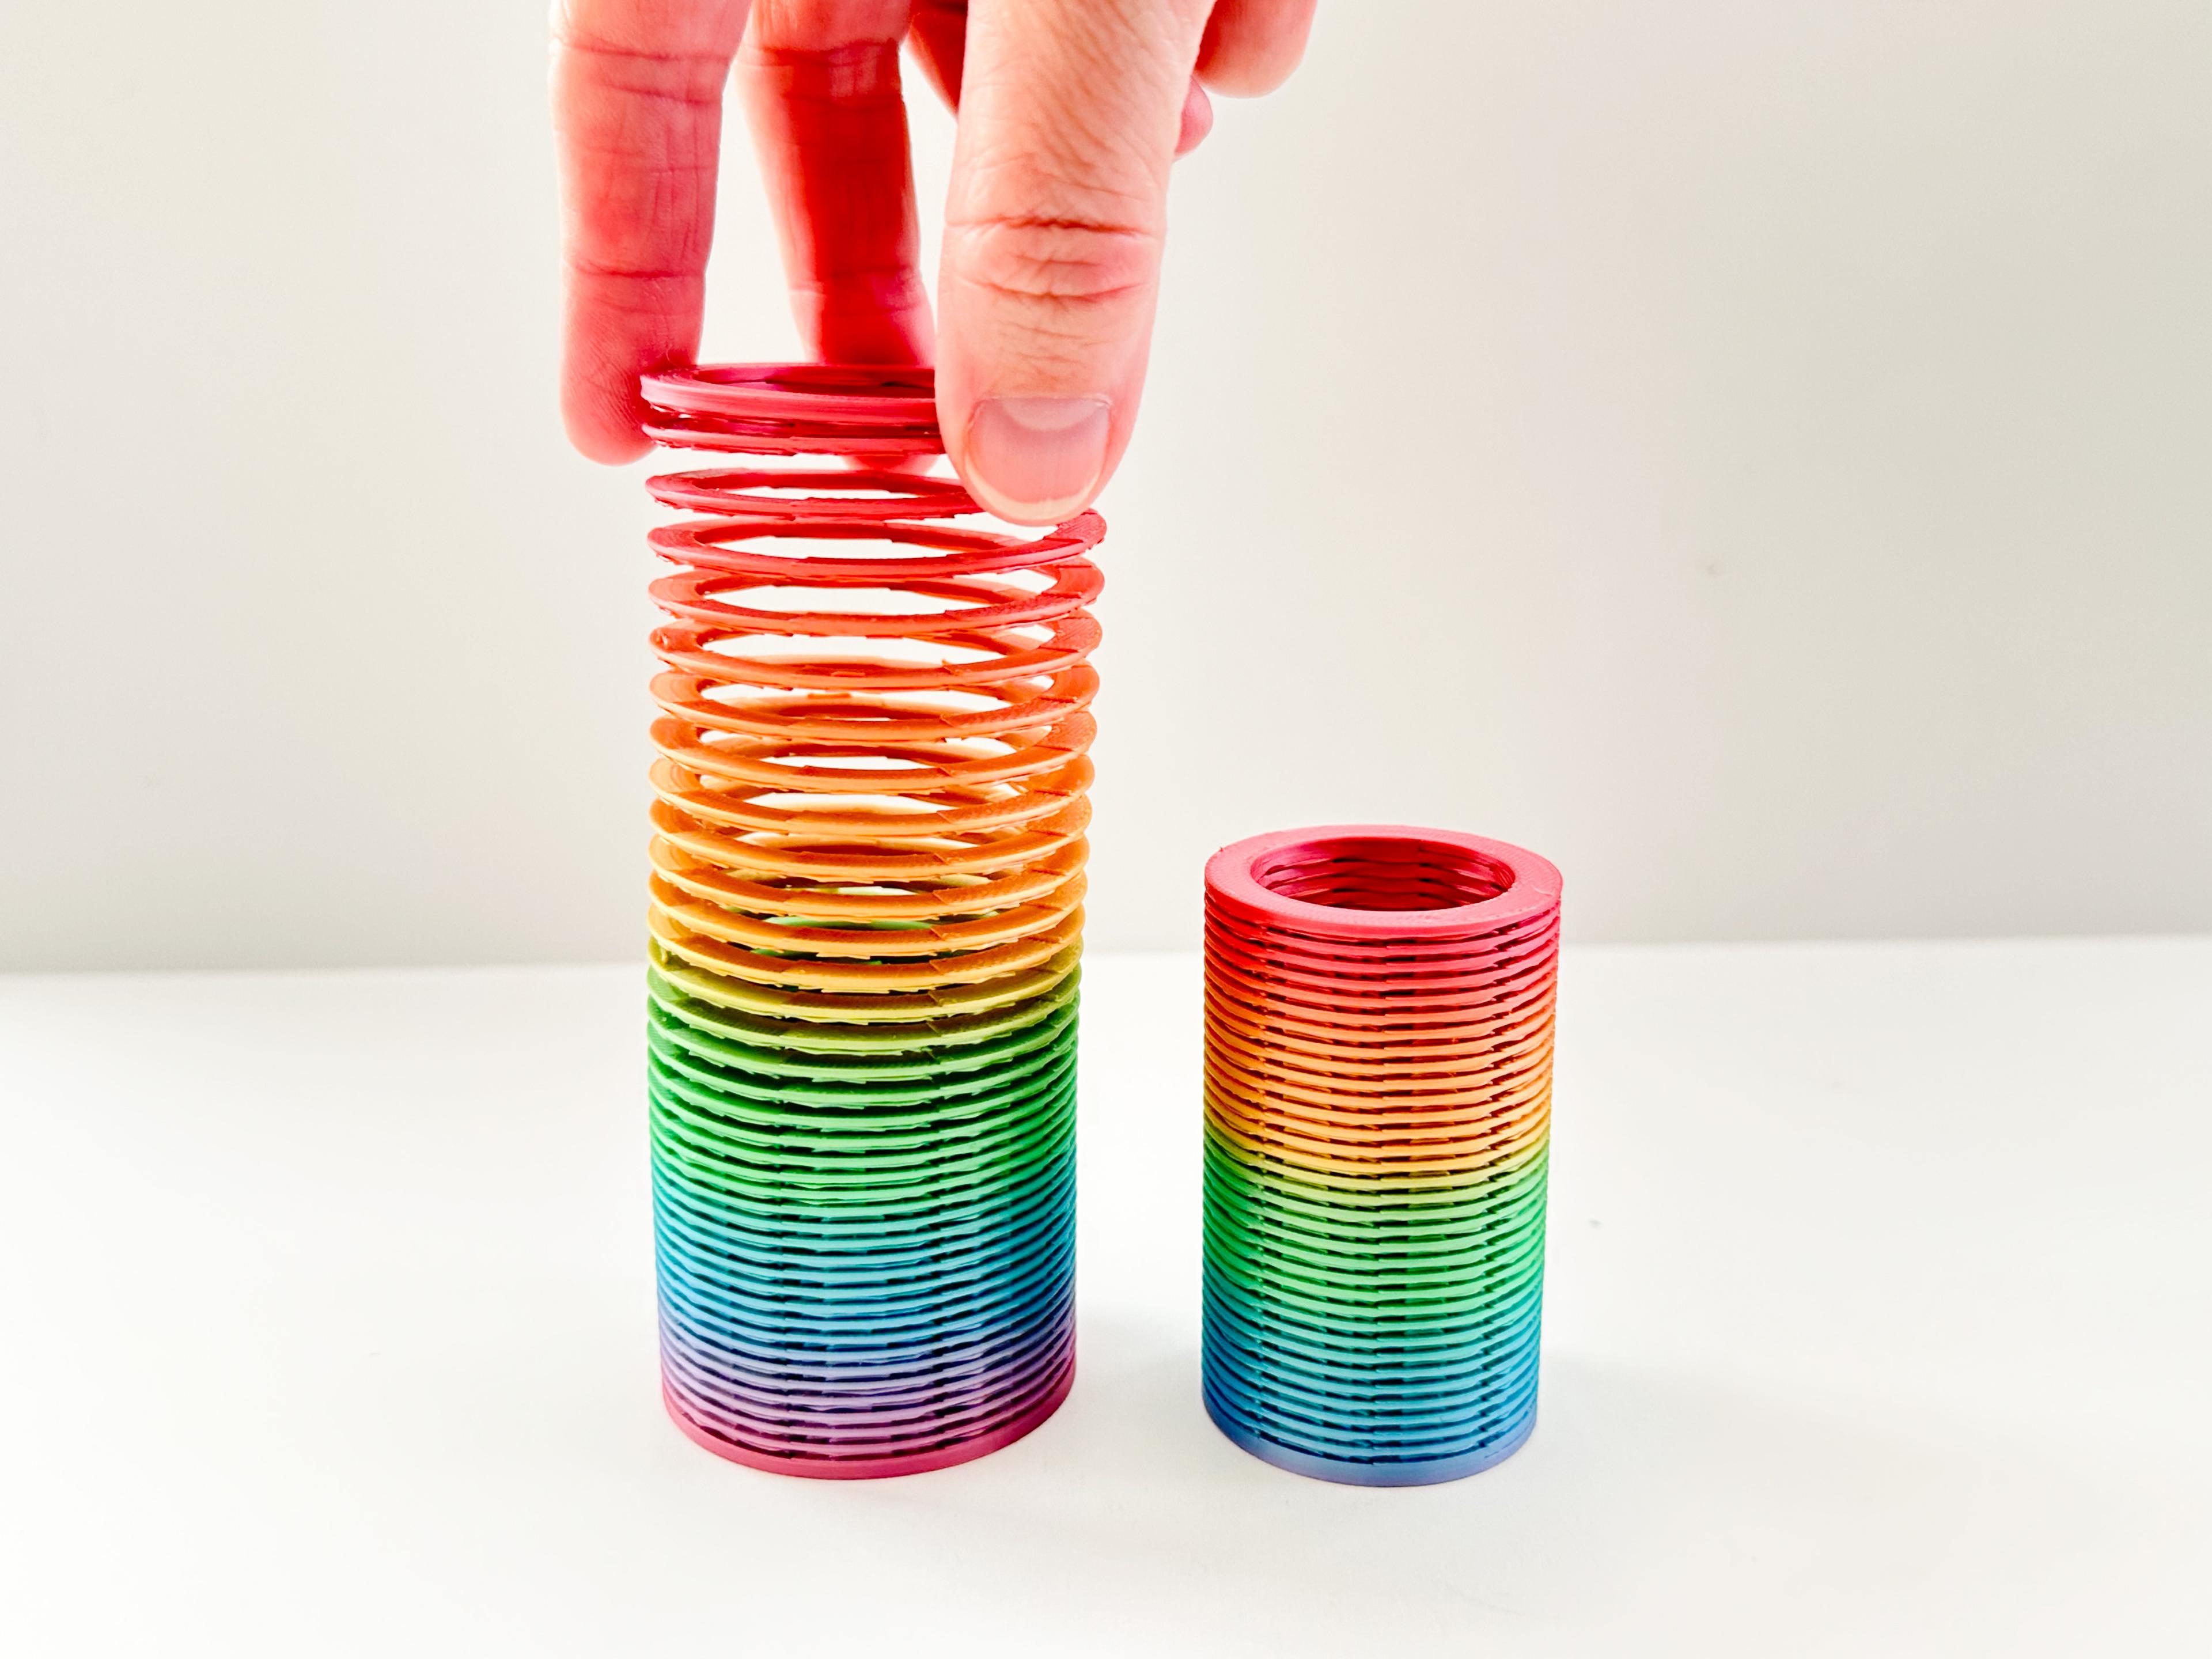
Slinky (2 sizes)

Pear Spinner Fidget
.JPG&w=3840&q=75)
Carrot Garden (2 sizes)
.JPG&w=3840&q=75)