
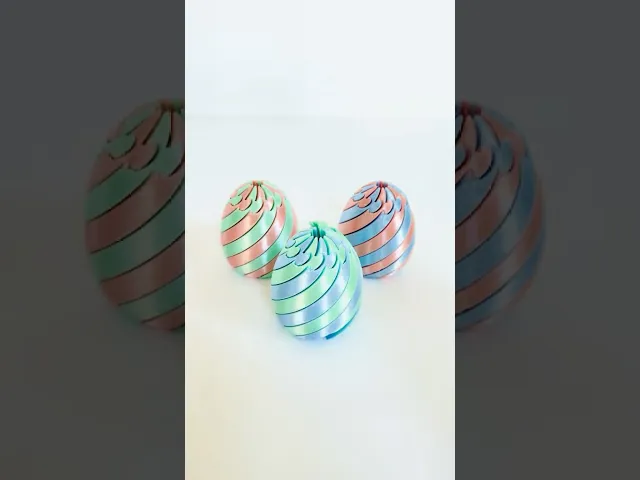


Multicolored Twisty Fidget Egg (No AMS needed)
Here is a new version of my Twisty Fidget Egg that allows you to make it multicolored without an AMS or multicolored printer. It prints in pieces and then requires assembly.
3D Printing Instructions: 0.2mm layer height Arachne wall generator turned on Line Width of Outer & Inner Walls 0.6mm Infill 0% Outer Wall Speed 50 mm/s Inner Wall Speed 100 mm/s 'Painted' brim type (each twisty egg piece has two bunny ears)
Important: Use glue on print plate to ensure good adhesion (I use a simple glue stick and smear a little glue on the print plate as it is warming up)
Print Plate #1 (6 egg pieces & 6 cap pieces): one color with all of the above settings Print Plate #2 (6 egg pieces & 6 cap pieces): one color with all of the above settings
Note: No supports are needed for the twisty egg pieces and I prefer not to print with a brim. I have been printing them without a brim and making sure my print bed is clean and using a little glue. I don't love the brim because it can be hard to remove 'cleanly' which can affect the ‘movement’ of the fidget and cause the cap to not fit as well. So after printing a lot of these I compromised and found that a couple brim ears ('painted' brims) will help give a bigger 'footprint' to the bottom of each twisty egg piece as well as come off easy and clean. If you prefer to use a full brim on the twisty pieces that is fine too - just make sure to remove all of it before assembly:)
Have fun printing! Erin
Multicolored Twisty Fidget Egg (No AMS needed)

Twisty Fidget Tree (2 Styles)

Alphabet Layered Fidgets

Big Beads: Sports Themed

Cupcake & LED Candle Set (with Cupcake Stand and Magnetic Match)

Spill the Tea Fidget

Football Layered Fidget

Potted Flowers and Watering Can

Flower Stand for Potted Flowers with Watering Can

Pixel Flower Fidget (2 sizes) with Stems, & Vases (3 styles)
.JPG&w=3840&q=75)
Fidget Fabric Fried Egg Set (play or coaster set)

Twisty Pint Fidget (2 Styles)

Clicky Phone Fidget (2-in-1 Fidget)

Fry Pan, Spatula and Fork

Green Eggs (requires mesh fabric), Slinky Ham and Plate

Number & Symbol Big Beads (for Horizontal and Vertical Stringing)

Big Letter Beads
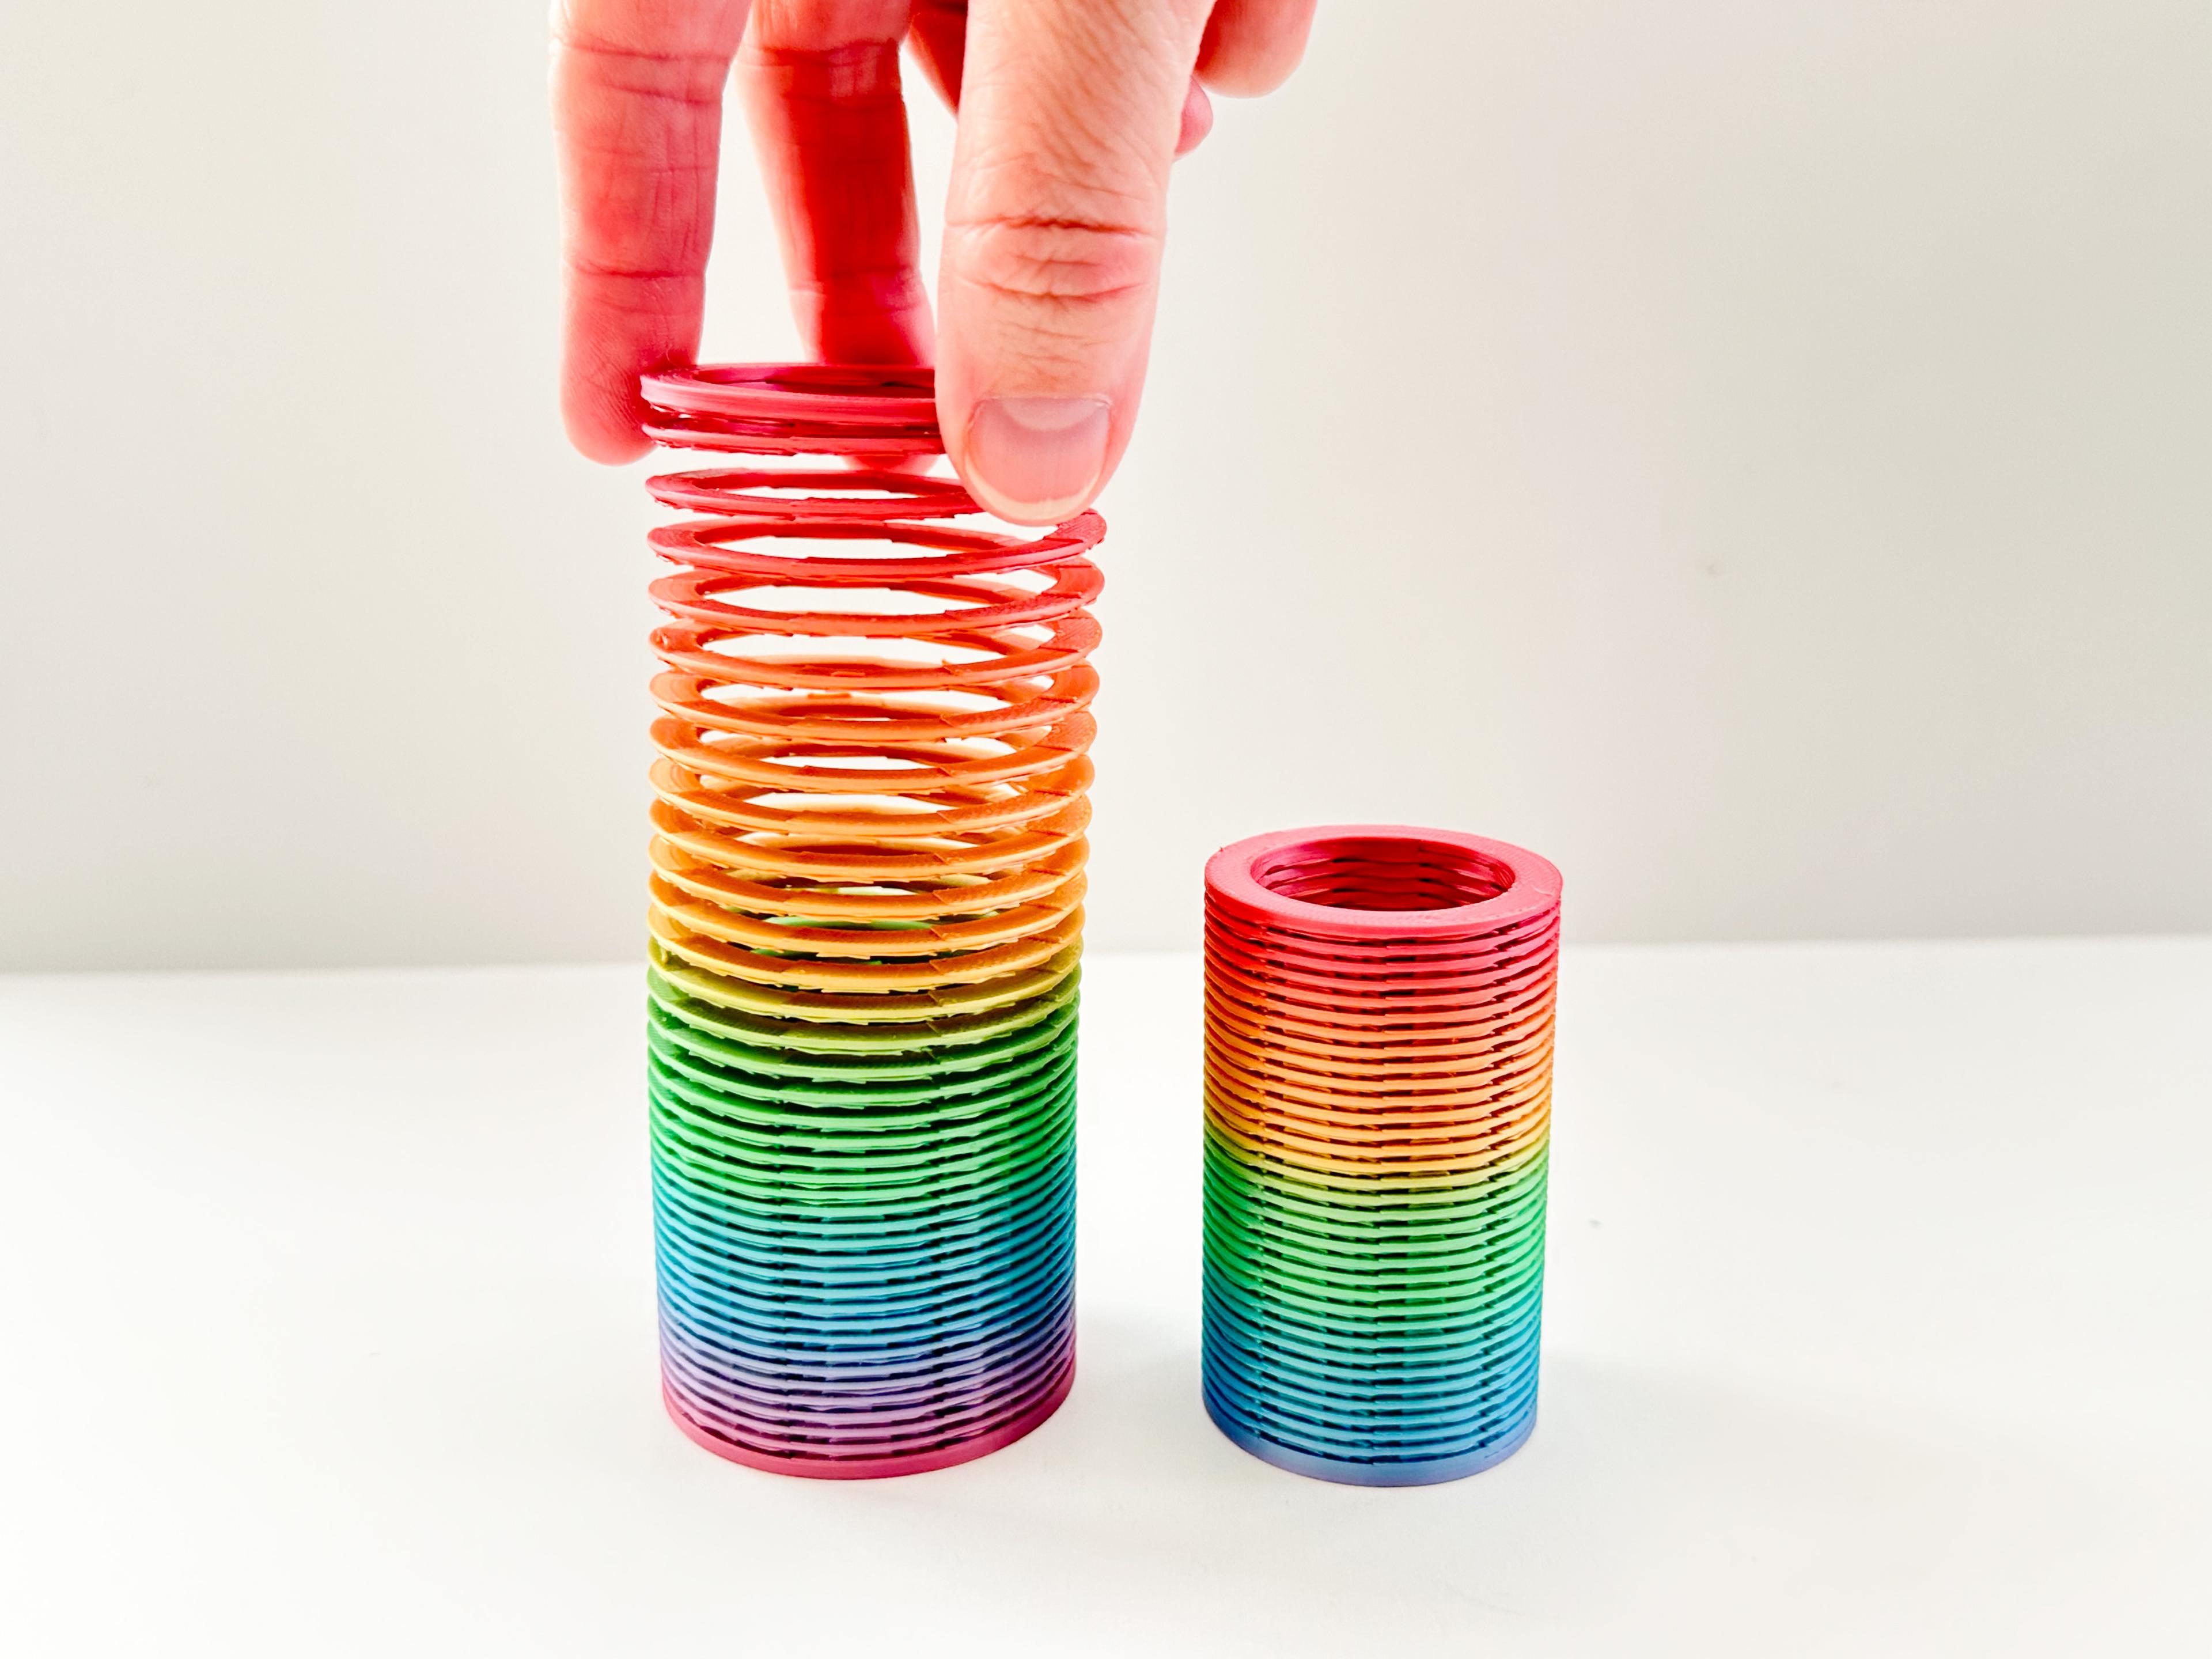
Slinky (2 sizes)

Pear Spinner Fidget
.JPG&w=3840&q=75)
Carrot Garden (2 sizes)
.JPG&w=3840&q=75)
Thank you for offering this one for free! it looks super fun and i look forward to trying it!