


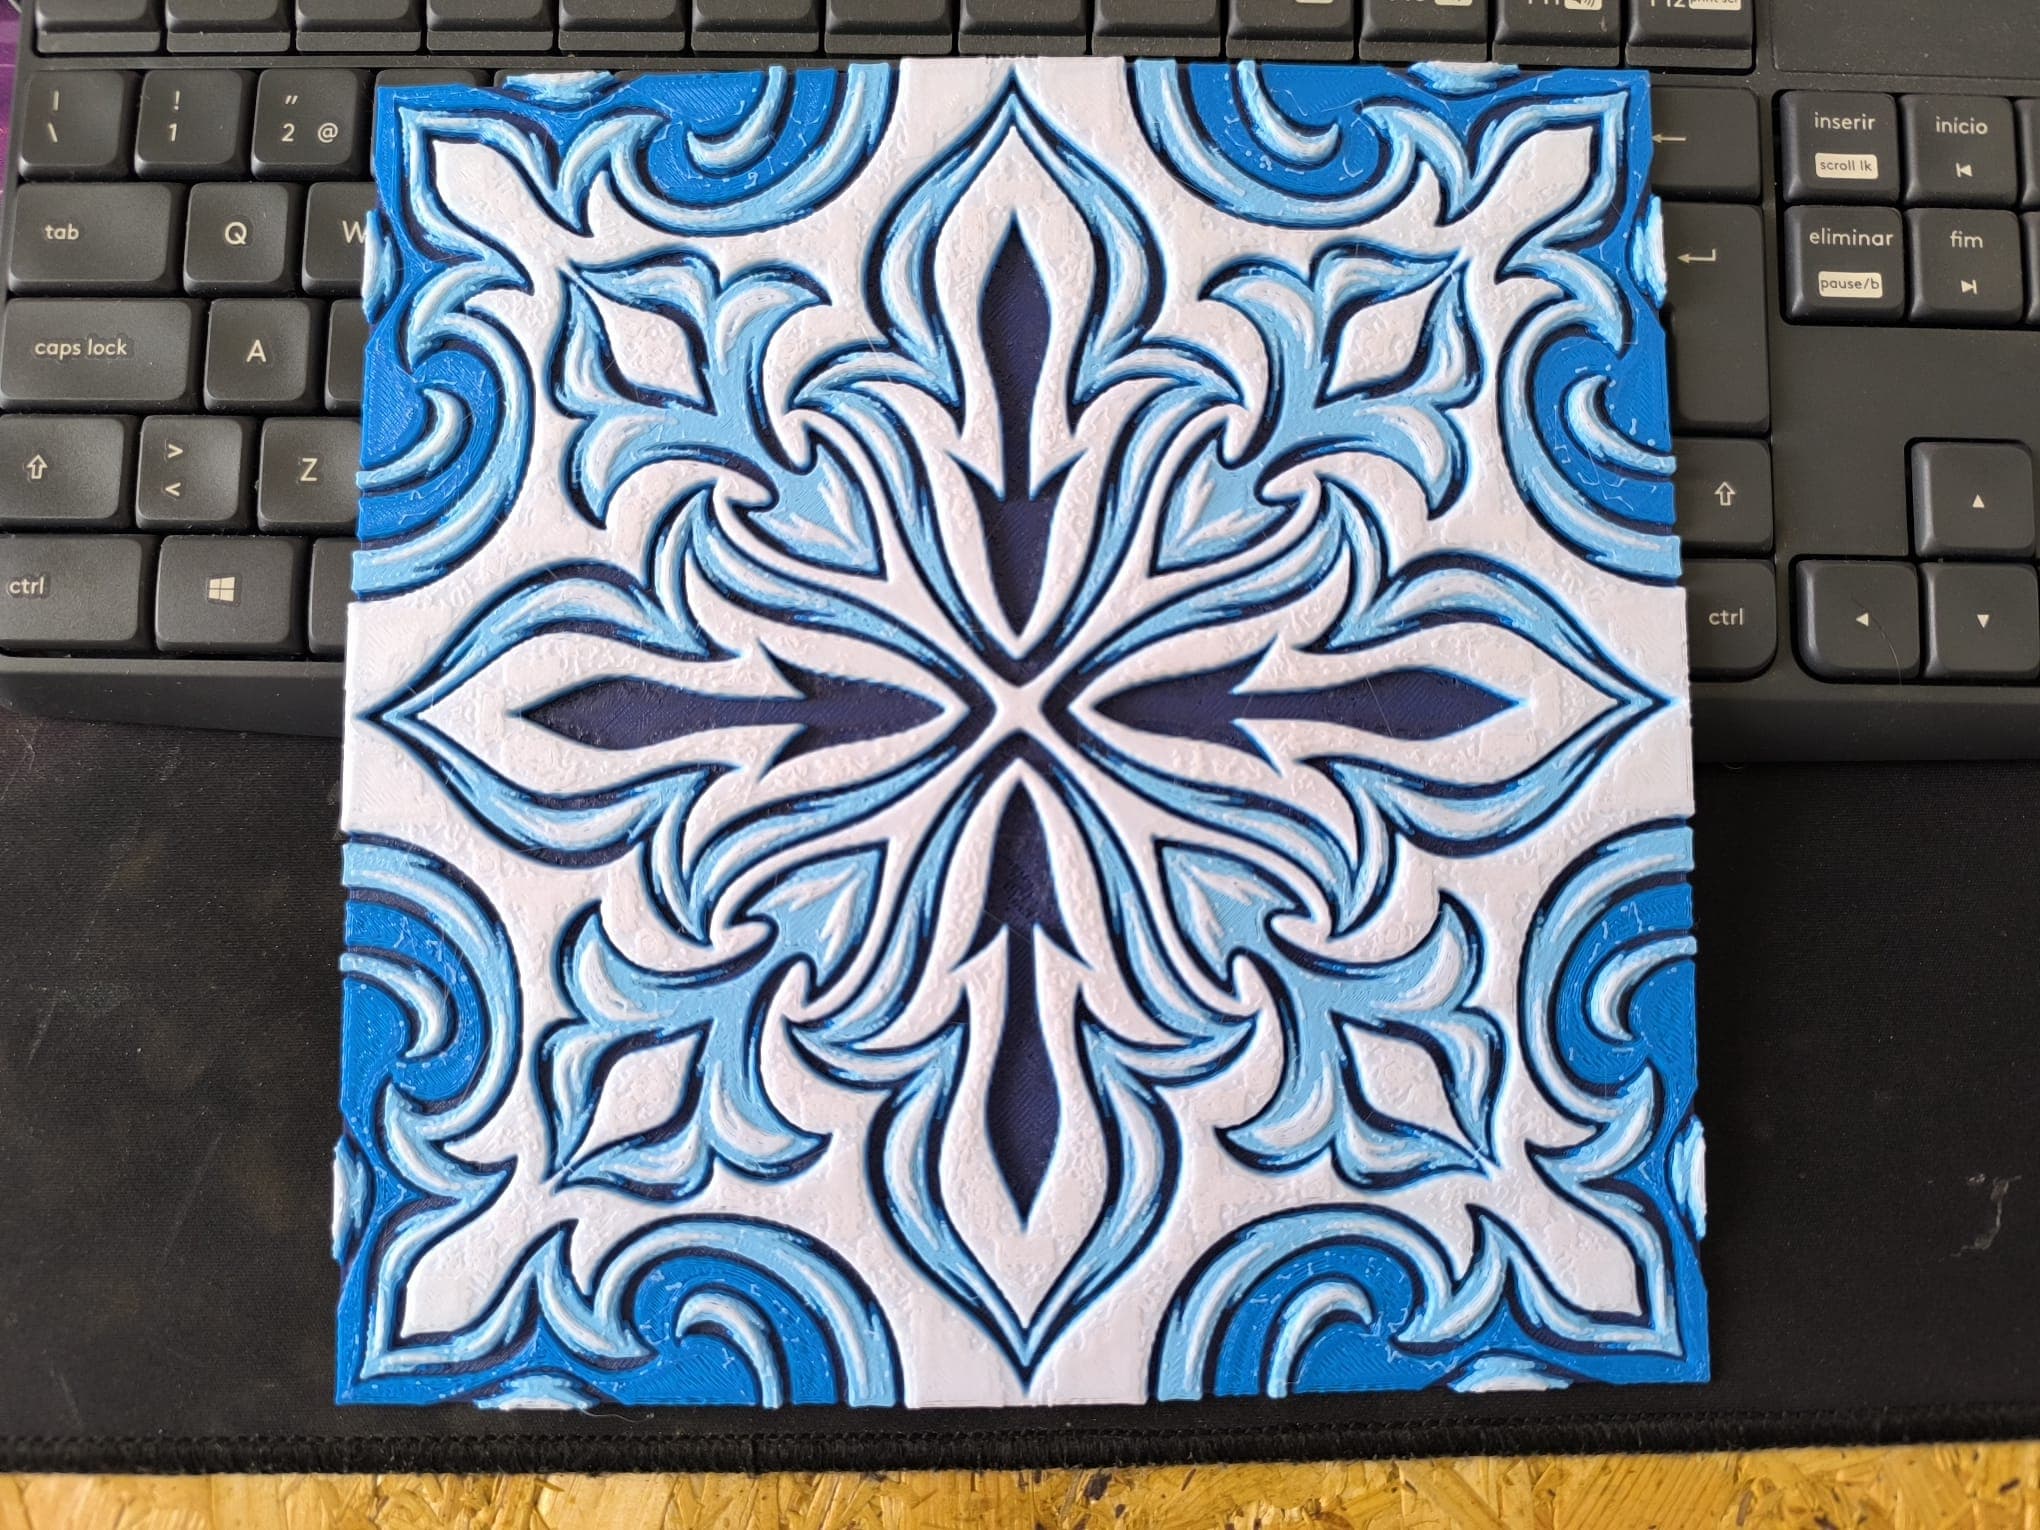
Tiles from Portugal (Wall, Desk or Stackable Lamp)
Update: 2025 11 08: I have fixed the base so now the tiles don't fall/remove easily from the base. No AMS No AMS needed, however if you have an AMS there is a profile to use it. For the No AMS profile I have added a pause in the second layer for you to change the filament. When the printer pauses, go to the filament menu in your printer, unload the filament, and load the next one. Then Resume the print.
**Note:
- Use bed leveling and flow calibration to get a perfect first layer.
- Make sure your printer firmware is updated (The No AMS profile uses a feature in the last firmwares)**
Tiles: I have placed each tile in a different plate.
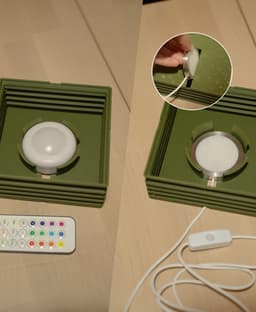
Light Source: You can use both of these from Bambulab:
- Remote Controlled 16-color RGBW Puck Lights
- LED Lamp Kit Collection Filament: Choose a light color filament for the Tile background (first layer) so it allows more light to be transmitted. Print settings: There is a ready made profile, use it. if you face a problem read this: -The first layer of the tile: You should perform bed leveling and flow calibration in your print and then there should not be gaps, if you get gaps between the lines and it bothers you, you can fix it by increasing the flow rate in your filament settings.
- To get a glowy base you can use the profile attached and use a bright filament, or you can adjust the walls to only 1 wall in your print settings, and put the infill to "Lightning" and 15%.
Wall Mount: The lamp is not heavy, so just use a good double sided tape and it will stay in place.
Other Tiles: Moroccan: https://than.gs/m/1412658
Let me know if you have questions.
Also what style of tiles you like to have next?
For Personal use only
Tiles from Portugal (Wall, Desk or Stackable Lamp)

Tiles from Sicily (Wall, Desk or Stackable Lamp)

Organizing Plates - Multiple Shapes and Sizes

Tiles from India (Wall, Desk or Stackable Lamp)

Silphium - The Ancient Plant/Vase

Tile Lamp - Wall, Desk, or Stackable Lamp

Sorting Hat Lamp

Protective Flower - Lens Accessory

Bunny - Cute Lens Accessory

Frame Lamp - in Multiple Options

SMILE Lens Accessory in Multiple Sizes

Flower Lens Accessory in Multiple sizes
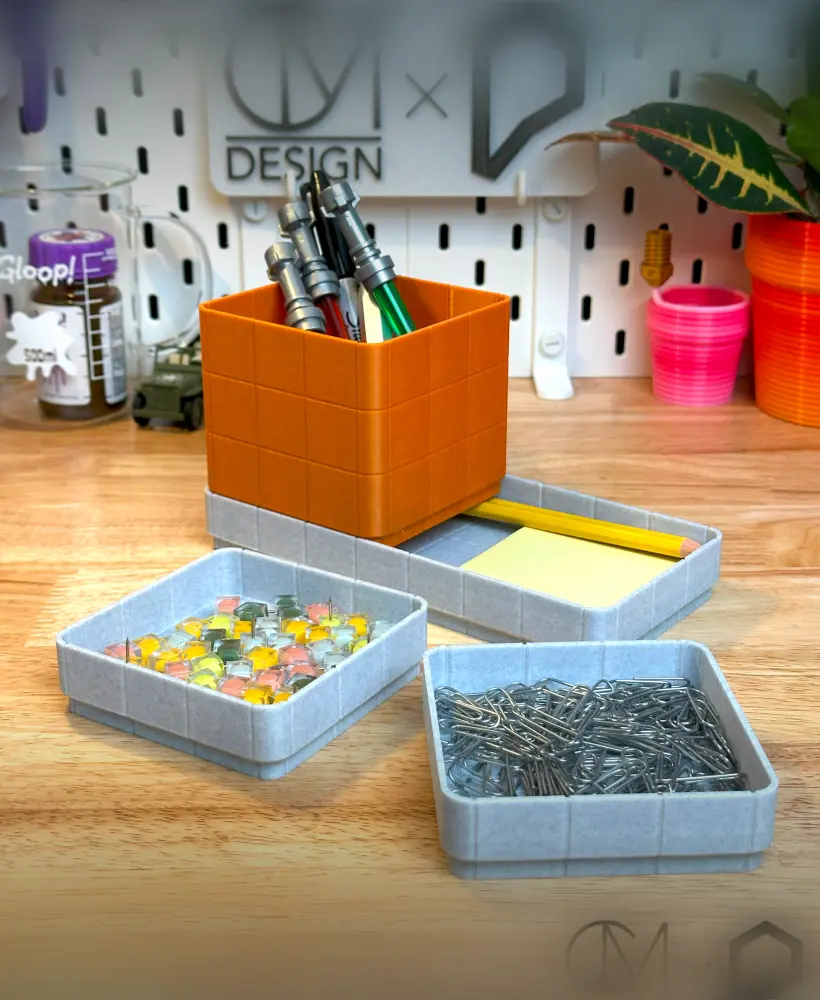
Stackable Tile Desk Organizer

Grooved Retro Tile Tubs - Stackable Tray
Portuguese Tile to 3D Print
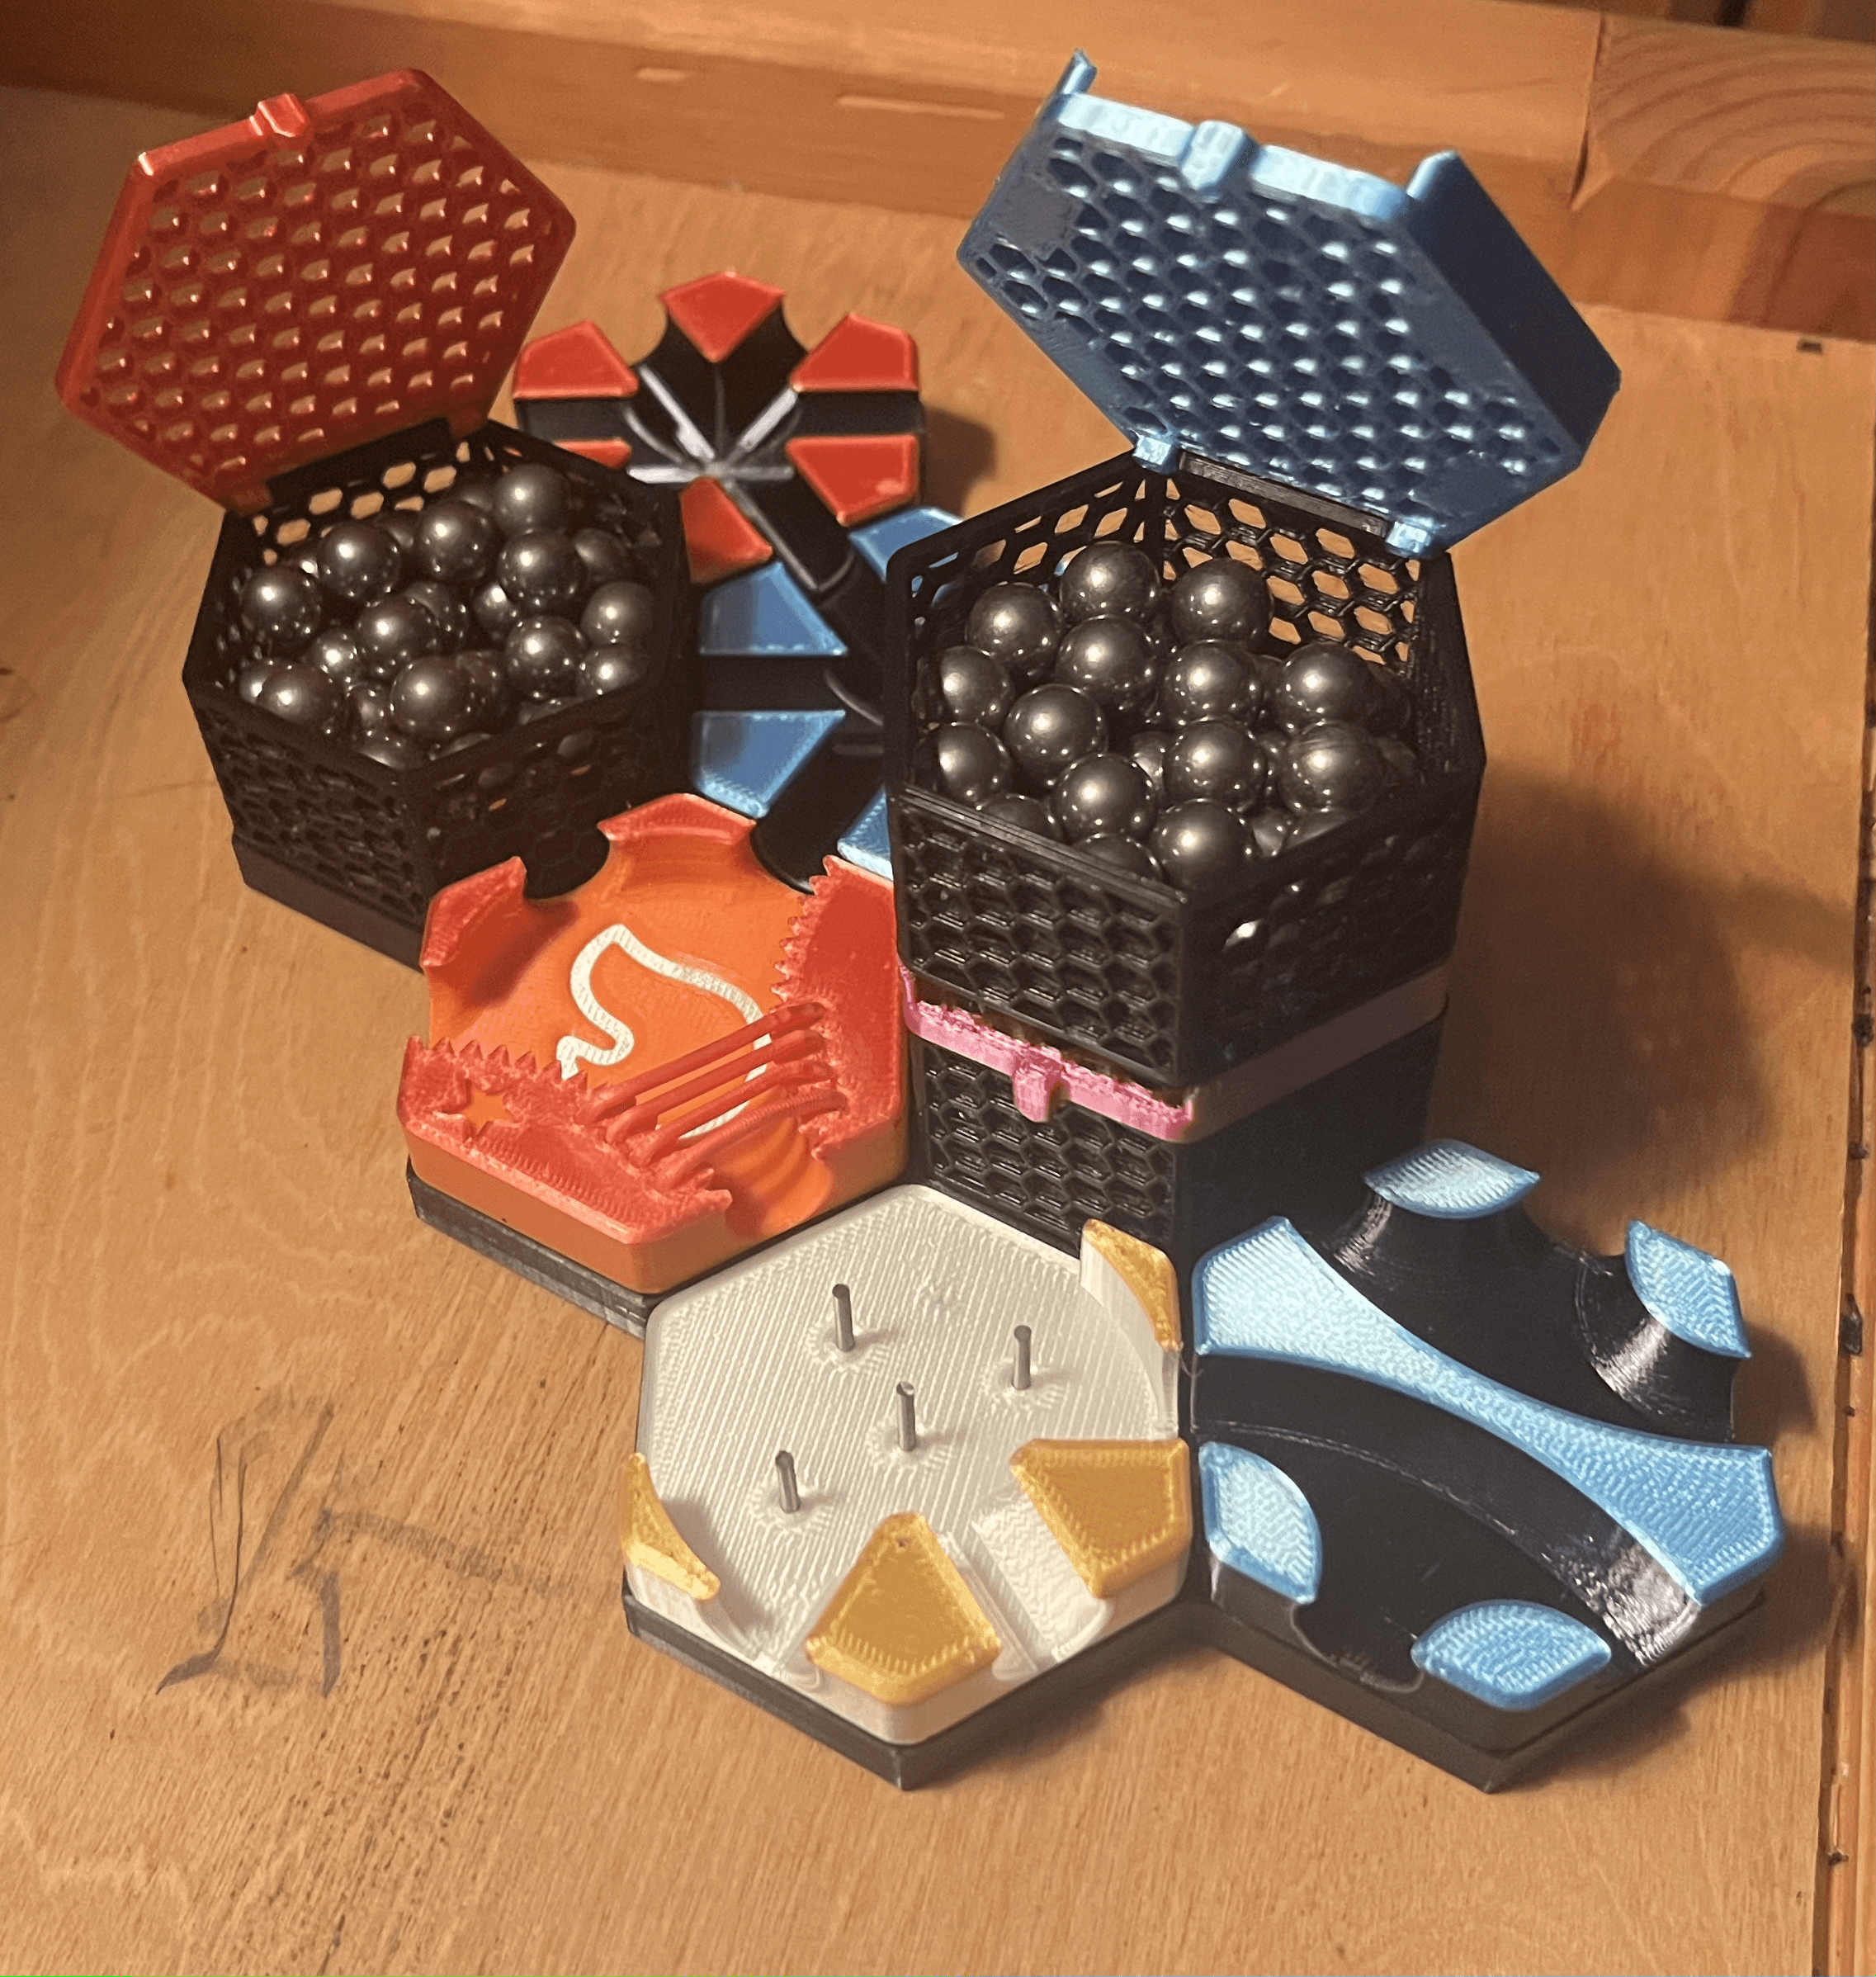
The Ultimate Hextraction Storage Box

Hextraction Scaffold Tile

Hextraction Brick Tower Tile
FDMecha Hex Terrain Storage Trays

Hextraction Framework Tile
