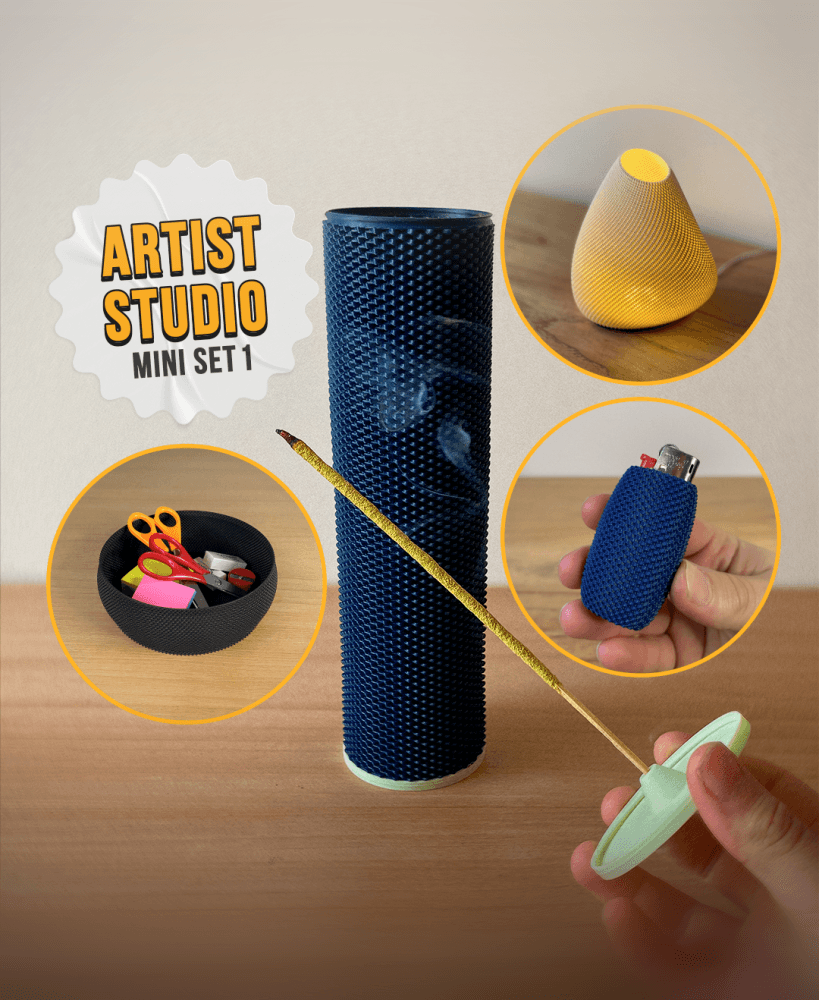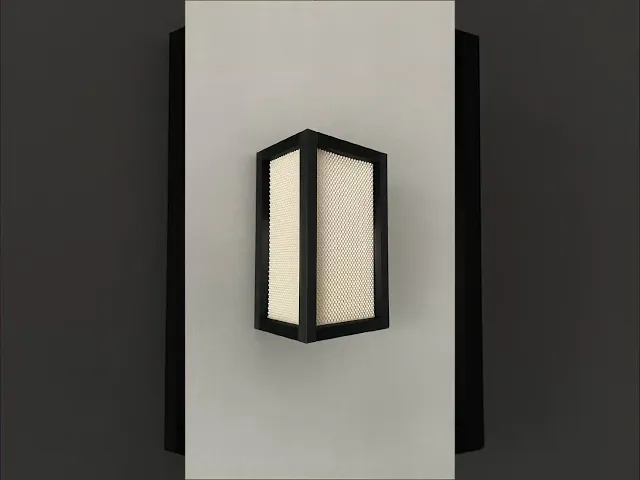


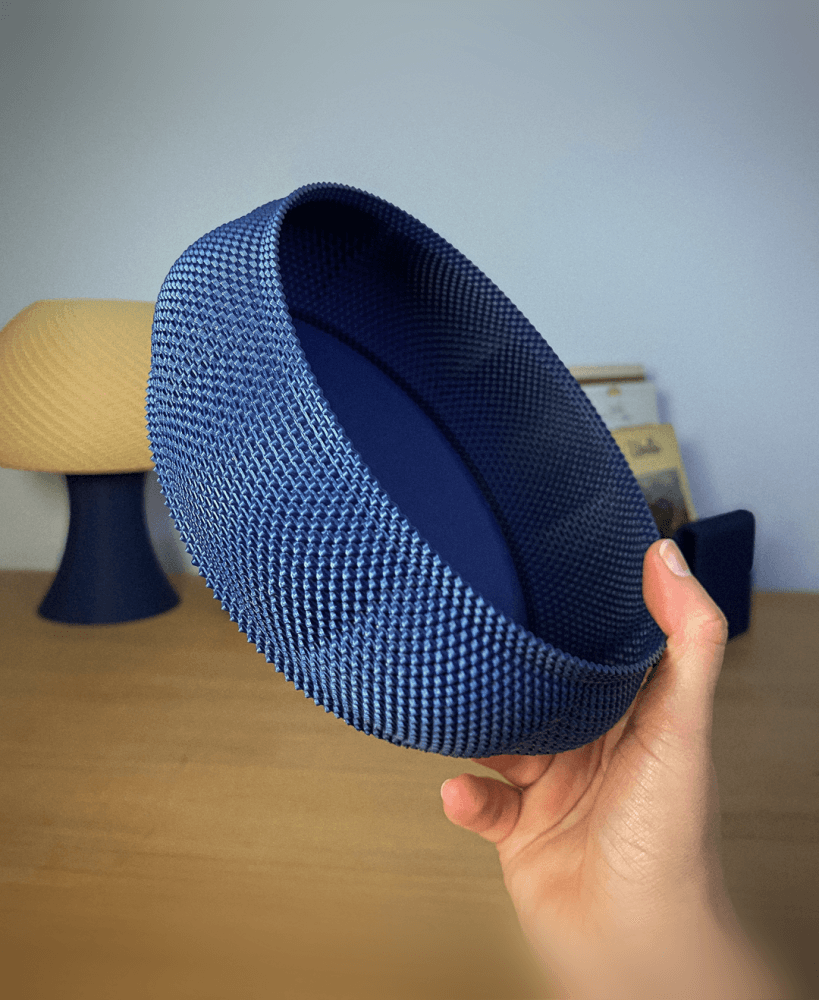
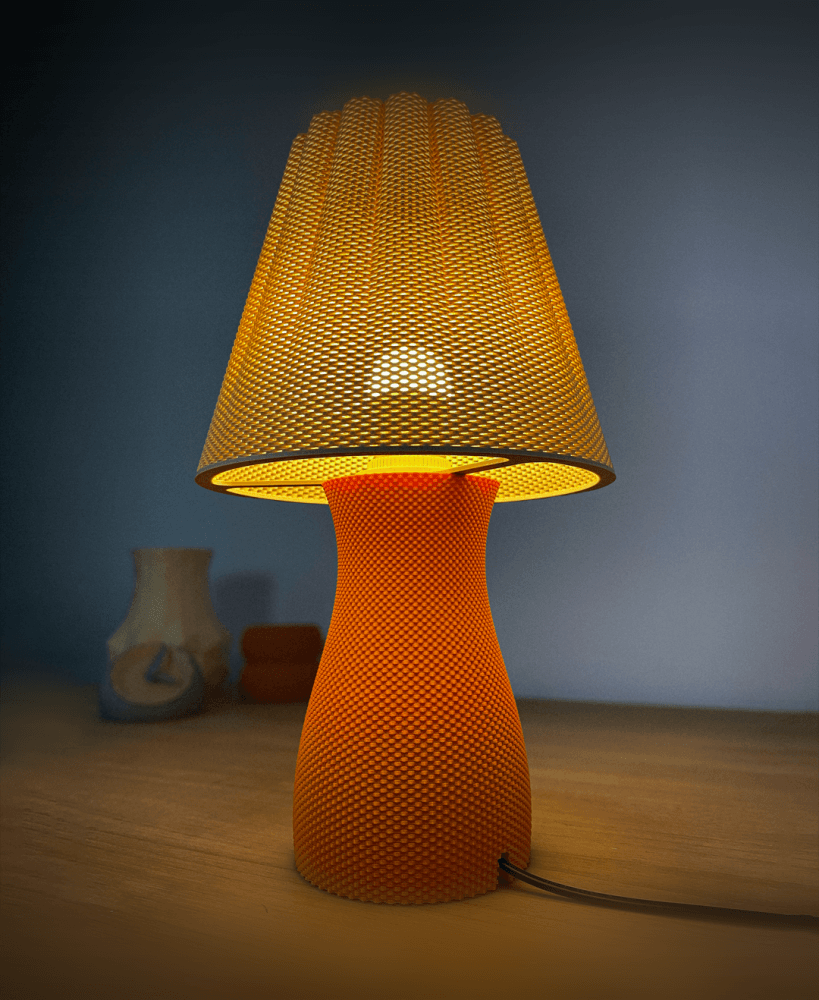
Riku Wall Lamp - Japanese Home Decor by Lunfardo
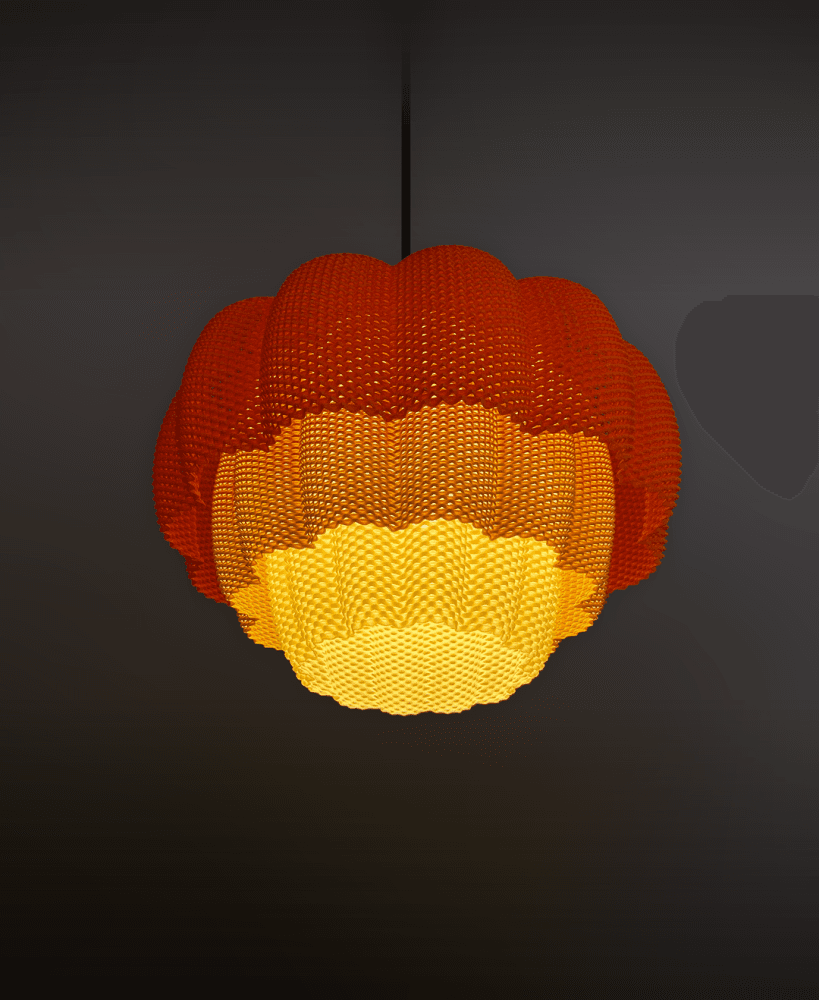
Here you'll find: Commercial License How to print the Larisa Pendant Lamp Links to social media and Discord Commercial License Access the Commercial License exclusively through this linkHow to print the Riku Wall Lamp? Settings for Bambu Studio/Prusa Slicer. ⚙️ Printing with a 0.8mm nozzle Follow the necessary inputs in order to print these models: → Do not rotate model → 0.6 mm layer height → Spiral vase ENABLED → Slow down for overhangs/Detect bridging perimeters DISABLED → 4 bottom layers → External perimeters/Outer wall 1.2 mm ⚙️ Printing with a 0.4mm nozzle Follow the necessary inputs in order to print these models: → Do not rotate model. → 0.2 mm layer height. → Spiral vase ENABLED. → Slow down for overhangs/Detect bridging perimeters DISABLED. → 12 bottom layers. → External perimeters/Outer wall 1 mm. For the base (0.4mm and 0.8mm nozzle) → Use 4 columns and 8 beams. → Rotate them 45 degrees to align the edges with the print bed. → Adhesion: Outer brim. → Enable tree supports and highlight all the joints. → Wall loops: 3. → 5 top shell layers. → 3 bottom shell layers. → Infill: 7% gyroid. 👉 We used a Wall Speed / Outer Wall Speed of 15 mm/s and got good results on our Artillery Sidewinder, so if you want to speed things up, we recommend increasing in small increments from this value. There is a 3MF file that includes all the parts, pre-arranged with supports. Each part is also provided separately. One full set includes: – 4 columns – 2 short bottom beams – 2 long bottom beams – 2 short top beams – 1 long top beam – 1 hangerLinks to social media and Discord → Instagram → YouTube → Discord 🔥 Subscribe to Lunfardo’s Plans to get access to Larisa at a lower price than buying the individual model in the store!


%25207%25201350.png&w=3840&q=75)