


RAMA | magnetic knife rack for kitchen rail
RAMA | magnetic knife rack for kitchen rail
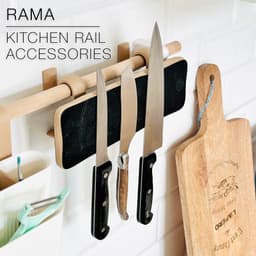
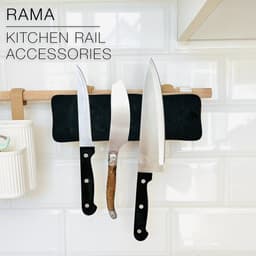
This is the magnetic knife rack, part of the RAMA collection of kitchen rail accessories. This knife rack has a rounded organic edge with wood pattern.
The collection includes:
- a FREE set of wall brackets for Ø18mm or 3/4inch wooden rails, plus hanging planters and hooks.
And the following accessories:
- a magnetic knife rack
- a cookbook or ipad shelf
- a dishsoap and spong holder
- a drip tray to dry your cutlery
- a spice rack
- a towel holder
For this knife rack, you will need 17 magnets of Ø20x3mm. You can get the magnets on Amazon here:
For the US (Ø20x3mm): https://amzn.to/4jzNG5x
For Europe (Ø20x3mm): https://amzn.to/3HpoMbb
3D PRINT SETTINGS: All STL files are all already oriented properly. No need for supports, or brim.
The hangers print on their side and don't need support, even for the overhanging part.
Layer height: 0.2mm/layer Wall line count: 2 Infill: 15 to 20% Build adhesion type: None Supports: None
To insert the magnets mid-print:
- schedule a pause at layer 19 if you print in 0.2mm/layer.
- carefully insert the magnets
- then, resume printing.
To get a 2 colour print like on the pictures, you can schedule filament changes (or pauses to change your filament). For my version, I printed in 0.2mm/layer:
- the 2 first layers in black
- then wood PLA up to layer 57
- then back to black until the end.
in CURA go to: Extensions > Post Processing > Modify Gcode > Add Script > Filament Change And in there you input the layer where you need the filament change to happen. Slice your model once again so it updates your Gcode. And there you go! Ready to print!
In Bambu Studio, after slicing, scroll the layer scroller on the right of the screen until you reach the layer where you want the filament to change. Right click on your mouse and hit "pause" to schedule a filament change at that layer.
RAMA | magnetic knife rack for kitchen rail

SINE | pendant light E27/E26

COROA | pendant light E27/E26

MALLA | woven fruit bowl

MALLA | key bowl
FALDA | Pendant Light E26/27

MALLA | Woven String Art Deco

SAKURA | Pendant Light E26/27

SAKURA | Scalable Pencil Holder

MALLA | nut bowl
![SAKU[MINI] | Table Lamp E14 & E26/27 3d model](/_next/image?url=https%3A%2F%2Fstorage.googleapis.com%2Fproduction-thangs-public%2Fuploads%2Fenhanced_images%2Fv1%2F421bb906-ca95-4bc9-9dba-a6fd01fd6885%2FSAKU%255BMINI%255D_table-lamp_perspective-ON.jpg&w=3840&q=75)
SAKU[MINI] | Table Lamp E14 & E26/27

SAKUMI | Table Lamp E14 & E26/27

SYZYGY | Heart Vase, scalable
TRAMA | Wall Clock
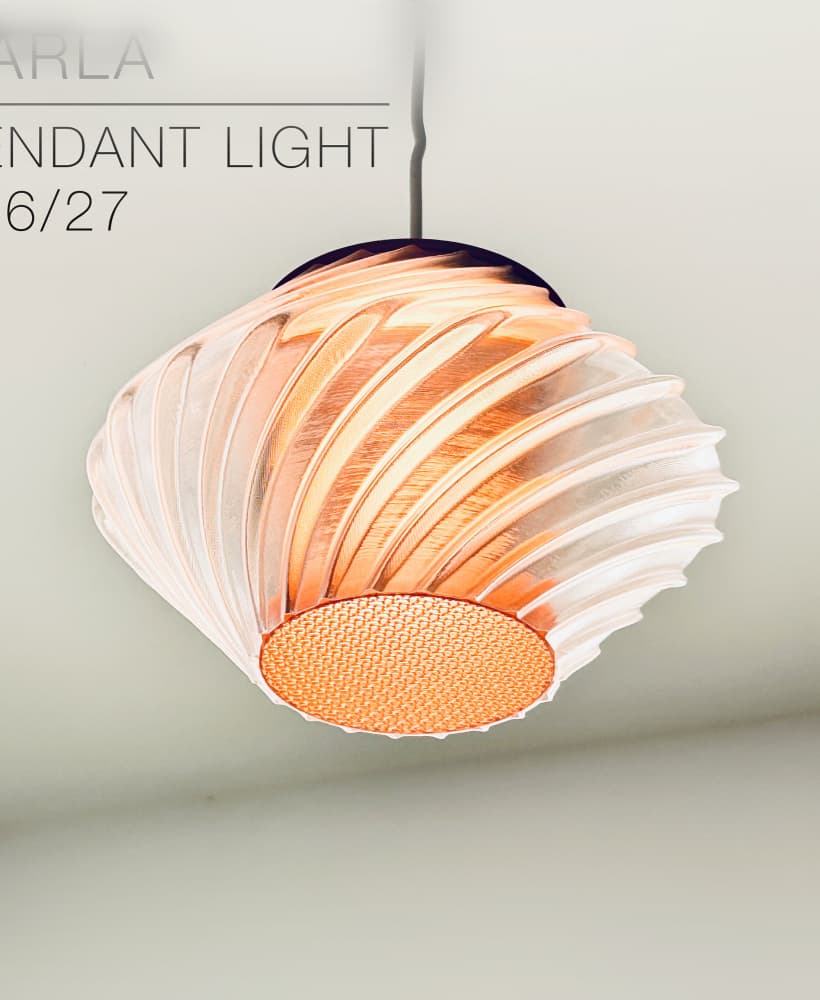
CARLA | Pendant Light E26/27

ORB XY | String Art Pendant Light

NINA | Toothbrush cups

PICA | Brush, print-in-place

MORPH | Stackable Egg Cup

ARYZ Divide | Pendant light E26/27
