
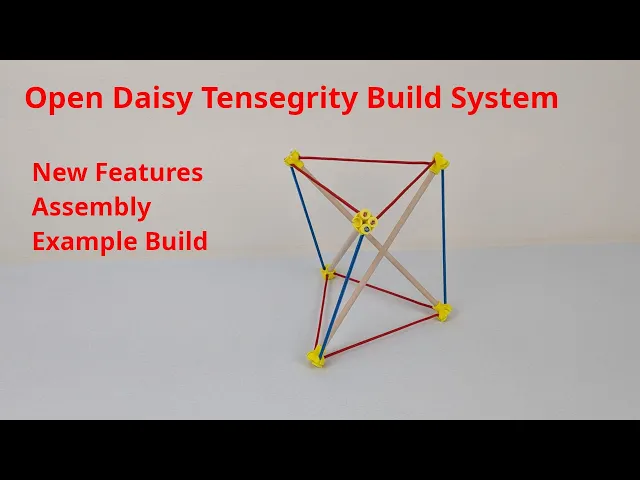


Open Daisy Tensegrity Build System for 1/4" dowels S4-5.3.22.stl
New and Improved! Bill reported that his dowels were too thin to fit well onto the previous open daisy hub, so I added a conical strut split ring that can accommodate a wider range of dowel diameters. To assemble the hub onto the strut, first push the strut split ring (daisy strut split ring S4-5.3.22) onto the dowel. There is a single raised ridge on the inside of the strut split ring, so it can take a little bit of force to push the split ring onto the dowel. Once the strut split ring is on the dowel, the hub can be pushed onto the split ring. Since the split ring and the hub have 4 degree tapers on their mating surfaces the connection gets tighter and tighter as the hub is pushed on. I like to put the split rings and hubs on a sturdy table, and then push the dowel down onto the table when making the connection. I have tested with dowel diameters between 6.2mm and 6.5mm and it has worked well. Let me know if you have any trouble or suggestions.
In the previous version the elastic tendons could slip out of their stoppers with moderate tension, so I added an additional flavor of tendon split rings (daisy tendon-e split ring S4-5.3.22) (the -e denotes "elastic") which has a better grip on the elastic tendons. The new elastic split ring has two notches instead of one notch so that you can tell the difference between the elastic and inelastic variants. It does make it a little more difficult to get the tendon split ring onto the elastic tendons, but I have found that if I pinch the tendon into the split ring with one hand and then stretch the tendon it gets skinnier and goes into the split ring without too much trouble. If you don't like the elastic split ring you could just keep using the inelastic one (daisy tendon-ie split ring S4-5.3.22) for both elastic and inelastic tendons.
I print these on my Bambu X1C using the 0.28 Extra Draft preset, random seams (for strength), Arachne wall generator using basic PLA.
See linked YouTube video for more detailed instructions on how to build your first Tensegrity!
Let me know how the new version works for you!
Here is where I buy my cord and dowels. If you only need a few dowels you may find it more convenient to buy them at your local hardware or home improvement store. Inelastic cord (1/8 inch): https://www.amazon.com/dp/B08LCX5XQ3 Elastic cord (1/8 inch): https://www.amazon.com/dp/B0084EFBEY
Dowels (¼ inch): https://woodpeckerscrafts.com/products/1-4-x-36-wooden-dowel Dowels (5/16 inch): https://woodpeckerscrafts.com/products/5-16-x-36-wooden-dowel
This work is licensed under CC BY-NC-SA 4.0. License.txt

Open Daisy Tensegrity Build System for 1/4" dowels S4-5.3.22.stl

Open Daisy Tensegrity Build System 4.5.8

Tensegrity Build System for 5/16" Dowels

Tensegrity Build System for 1/4" Dowels (snowman 1.1.5)
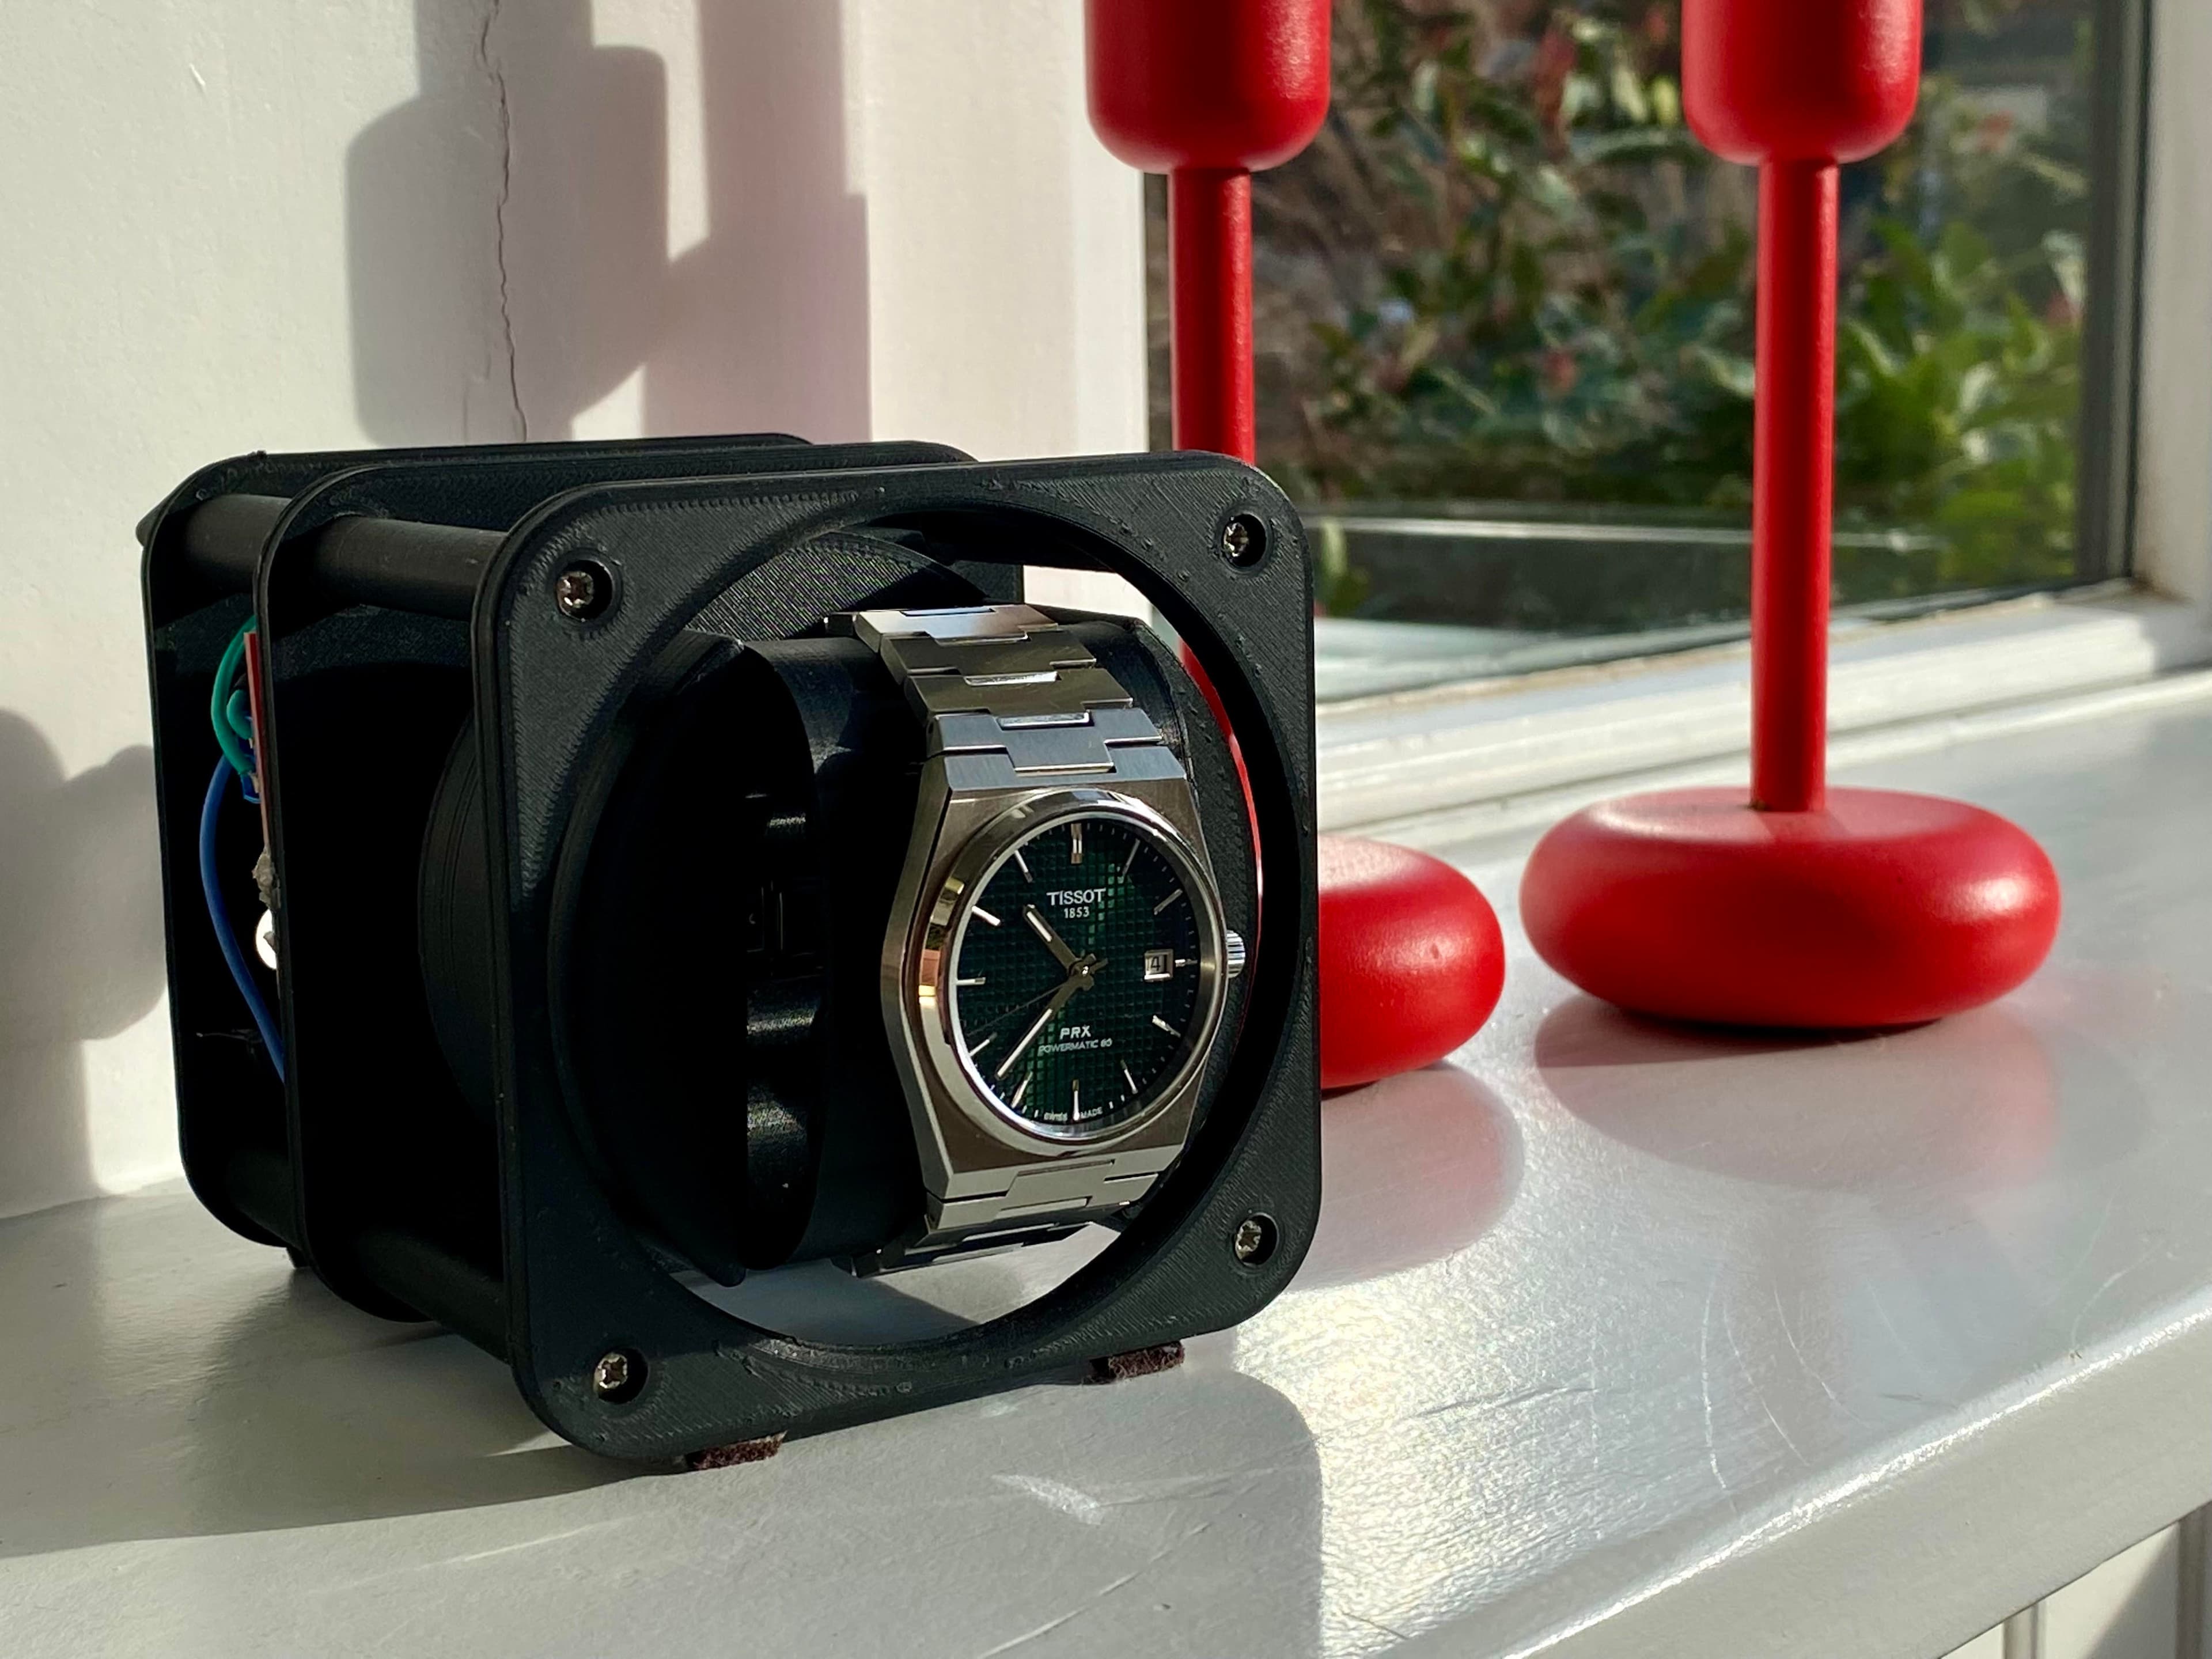
OSWW - The Open Source Watch Winder
The Rail v2
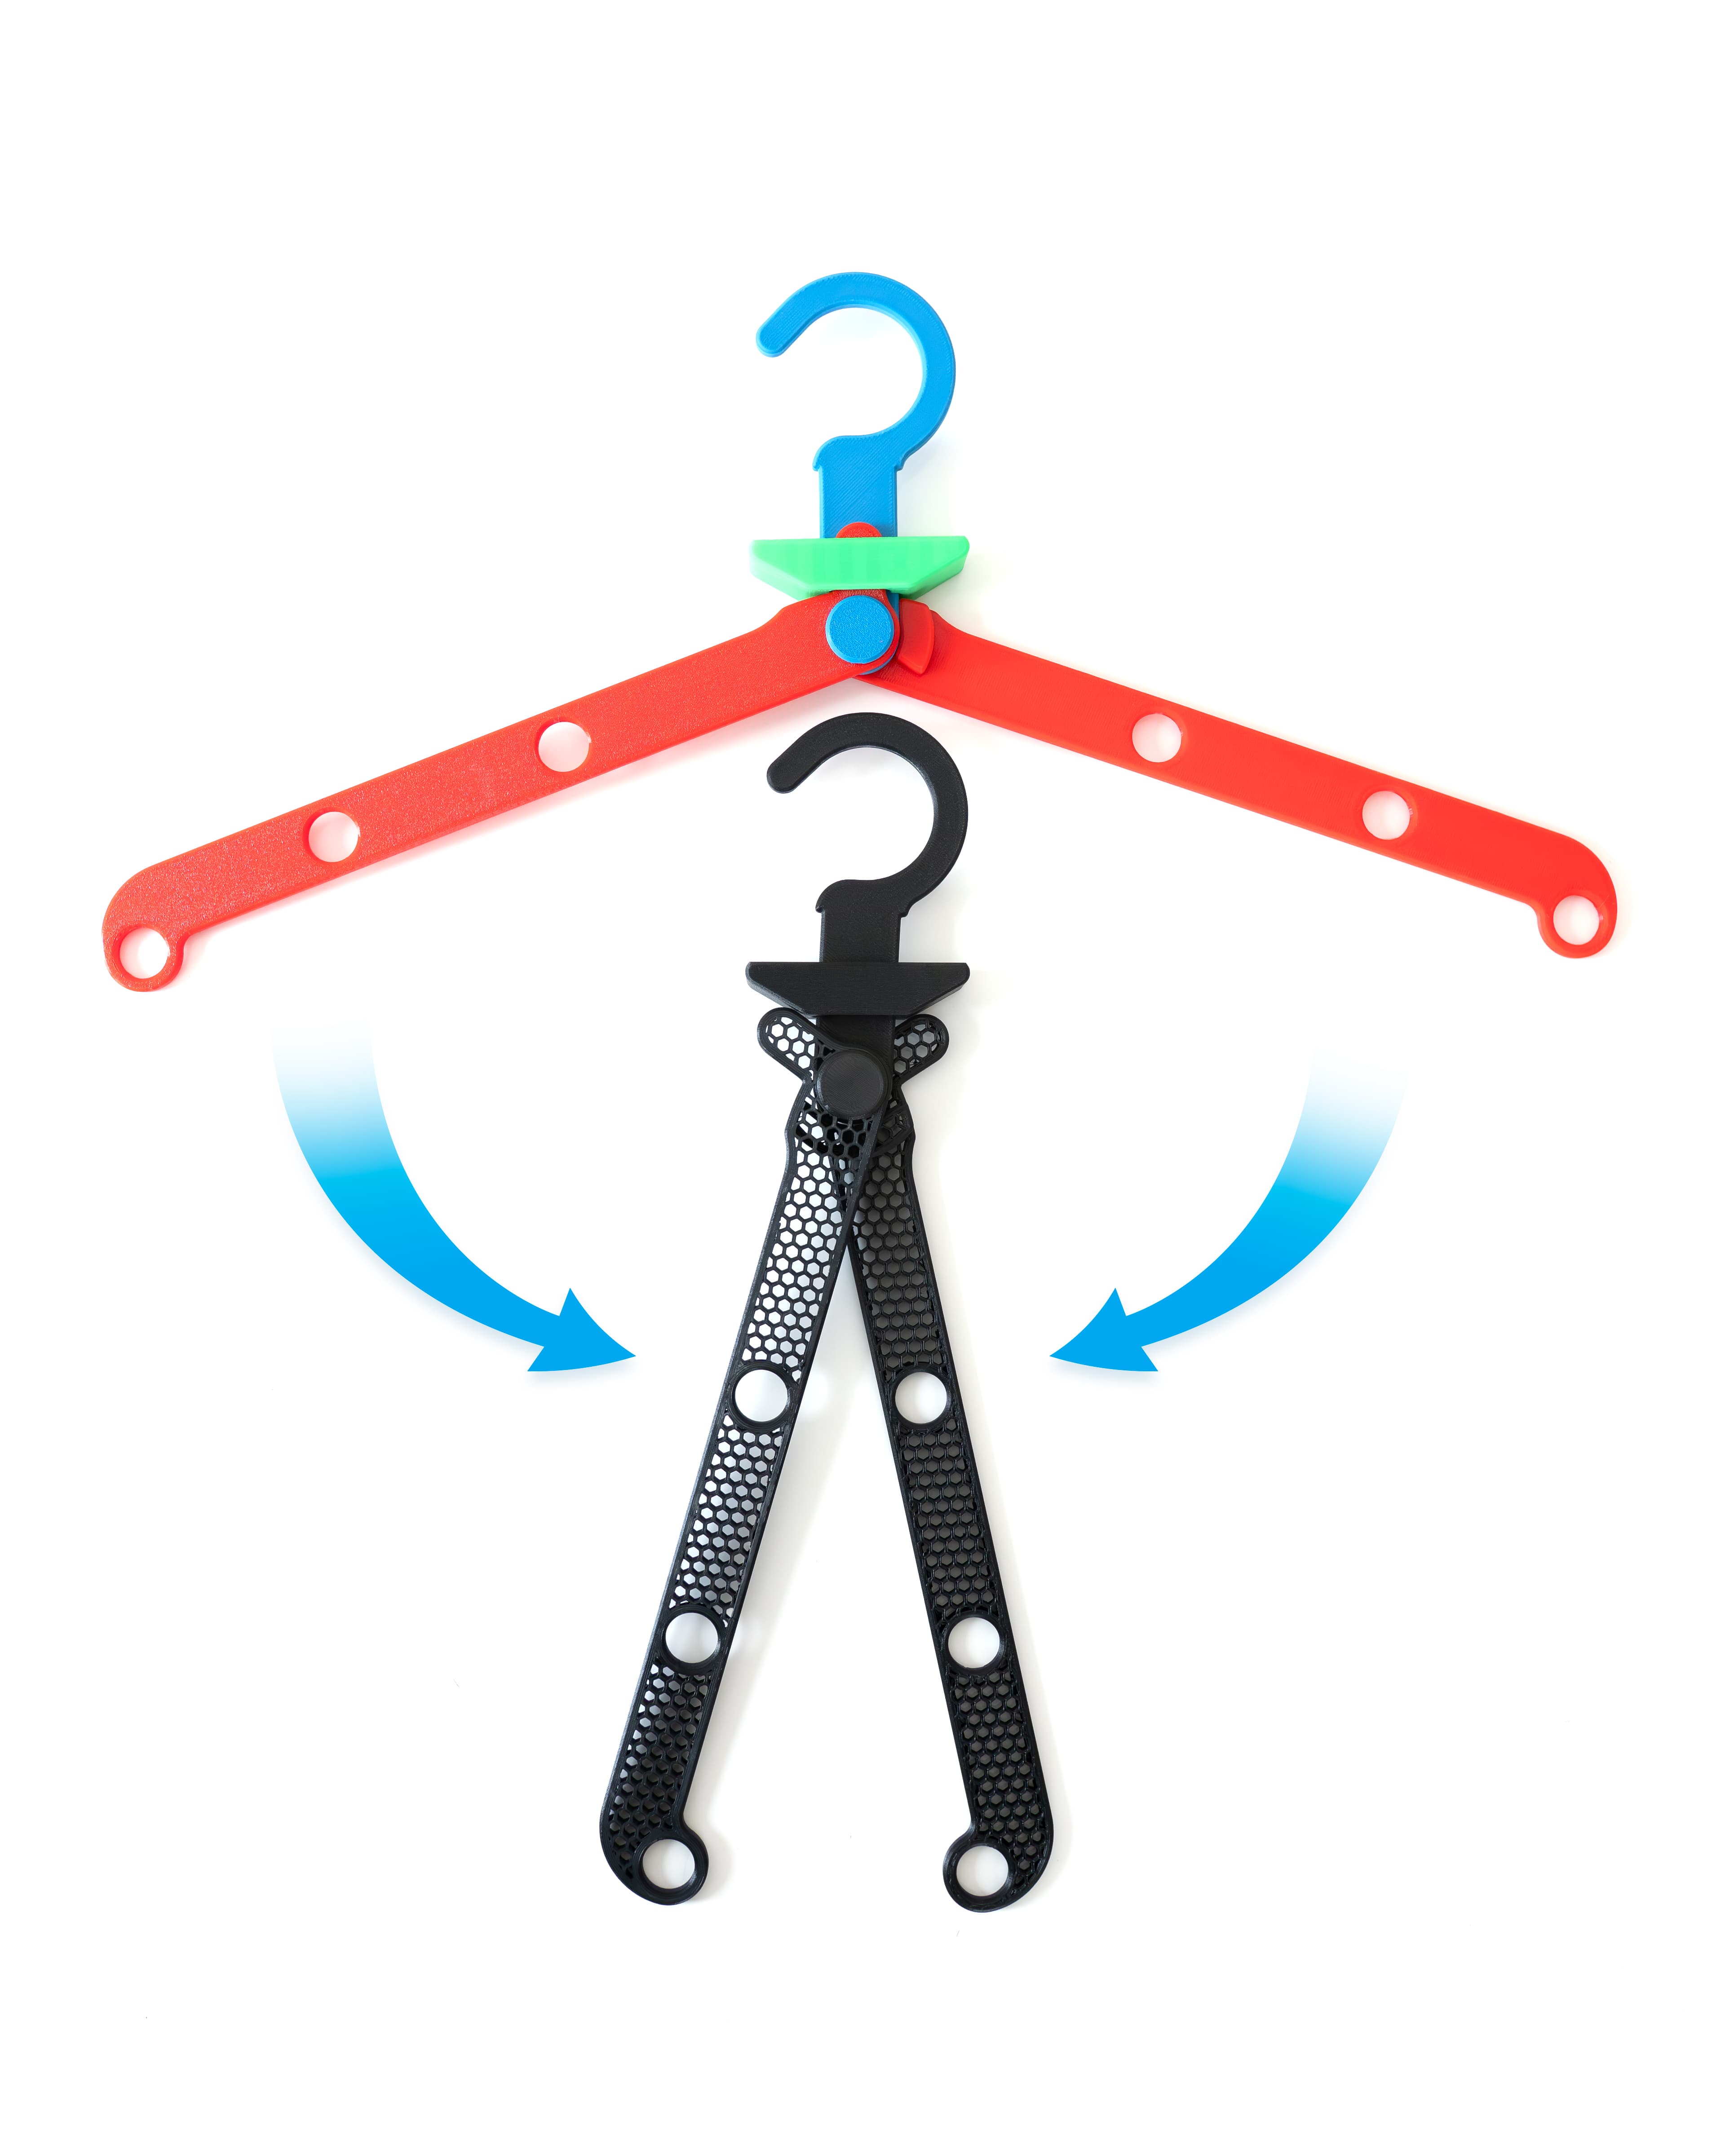
EZPZ Hanger Lite

The Rail
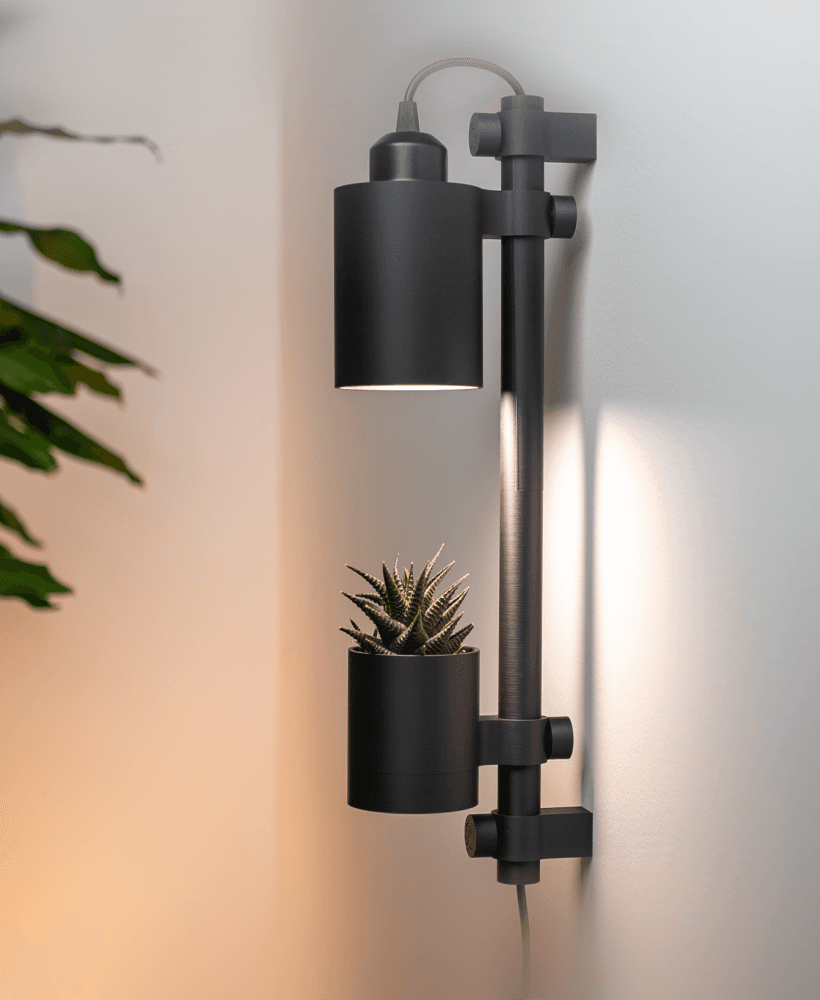
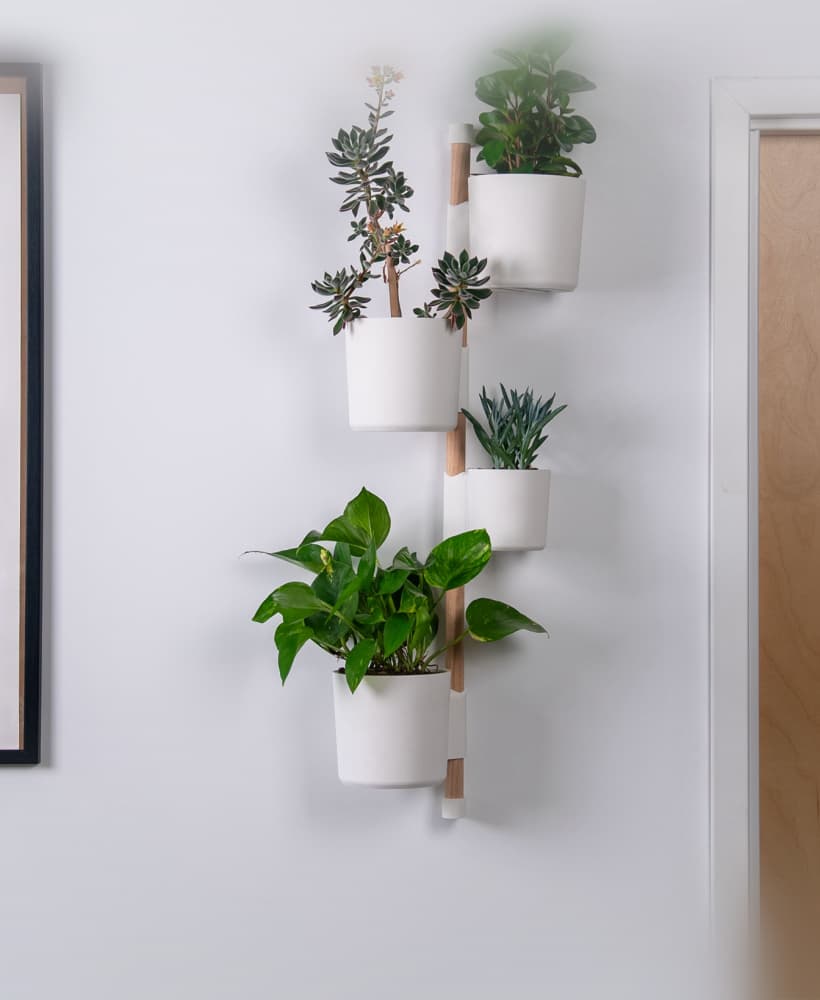
Modular Wall Light
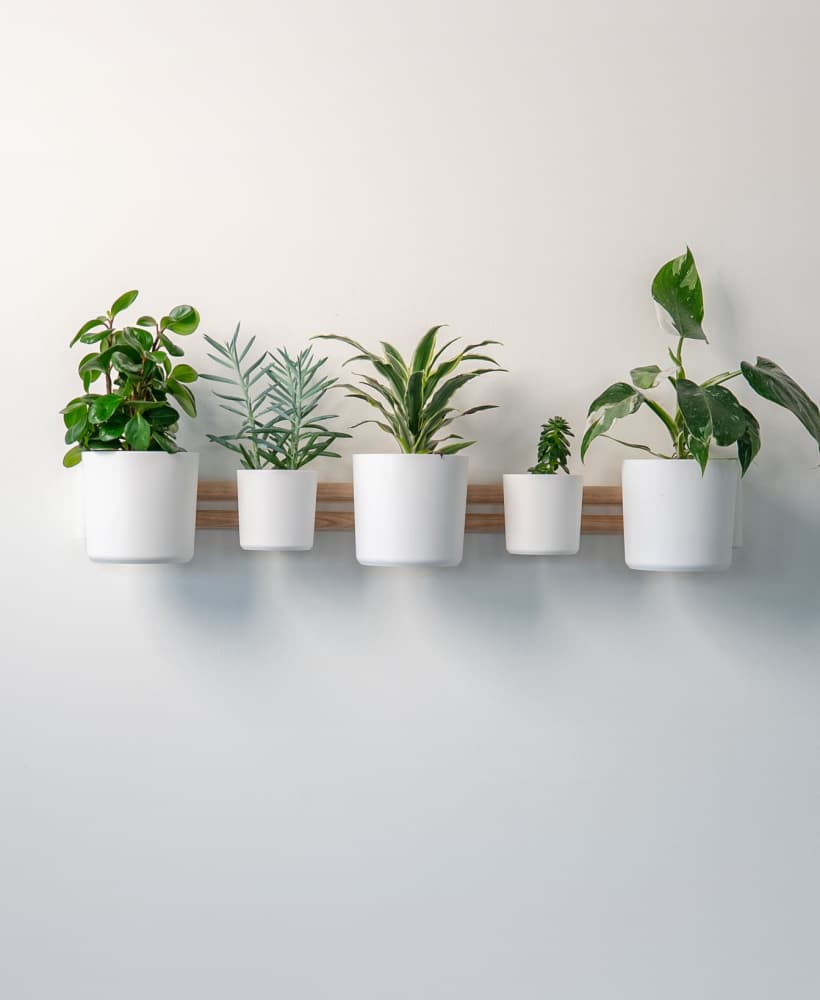
The Horizontal Rail

The Rail - Tripod Attachment
![Tiny Mushroom Dragon/Wyvern and Mushroom Shelf [Gazzaladra Collab] 3d model](/_next/image?url=https%3A%2F%2Fstorage.googleapis.com%2Fproduction-thangs-public%2Fuploads%2Fenhanced_images%2Fv1%2F41421592-2019-4923-abae-c3e83a110400%2F0_2.jpg&w=3840&q=75)
Tiny Mushroom Dragon/Wyvern and Mushroom Shelf [Gazzaladra Collab]
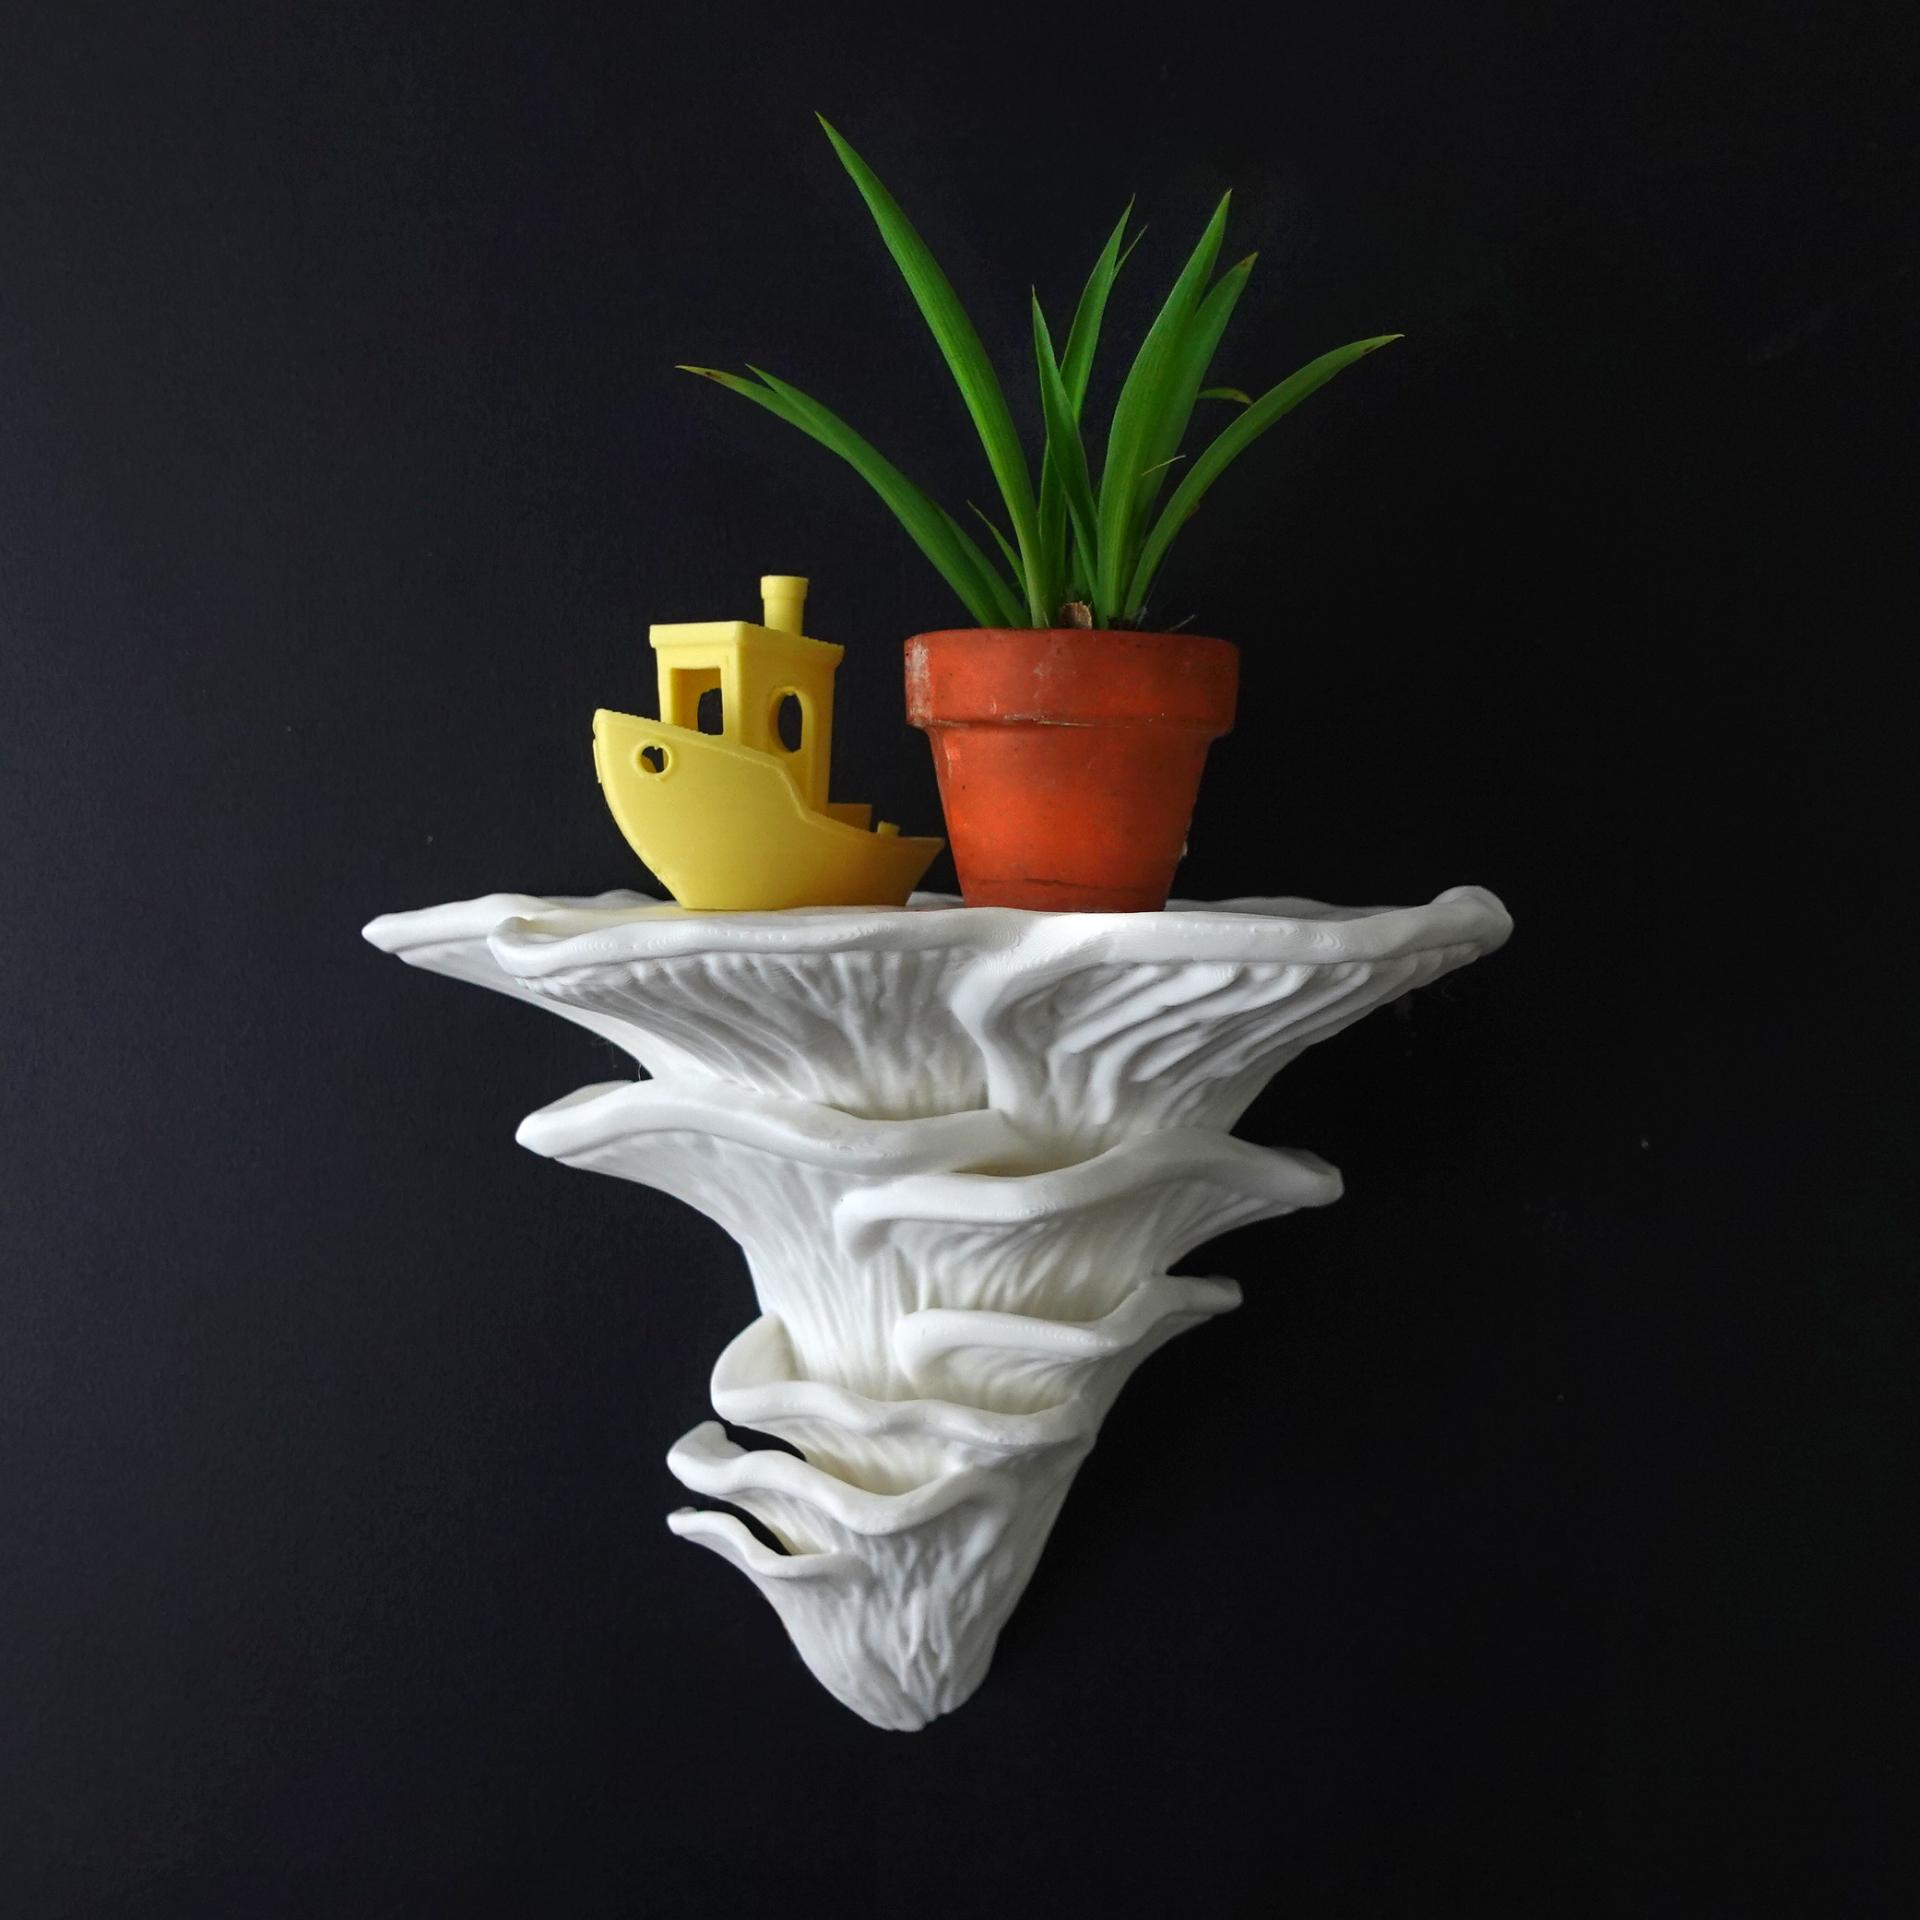
Mushroom shelf “Pleurotus Djamor”

Mushroom shelf “Formitopsis Pinicula”

Mushroom shelf “ Stereum Ostrea”

The Rail - Storage Bins

Garbage Bin - Large (24x24x45 cm)
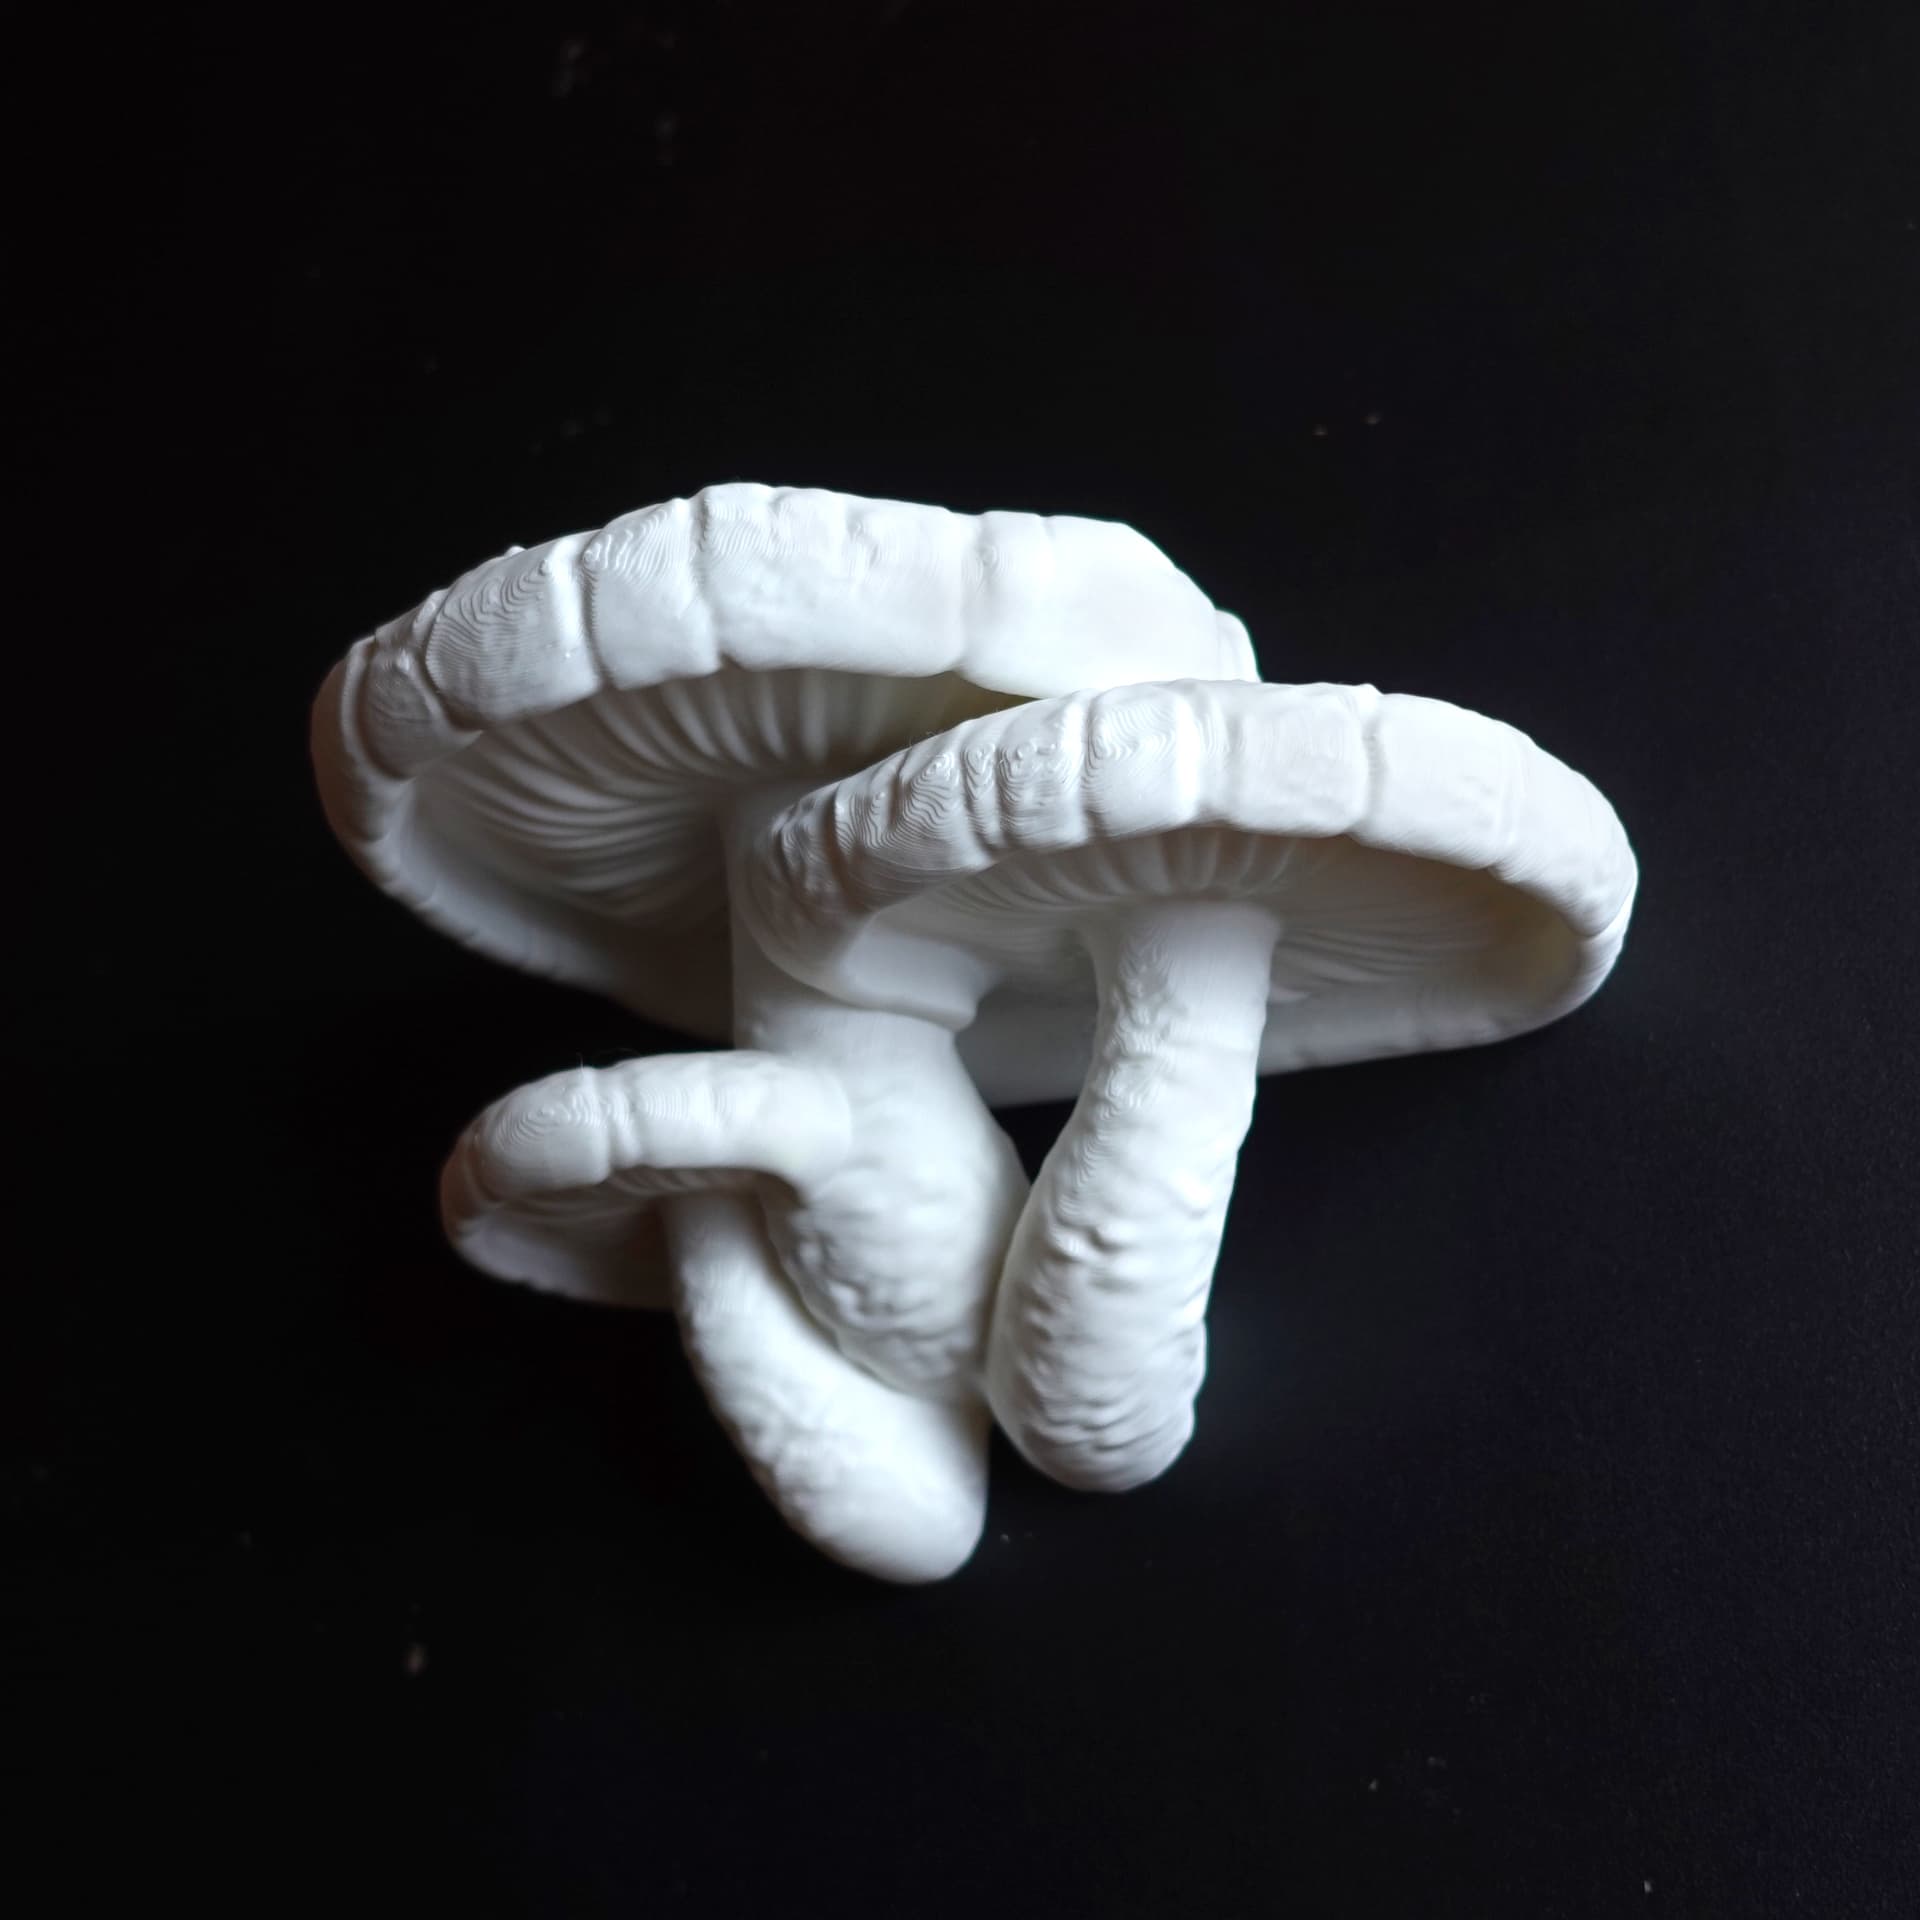
Mushroom shelf “Lentinula Edodes”

Romanian Filament Column

Gridfinity | Paper Towel Roll

OMG! The new design is awesome and works like a charm. The strut ends fit perfectly and the elastic and inelastic tendon ends fit so much better, and don't come loose. Thank you. I made my first batches of 3D prints in red on my Bambu A1 using Basic PLA and they printed beautifully. Makeing the tendons take some practice and I found using a soldering iron to cut the nylon and polyester cord worked best and eliminated fraying. Likewise I make the cuts at a slight angle so they thread throu
Hi Bill! Glad to hear that the new design is working for you. I really appreciate your taking the time to let me know how things are going, so that I can improve the design when needed. Thanks for posting! Guy