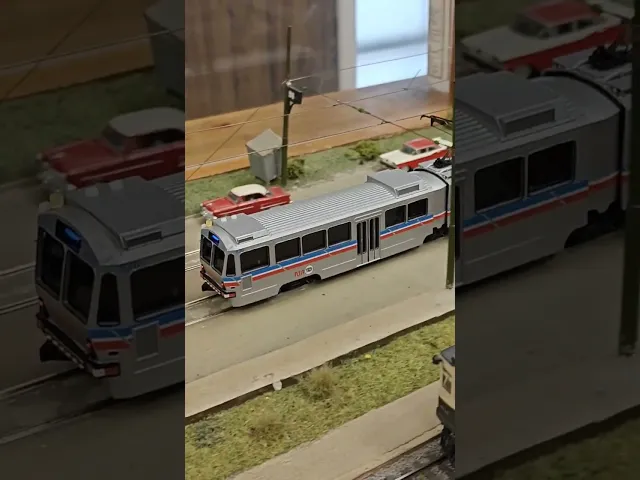

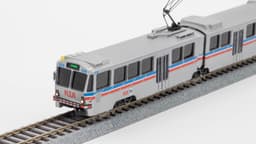


HO Scale Cleveland RTA Breda LRV (Blue/Green Lines) - Shell and Chassis
0 downloads · 1 year ago · After completing my Airporter II cars the obvious next project was to make the other ancient vehicle
Order your 3D print
Product Specifications
Units:
Part
RTA Breda LRV v118_Shell_Front_SLA
1 @ 33 x 131 x 37 mm
RTA Breda LRV v118_Shell_Rear_SLA
1 @ 33 x 131 x 37 mm
RTA Breda LRV v118_Bendy_Bit_SLA
1 @ 30 x 18 x 28 mm
RTA Breda LRV v118_Bowser_Truck_Sideframe_SLA
6 @ 7 x 29 x 8 mm
RTA Breda LRV v118_Rear_Chassis_Pivot_FDM
1 @ 10 x 44 x 3 mm
RTA Breda LRV v118_Chassis_Front_FDM
1 @ 27 x 135 x 11 mm
RTA Breda LRV v118_Chassis_Rear_FDM
1 @ 27 x 112 x 11 mm
After completing my Airporter II cars the obvious next project was to make the other ancient vehicle still on the Cleveland RTA’s roster, Breda LRVs. Built in 1980, these cars were built by Breda in Italy to replace the aging PCCs on the former Shaker Heights Rapid Transit line. The models uses the Bowser trolley mechanism with an extra dummy truck.
This product includes:
- Front section shell
- Rear section shell
- Center bendy section
- Front chassis
- Rear chassis
- Chassis pivot
- Truck side frames (x6)
Hardware used:
- M2.5 or similar screws and nuts, and washers to attach the body to the shell (there are recessions for nuts), assemble the center pivot, and attach the interior to the chassis.
- M2 or similar screws and washers for the couplers
- M1.4 or similar screws for screwing down the DecoderBuddy (optional)
- M3 or similar screw to attach the end dummy truck
- 2-56 screws for attaching most Bowser trolley parts (you can use the ones that come in the mechanism kit)
- 0.75 and 1mm fiber optic filament for lighting (your mileage may vary depending on the printer tolerances)
- 1.8/2mm round top type LEDs – I used these: https://www.amazon.com/dp/B0CZQT4B25?th=1
- 3mm RGB LEDs for the destination signs – I used these: https://www.amazon.com/dp/B0DHX7J4DS?th=1
Assembly tips:
- A nut slots into the center bendy bit so a long M2.5 screw can be threaded tightly into it. Screw the center truck tightly to the bendy bit (they should be rigid to each other). You may need to use a washer since the hole on the Bowser truck is a little large. The bendy bit acts as the pivot for the two halves.
- FDM parts with holes that should be screwed into should be self tapping, but you may need to drill them.
- You’ll have to cut down the vertical ears on the pickups on the center trucks.
- The holes in the bendy bit are for passing wires through. I had the decals printed by Fusion Scale Graphics. You can download the art I made for free on my website firstpersonscalemodels.com
HO Scale Cleveland RTA Breda LRV (Blue/Green Lines) - Shell and Chassis
1 year ago in and
Order your 3D print
Product Specifications
Units:
Part
RTA Breda LRV v118_Shell_Front_SLA
1 @ 33 x 131 x 37 mm
RTA Breda LRV v118_Shell_Rear_SLA
1 @ 33 x 131 x 37 mm
RTA Breda LRV v118_Bendy_Bit_SLA
1 @ 30 x 18 x 28 mm
RTA Breda LRV v118_Bowser_Truck_Sideframe_SLA
6 @ 7 x 29 x 8 mm
RTA Breda LRV v118_Rear_Chassis_Pivot_FDM
1 @ 10 x 44 x 3 mm
RTA Breda LRV v118_Chassis_Front_FDM
1 @ 27 x 135 x 11 mm
RTA Breda LRV v118_Chassis_Rear_FDM
1 @ 27 x 112 x 11 mm
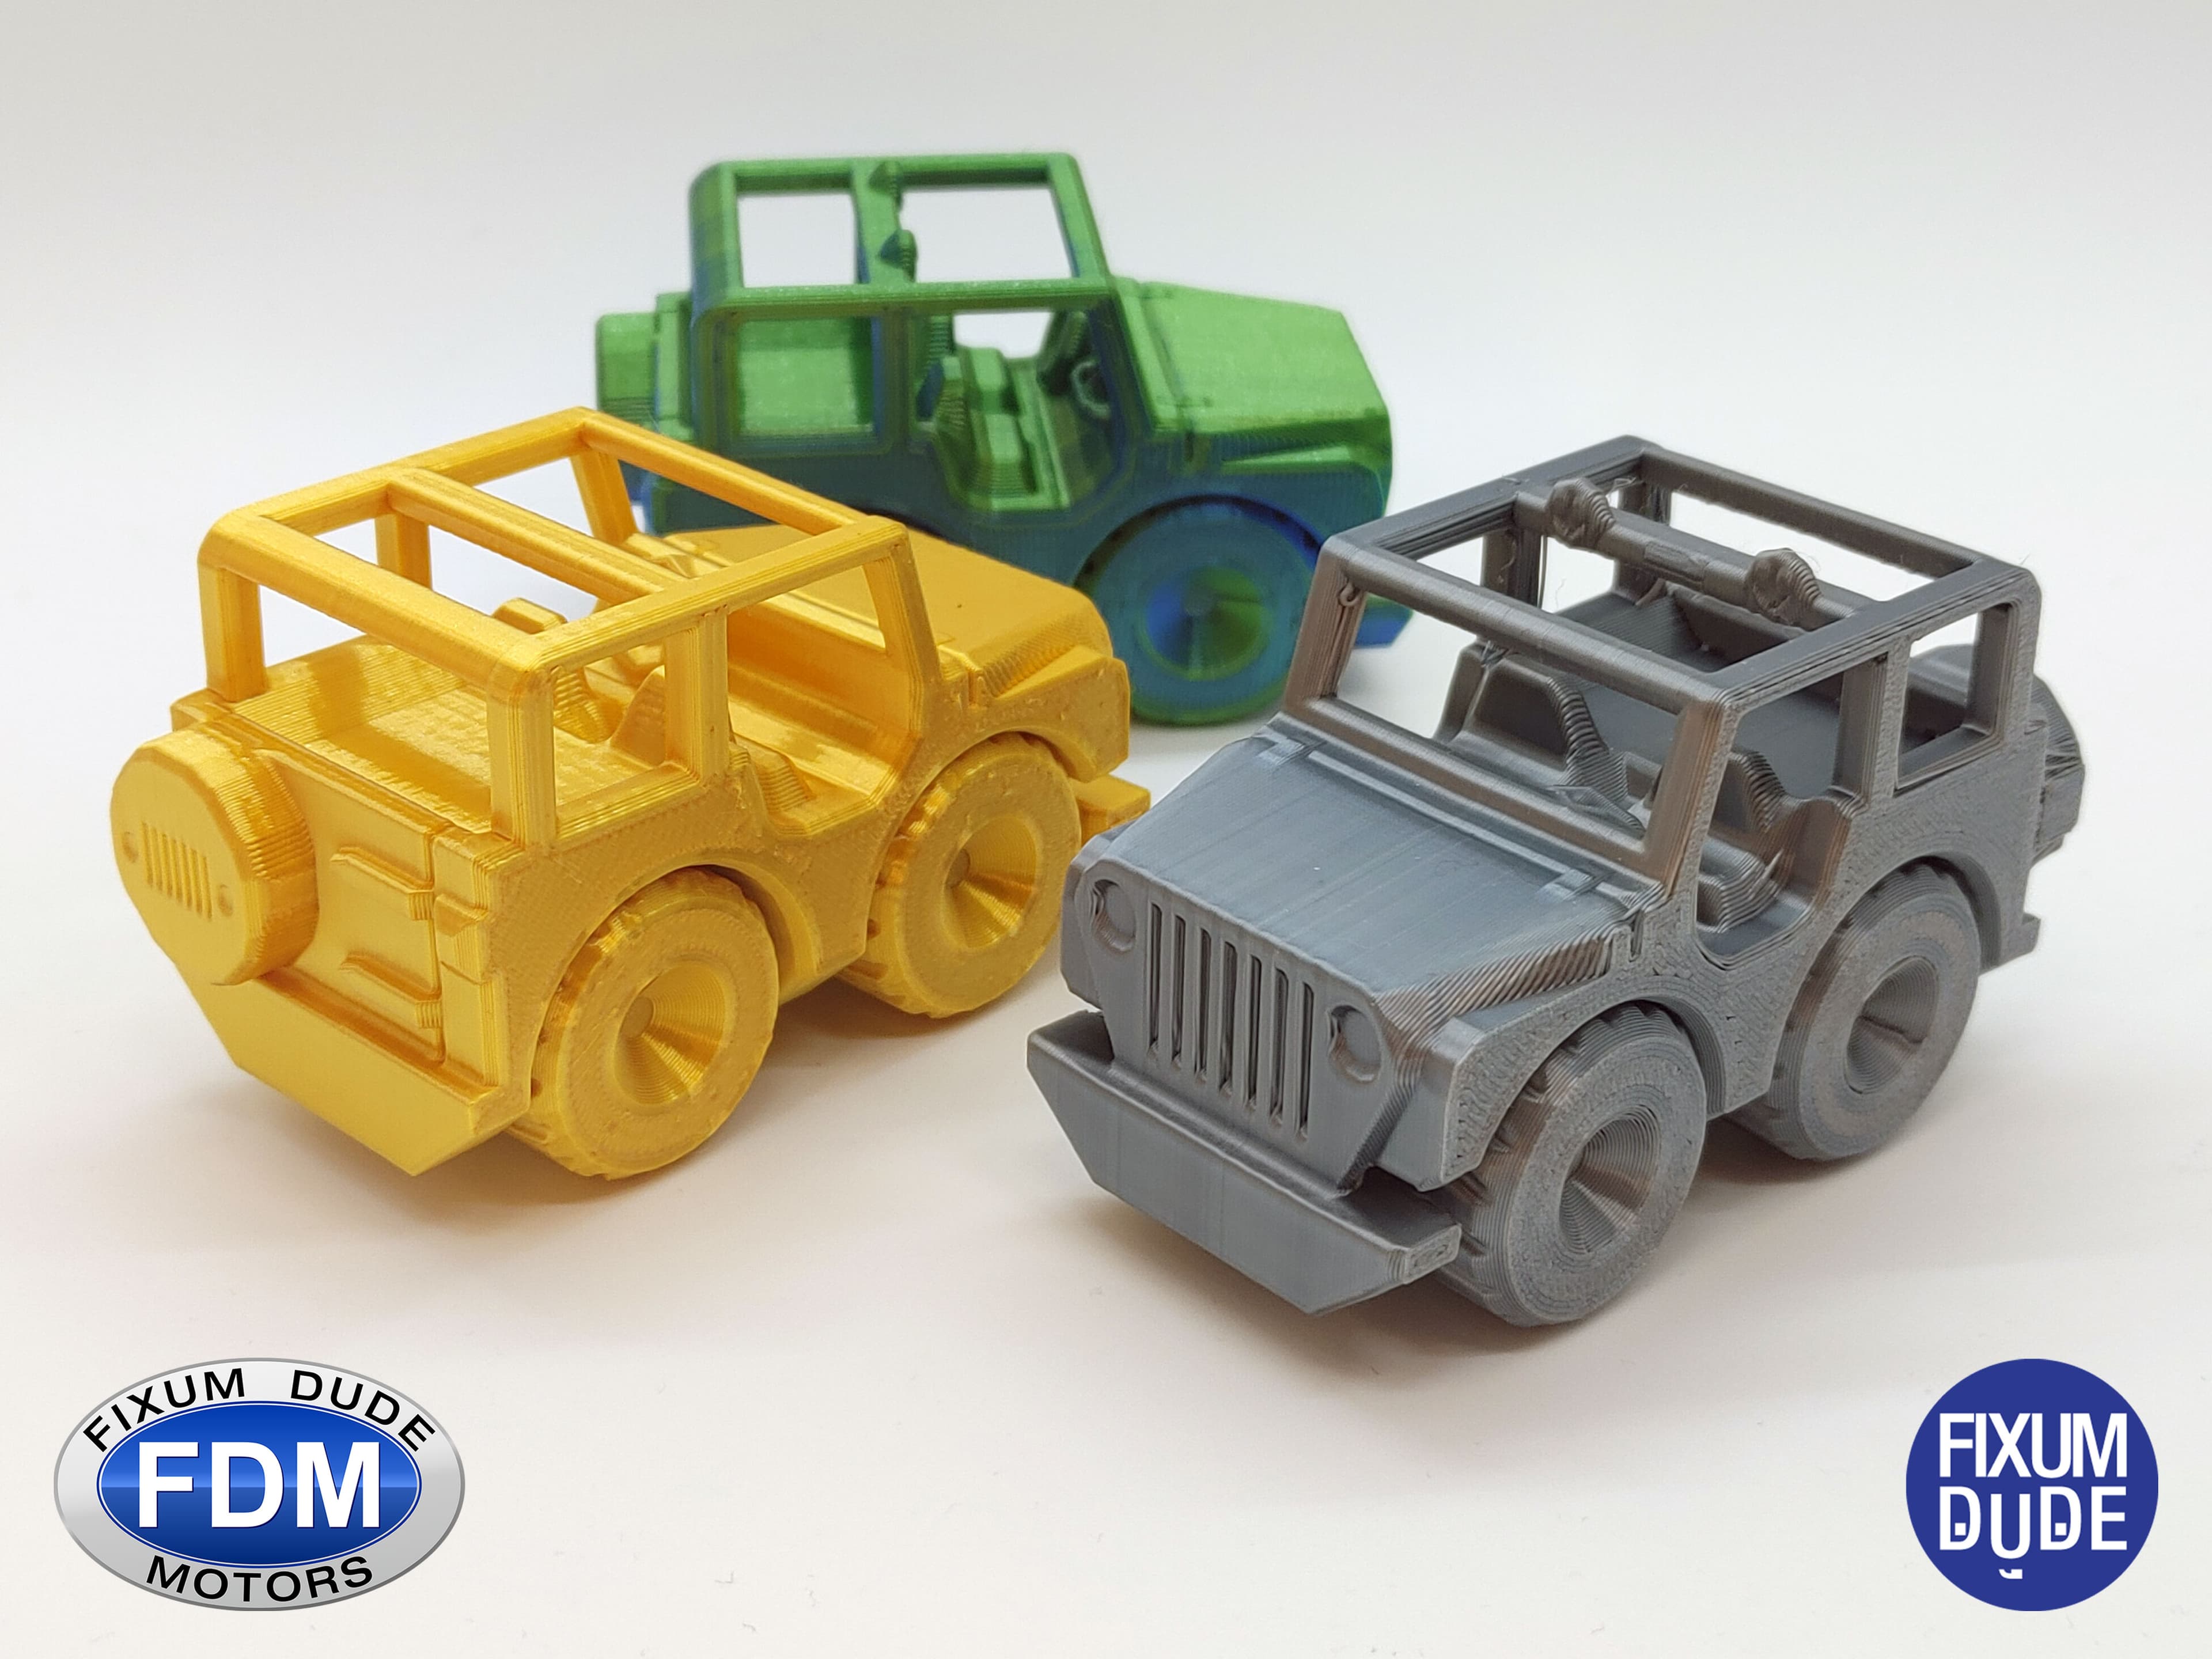
Fixum Dude Motors PIP Jeep
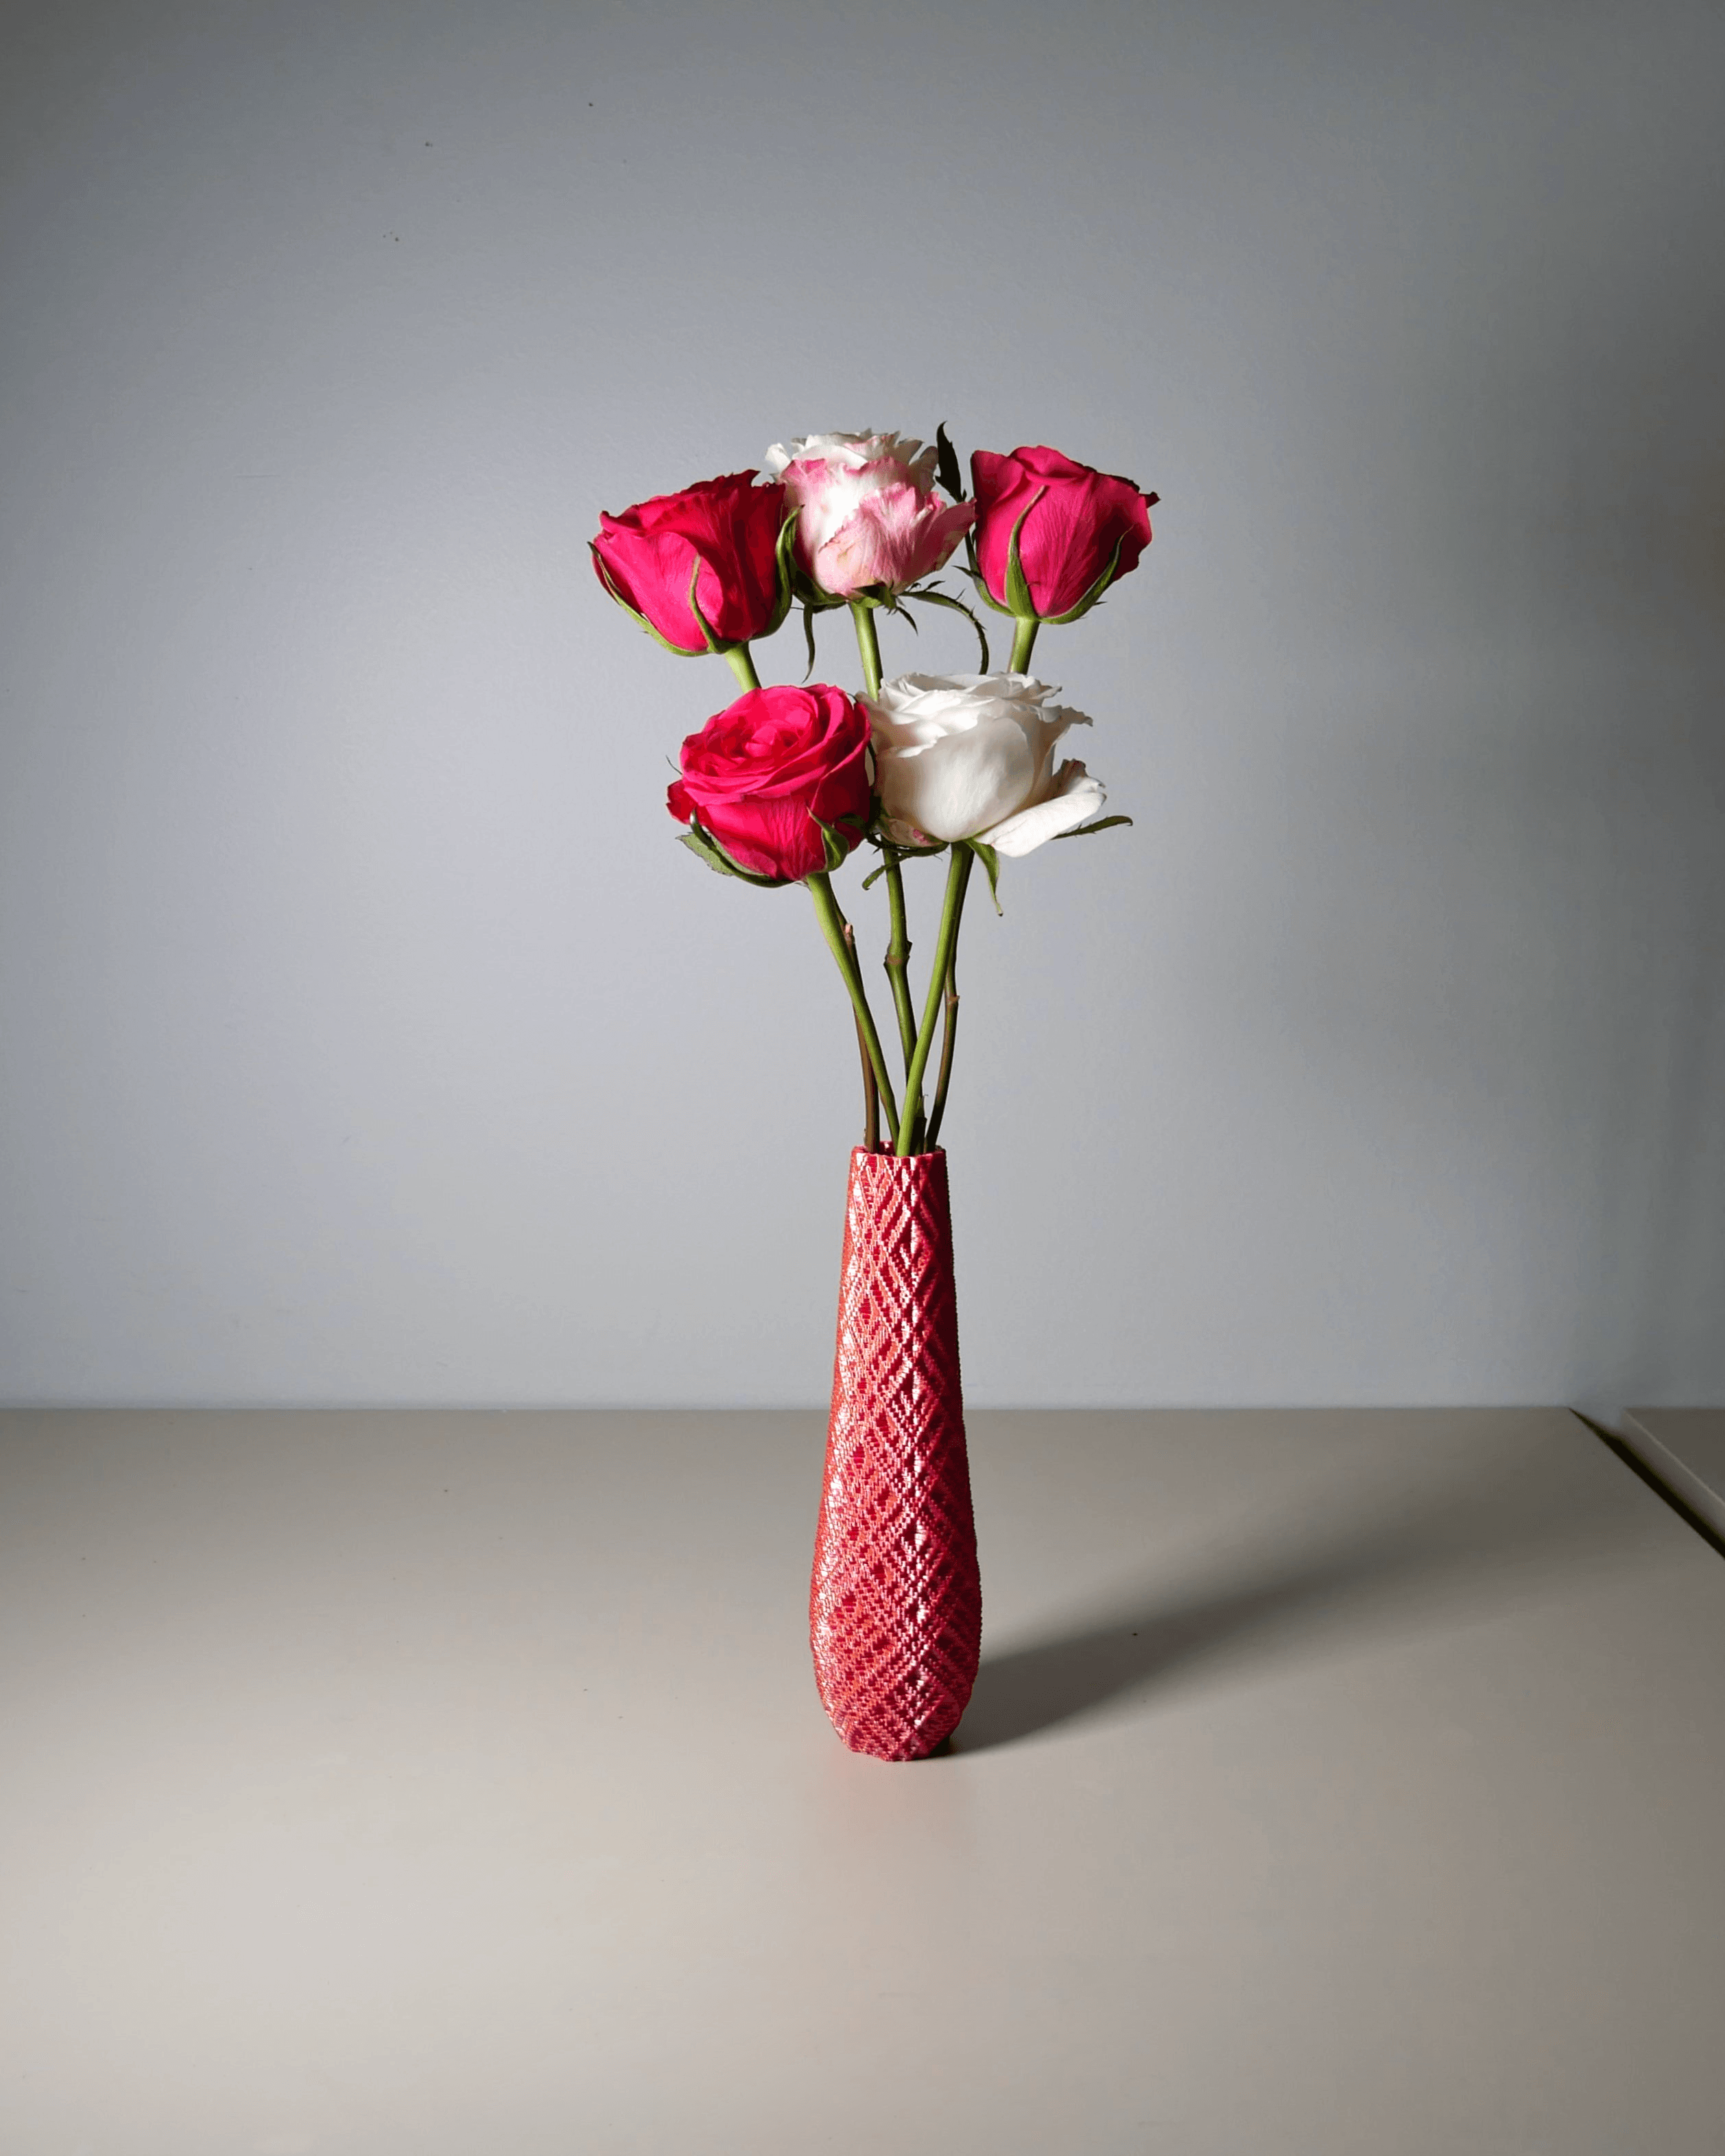
Slim Faceted Vases

Cheeky Bunny Gnome

Easter Bunny Gnome with Candy

Color My Shell

Eggables Monkey

Beach Vibe Gnome -Beach Ball

Beach Vibe Gnome -Surf

Eggables Fox
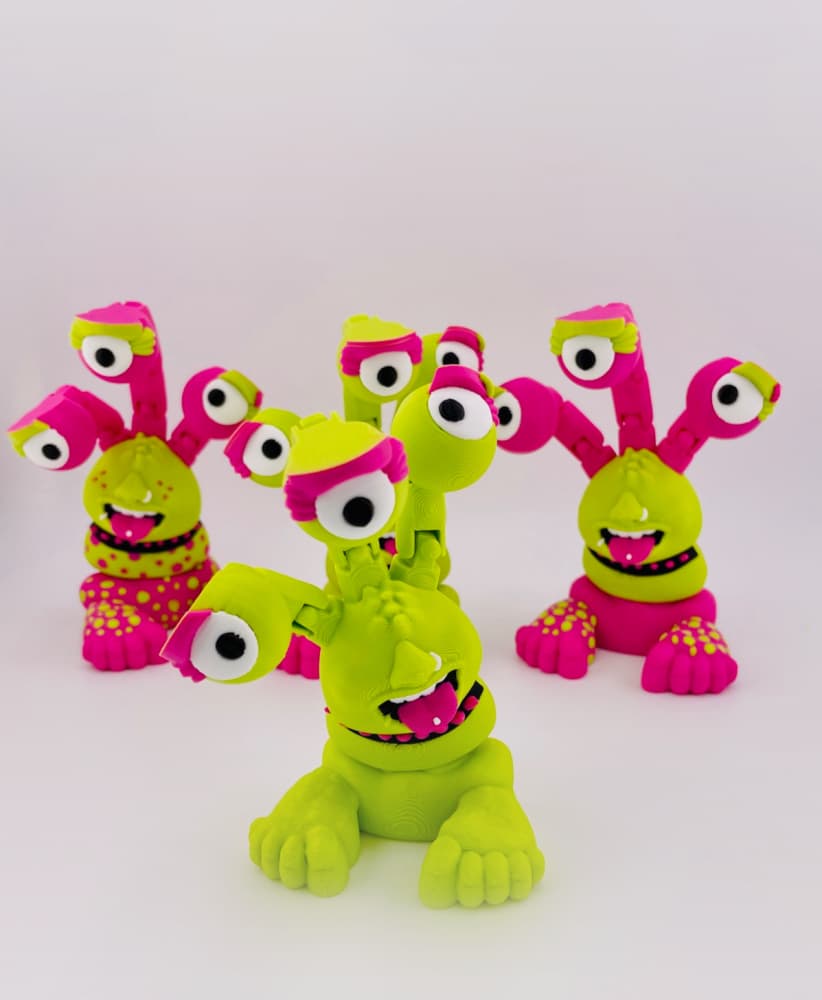
My Dream Monster -Punk

Beach Vibe Gnome -Sand Pail

Haunted House Ornament

Rosebud Gnome

Beach Vibe Gnome -Floaty

My Dream Monster -Puppy Hearts & Stars
Shipto you

HO Scale Cleveland RTA Tokyu Airporter II (Red Line) - Shell and Chassis

Shamrock Clickers Multi-Pack

Deskop Car Concept Drawer Storage Box
Shipto you

N scale NS betonnen bovenleiding portalen (4 stuks)
Shipto you