


GEN2 Decor - Faceplates - Classic Series
| Visit JERRARI3D.com for Instructions and a complete look at the GEN2 collection
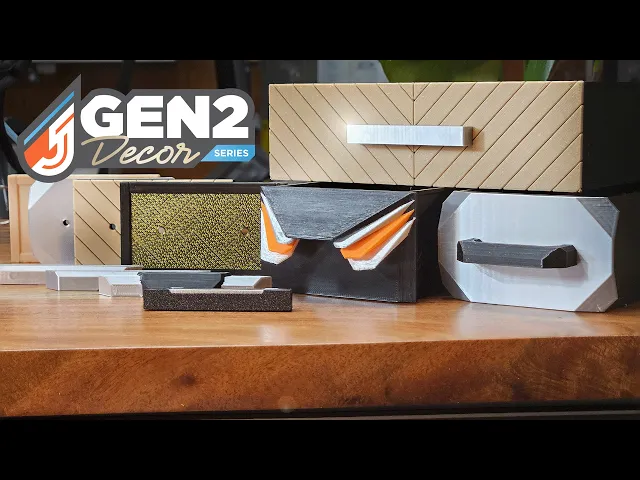
The GEN2 Classic Series is a collection of drawer faceplates for the GEN2 Decor Series. Simply print the drawer bodies and slide your personalized faceplate in place. Lock in place with an optional M3 screw and nut.
The GEN2 Classic series is designed for those who love the original look of GEN2 drawers but want the flexibility of the Decor system. These faceplates replicate the iconic integrated front style while offering the convenience of swappable panels, perfect for mixing old-school design with modern modularity.
What You'll Need
Visit Jerrari3D.com for a list of all compatible drawers.
HARDWARE Includes affiliated links to help support my projects • Filament - PLA or PETG Filament used in images: - Orange - Prusament PLA - Black PLA (Faceplate) - Silver Silk PLA - White PLA • M3 screws: M3x6 (I prefer this kit)
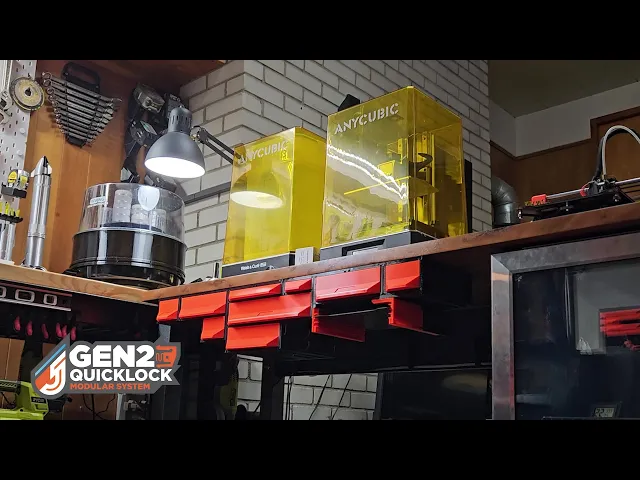
Find more GEN2 Decor Drawer options and sizes at Jerrari3D.com
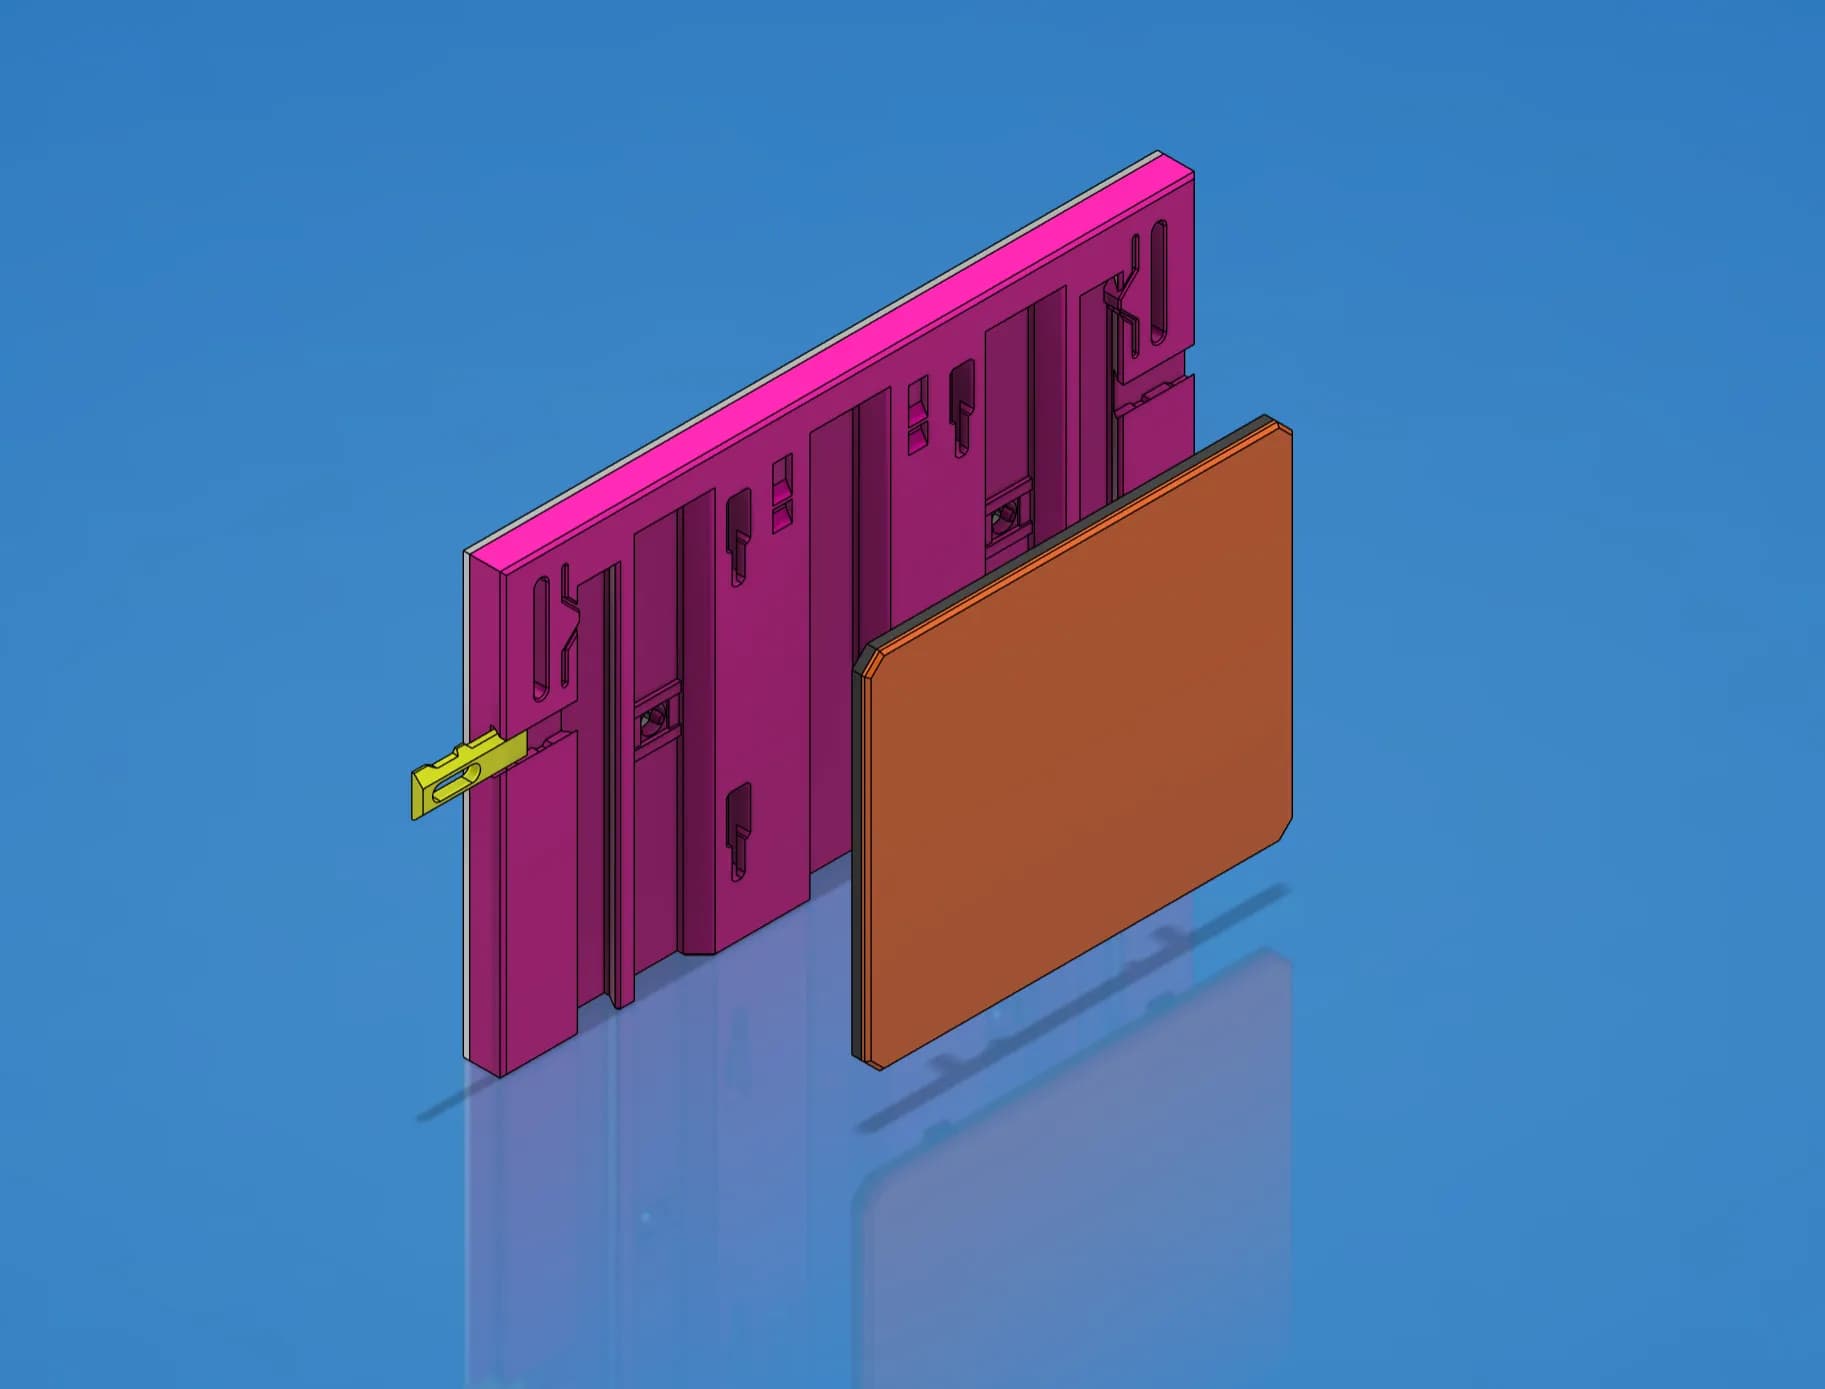
INSTRUCTIONS • Slide the faceplate onto the front rails of the GEN2 Decor drawer.
• (Optional) Use M3x6 screw and thread it in from the inside of the drawer front to the self-tapping hole to lock the faceplate in place.
Slicing Tutorials Opening the 3MF file you should find the file already sliced and ready to be printed, depending if you need to select a different printer. When opening the STL file the model will show as one solid color, to separate them to print in multi color simply right click on the STL in the list of objects, select "Split > To parts" as shown below. This can be done in both PrusaSlicer, Bambu Studio or similar. Print orientation is recommended faceplate facing upwards.
Please note: _The Non-Commercial license refers specifically to selling prints. You're absolutely welcome to use my designs in commercial environments—I actually encourage you to use them anywhere you see fit! _👍
GEN2 Decor - Faceplates - Classic Series

GEN2 Wall Mount Brackets

GEN2 240 Foot Rails

GEN2 270 Foot Rails

GEN2 185 Foot Rails

GEN2 165 Foot Rails

GEN2 115 Foot Rails

GEN2 185 Cover

GEN2 59 Cover

GEN2 270 Cover

GEN2 240 Cover

GEN2 115 Cover

GEN2 165 Covers
Faceplate Template - STEP/CAD Files (Essential Series)

GEN2 Cabinet Preview - Early Access

GEN2 59 Cases - All

GEN2 165 Cases - All

GEN2 185 Cases - All

GEN2 270 Cases - All

GEN2 240 Cases - All

I don't see the 2W 3H faceplate here? Purchased the membership but where to I find the faceplate for 2W 3H faceplate?
At the moment I'm working through updating all variations of the faceplates to support the new larger drawer sizes that were added, so that size will be available soon. I do have the Classic Pro faceplates fully update here: https://than.gs/m/1332444
The Classic Pro faceplates are the premium version of this series that feature a swappable labels. There's also a tool to create the custom labels here: https://www.jerrari3d.com/gen2-modular-system/decor-faceplates/classic-pro