


CALIZ | Woven Table Lamp E14 & E26/27
CALIZ | Woven Table Lamp E14 & E26/27
A table lamp that works great with large "Edison filament" light bulbs.
It works with E14 &E26/27 light bulbs. There's a version of the base for each type.
UPDATE: You can now pick between 2 weave patterns. • V1 prints in regular mode. • "V2_shade-full" prints in vase mode, without any visible seame. Make sure to check out the detailed print settings.
To add some weight to the base, you can fill-up the screw-in container with clay, gravel or sand, and screw it inside the bottom of the base. It makes the lamp very stable, gives it a more premium feel.
The woven pattern (printed here in PETG) diffuses the light beautifully. It can be printed by any printer with a classic 0.4mm nozzle.
Happy printing!
DIMENSIONS (shade) Ø190mm H 209mm
DIMENSIONS (base) Ø116mm H 116mm
3D PRINT SETTINGS: All STL files are already oriented properly. You need to print 4 parts:
- one shade
- one base
- one "weight container" made of 2 parts
THE SHADE: The shade prints upright. 2 versions available: V1 and V2. V1 prints in regular mode, V2 in vase mode. V1 SHADE: • Layer height: 0.3 mm (no less, no more) • Line width: 0.5mm (for a 0.4mm nozzle, so as to extrude a bit more material and achieve a cleaner weave) • Wall line count (perimeter walls): 2 • Build adhesion type: None • Supports: None V2 SHADE: The 3D model is full. This is normal. You need to "empty it" by printing it in vase mode (spiralize outer contour / spiral vase). Same settings for 0.4 to 0.8mm nozzles as detailed below: • 0.4mm layer height • default 0.85mm line width • 8 bottom layers (adjust if using another layer height)
For Bambu Studio users, make sure to: • turn OFF "slow down for overhangs" • set "wall generator" to "arachne". • turn off the "scarf mode" in the seam settings.
THE BASE & WEIGHT CONTAINER: No particular tricks for the base. I used 0.2mm per layer and 15% infill.
Happy printing!


CALIZ | Woven Table Lamp E14 & E26/27

SINE | pendant light E27/E26

COROA | pendant light E27/E26

MALLA | woven fruit bowl

MALLA | key bowl
FALDA | Pendant Light E26/27

MALLA | Woven String Art Deco

SAKURA | Pendant Light E26/27

SAKURA | Scalable Pencil Holder

MALLA | nut bowl
![SAKU[MINI] | Table Lamp E14 & E26/27 3d model](/_next/image?url=https%3A%2F%2Fstorage.googleapis.com%2Fproduction-thangs-public%2Fuploads%2Fenhanced_images%2Fv1%2F421bb906-ca95-4bc9-9dba-a6fd01fd6885%2FSAKU%255BMINI%255D_table-lamp_perspective-ON.jpg&w=3840&q=75)
SAKU[MINI] | Table Lamp E14 & E26/27

SAKUMI | Table Lamp E14 & E26/27

SYZYGY | Heart Vase, scalable
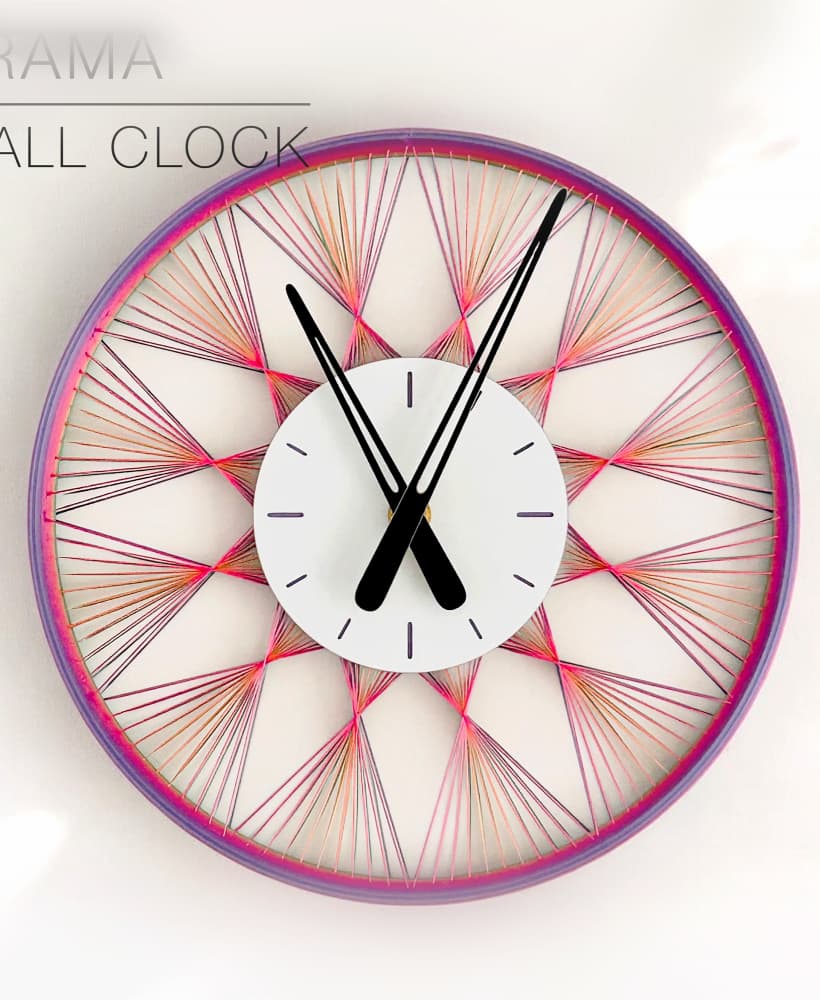
TRAMA | Wall Clock
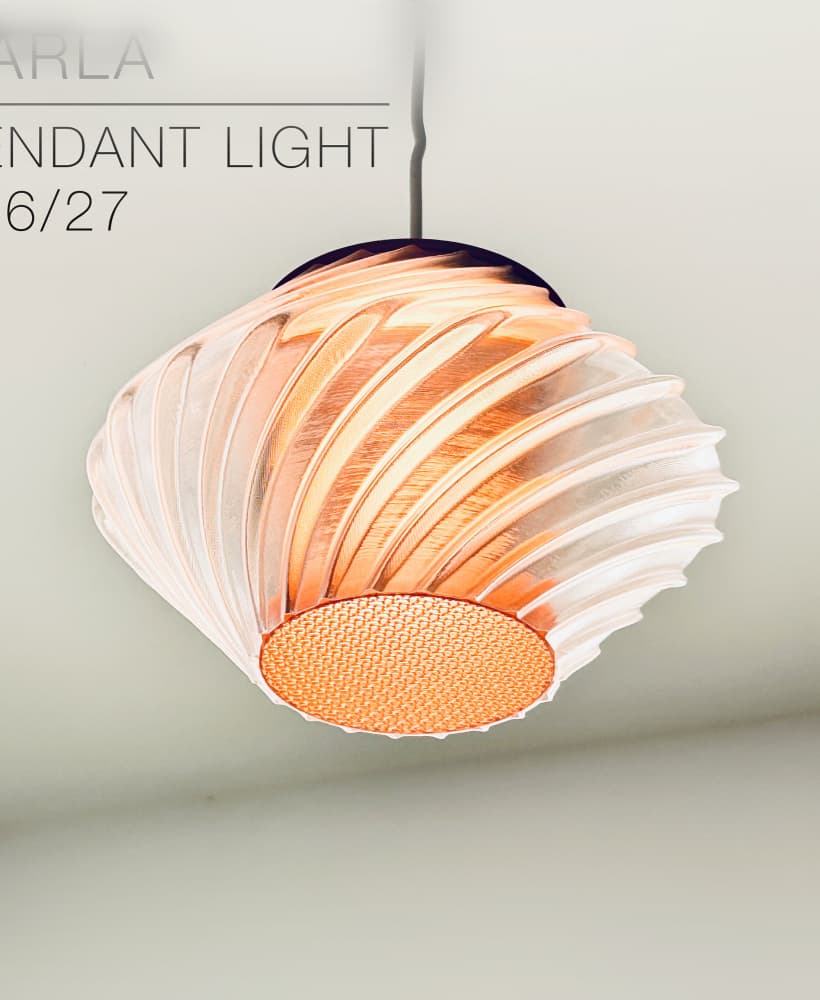
CARLA | Pendant Light E26/27

ORB XY | String Art Pendant Light

NINA | Toothbrush cups

PICA | Brush, print-in-place

MORPH | Stackable Egg Cup

ARYZ Divide | Pendant light E26/27

Man, that blue gradient looks so good.
Looking good! Thanks for sharing!
Hi! In "Others" settings, you might want to set the "Print sequence" to "by object" instead of "by layers". If it's set on "by layers", the print head might take a pause in the top right corner of the build plate once in a while, which causes imperfections when it resumes printing that layer.
Thanks for reply. I will test and soon feed you back…
Hi, Charles, I changed Print sequence layer to object. Still same problem happens. Do you have any other option to dissolve this problem.
Did you set "wall generator" to "arachne"? Maybe the slicer detects some tiny sections of the weave as empty, and arachne mode would solve that. Which nozzle size do you use? Printing with a 0.4mm nozzle would have fewer defects since each layer would have 2 perimeter walls.
Thanks Charles, for faster response. I set wall generator as arachne. Additionally, I am using 0.4mm nozzle (Bambulab P1S). Do you have nozzle size suggestion for perfect print?
I find that it prints better with a 0.4mm nozzle, because the seam gets hidden better between the 2 perimeter wall lines. Usually it prints without defects. Which filaments are you using? I find that Bambu Lab translucent PETG work quite well for this shade, and also matte PLA by Overture or Bambu Lab.
Thanks Charles, I tried both PETG and PLA Matte. Both showed similar defect. It's defected only ~5-10 broken layers as image uploaded before. All others looks good.
Are those defects where the seams are? Or any other random location?
Thanks Charles, Its random. In my observation, in the outer layer only one of string layer broken. I printed SOAR model with mesh shade and this also similar random few defects. Hope it's not problem of STL model (I will study more about my printer). Maybe I should choose not mesh shades kkk... Thanks for responses.
Strange... I've been working on another type of mesh, that prints without visible seams in vase mode. Need to test if it works well on shapes such as the shades for SOAR and CALIZ. If so I'll replace the files with the new mesh type. To be continued...
After few round of print test. I found that all problem comes from seam point. I changed seam setting into back align, it's print perfect all around but it has a defect in one line in back. Do you have any suggestion? If problem is on seam.
What parameters do you use with a 0.8 nozzle?
Hi!
For a 0.8mm nozzle:
The seam will be more discrete with a or 0.4mm nozzles and 2 perimeter walls, since the seam can be hidden in between the 2 perimeter walls. With 0.8mm nozzle in “spiral” or “vase mode”, the seam is very slightly visible and wraps around the shade following the twist of the weave, instead of being in a straight vertical line.
Hello, Charles! What AI image generator did you use for creating the images? They are fantastic and I need to make more.
Hi! I didn't use AI image generators. I just took pictures of the lamps on my dining table, with my trustworthy iPhone ;-)
Oh, no, sorry. For this actual lamp I used Photoroom to generate backgrounds. But I rarely do that anymore, now I just take pictures in my home using real backgrounds.
So the backgrounds in Caliz M, Soar and Tela are all real?
No those are AI generated. But now I'm trying to use real backgrounds as much as possible, unless I can't find a suitable background in my house. It's just that when I started out, my appartment wasn't picture friendly at all, so I had no choice but to use AI backgrounds. Not anymore.
Where can I get photos of your products? Do you have a discord?
https://discord.gg/qBzSJSHh
It's strange, the issues don't seem to happen where the shade has the most radical overhangs, but where the shade profile is almost vertical, and so where overhangs aren't such an issue anymore. Looks more like a "layer shift" issue or maybe problem with calibration or lubrication.
Which printers did you use? Maybe can try slowing down the print by 25 or 50%?
Hi Charles, I'm facing the same problem above. Can you give me pictures of all your settings?
Hi! It might not be a setting issue, but more to day with the heating element or the nozzle getting tired. I just uploaded a Shade with a new weave that prints much better and in vase mode, without any seam. Basically it's the same weave pattern I use in my latest lamps such as the COROA pendant light. Give it a try and let me know how it went! I uploaded the 3mf file so you won't have to worry about print settings.
I decided to make some changes to the speed, and it seems that it is precisely at these points in the photos that the nozzle starts to touch the shade and make a clicking noise (the shade even jumps slightly, as if it were moving out of place). I canceled one of the prints, but I am leaving the other one a little longer because I manually reduced the speed on the printer to check whether this problem would persist with a lower speed.
I am also thinking of creating a specific speed for this shade region. I think that could be the solution, in addition to calibrating it.
Do you have some PETG? My shade was printed in PETG and it came out great. I actually printed 3, to experiment with various nozzle sizes (0.4 and 0.8mm). Never encountered this issue. Might be harder to print with PLA.
I forgot to ask lol
Can you help me with this problem?
Hey boss can you design bottom for other standards? Like E14 etc.
Hi! I just uploaded a base for E14. Enjoy!