


.png&w=256&q=75)


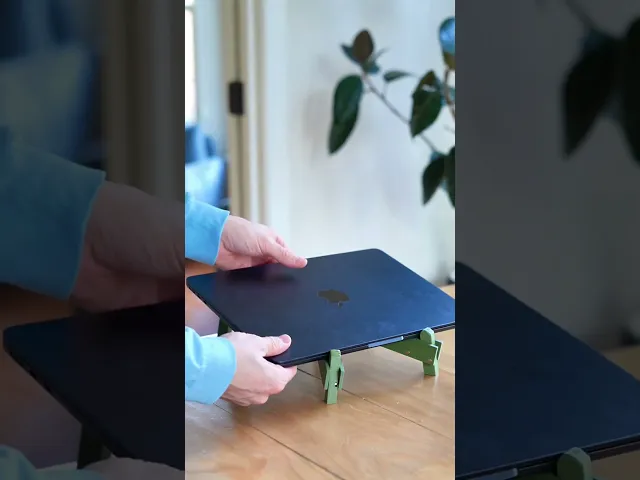
Portable Laptop Stand - Print in Place Collapsing Laptop Stand with Cable Coil
Instructions Hardware Filaments
Portable Laptop Stand - Intermediate / Advanced
This might be the best 3D printable Laptop Stand. I studied all types of stands out there to get inspiration for one that fully prints in place in a single piece, yet folds up into a super stable laptop stand.
This X design with folding legs allows it to collapse down to fit in a water bottle pocket, making it super easy to use on the go. Magnets make everything snap together.
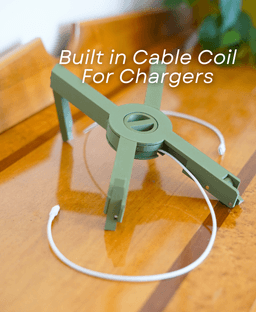
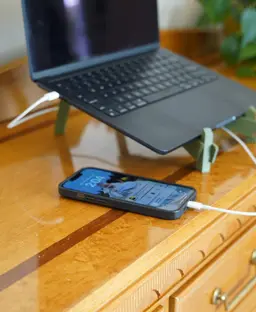
Cable Coil included in the middle of the stand is a built-in cable coil. Which keeps your phone charger tidy, and right where you need it. This part also prints in place! And if you prefer a sleeker look, there is another version without the cable coil
This design took over two dozen iterations to get it working perfectly. The articulating hinges, cable coil, and fold-out legs required a lot of trial and error to get working, and now it finally works great!
How To Assemble Assembly Video

Portable Laptop Stand - Print in Place Collapsing Laptop Stand with Cable Coil

PlayBook'd Zoo are you?
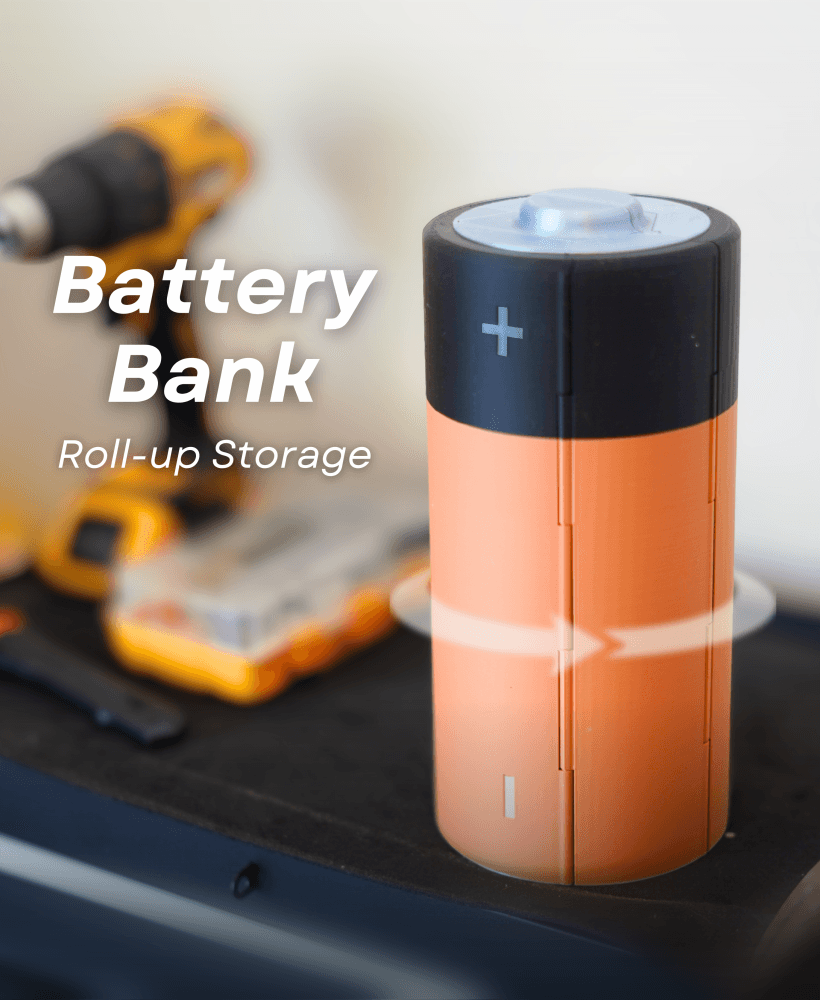
Battery Bank

PlayBook'd LUDO

Cactus Cluster

PlayBook'd Tic Tac Toe

Lucky Bamboo Mahjong

PlayBook'd - Go

Telephones Booth

Spinny Succulents - Pack III

Desktop Golf Gen 2

PlayBook'd - Playing Cards

Desktop Dumpster

PlayBook'd Cribbage

PlayBook'd Crosswords

Snack Attack - Gen 2

PlayBook'd Snakes and Ladders
.png&w=3840&q=75)
Date Night Daisy

PlayBook'd Settlers' Storage

Scoopy Stacks

Anyone else having issues to fit the magnets in the slots on the fold out legs? The cut outs are way to small for me to fit the 5x3 magnets..
Same issue here. Way too narrow, especially for the vertical ones.
You will need to press/force them in. I used a small flathead screw driver
guys how do i remove thge legs without breaking them becuase the longer legs i dont know how to remove since it broke once
Hi! I'm sorry to hear you are having issues with the legs breaking. This can be caused by a few things but usually it is a bridging issue or an elephants foot compensation issue. Increase your cooling to 100%, increase your bridge flow to 1.1-1.2, and increase you elephant foot compensation to .2mm, and that should help. To save your current print you can make sure you run a razor down the feet to free any fusing caused by the elephants foot and then you can try carefully prying the legs open.
Hello. I am having issues to fit the magnet in. Any strategies for that? Are the magnets really making a difference?
The magnets just help everything stay in place more securely but they are totally optional. I like to use a flathead screw driver to help insert all of them, personaly.
Great print, perfectly functional, but the side insert magnet holes are just a little too narrow. The flat ones are perfectly fine, I believe the mismatch it's cause the side inserts are for 5x2.8mm rather than 5x3mm seeing that the link in the description brings to magnets that are 2.8mm thick
Would you be able to make the magnet holes slightly bigger, perhaps? I'm looking to sell these, but I'm having trouble getting some of the 5x3 magnets into the holes. It's not all the holes, but there are a few holes that are too small. Yes, I do understand you said that the magnets that insert vertically need to be pressed/forced in with something like a flathead screwdriver. The holes that are causing me the most trouble are on the longer legs. Any help would be greatly appreciated, thanks!
Hi, I'm sorry they're giving you so much trouble! I do recommend using a flathead screwdriver or one of these magnet pens, to help push down the magnets into their slots, but I will also take a good at the tolerances and see if there is anything that can be done.
Ok, thanks!
hola necesito tu ayuda parece que las tolerancias no estan bien en la patas mas largas no se pueden desplegar de forma correcta alguien mas tiene ese mismo problema? como lo puedo solucionar ???
Hi, That can definitely be frustrating. It is likely that you need to adjust your bridge settings as they may have fused together when printing. you can decrease your bridge flow by 3% and see if that helps.
There is no mention in the description that this will not fit many print beds. For those wondering, you need to be able to fit a 300x88x25 "cube" on your bed to print this. As it's print-in-place, there is no real way to split it up for creative solutions.
It's sized for the common 256mm bed. You print it flat, corner to corner diagonally.
It doesn't fit on my Prusa mk3s diagonally. It clips just a little. I need a couple more mm.
IS THERE Any way to get the legs to lock?
The legs don’t technically “lock,” but once the magnets are inserted, they should hold the stand open or closed securely enough to keep it steady.
I'm looking to print the laptop stand out of PETG instead of PLA and sell it using the commercial license I purchased from you. What support settings would you recommend since supports with PETG models tend to fuse together if your support settings aren't dialed in?
The model was designed with PLA in mind, but PETG can still work—you’ll definitely need to fine-tune your support settings to make removal easier, before fully commiting to the full print.
I’d recommend running a small test print first. Try increasing the Z-gap to 0.25–0.3 mm, lowering support density (10–15%), and turning on support interfaces if your slicer allows. That should help prevent supports from fusing.