


Taylor Swift - Eras Tour (TTPD set) - Hueforge Print
Yeah, I saw this and knew immediately that I wanted to turn it into a filament painting.
This print uses 8 filament colours (yeah, excessive I know), but I wanted to mess around with the pink and blue in the background for some 'mood' vibes. You could probably try and use your own combination of colours if you like - noting that the pink does lend itself a little to the skin tone blend.
Pop the STL into Hueforge and see what you come up with! This one was a long one, about 8-9 hours, but the end result (and the detail on her white dress!) was so, so worth it I think!
As always, the 3MF file will have the swaps loaded in already - and if you do not want to use the 3MF, use the STL and follow the instructions below! If you want to resize the print, only resize the X and Y dimensions!
Print Instructions Print at 100% infill with a layer height of 0.04mm with a base layer of 0.2mm
The Model is 180x240mm in size You may print at higher layer heights below the Min Depth of 0.4mm The Max Depth is 2mm and the Actual Depth is 2mm
Filaments Used:
- PLA Kingroon Black Transmission Distance 0.4
- PLA BambuLab Basic Blue Transmission Distance: 3
- PLA Chrominal Chestnut Brown Transmission Distance: 3.5
- PLA BambuLab Basic Pink Transmission Distance: 6.6
- PLA Siddament Yellow Transmission Distance: 5.5
- PLA Chrominal Penumbra Gray Transmission Distance: 6.9
- PLA TECOR Beige Transmission Distance: 6.3
- PLA Kingroon White Transmission Distance: 5.8 This print uses 8 unique filaments
Swap Instructions:
- Start with Charcoal
- At layer #11 (0.6mm) swap to Blue
- At layer #13 (0.68mm) swap to Chestnut Brown
- At layer #21 (1mm) swap to Pink
- At layer #24 (1.12mm) swap to Yellow
- At layer #26 (1.2mm) swap to Penumbra Gray
- At layer #28 (1.28mm) swap to Beige
- At layer #39 (1.72mm) swap to White for the rest.
Taylor Swift - Eras Tour (TTPD set) - Hueforge Print

Shelf Studs - Cause you can nail 'em!

Barty the Gargoyle

Apple Pencil 2 Jig for Eufymake
.JPG&w=3840&q=75)
Navessa Allen's Into Darkness Trilogy Inspired Book Nook

Game On Inspired Pen Holder

Gothic Window with Ledge

Oversized Mewtwo Pokemon Card - Hueforge Hybrid

Vi (Arcane) Back Tattoo - HueForge Print

Fortnight - TTPD Christmas Ornament

Caught Up Inspired Helmet/Pen Holder

Reading Challenge Book Trophy

WoodForge - Aztec Style Star Wars Print

Taylor Swift - Life of a Showgirl Flatforge

A Lil Reading Ghost

Terrasen, Velaris and Lunathion Shelf Signs

Babel Tower and HueForge Map inspired by Babel by RF Kuang

Lights Out Inspired Skull / Pen Holder
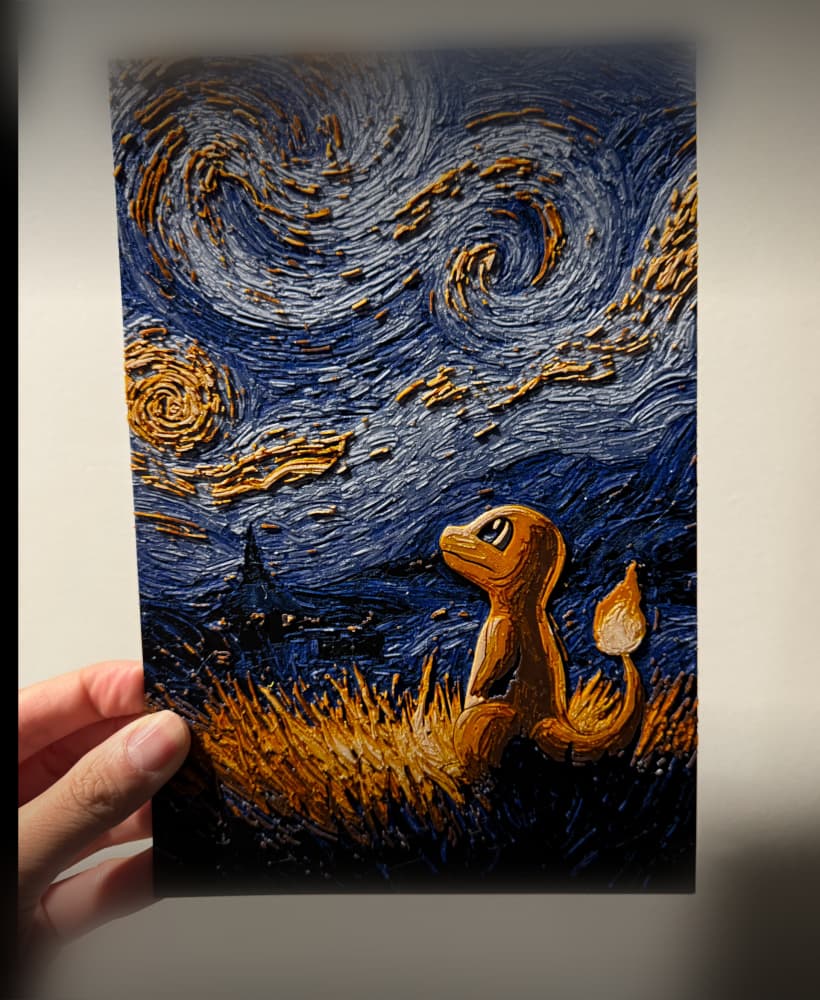
Starry Night Charmander

Starry Night Gengar
