


MALLA | Woven Pendant light E26/27
MALLA | Woven Pendant light E26/27
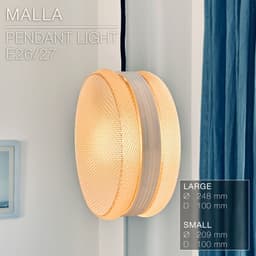
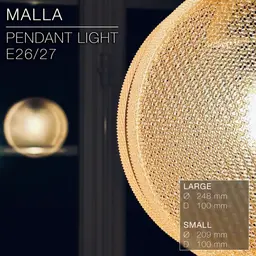
Simple. Eye-catching. The MALLA pendant light features the woven aesthetics of my MALLA collection.
It is available in large (Ø248mm) and small (Ø209mm) versions, to accommodate most common printers out there.
The mounting bracket is for E26 & E27 light bulb sockets. You can get the power cords from Amazon here:
For Europe: E27 cord: https://amzn.to/3OVrZjK
For the US: E26/E27 cord: https://amzn.to/3U0Xyvy
The woven pattern (printed in PETG) diffuses the light beautifully. It can be printed by any printer with a classic 0.4mm nozzle.
Happy printing!
DIMENSIONS (LARGE) | Ø 248 mm, D 100 mm
DIMENSIONS (Small) | Ø 209 mm, D 100 mm
3D PRINT SETTINGS All STL files are already oriented properly. They print without supports, without adhesion brim, You need to print 4 parts:
- a base ring
- a base bracket to mount the E26 or E27 socket
- 2 shades, identical, to go on each side of the base ring.
THE SHADE: To achieve the woven pattern of the front face of the shade, you have to turn off the top and bottom layers (set to 0), and pick an infill pattern of your choice (gyroid pattern on the pictures) with about 30% infill. On top of that, for 0.4mm nozzles, push the "infill line width" to 0.6mm to make the weave of the front face nice and strong. The items in the pictures were printed with a 0.4mm nozzle.
To ensure a super clean and sticky first layer, push the "initial layer line width" to 0.8mm.
Layer height: 0.3 mm (no less, no more) Line width: 0.5mm (for a 0.4mm nozzle, so as to extrude a bit more material and achieve a cleaner weave) First layer line width: 0.8mm Wall line count (perimeter walls): 2 Top layers: 0 Bottom layers: 0 Infill: 20% to 30% (I printed with 20% infill) Infill pattern: gyroid Infill line width: 0.6mm Infill-wall overlap: 50% Build adhesion type: None Supports: None
For Bambu Lab users, make sure to:
- turn OFF "slow down for overhangs"
- set "wall generator" to "arachne".
BASE PLATE & BRACKET: No particular tricks for these two parts. I used 0.2mm per layer and 20% infill.
Happy printing!
MALLA | Woven Pendant light E26/27

SINE | pendant light E27/E26

COROA | pendant light E27/E26

MALLA | woven fruit bowl

MALLA | key bowl
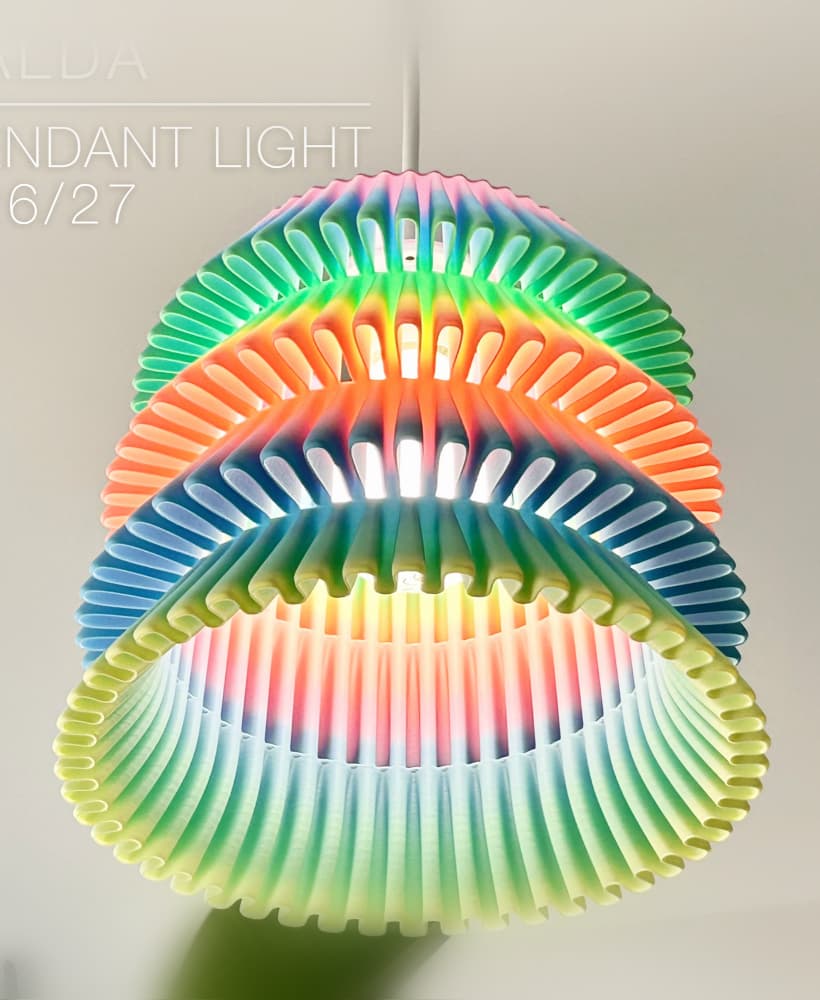
FALDA | Pendant Light E26/27

MALLA | Woven String Art Deco

SAKURA | Pendant Light E26/27

SAKURA | Scalable Pencil Holder

MALLA | nut bowl
![SAKU[MINI] | Table Lamp E14 & E26/27 3d model](/_next/image?url=https%3A%2F%2Fstorage.googleapis.com%2Fproduction-thangs-public%2Fuploads%2Fenhanced_images%2Fv1%2F421bb906-ca95-4bc9-9dba-a6fd01fd6885%2FSAKU%255BMINI%255D_table-lamp_perspective-ON.jpg&w=3840&q=75)
SAKU[MINI] | Table Lamp E14 & E26/27

SAKUMI | Table Lamp E14 & E26/27

SYZYGY | Heart Vase, scalable
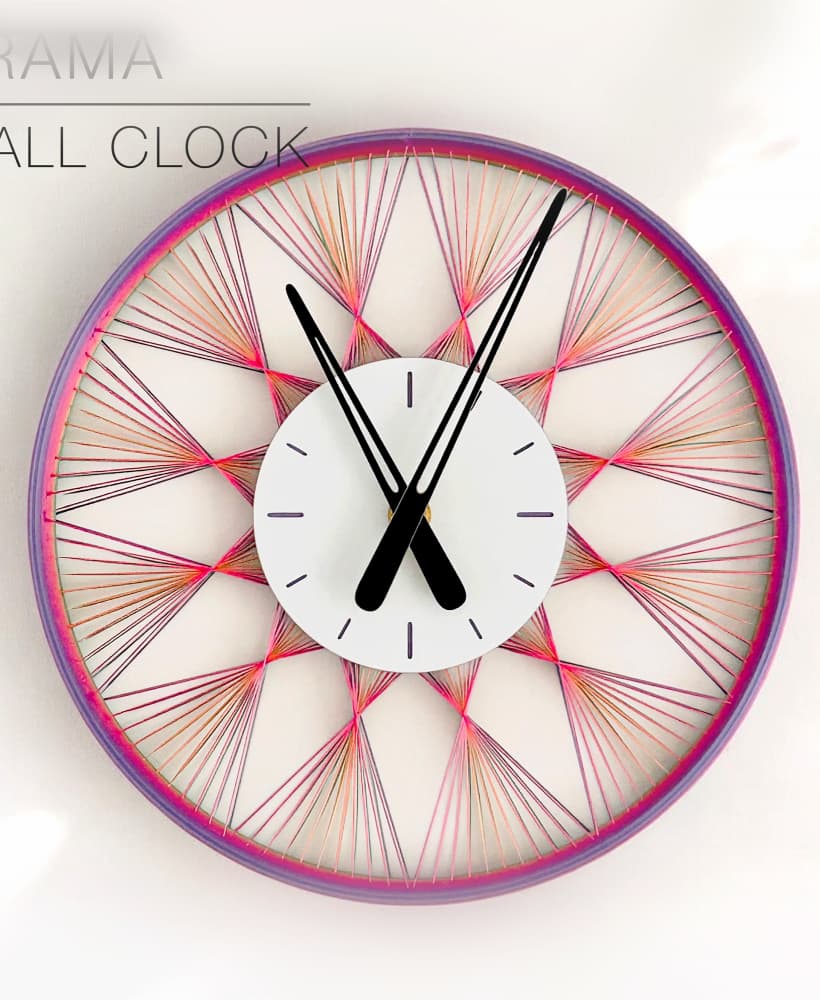
TRAMA | Wall Clock
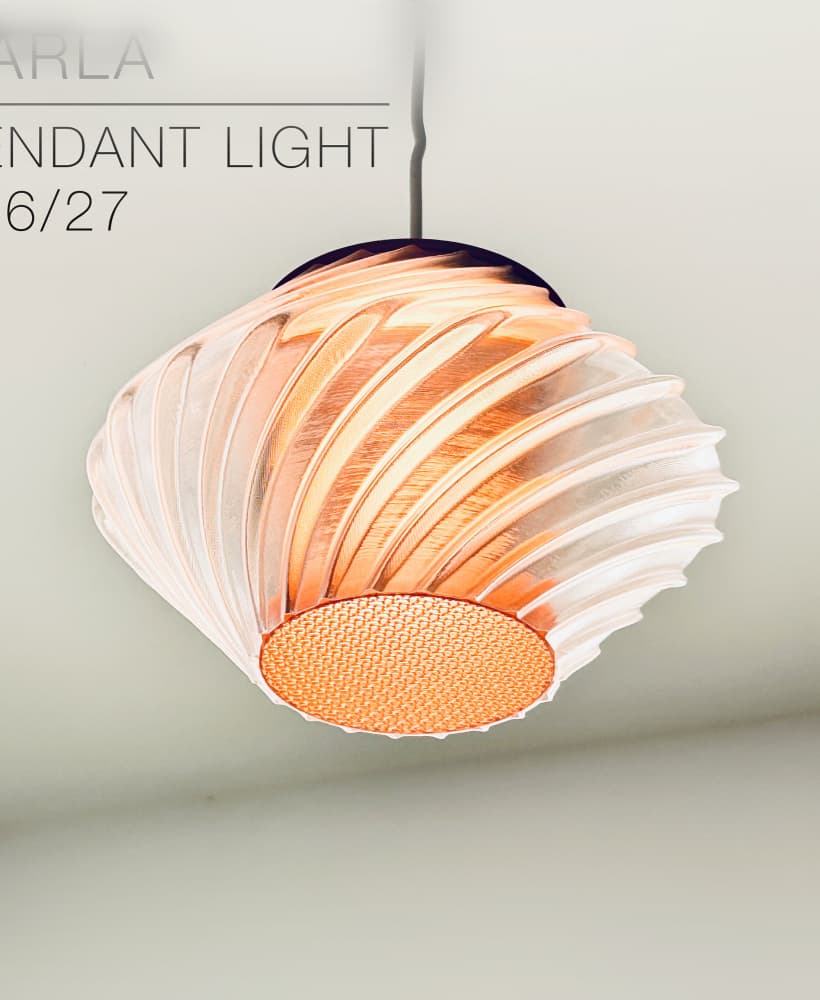
CARLA | Pendant Light E26/27

ORB XY | String Art Pendant Light

NINA | Toothbrush cups

PICA | Brush, print-in-place

MORPH | Stackable Egg Cup

ARYZ Divide | Pendant light E26/27

Hello bro, one face appears to be closed in the design, there is no processing, why is the design like this?
Hi, That's normal. Check out the print settings in the description to generate the mesh on the front face. In a nutshell, you have to set the "top layers" and "bottom layers" to 0, to cancel the top and bottom full faces of that front disk. Then select a gyroid infill of about 20 to 30%. This way, the front disk that is full in the original 3D becomes a see-through gyroid mesh.
ok bro, thank you