


.jpg&w=256&q=75)


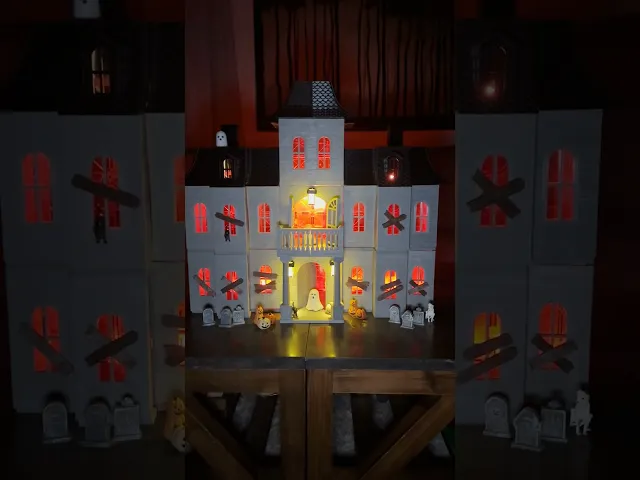
Magnetic Tiles Haunted House (PORCH LIGHT)
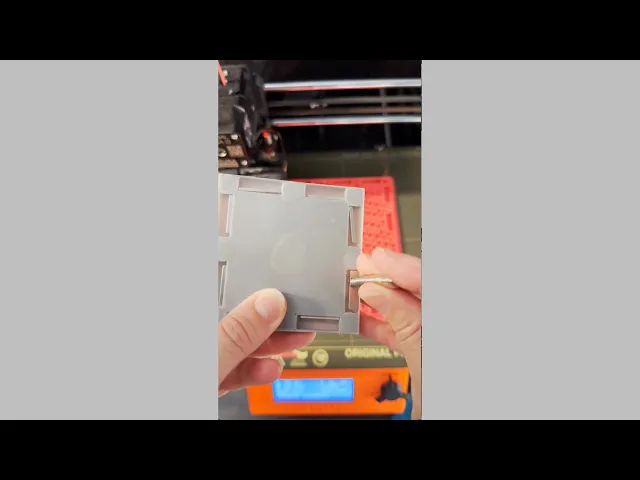
These are the light base and light shade pieces for the magnetic tile haunted house.
3D Print Settings PLA Filament Layer height 0.2mm Infill 15% No brims or supports needed ****Neodymium magnet size needed: 7x2 **** Small light needed (see link below) Magnetic build plate highly recommended but not absolutely necessary.
Here is a link to Amazon for the light and magnets that fit into this print. https://www.amazon.com/shop/3dpmom
I designed these to be used with 7x2 neodymium magnets. I strongly recommend using this size magnet. These magnets do not have space to rotate. This piece, as well as the window boards, are the only pieces designed this way BUT all the other magnets in my designs rotate so they will orient to the magnets in these pieces.
For the light base, add a pause print at layer height 13.6mm to insert the magnet. When the print is paused insert the magnet. After the magnet is inserted, resume the print. For the light shade, begin the print with yellow (or whatever color you choose). Add a pause for filament color change at 0.6mm. After filament change is complete, resume print.
How to assemble the porch light When the light shade is done printing, fold along seams and slide flaps together so they lock together on the inside of the shade. Slide the shade into base, add a light and you're done:)
I have also included a 3mf print profile with the following print plates: Print Plate #1 (Porch Light Base): one color, pause inserted at layer 95 (layer height 13.6mm) Print Plate #2 (Porch Light Shade): two colors
Have fun printing!
Magnetic Tiles Haunted House (PORCH LIGHT)

Twisty Fidget Tree (2 Styles)

Alphabet Layered Fidgets

Big Beads: Sports Themed

Cupcake & LED Candle Set (with Cupcake Stand and Magnetic Match)

Spill the Tea Fidget

Football Layered Fidget

Potted Flowers and Watering Can

Flower Stand for Potted Flowers with Watering Can

Pixel Flower Fidget (2 sizes) with Stems, & Vases (3 styles)
.JPG&w=3840&q=75)
Fidget Fabric Fried Egg Set (play or coaster set)

Twisty Pint Fidget (2 Styles)

Clicky Phone Fidget (2-in-1 Fidget)

Fry Pan, Spatula and Fork

Green Eggs (requires mesh fabric), Slinky Ham and Plate

Number & Symbol Big Beads (for Horizontal and Vertical Stringing)

Big Letter Beads
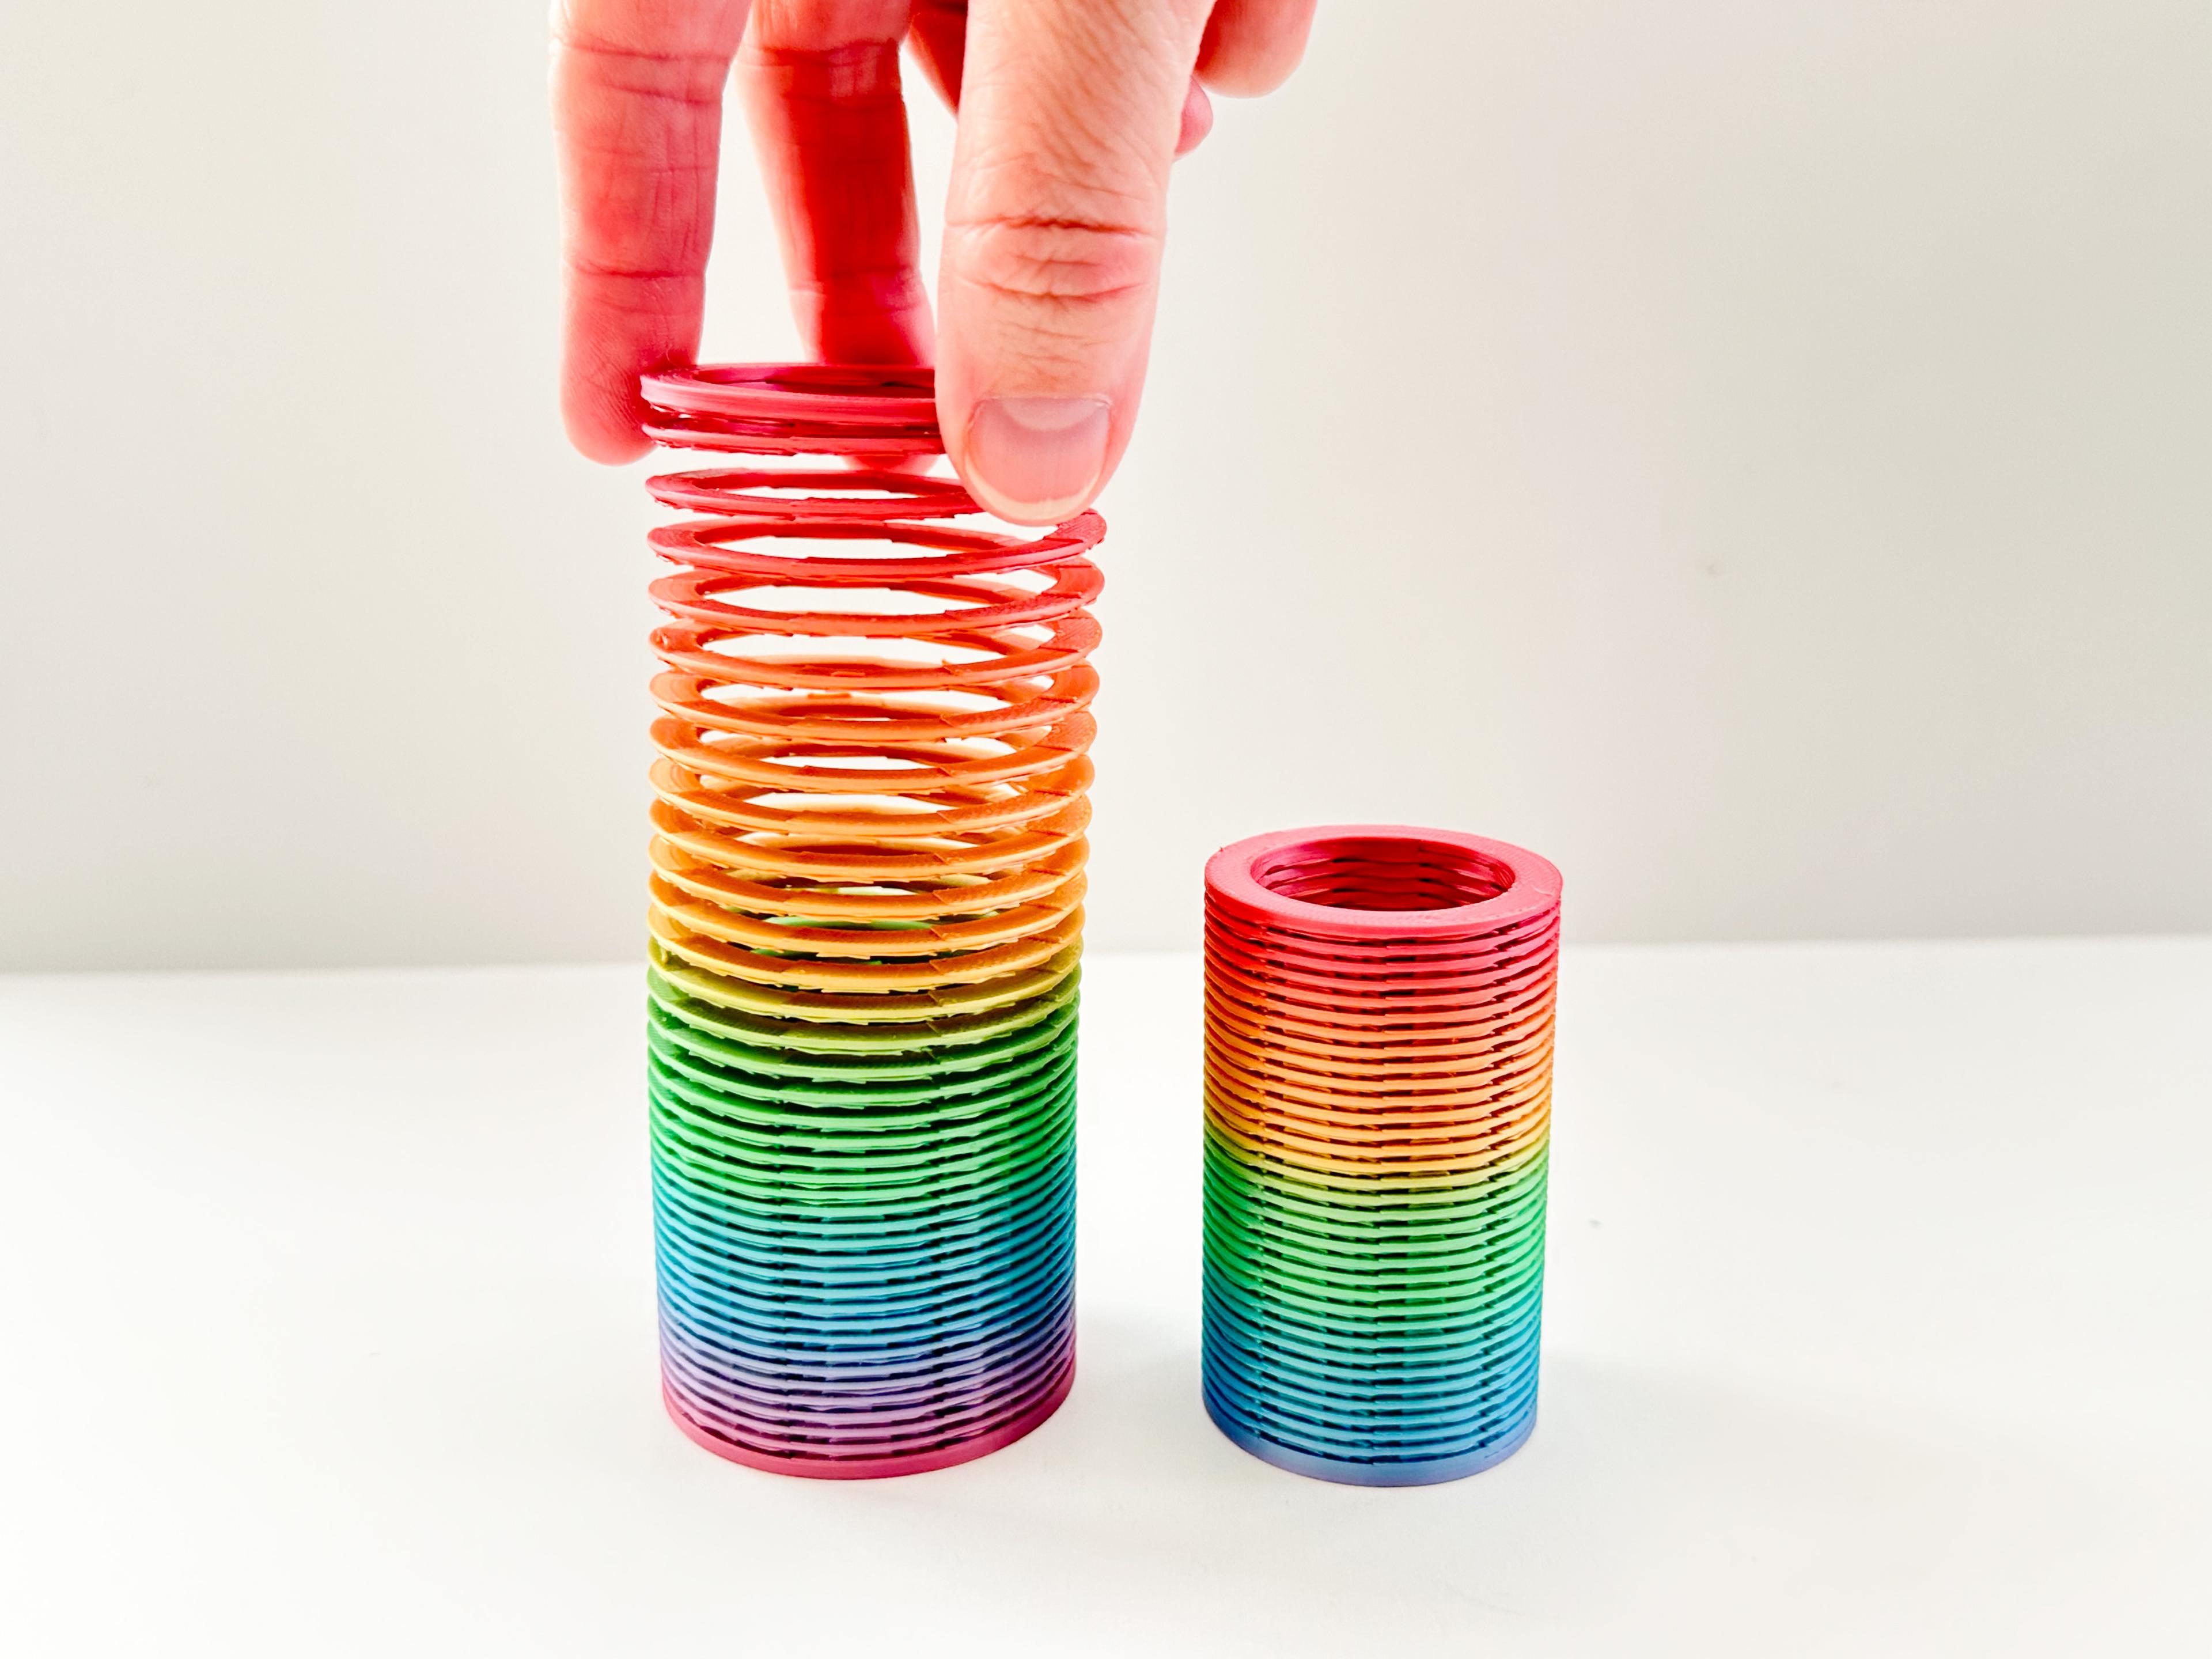
Slinky (2 sizes)

Pear Spinner Fidget
.JPG&w=3840&q=75)
Carrot Garden (2 sizes)
.JPG&w=3840&q=75)