


Tactile Fidget Rings (spinning fun toy)
15K downloads · 2 years ago · This might be your future favorite fidget toy - rotating rings with textures - spin them and enjoy!
This model is restricted by licensing terms.
View license.
This might be your future favorite fidget toy - rotating rings with textures - spin them and enjoy!
Print the different styles and find your personal favorite - and then give the other prints as gifts ;-) Fits perfectly in a pocket, purse, desktop drawer or right there on your desk.
Overview
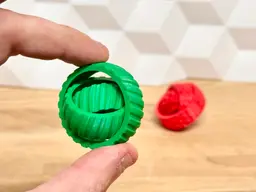
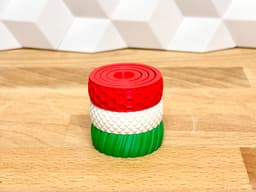
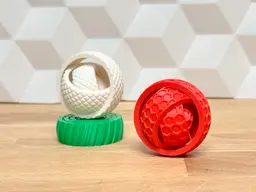
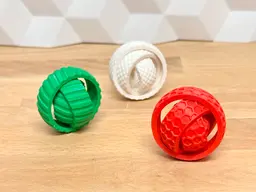
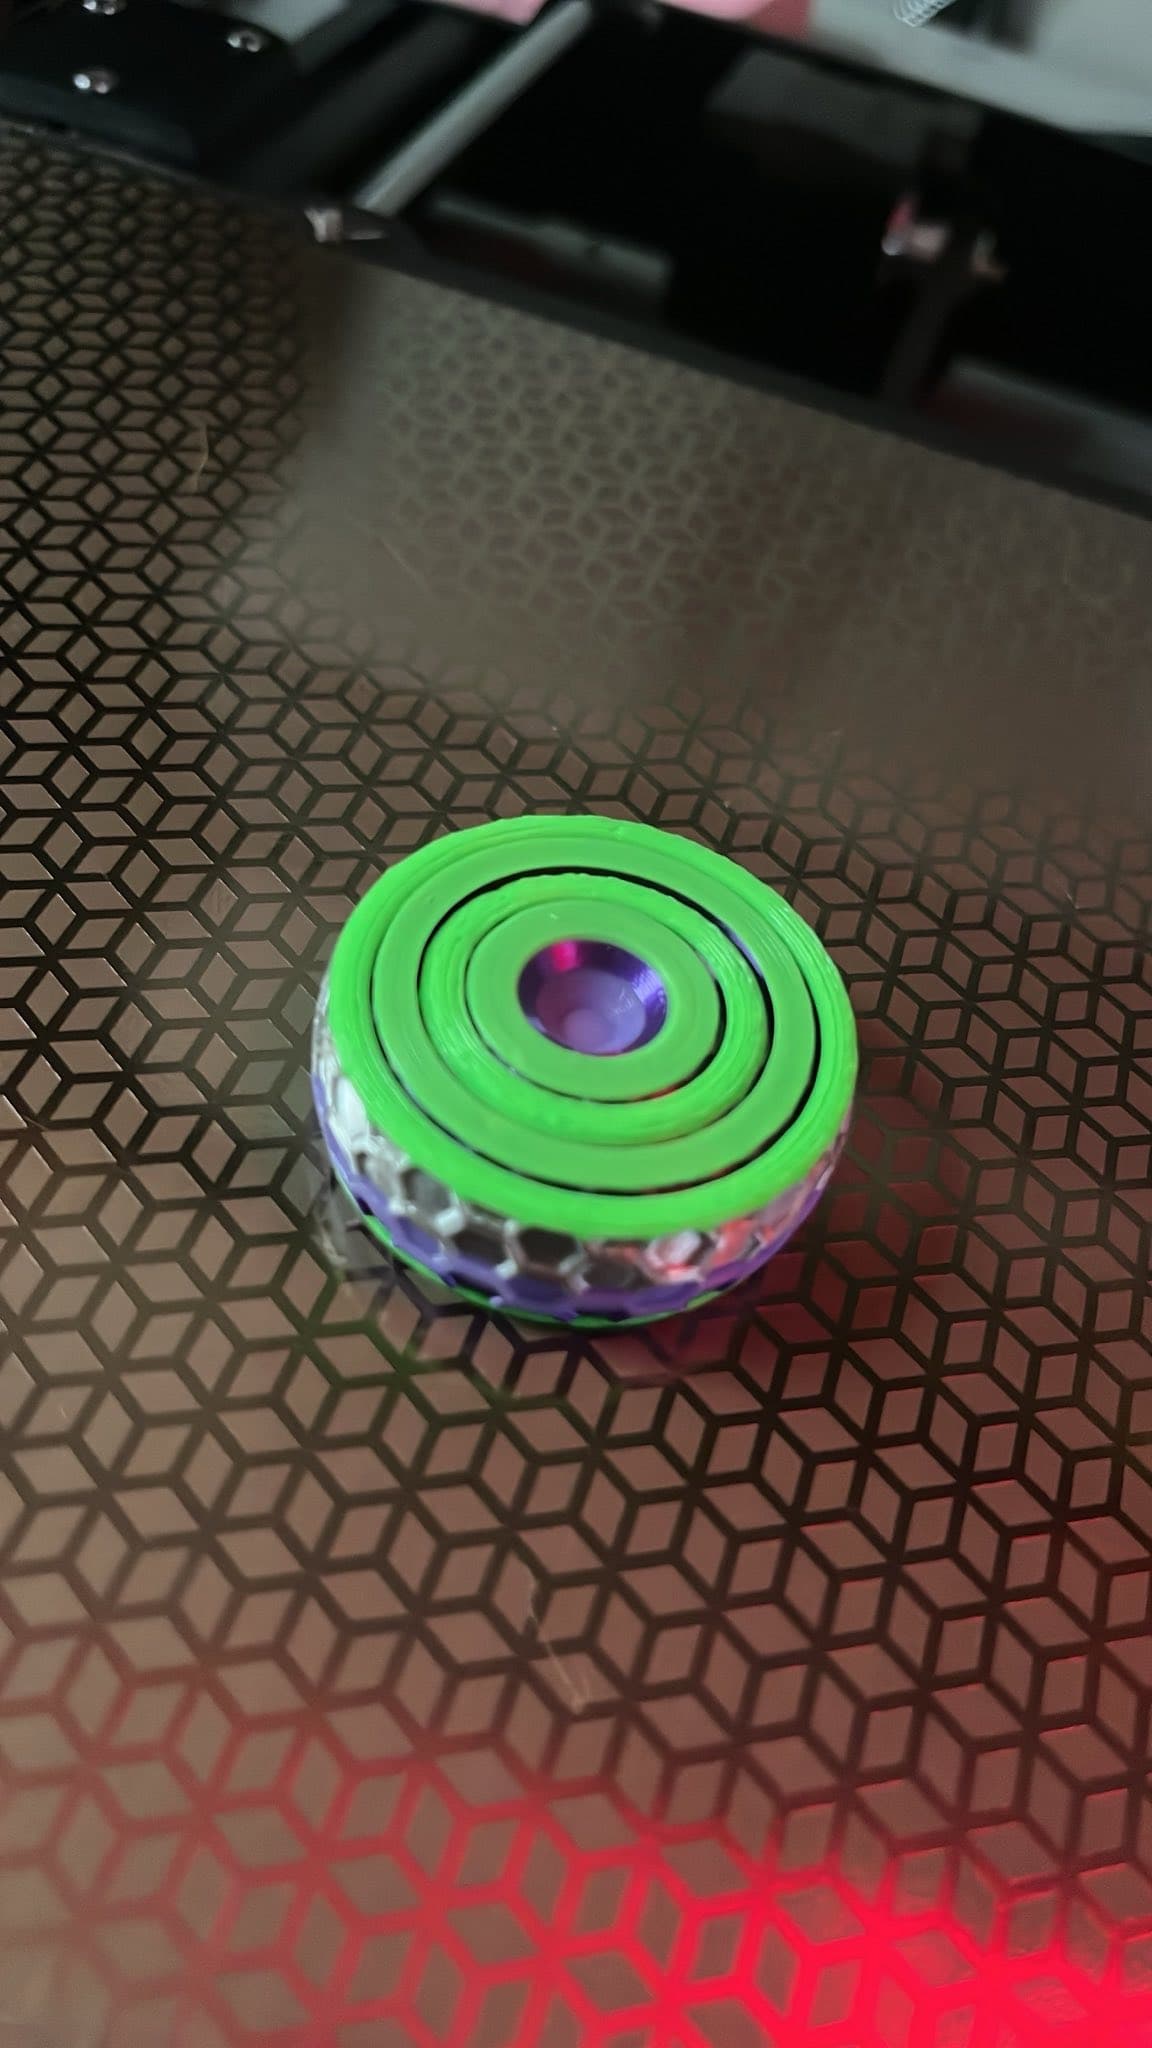
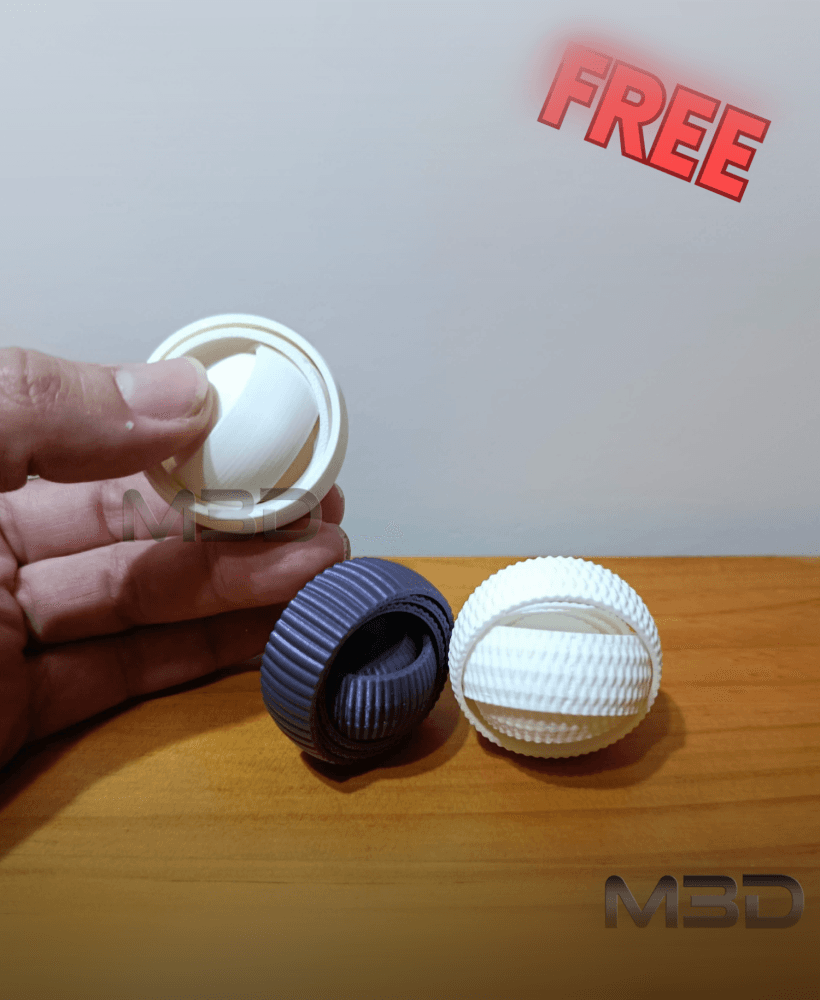
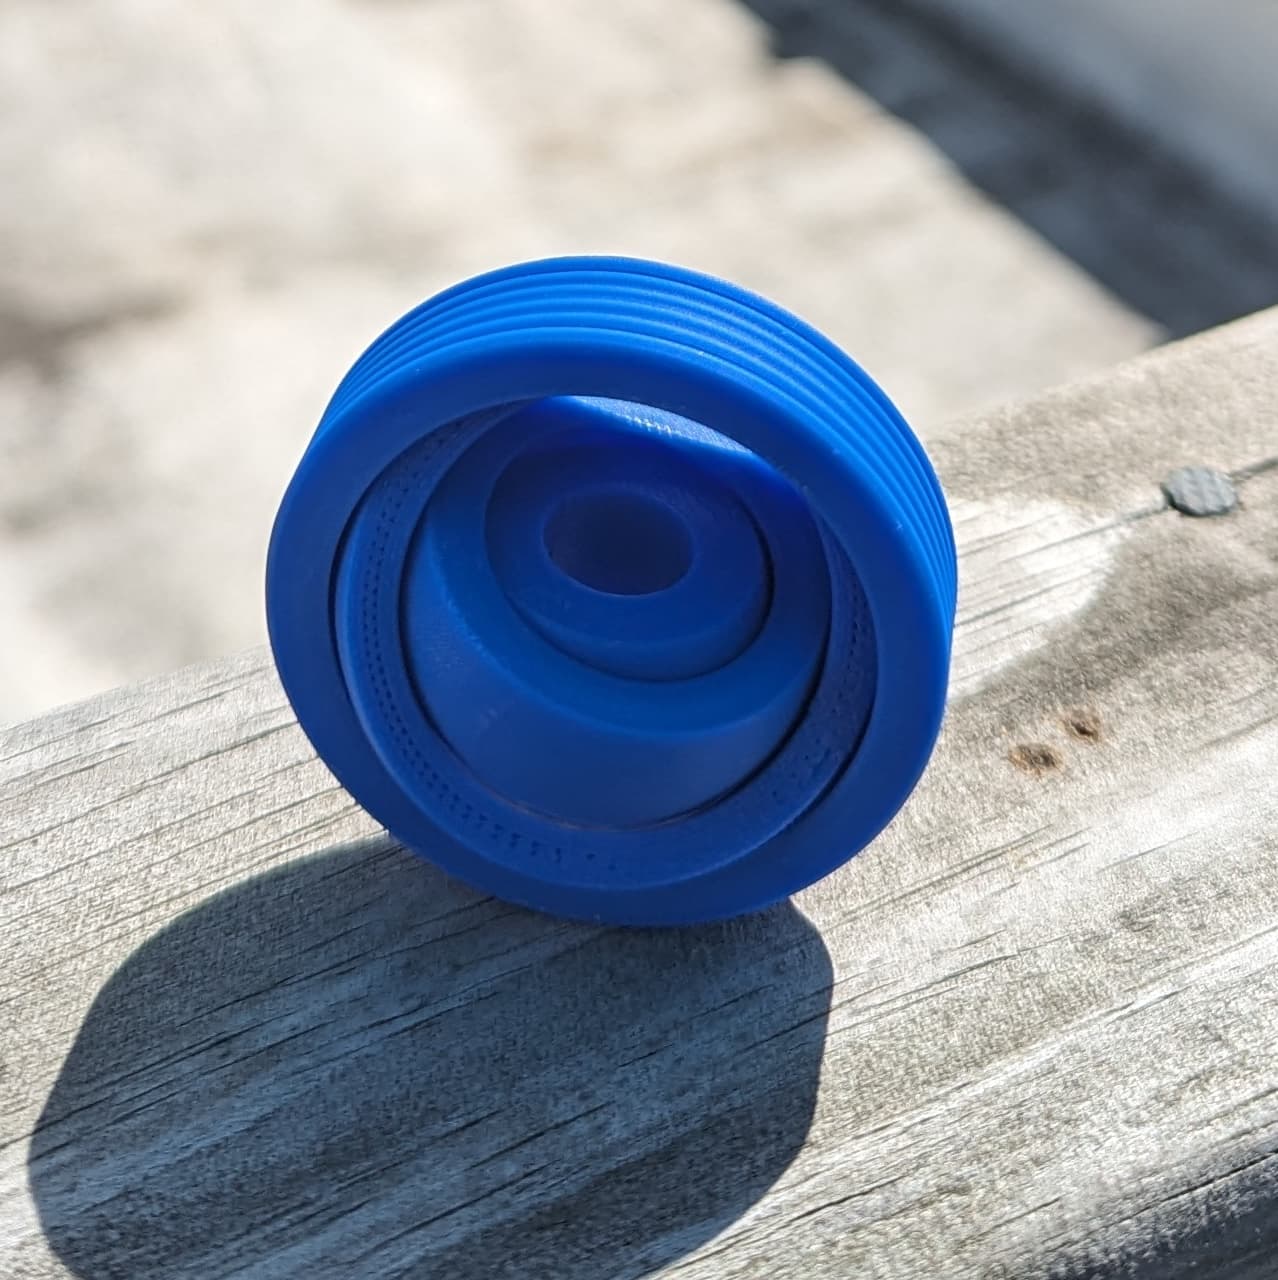
The Tactile Fidget Rings toy comes in multiple styles.
- Basic (just the rings - no textures)
- Lines (tilted almost-vertical lines)
- Knurled (for extra “grippynes”)
- Layers (simulating thick 3D printing layers)
- Honeycomb (hexagonal textures) It also comes in 4 MIX versions! In the mix versions, every ring has a different texture for you to enjoy. Which one is your favorite - please share and comment!
Assembly None! This is print-in-place! :-)
Print instructions Here is a few ideas for slicer-settings:
- Speed on first layer: 50% (To ensure good bed adhesion take your time here!)
- Supports: NO supports
- Brim: NO brim
Happy printing!


Tactile Fidget Rings (spinning fun toy)
15K downloads · 2 years ago in
This model is restricted by licensing terms.
View license.

Tactile Fidget Keychain (spinning fun rings toy)

Roulette Fidget Ring – 3D Printable Casino-Inspired Spinner Ring
Basic fidget Ring set of 3 / no supports / 3mf included

Fidget Medal Trophy (customize and spin!)

Anti Stress Fidget Axis Gyroscope Spinner Print in Place

fidget screw

UFO Keychain Fidget Spinner

3 MARBLE LOOPS - MOBIUS RING, MARBOSPHERE, ROSE BLOOM

Wooden Wheel Fidget Ring with Spinning Rim
Bundle
.jpg&w=3840&q=75)
Fidget Ring Swirl & Knitted Fidget ring
Bundle

FIDGET RING Seville Skyline & Fidget ring Mudejar art
The Orbiter - Tactile Spinning Fidget Toy
.png&w=3840&q=75)
Gyro Rings Tactile Fidget Toy
The Dual Gyro Rings Fidget - 3x The Spins

Spinning gear fidget ring

Fidget Ring (spinning toy)

Fidget Ring (spinning toy)

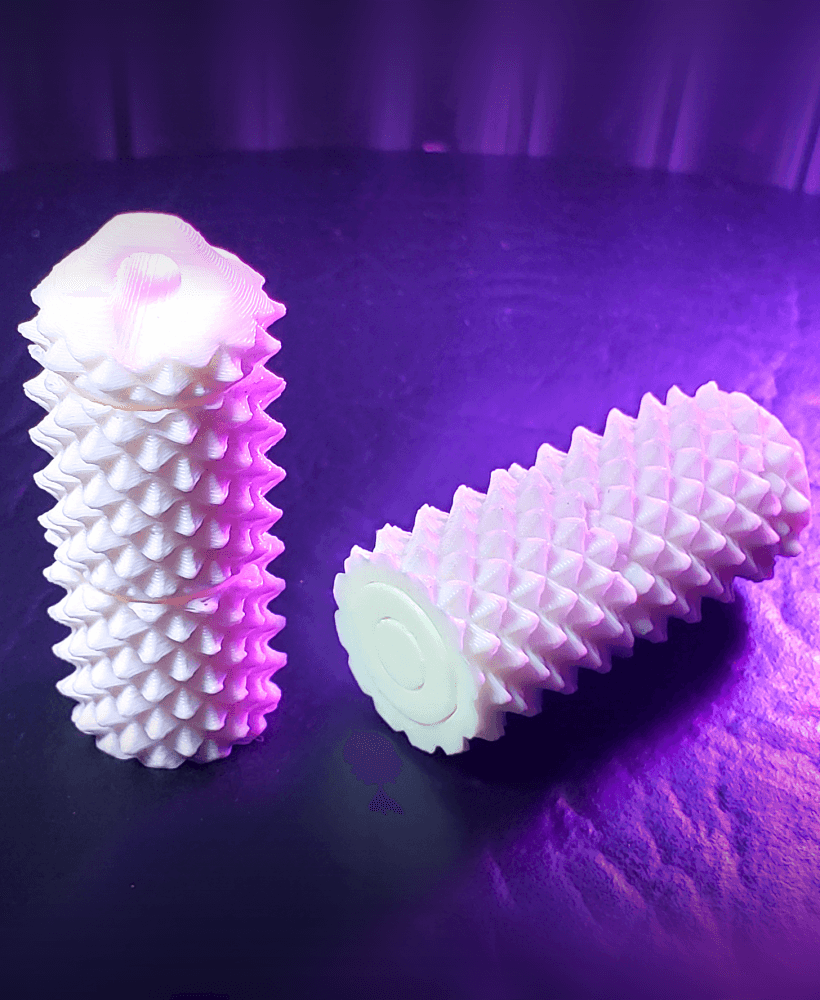
SpikeRoll - Tactile Spinning Layered Fidget Toy
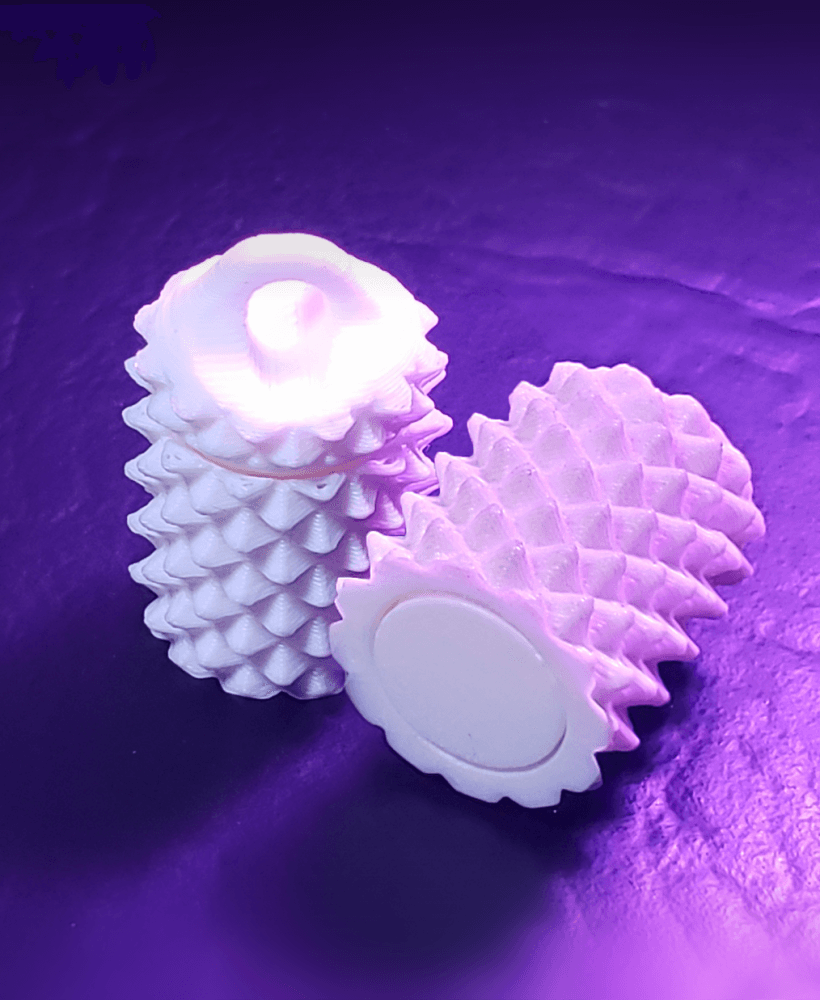
SpikeRoll Micro - Tactile Spinning Layered Fidget Toy
what did you do for changing colour? i have a single filament printer too so would love to know your process. thanks
You need a multi color printer, otherwise use a gradient filament for the appearance of multiple colors.
That's incorrect, what is pictured can be done on a single filament printer. You put a change filament operation into your GCODE (done via the GUI) at the layer you want to change the color, then just change the filament when your printer stops. In PrusaSlicer this is done by slicing the model, dragging the layer bar down to the desired layer and clicking the plus button. Of course this means that you can only change color at layer boundaries and you need to be there each time to manually do it.
So I am currently trying to print this. I have printed it twice now and each time the sections are being fused together and I can't get them to snap loose. My current printer is a FLSUN SR, running pla, 0.4 nozzle and layer height of .2mm with 15% infill. Any help would be great.
Try turning down your print speed, make sure that your bed is level, if the fuse is at the point of contact with your bed turn your bed heat down. These are my initial suggestions, knowing which slicing software you are using would also be beneficial.