


KETE | Pendant Light E27 & E26 fast print
KETE | Pendant Light E27 & E26 fast print
Want to buy a physical 3D print of this product? Head to Trajann online store.
Pushing further my newfound 3D printed wickering technique with this stylish pendant light. It prints very fast and is much stronger than a vase-mode print.
I equipped the dark green version with the IKEA super-size LED light bulb MOLNART. The effect is stunning!
You can get the power cords from Amazon here: For Europe: E27 cord: https://amzn.to/3OVrZjK For the US: E26/E27 cord: https://amzn.to/3V5VYJB
Note that the orange version was the first draft, and the weave is much coarser, which led to printing issues. The final version has a tighter weave that prints beautifully.
Any 3D printer can print it without exceptional print settings and a regular 0.4mm nozzle. (See settings below)
There are 2 sizes available:
- a larger one with Ø 255 mm x H 240 mm
- a smaller version that can print on PRUSA printers, and is Ø 209 mm x H 215 mm
You can pick between 2 thicknesses for the weave:
- 0.5mm weave: fast-print, but can be a bit fragile
- 0.9mm weave: for a stronger and cleaner weave
This lamp works with E27 and E26 socket screws.
Happy printing!
DIMENSIONS (Large) | Ø 255 mm x H 240 mm DIMENSIONS (Small) | Ø 209 mm x H 215 mm
PRINTING | Shade ~2.5h
Bulbe socket | E27 or E26
UPDATE (V6 or so...): You can now pick between 2 thicknesses for the weave:
- 0.5mm weave: fast-print, but can be a bit fragile
- 0.9mm weave: stronger and cleaner weave
3D PRINT SETTINGS This shade prints upside-down. (the STL file is already oriented properly) No need for supports, infill or brim.
For BambuLab users, turn on "Arachne" mode in the "Wall Generator" settings. Otherwise Bambu Studio will detect some of the weave layers as empty.
Layer height: 0.2 or 0.3mm/layer (shade in pictures was printed in 0.3mm/layer) Wall line count: 2 Build adhesion type: None. If you have adhesion issues, you can add a 5~6mm brim. Supports: None Infill: None
KETE | Pendant Light E27 & E26 fast print

SINE | pendant light E27/E26

COROA | pendant light E27/E26

MALLA | woven fruit bowl

MALLA | key bowl
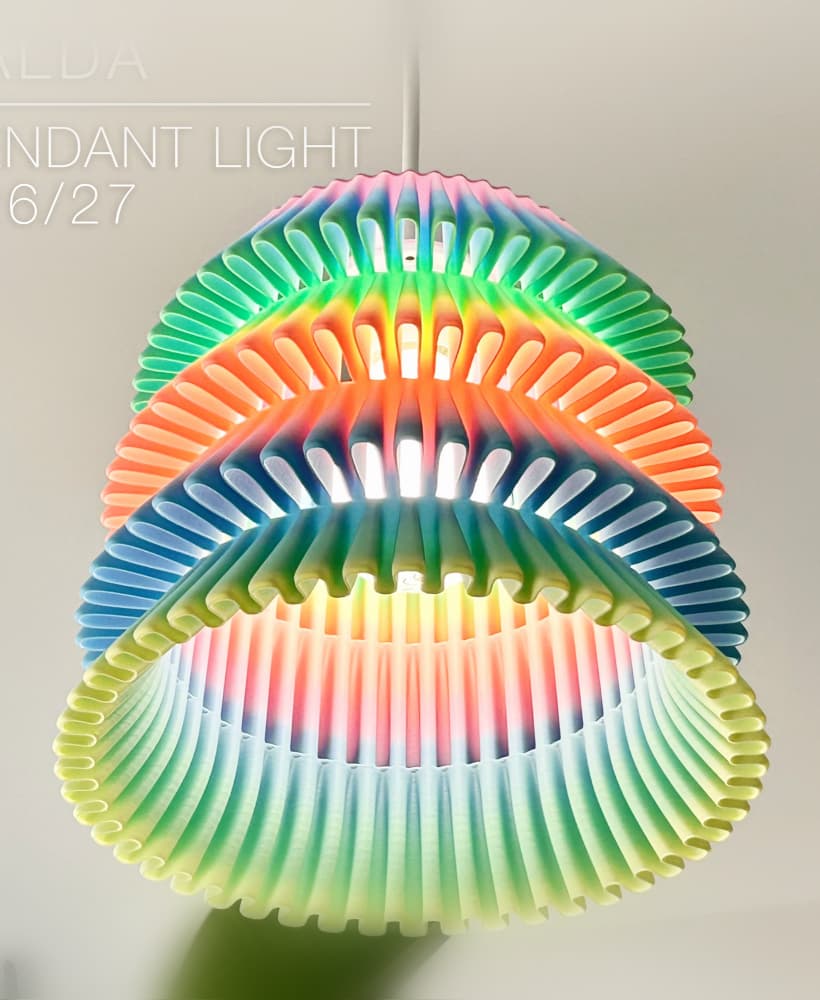
FALDA | Pendant Light E26/27

MALLA | Woven String Art Deco

SAKURA | Pendant Light E26/27

SAKURA | Scalable Pencil Holder

MALLA | nut bowl
![SAKU[MINI] | Table Lamp E14 & E26/27 3d model](/_next/image?url=https%3A%2F%2Fstorage.googleapis.com%2Fproduction-thangs-public%2Fuploads%2Fenhanced_images%2Fv1%2F421bb906-ca95-4bc9-9dba-a6fd01fd6885%2FSAKU%255BMINI%255D_table-lamp_perspective-ON.jpg&w=3840&q=75)
SAKU[MINI] | Table Lamp E14 & E26/27

SAKUMI | Table Lamp E14 & E26/27

SYZYGY | Heart Vase, scalable
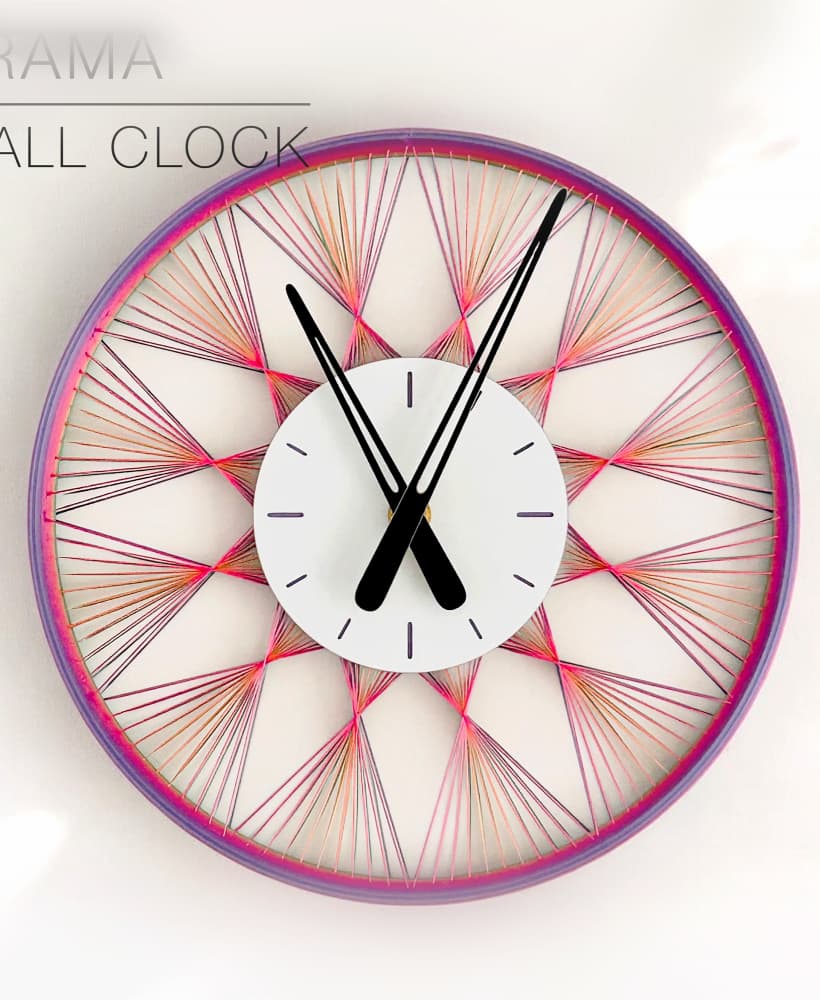
TRAMA | Wall Clock
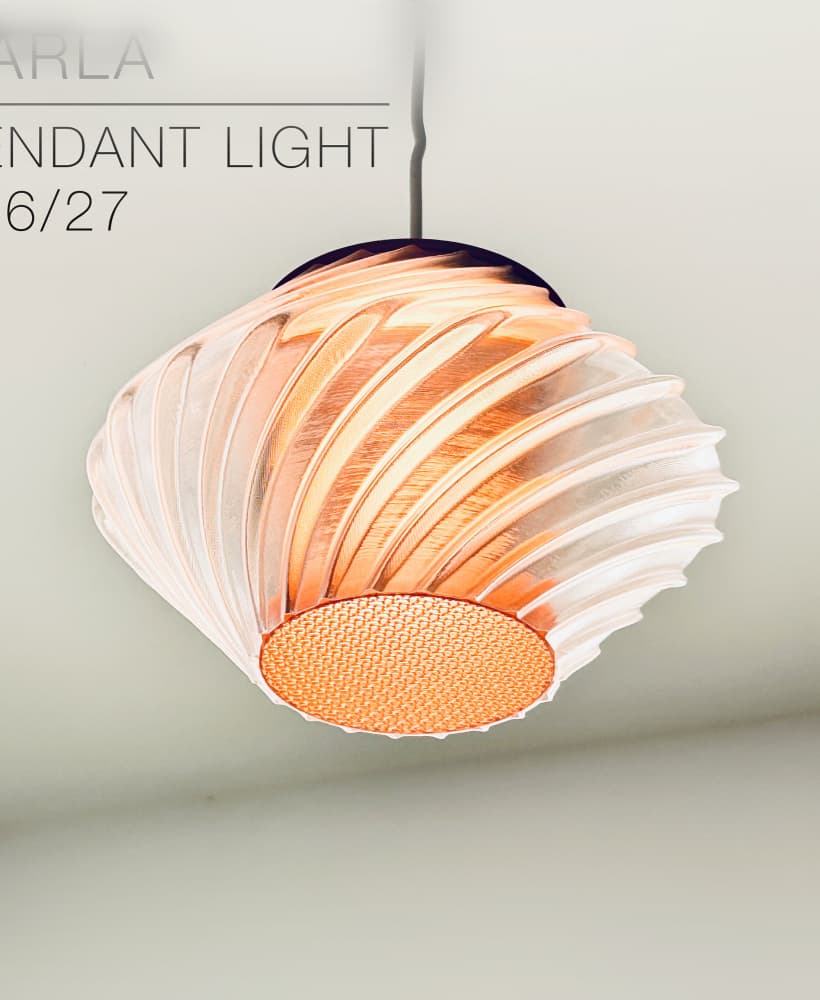
CARLA | Pendant Light E26/27

ORB XY | String Art Pendant Light

NINA | Toothbrush cups

PICA | Brush, print-in-place

MORPH | Stackable Egg Cup

ARYZ Divide | Pendant light E26/27

Spent a lot of time playing with print options and I'm still on this but have some observations:
UPDATE: With a good filament and vase mode the outcome was almost flawless. There was only small stich at the end of the print. Not sure if is because of slicer or something in the model. Details: Printer: Bambulabs P1S Mode: Spiral Vase Mode, No "Arachne" mode Filament: PETG Devil Design
Thanks for the tips. I recommend others follow your setting, but also using a 0.6mm nozzle.
Hi! It can be a tricky print, but some printers can do it flawlessly, like my FLSUN V400 or the Bambu Lab printers. This was one of the first lamps I made using that "woven pattern". At that time I'd use a single perimeter wall so the light would pass through more easily. But it's quite fragile. For later products, I made the weaves 0.9mm thick. It is much stronger an prints much nicer, so I'm trying to update earlier products the same way. This KETE shade is on the list ;-)
Hi Charles when you say 0.9mm thick, are you referring to line width?
edit: nvm, just saw the newer models!
0.9mm refers to the width of the weave, so 2 wall lines of about 0.45mm each, or 1 wall line with a 0.8 or 1mm nozzle.
Hi Charles,
What you mentioned as "Resolution: 0.2 or 0.3mm/layer (shade in pictures was printed in 0.3mm/layer)" is the layer height section or the resolution section under the precision section in Bambu Studio?
It's the layer height setting!
I am using bambulab x1c. My layer height is maximum 0.28mm. I tried it this way, but I couldn't print successfully.
That's strange! It should work. My backup printer is a Bambu Lab A1 Mini and I can push the layer height to 0.3mm, despite the error message saying the maximum is 0.28mm. Just ignore the error message and it should print fine. It does on my A1 mini.
thank you i will try
Hello, I printed the larger model with the recommended settings, but it was very fragile. upper layers are separated. k1 max hyper pla with 0.30
That's odd. I just uploaded new versions with a weave thickness of 0.5mm instead of the original 0.4mm. This should give you a stronger weave, no missing or fragile layers. Let me know how it goes!
Hi seems there are some issues we are experiencing with this file. The lampshade has empty layers. Can you provide a fix?
Hi there. I have found a fix for the issue, at least for me. In Bambu Studio I found that I need to enable the setting "Detect thin walls" under Strenght, and then it slices as normal. I have printed it with PETG just now, and the print went perfectly.
Hey Peter,
Nice. Thanks for this. This helped too and reduced printing time.
Hi! I just uploaded an updated version where the wall thickness is now 0.45mm instead of 0.4mm. That should slice better now. Let me know how it goes!
Also, I uploaded a smaller version (Ø 209 mm x H 215 mm) for PRUSA lovers with smaller printing beds.
Perfect. Yes these slice way better. In terms of printing time the large shade estimates 4hrs of printing and the small one 3hrs. I followed your specs, but i can't figure out how you est. 2.5h?
Have you set the "Z seam alignement" already so they would all be aligned vertically? If you did, then it's odd the z seams are still sparsed around like that. If you haven't yet, then that should save you some printing time since the starting point for each layer would be right above the previous one. So no unecessary travel around the print.
So you set the layer height to 0.3mm/layer?
My printer is quite fast, a FLSUN V400, detla type that prints at 400mm/s. So maybe my estimate is a bit off. I also noticed that sometimes a same object sliced on Bambu slicer takes much longer to print than if sliced with Cura. Not always, but in some instances that'd be double the time.
Which printer and slicer do you use?
Also after using 'the detect thin walls' option after slicing, I am seeing a lot of z-seams. Is this going to greatly affect the outcome of the print? Here's a screenshot: https://ibb.co/W6sZrPC
I don't think so. The other two lamps Tela and Draped printed in exactly the time you have estimated and instructed. Maybe this one has a more intricate design? We use bambu lab x-1 carbon and bambu studio should we try Orca slicer instead? I mean we can increase the speed, but it's going to kill the nozzle faster in the long term.
Empty layers? That's strange. Can you send some screenshots of the issue?
And did you download the original STL file? Or some other version like .obj or .step? I downloaded the STL file from the product page to check it, and had no problem slicing it in Cura. Anyway... Let me know more details about your issue so we can try to fix it!
Hi Charles,
Thanks for the reply. Using only the stl. I followed your spec instructions also. The printing time here is suggested to 7hrs. Not sure where it's the file or my specs in Bambu. Any help would be great. https://ibb.co/bNHrkp4 and https://ibb.co/0VQBjCR
Thanks
Hi! I just uploaded an updated version where the wall thickness is now 0.45mm instead of 0.4mm. That should slice better now. Let me know how it goes!
Also, I uploaded a smaller version (Ø 209 mm x H 215 mm) for PRUSA lovers with smaller printing beds.
Hi there. I have the same issue with my Bambu P1S printer using Orca slicer, empty layers. When trying to slice with 0.3mm/layer resolution, it is only able to slice the bottom disc for the socket. :)
Thanks for the screenshots. That's an odd issue... Have you tried slicing it in 0.3mm/layer?