


Respool Spool / Variable refill spool
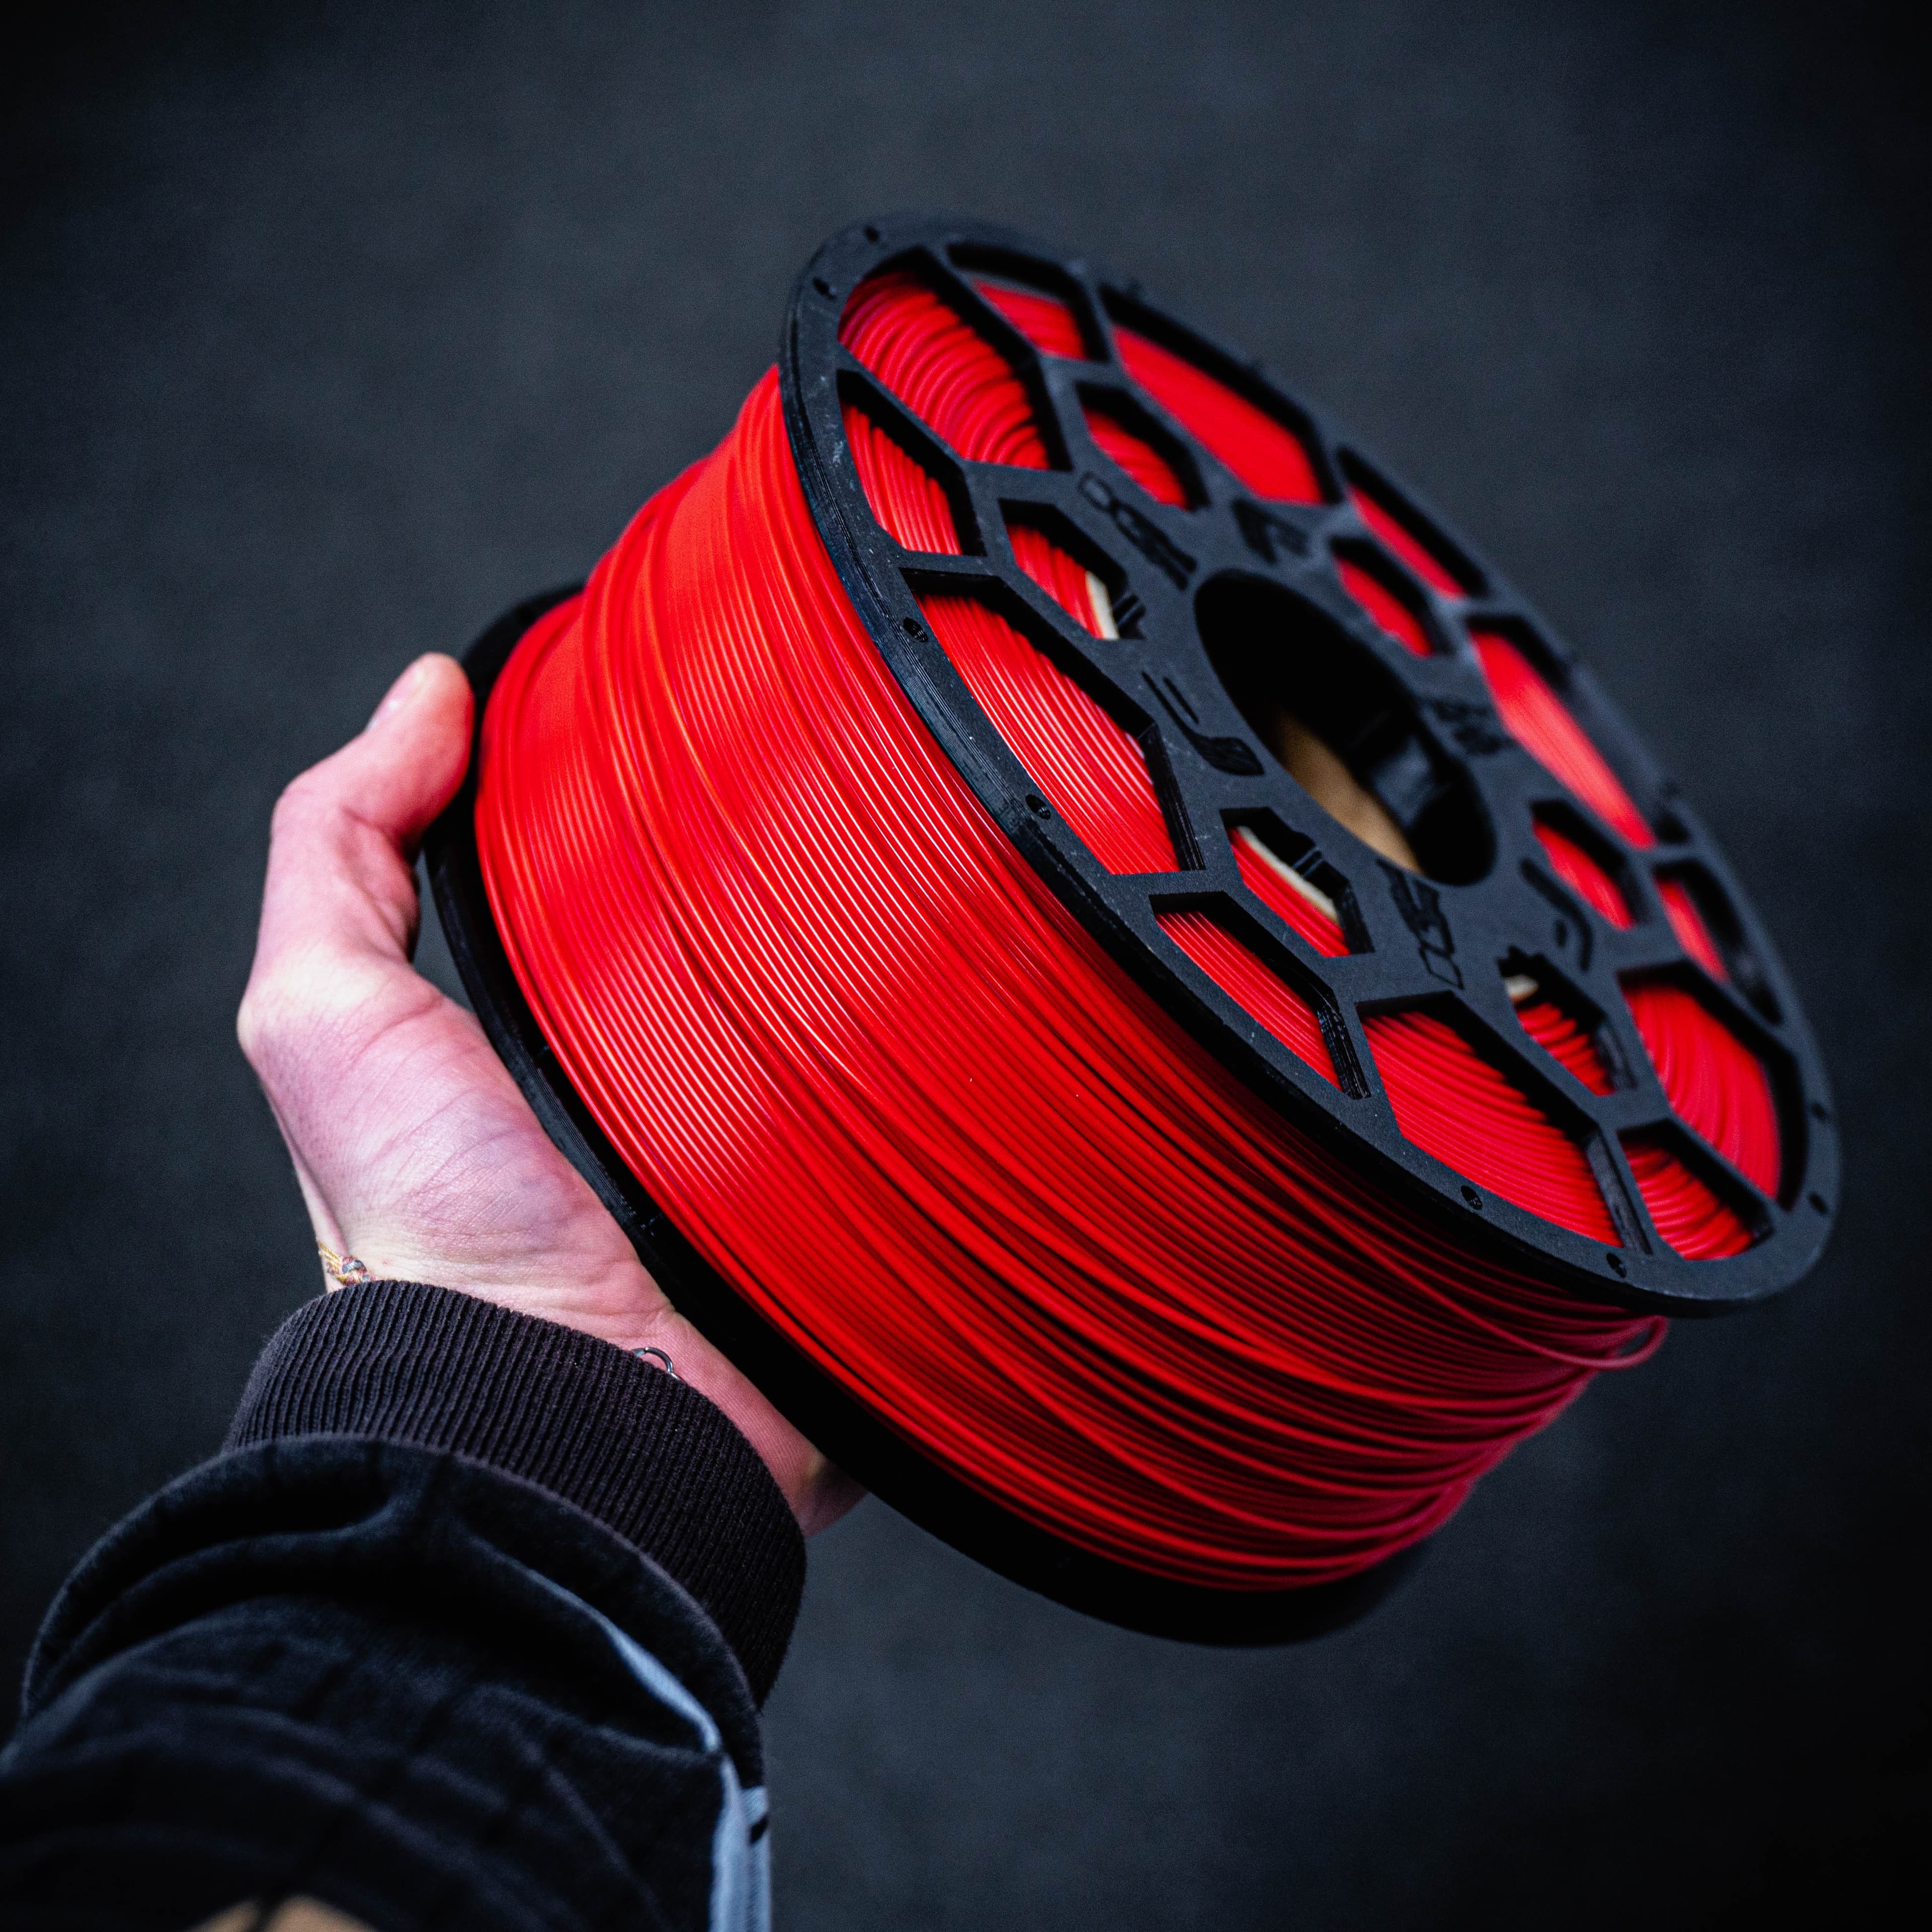
What this is This is a spool intended to fit large quantities of spool-less filament to respool it onto a "normal" spool. It could also be used as a variable refill spool.
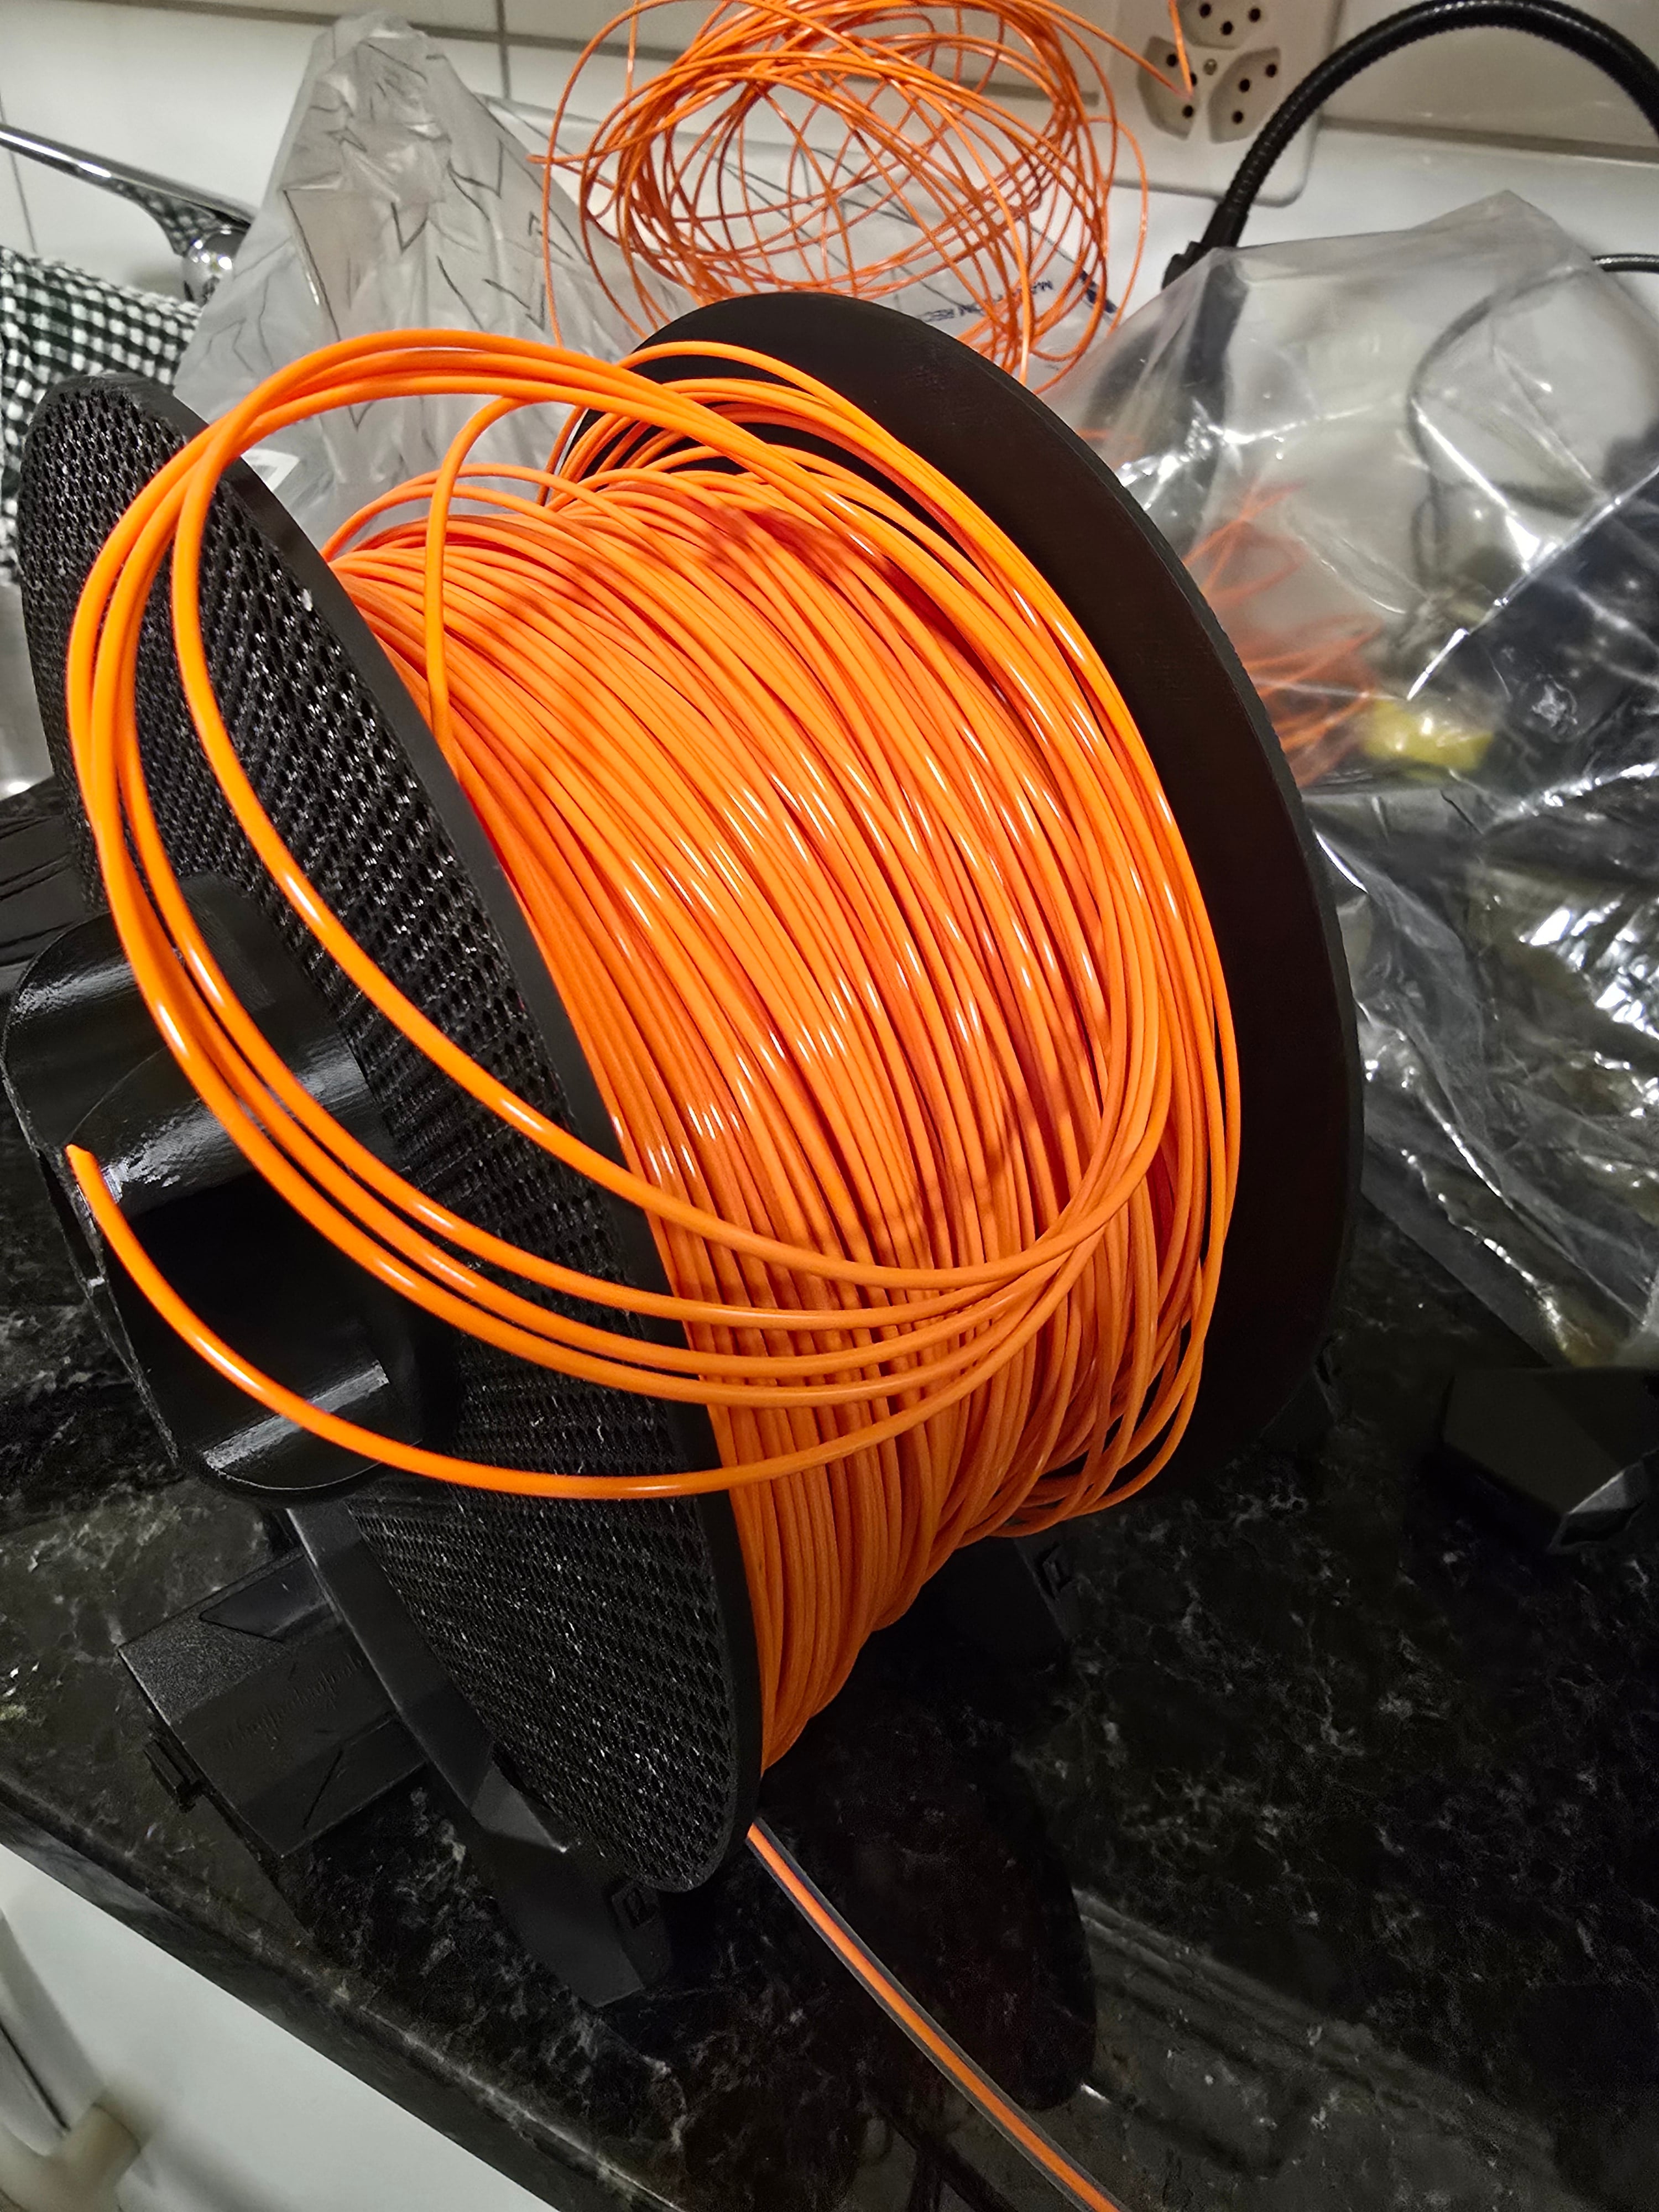
Through my own stupidity and a “little” accident I dropped an opened refill spool and ended up with only the cardboard center and a mess of filament on the ground. Respooling this as is is a nightmare and I've tried multiple times without success.
The filament can be fitted into this spool by using the spool halves and using the screw and bolt to screw them together. The max spool width is about 100mm. I went with a bolt and nut as I've had threaded spool halves fall apart mid re-spool which I do not want to risk here.
You can either use a filament roller to put the spool onto or use the hole in the center to hang it somewhere and respool from there.
Dimensions Wall thickness: 3 mm Wall height: 120 mm
Min width (without walls): 60 mm Max width (without walls): 100 mm (wider possible, but might not be as stable)
Diameter total: 204 mm Diameter midsection A: 80 mm Diameter nut: 74 mm Diameter center hole: 30 mm
Thread clearance: 5 mm
Print settings Supports from print bed for nut and bolt. I recommend a structural preset and/or print setting tweaks for improved structure.
You can save some filament by printing only the infill and perimeters for the spool sides. I used a 20% honeycomb infill on one side to test the strengh.
All parts have a clearance of 0.5 mm. Most printers should be able to print a working spool.
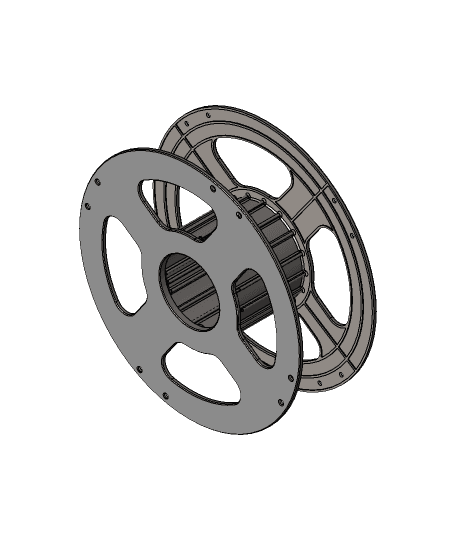
Assembly Assemble the parts as arranged in the rendered image. Slide the spool side B onto the nut, spool side A onto the screw. I would recommend putting the filament onto side A first as it has the larger diameter. After that, use the nut and side B to hold it in place.
Respool Spool / Variable refill spool
.png&w=3840&q=75)
The Ultimate Refillable Filament Spool (Threaded)
FormFutura - ReFill Master Spool
Fusion Filaments Refill Spool AMS Remix 2
FormFutura - ReFill 2kg Master Spool - Flange

eSun Refill to Bambu Spool Adaptor

'The Filament' Refill to Bambu Spool Adaptor

Reusable Filament Spool for Bambulab Refills (old model)
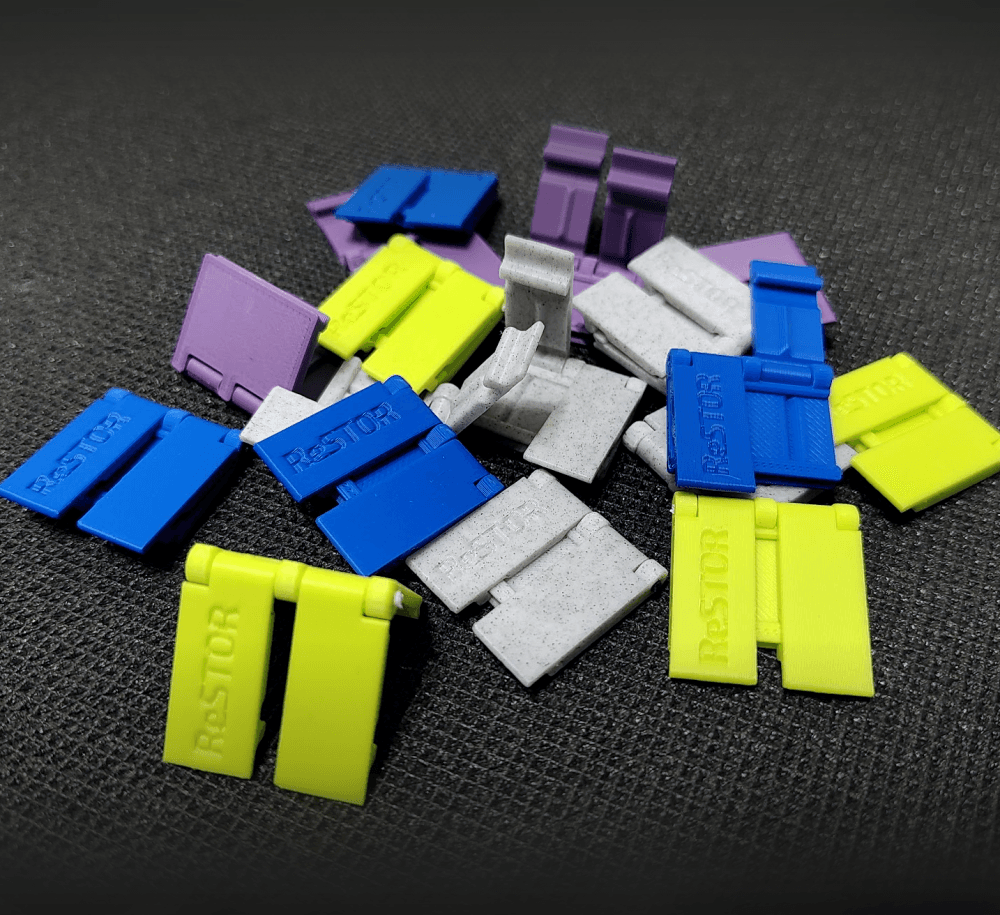
ReSTOR - Refill Storage Clip

Reusable Filament Spool for Bambulab and new eSun (Bambulab compatible) Refills

Rosa 3D to BambuLab reusable spool adapter

The Ultimate Sunlu-to-Bambu Spool Adapter

Logical Wall Mounted Spool Storage

Filament spool

Reusable Filament Spools for eSun Refillament

Reusable Filament Spool for Das Filament
.png&w=3840&q=75)
Perfect Filament Storage
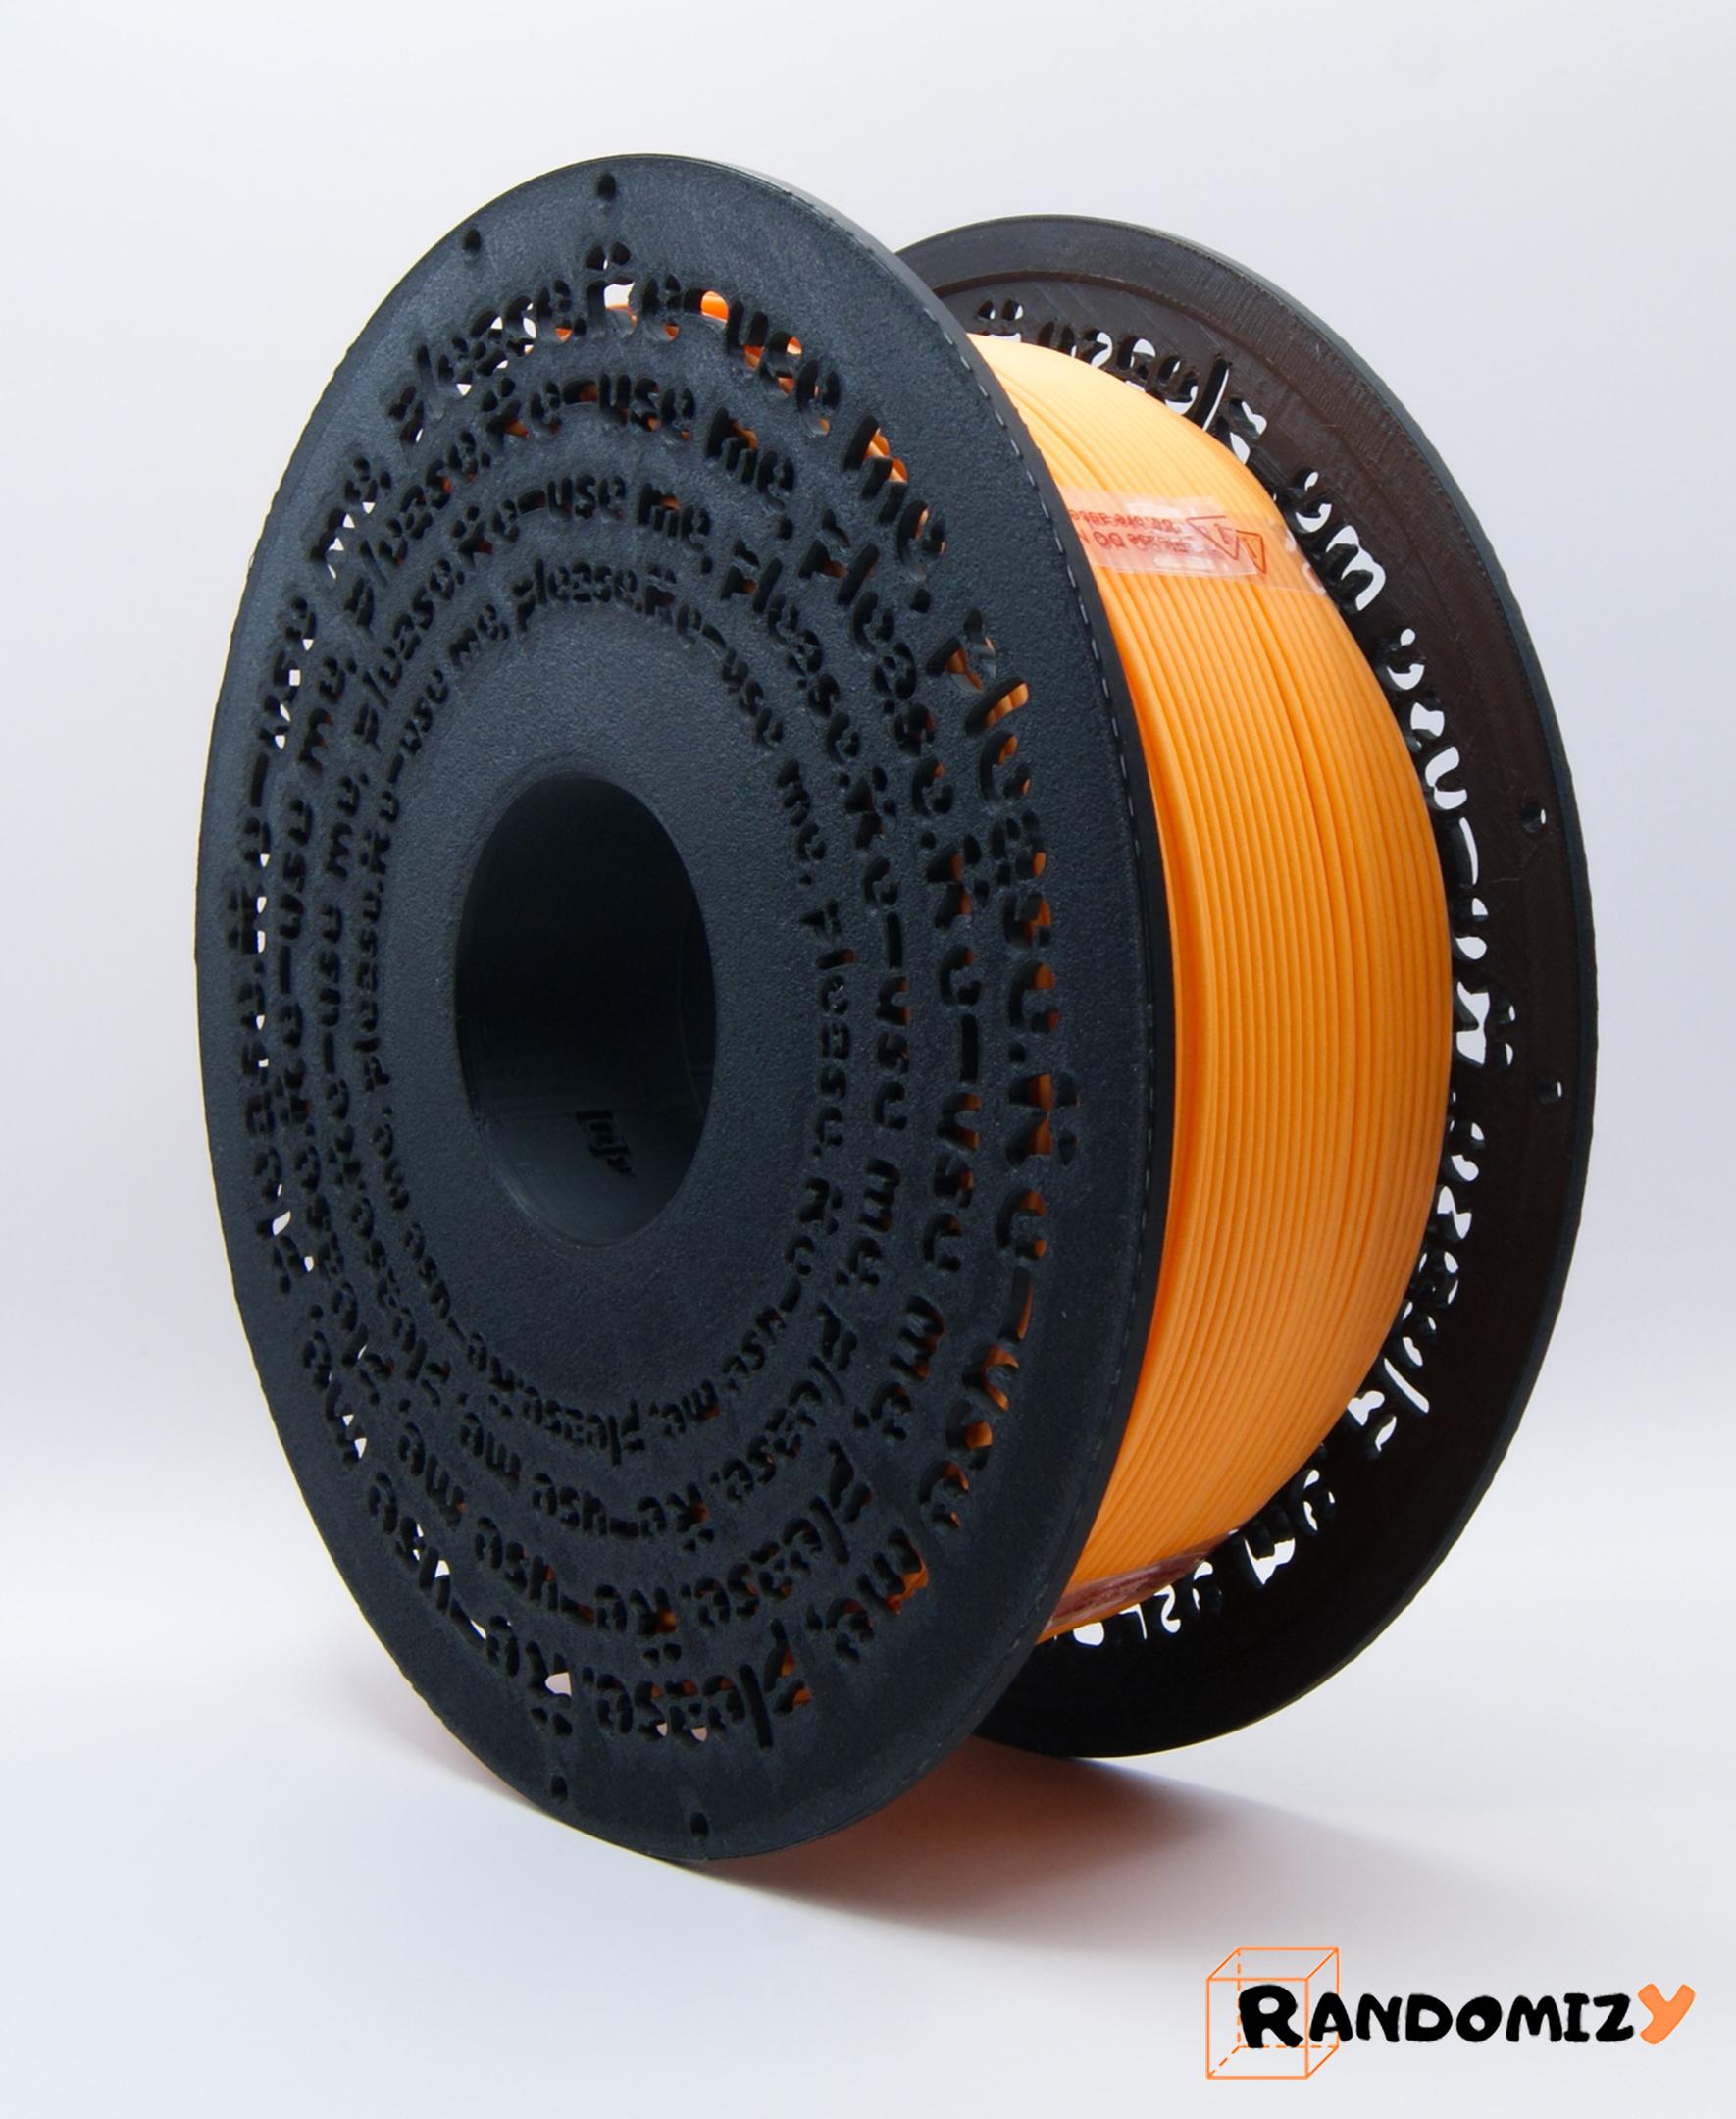
"Re-use me, please" - Reusable Spool

ReFill 2.0 - Flanges

Filament Racking | Storage
![Filament Spool [Openscad] 3d model](/_next/image?url=https%3A%2F%2Fstorage.googleapis.com%2Fproduction-thangs-public%2Fuploads%2Fattachments%2F3e9a806c-c135-4da9-a1f5-ae666ec55ac8%2FThe_spool.jpg&w=3840&q=75)