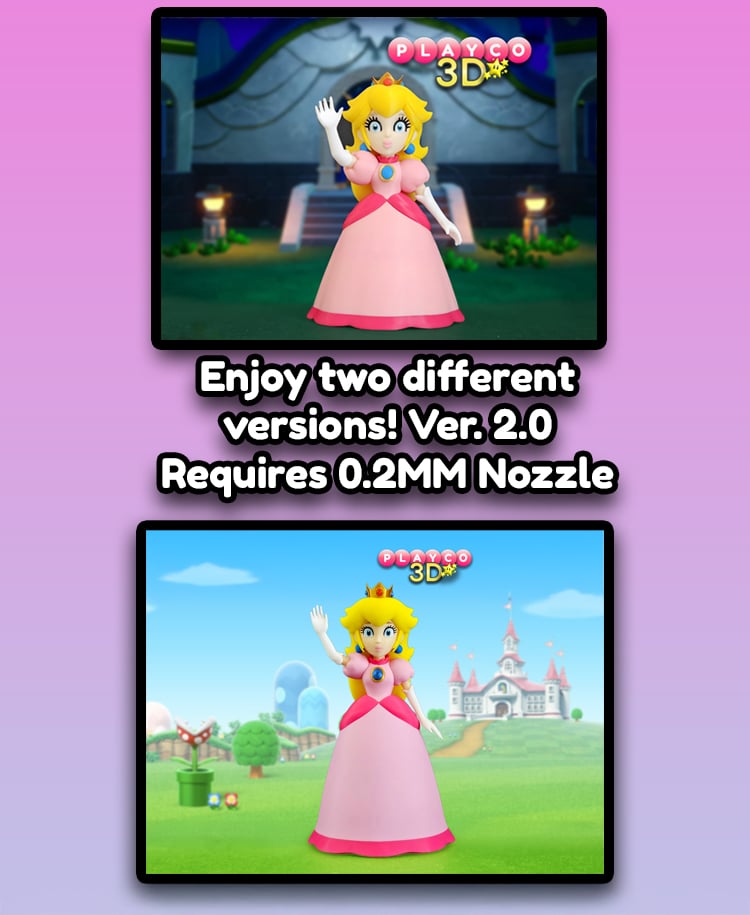


Princess Peach
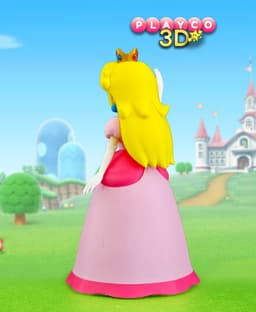
Bring the elegance and charm of Princess Peach from the Mario Bros. universe to life with this stunning 3D print model! Perfectly capturing her iconic gown, crown, and regal pose, this model is a must-have for any Nintendo fan or collector. Whether as a display piece, a gift, or a project to showcase your 3D printing skills, this design brings the beloved princess straight out of the Mushroom Kingdom and into your hands!
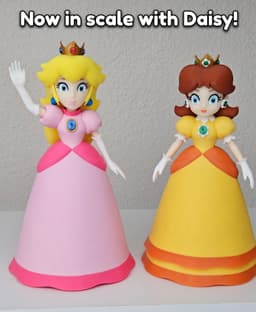
Dimensions: Princess Peach stands just about 6.75 inches (170mm) tall at 100% scale and 4.17in (106mm) wide, You can scale the model up but if scaling down be aware that the eyelashes may not print correctly.
Colors Used: Elegoo: Yellow, Matte White, Pink, Sky Blue (Eyes) Elegoo PLA Pro: Light Blue Esun: Magenta Geetech: Gold Creality Hyper Series: Skin Bambu Basic: Black, Red Sunlu: Burlywood
Alternate Fire Peach color. .3MF file included
Printing Tips: Supports: Please refer to the print settings picture.
Assembly Tips: Glue the pink dress on top of the magenta bottom part, be easy on the glue as it can squeeze out. Use the pin to connect the puffy arm parts to the center chest. It may be tight, but this gives a secure fit with no need to glue. Use the smaller pin if its too tight. The skin arms are labeled L and R. When attaching, the letters face forward, (facing you). For best results when printing the eyelashes, use a 0.2mm nozzle. However in my experience, 0.4mm looks acceptable.
Assembly Steps:
Building the Body: Glue on the pink dress to the magenta bottom part - be easy on the glue. Glue the shoes to the legs, then attach the legs under the dress. Insert the magenta dress wrap into the pink dress. Attach the puffy shoulders to the center chest with the pin. Attach the L and R arms to the puffy shoulders. Glue on the white gloves to the arms. Attach the magenta necklace to the chest. You may need to press firmly to get a snug fit. The bigger cut side goes on the right side of the body. Glue on the blue gem to the center gold gem holder, then glue it into the chest.
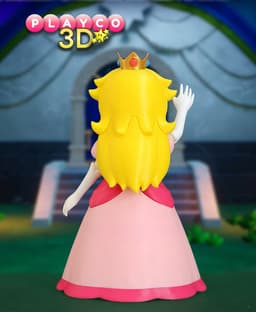
Building the Head: Press in the eyebrows and glue the lips to the face. Attach the face to the mid hair piece and attach the top hair piece. You may want to hold all three pieces together while gluing to get a tight fit. Glue on the bottom hair piece. Attach the side hair pieces, followed by pressing in the earrings. Be careful when inserting the eyelashes as they can get damaged, then insert the Left and Right eyes. When inserting the blue eye pieces, it may be tight. Once you have part of the blue piece in, flip over the eye and press the eye down on a solid surface to snap it in. Glue the neck with the pin, then glue on the head to the neck.
Great job on completing your 3D model of Princess Peach! You’ve captured the essence of this beloved Mario character beautifully. Display your creation with pride and let it shine as a standout piece in your collection!
As always, happy printing and thank you for all your support!
Princess Peach

Stripe (Gremlins)

Rocko (Rocko's Modern Life)

Chris Griffin (Family Guy)

Ice Man (Mega Man)

Inspector Gadget

Cobra Commander (G.I. Joe)

Waylon Smithers (Simpsons)

Lion-O (Thundercats)

Philip Fry (Futurama)

Rosalina and Luma (Mario Bros.)

Lois Griffin (Family Guy)

Sideshow Bob (Simpsons)

Drill Man (Mega Man)

Cut Man (Mega Man)

Gizmo

Chef (South Park)

Peter Griffin

Officer Eric Cartman
Comic Book Guy
