


Hammer Bros
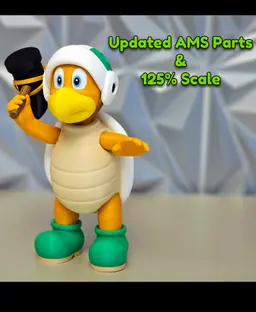
Meet the Hammer Bros., the iconic turtle warrior from the Mario universe! With their gladiator helmets and hefty hammers, these fierce foes are ready to challenge any hero. This 3D model captures their menacing pose as they prepare to hurl their hammers. Get ready to dodge, because these relentless enemies are a true test of skill!
Updated Hammer Bros which now includes AMS Parts -AMS Eyes -AMS Green Helmet Sides -AMS Legs, Boots, Soles -AMS White Helmet Sides
-Scaled model up to 125% to match new Mario series scale.
-Old Version still included
Dimensions: At 100 percent scale, Hammer Bro stands approximately 7.81 inches (197 mm) tall, matching the scale of the other Mario character models.
There is also the older size scale which is 80% in which he stands approximately 6.25 inches (158 mm) tall
Colors Used: Elegoo: Yellow, Sky Blue, Beige, Elegoo PLA Pro: Green Bambu Basic: Black Bambu Matte: Dark Brown Esun: Gold (not shiny) (Dark Yellow) for the skin Sunlu: Burlywood
Printing Tips: Supports: Please refer to the print settings picture.
Assembly Tips: For additional assistance, refer to the pictures in the download folder for hammer assembly.
There are two hammer straps, labeled 1 and 2. Strap 1 has one dot on the inside, while strap 2 has two dots. Begin with strap 1, ensuring the dot is at the top. Then, slide strap 2 over it with the two dots also at the top, leaving an opening for the hammer stick to attach. When attaching the helmet strap, press it in fully and center it properly. Pay close attention to the small black dots for the green helmet, as they are slightly shaped differently. For the larger black spots on the sides of the white helmet, note that the angled cut represents the bottom of the spot. The bottom of the shoes is labeled L (left) and R (right), and the left and right white side helmet pieces are also labeled L and R.
Assembly Steps: Glue the white shell to the beige body. Once dry, glue the legs into the body. Attach the soles to the shoes. Glue the shoes onto the legs. Glue in the arms. Attach all the green shell spots, as each fits in its unique location. Insert all the small green spots. Insert the helmet strap into the head, ensuring it is centered and pressed in all the way. Firmly press the head into the white helmet until it snaps in tight. Glue on the green side helmet pieces. Insert the small black dots to the green helmet. Glue on the side white helmet pieces, following the L and R labels on the bottom. Insert the black spots into the white helmet sides, ensuring the angled cut is at the bottom. Assemble the eyes, paying attention to the left and right pieces, then glue them in. Glue on the mouth. Build the hammer according to the directions, then slide it into the hand.
Congratulations on completing your 3D model of the Hammer Bros.! You've perfectly captured this iconic Mario character, and your model is sure to impress. Enjoy showcasing your work!
As always, happy printing and thank you for all your support!
Hammer Bros

Stripe (Gremlins)

Rocko (Rocko's Modern Life)

Chris Griffin (Family Guy)

Ice Man (Mega Man)

Inspector Gadget

Cobra Commander (G.I. Joe)

Waylon Smithers (Simpsons)

Lion-O (Thundercats)

Philip Fry (Futurama)

Rosalina and Luma (Mario Bros.)

Lois Griffin (Family Guy)

Sideshow Bob (Simpsons)

Drill Man (Mega Man)

Cut Man (Mega Man)

Gizmo

Chef (South Park)

Peter Griffin

Officer Eric Cartman
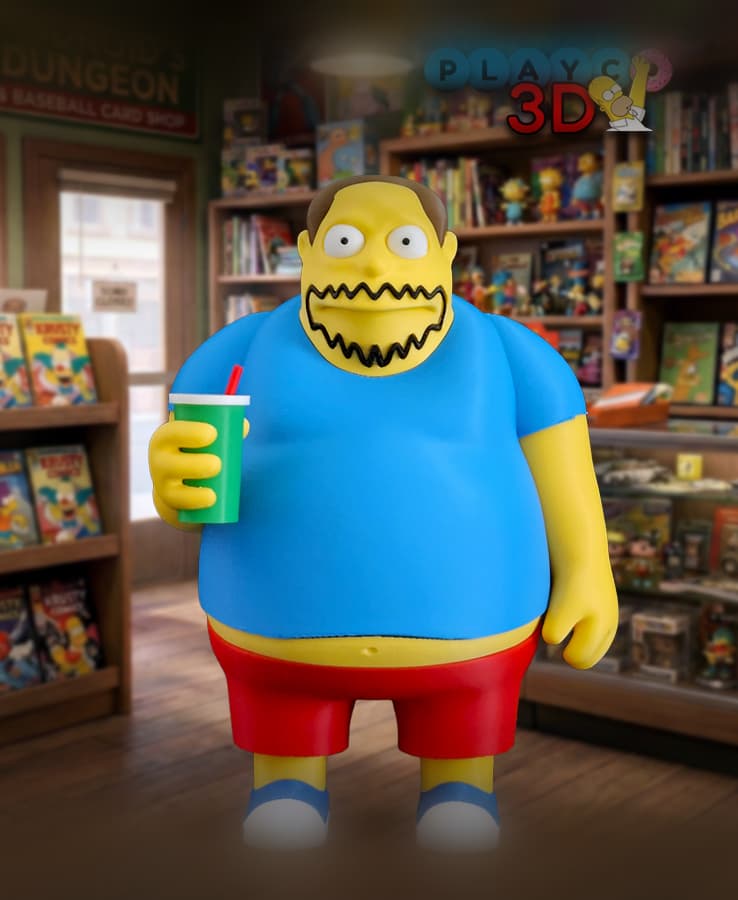
Comic Book Guy
