


Flexible Cat Skeleton
405 downloads · 2 years ago · Flexible Cat Skeleton
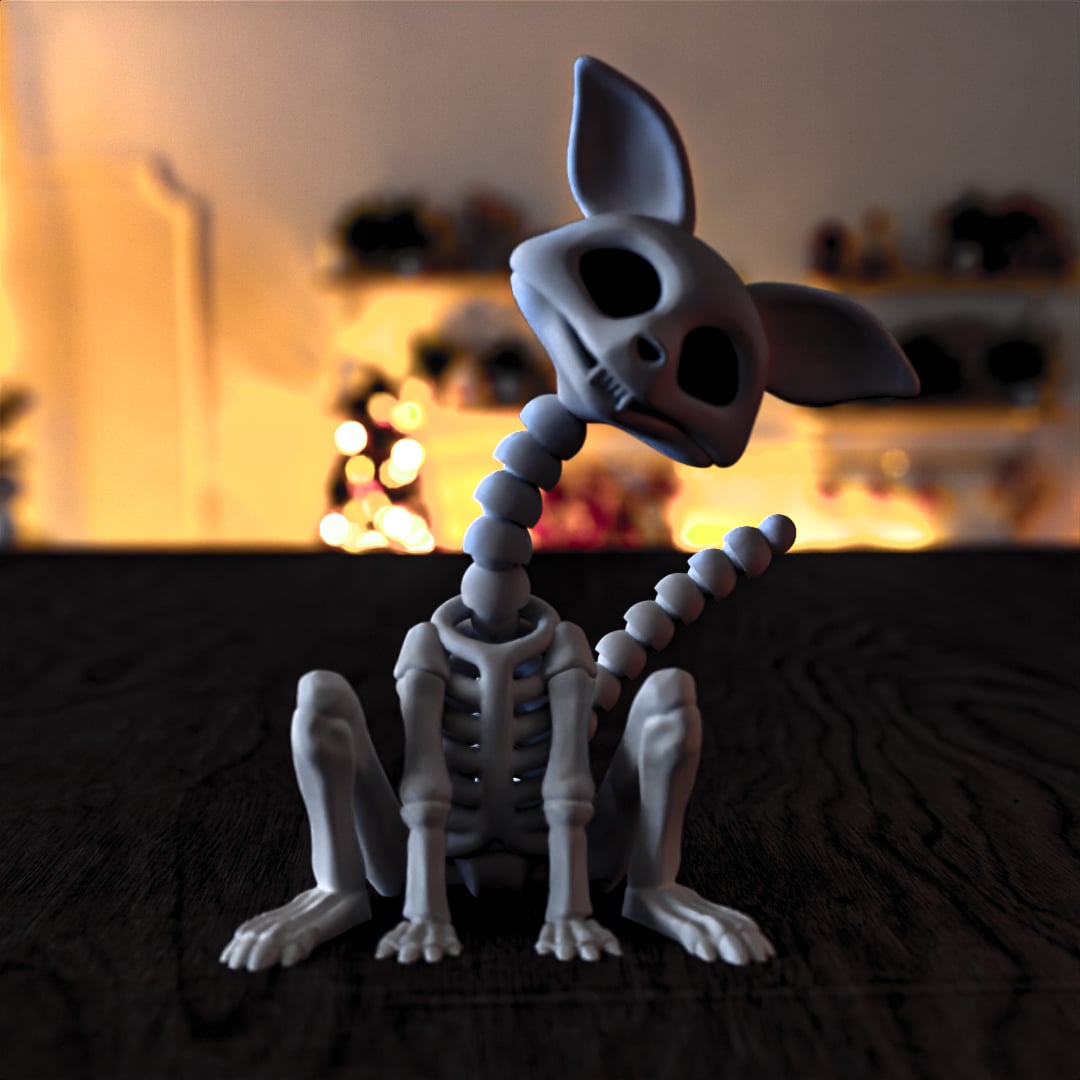
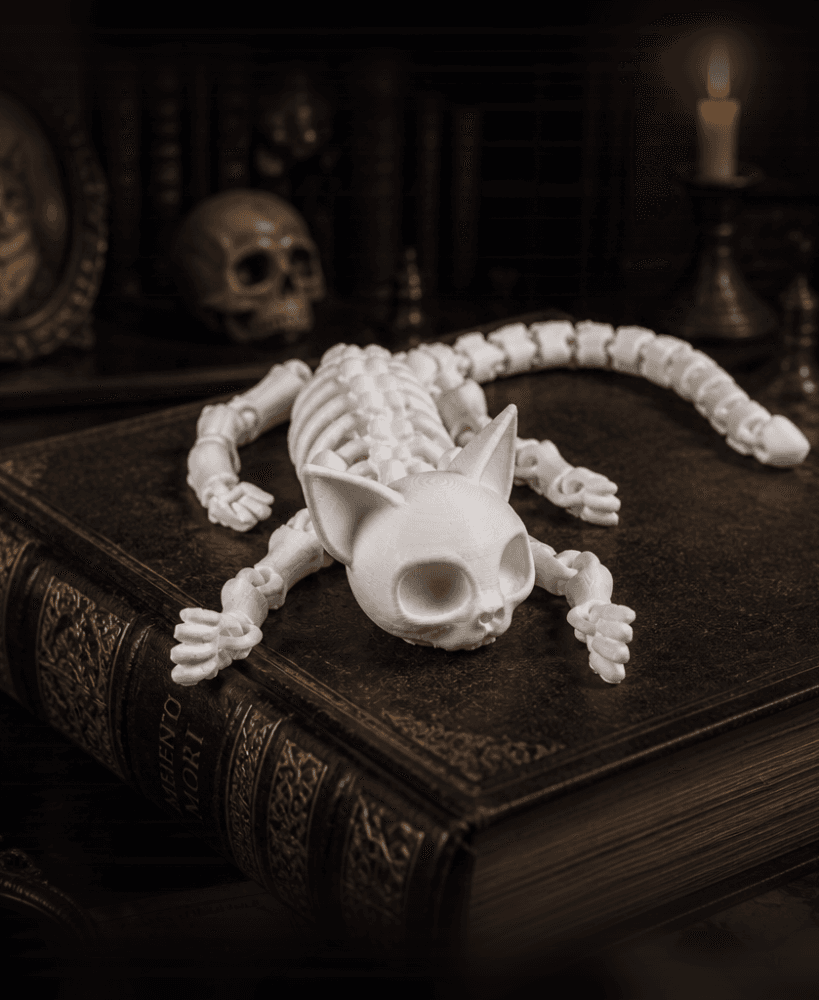
Print each piece in the default orientation to ensure a successful print. (See
Flexible Cat Skeleton Print each piece in the default orientation to ensure a successful print. (See printing guide in the images) Printing on Creality k1 Layer: 0.2mm Support: Yes (Some parts require less support, see reference image) Walls: 3 (loc-lines 6 walls) Other default settings Assembly Once printed, join the body L and R parts with connectors A and B, and apply a bit of glue. Then, attach the claw L and R to the body, followed by attaching the paw L and R. Next, attach the ears to the top of the head and then glue the lower part of the head. Finally, connect the loc lines (recommended 4 for the neck and 12 for the tail).
Flexible Cat Skeleton
405 downloads · 2 years ago in and
Bundle

Flexi Skeleton Cat | Print-in-place | No Support
Cat Skeleton Flexi Toy Gothic Articulated Collectible

Skeleton Cat Flexi Toy - Articulated Collectible

Build A Flexi - Flexi Builder Free Sample Pack

Full Flexi Builder - Build A Flexi
Bundle

Halloween Skeleton Cat Bookmark

Halloween Flexi Skeleton Cat

Articulated Cat, Print in Place, Ball Socket Joints, Flexible Body, Cat - 3D Printable STL File
.png&w=3840&q=75)
Articulated Cat Keychain | Flexible Fidget Kitty | Print-in-Place Cat Charm

Flexi Cat – Print-in-Place Articulated Toy Cat Model (Flexible 3D Printed Figurine, No Support

Articulated Dragon Skeleton — Flexible Fantasy Toy

Skullcat – Cartoon Skeleton Cat

Skeleton Cat Mandala Art – 2D Wall Art (Stained Glass Style)

Spooky Skeleton Cat – Halloween Feline Decor

Skeleton Cat 🌟 Bobblehead

Halloween Skeleton Cat
.png&w=3840&q=75)
Skeleton Cat

Skeleton Cat and Dog Breed 6 pack (No AMS Needed stl/3mf for swaps)

Articulated Fish Skeleton — Flexible Ocean Fidget
Bundle
