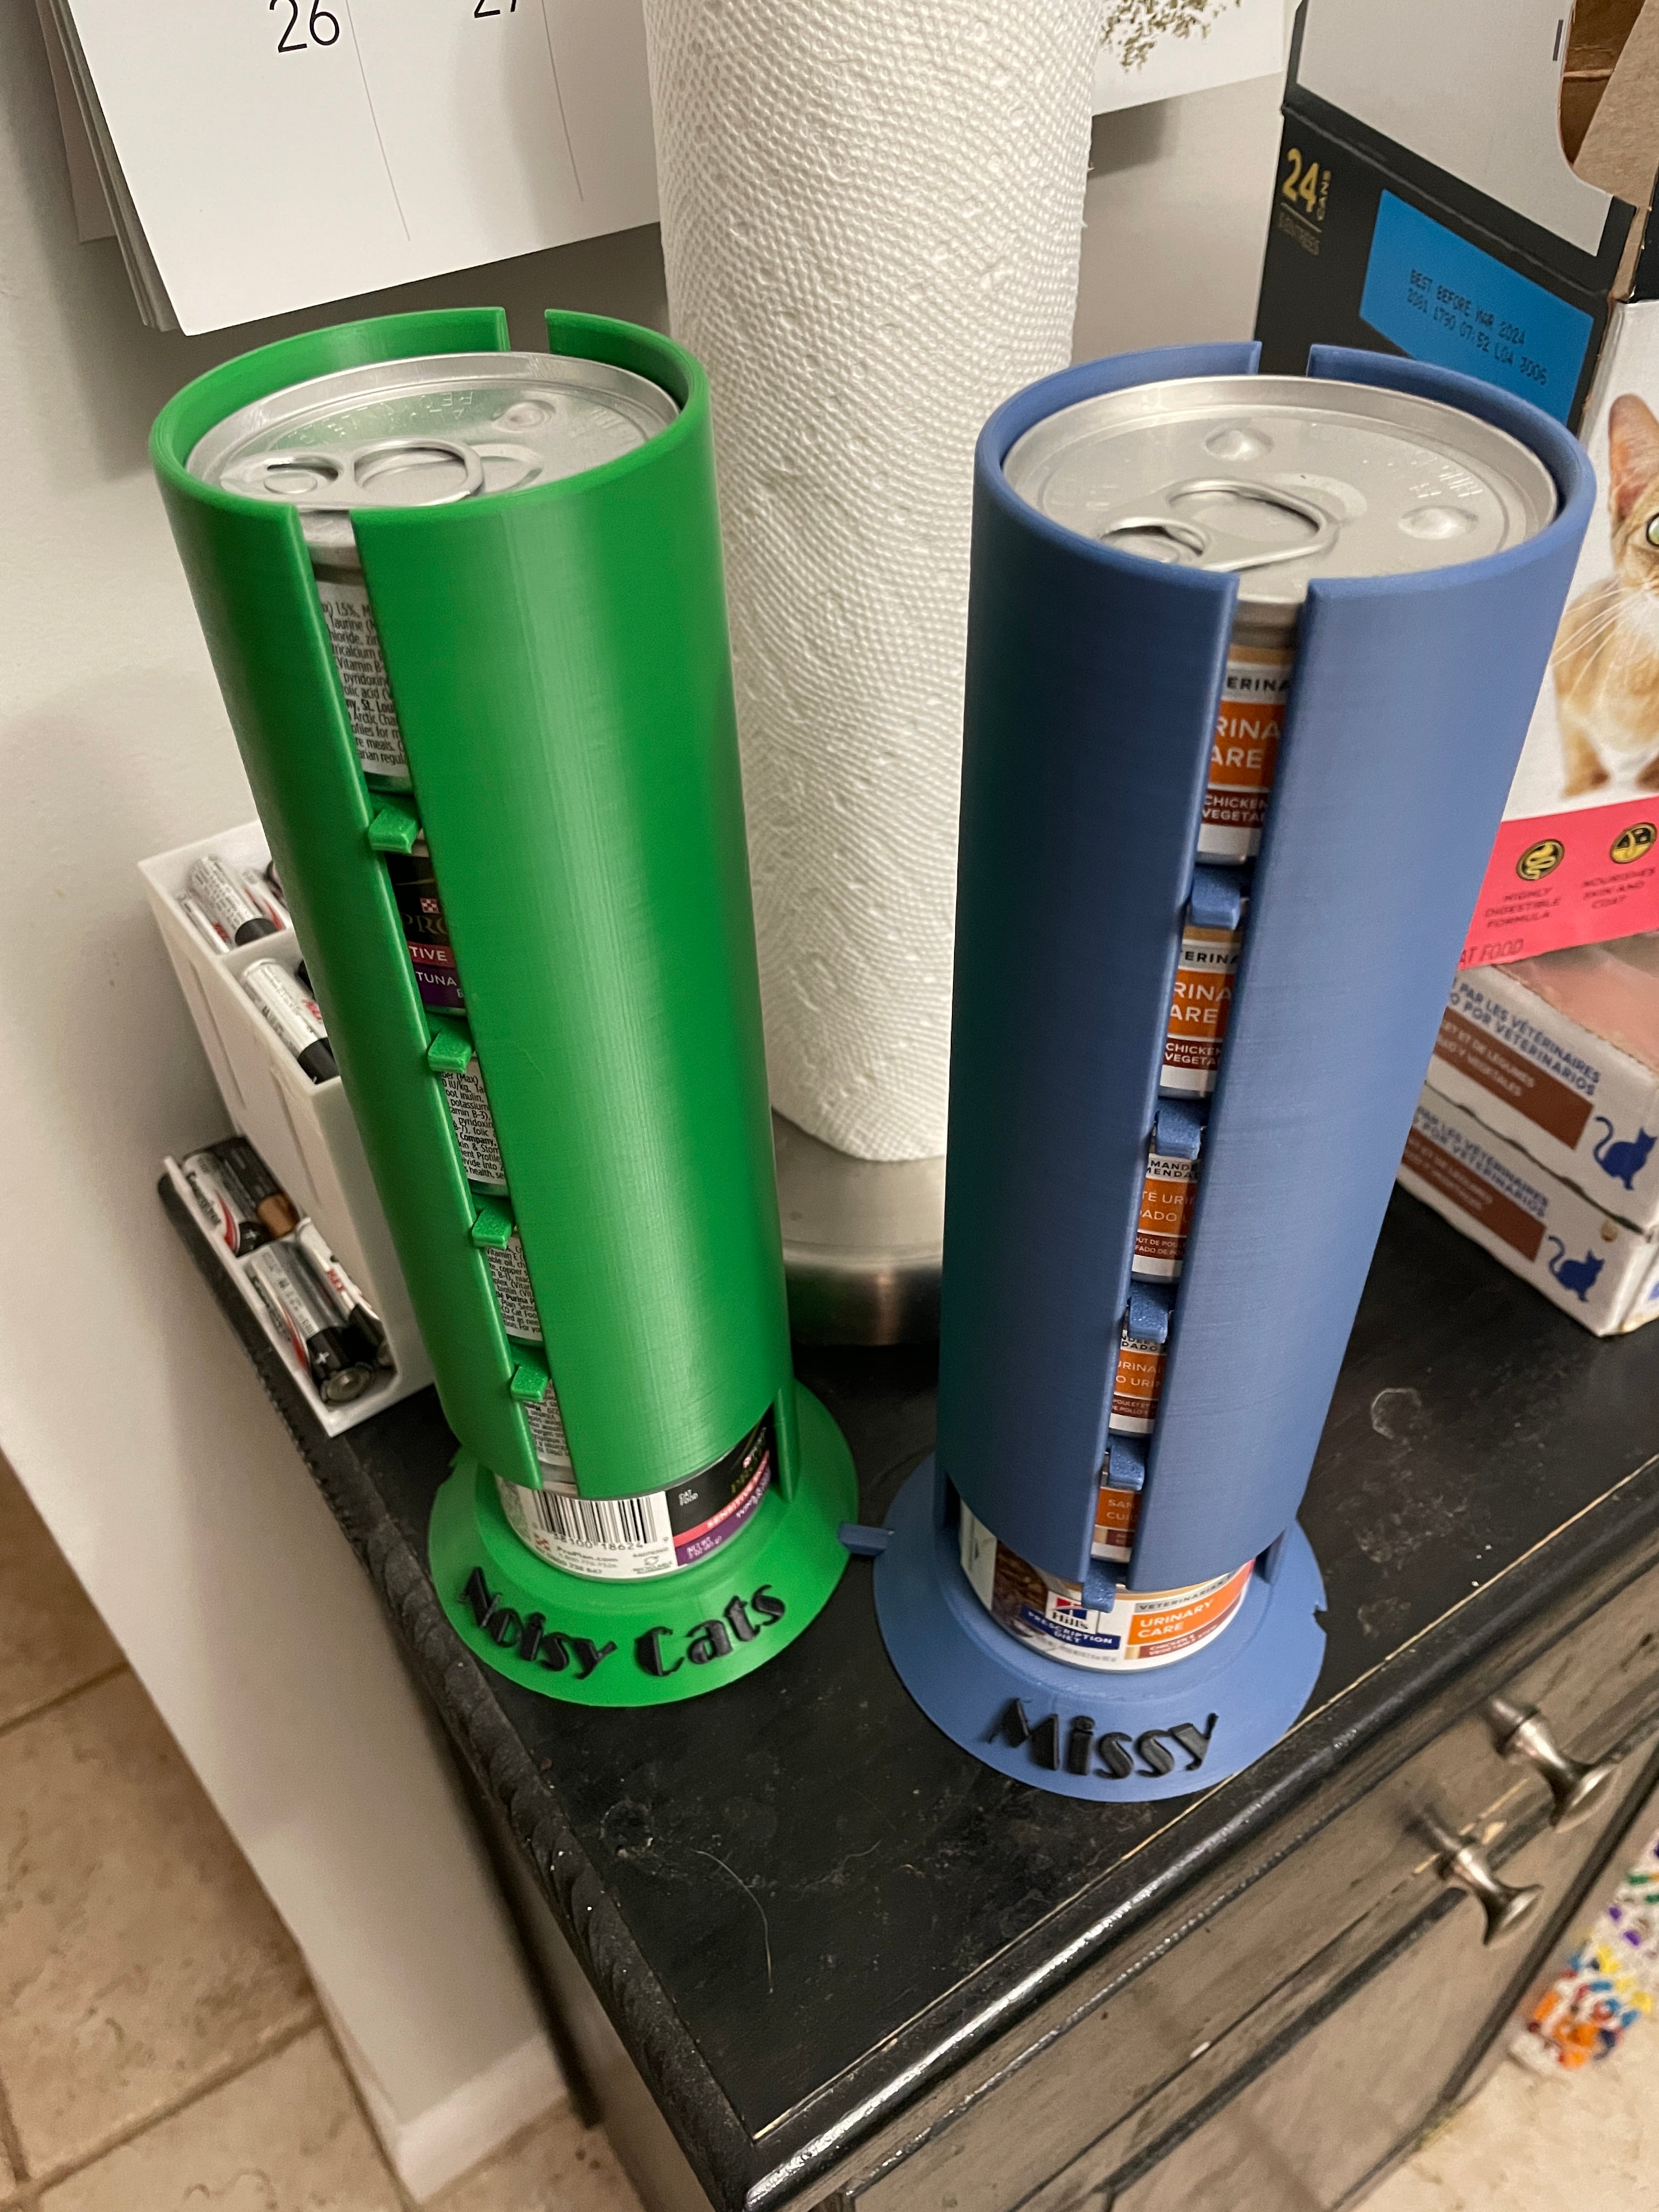


Cat Food Can Towers
Brief Model Description This model addresses the problem of most can tower systems where the cans interlock (or need to be alternated) and allows the towers to be chained together. It provides an innovative mechanism for removing the cans from the tower.
Needed Equipment
- A well-tuned printer (bottom connectors might be very snug or have issues if your printer is not very precise).
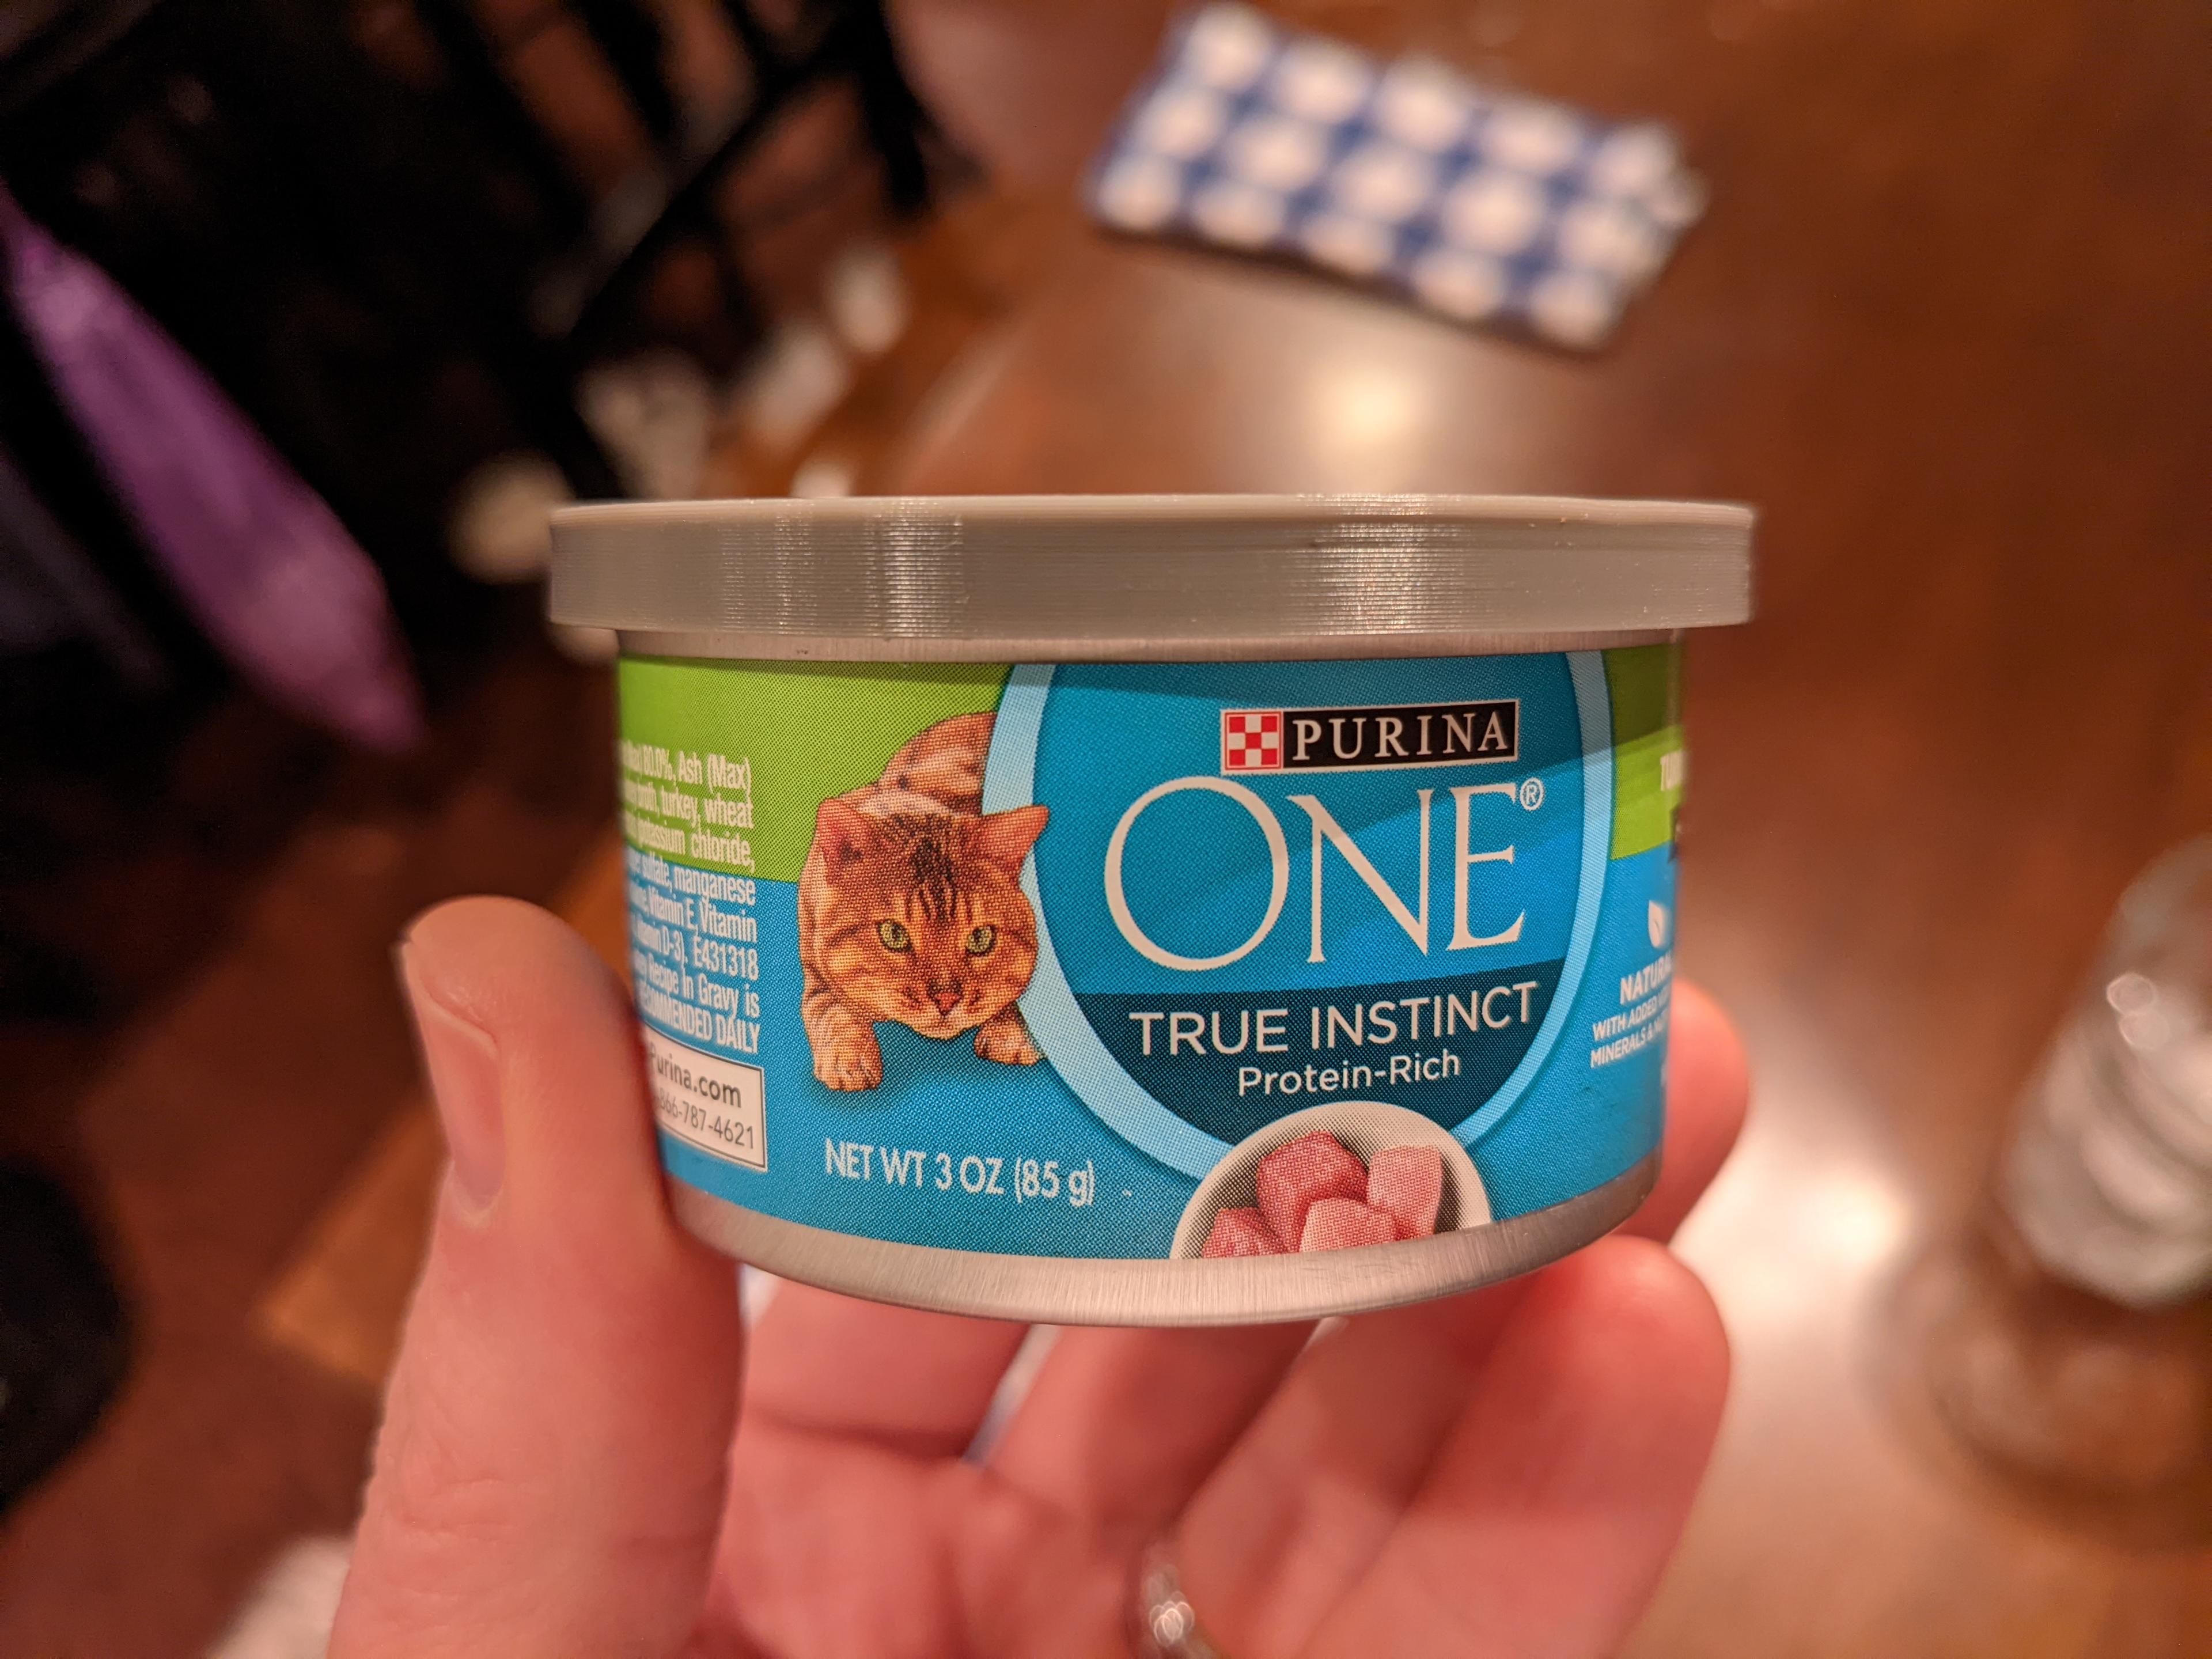
- 3 oz cat food cans.
- Printer capable of printing either 250 mm (Bambu Lab for example) or 210 mm (Prusa MK3S+ for example).
Backstory Most can towers have to alternate the cans to make them not inter-lock, so you must have them upside down. Also, if you want more than one tower, it can become unwieldy and be knocked over easily. Removing the cans from the hole at the bottom can also be challenging. I wanted to address all these issues.
I designed this in Alibre Design Pro.
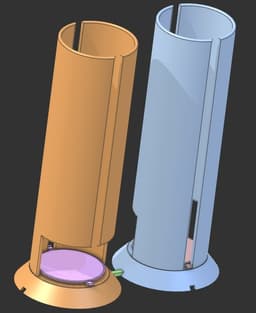
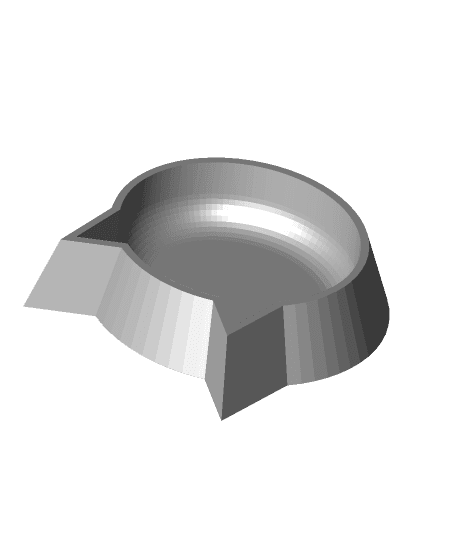
There are three main parts to the design. The container1 file is the main tower for the cans (can contain six standard 3 oz cat food cans for the regular one, five for the smaller one). Canlifter is the separator for each can (it has a slight fillet that makes the lid sit easily on the can top), but it also provides the ability to lift the can or pull the can out the bottom.
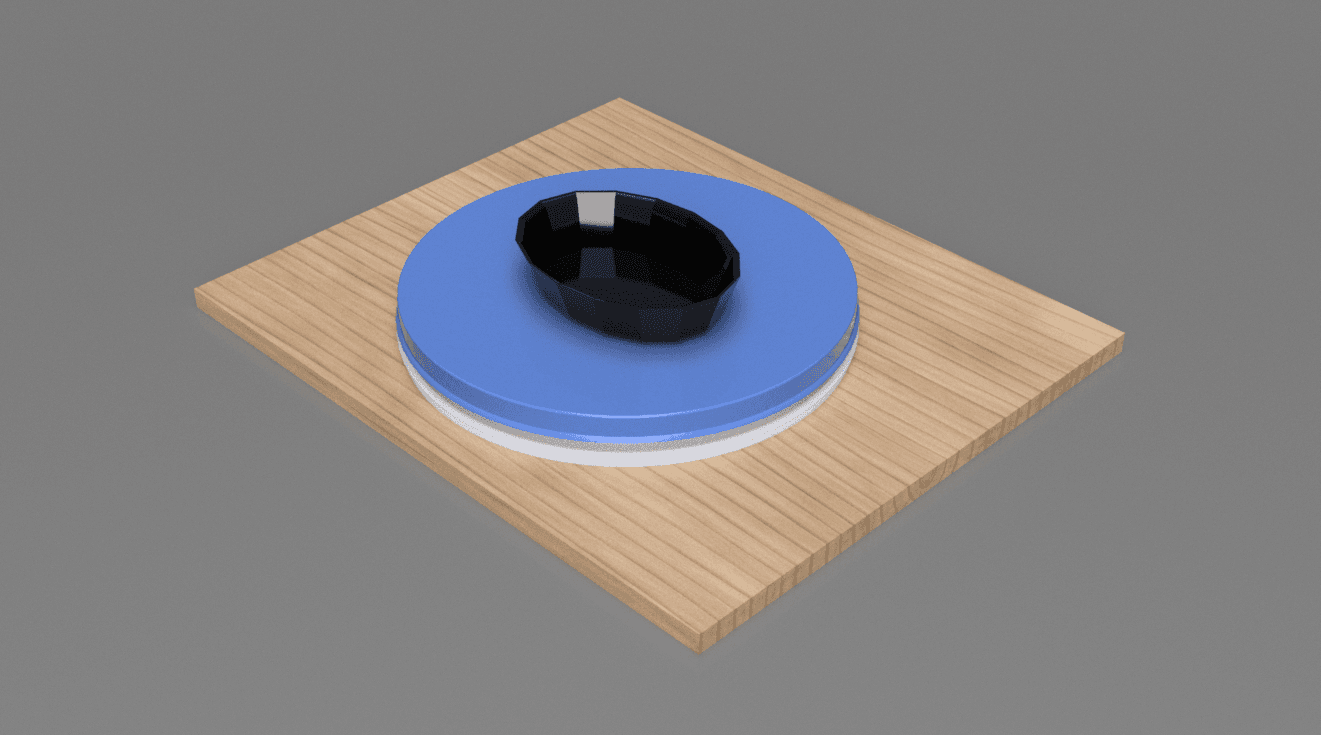
Print Recommendations Connector prints with the H flat on the bed.
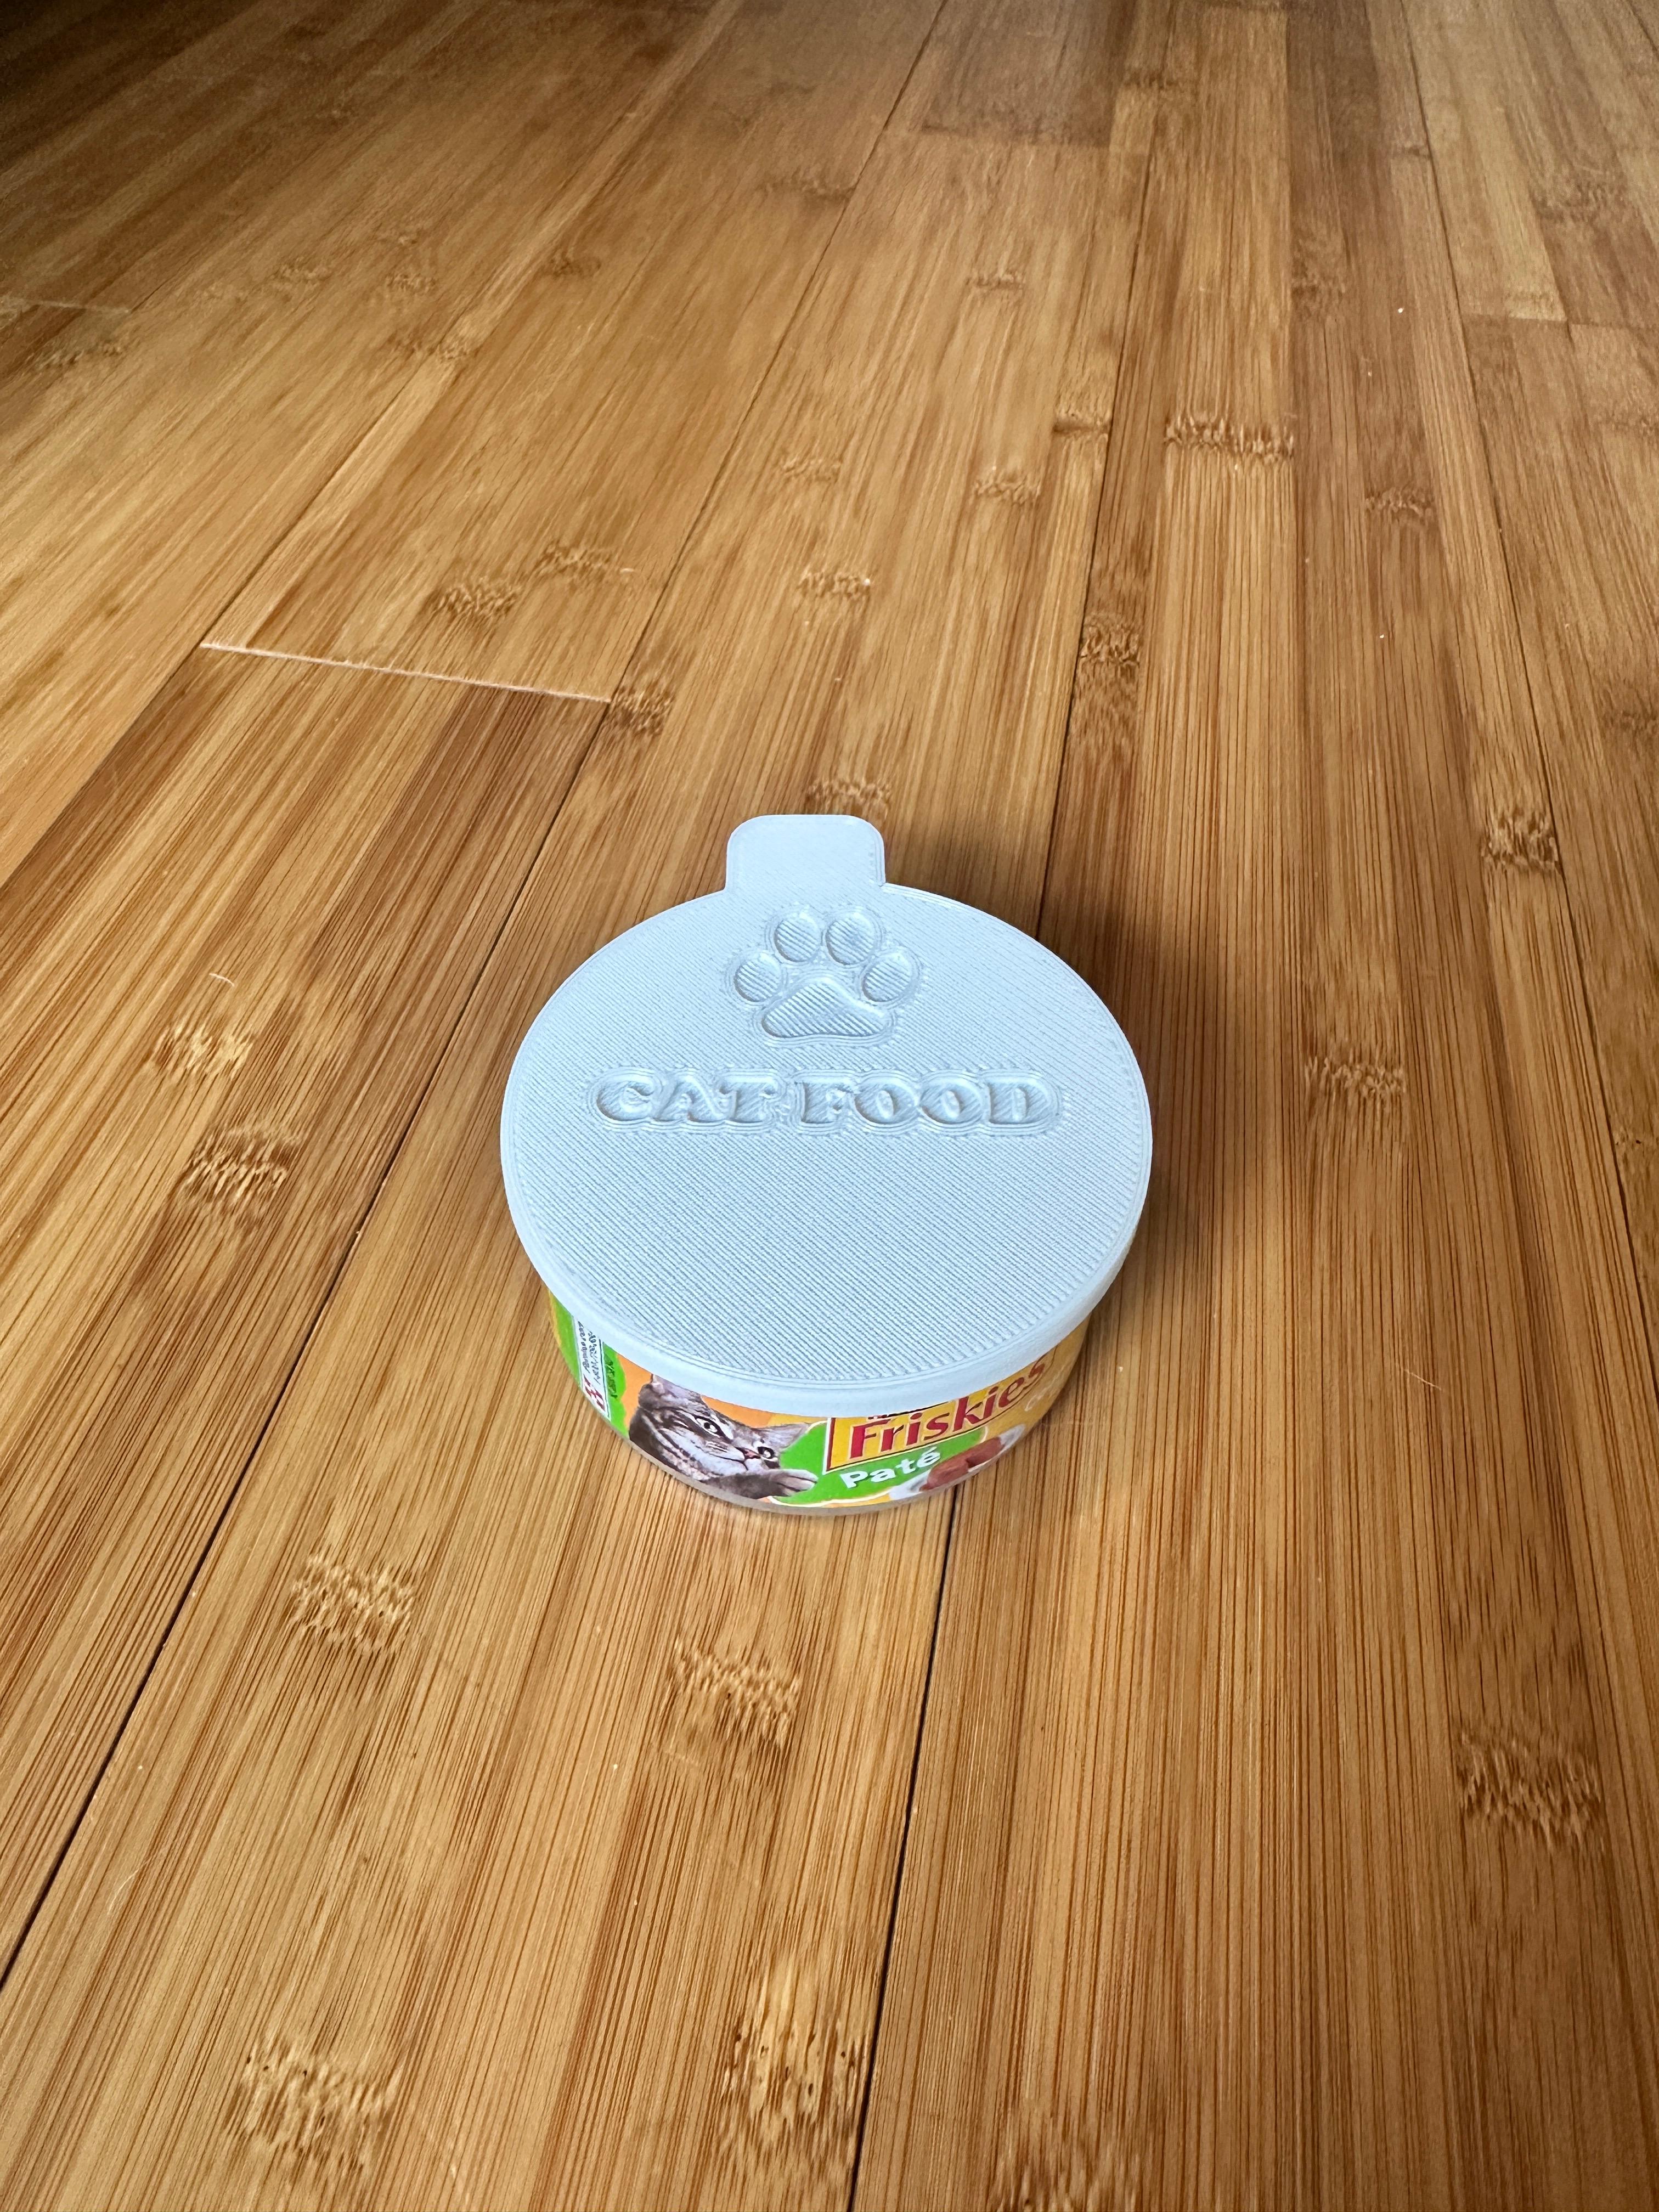
Canlifter prints with the upward-facing tab facing up.
Container prints with organic supports (on PrusaSlicer), or the Tiny Tree supports (on Bambu Studio). I printed with three walls and 15% infill gyroid at a .2 mm layer height for all of them. I used an interface layer with PolySupport to make the edge even cleaner.
PLA is what I tested with and it works fine (the colors in the example are Printed Solid Jessie Tree Green and Blue Whale Grey, with NuMakers Black for the text). I used PolyMaker Polysupport for the interface layer with the supports. PETG might be okay for printing, but it could make it slightly less rigid, so keep that in mind.
With the addition of adding text to models in both PrusaSlicer and Bambu Studio, adding text to the opening part on the base adds a nice effect (as seen in one of the example pictures).
You may have to add a brim, reduce speeds, or adjust/disable Z-Hop (especially on Bambu printers) if you have issues with the towers losing adhesion or failing.
Hardware/Assembly Information The can towers can be joined, or daisy-chained to one another. Place the tower over the connector. It should give a satisfying snap or click sound when pressing down.
Printing a can lifter for each can be used is recommended. Put the can lifter on top of each can. Even the last can on top with a lifter adds an excellent roof to the tower. If you don't print the lifter, you can alternate the cans upside down, but it defeats part of the purpose of the design.
Usage Recommendations Use the tab on the can lifter to pull the can out the bottom, and place the extra lifter on the top to avoid losing it. When refilling the tower, you can either drop the can down or use a can lifter to guide it down with your fingers on both sides. You can lift from above to get the can out with fingers on both sides. Ensure the tabs line up to the holes on both sides of the tower. Also, ensure the tab points down when putting a can lifter on top of a can. The can lifter can also be used to pry up the cans if you forget to put a lifter in between the cans.
Mark2 Revision I eventually ran into problems with the sides snapping off, so redesigned some of the sides to have reinforcements. The lifter from the original should work fine. I also created a holder for the lifters so they don't get lost. It can be printed the same way as the tower.
Big Boy Revision This was an attempt to revisit the entire design and start figuring out how to use Rhino3D. It was remodeled from the ground up, so might have some variations. I likely will not do any more versions of this print, but did not want it to go to waste. It had more issues printing than the others, so if you do feel like printing it, make a lot more walls or use modifiers to add solid parts where it connects to the base. The lifter is also slightly different but will work with the original and Mark2 versions, just sticks out a lot on both ends. If you print this with enough walls or solid thickness, it has the potential to be pretty hard to break.
Cat Food Can Towers

Cryatex Gravity Cat Slow Feeder

Fast Food Cat by Pretzel Prints Delivery Cat Clicker

Cat Food Can Dispenser - Commercial Version

Cat Food Can Dispenser - 8 Can Capacity
Keep Ants Away From Cat Food

Cat food lid (Kirkland Chunks)

Goal Cats - Animal tower
.png&w=3840&q=75)
Cat Food Can Dispenser - 12 Can Capacity

Cat Food lid Large.stl
Friskies cat food Lid PLA

Kirkland cat food lid v1.1

Cat food lid can by Ghaliensita
Cat Food Lid

Cloud Cat Tower Model Stand
Cat food dish

Whisker-Friendly Cat Food Bowl
Pumpkin Cat Tower! - 2 Varieties

5.50oz Cat Food Can Dispenser
Angled Cat Food Bowl Holder
