Not for commercial use. Please see license agreement.
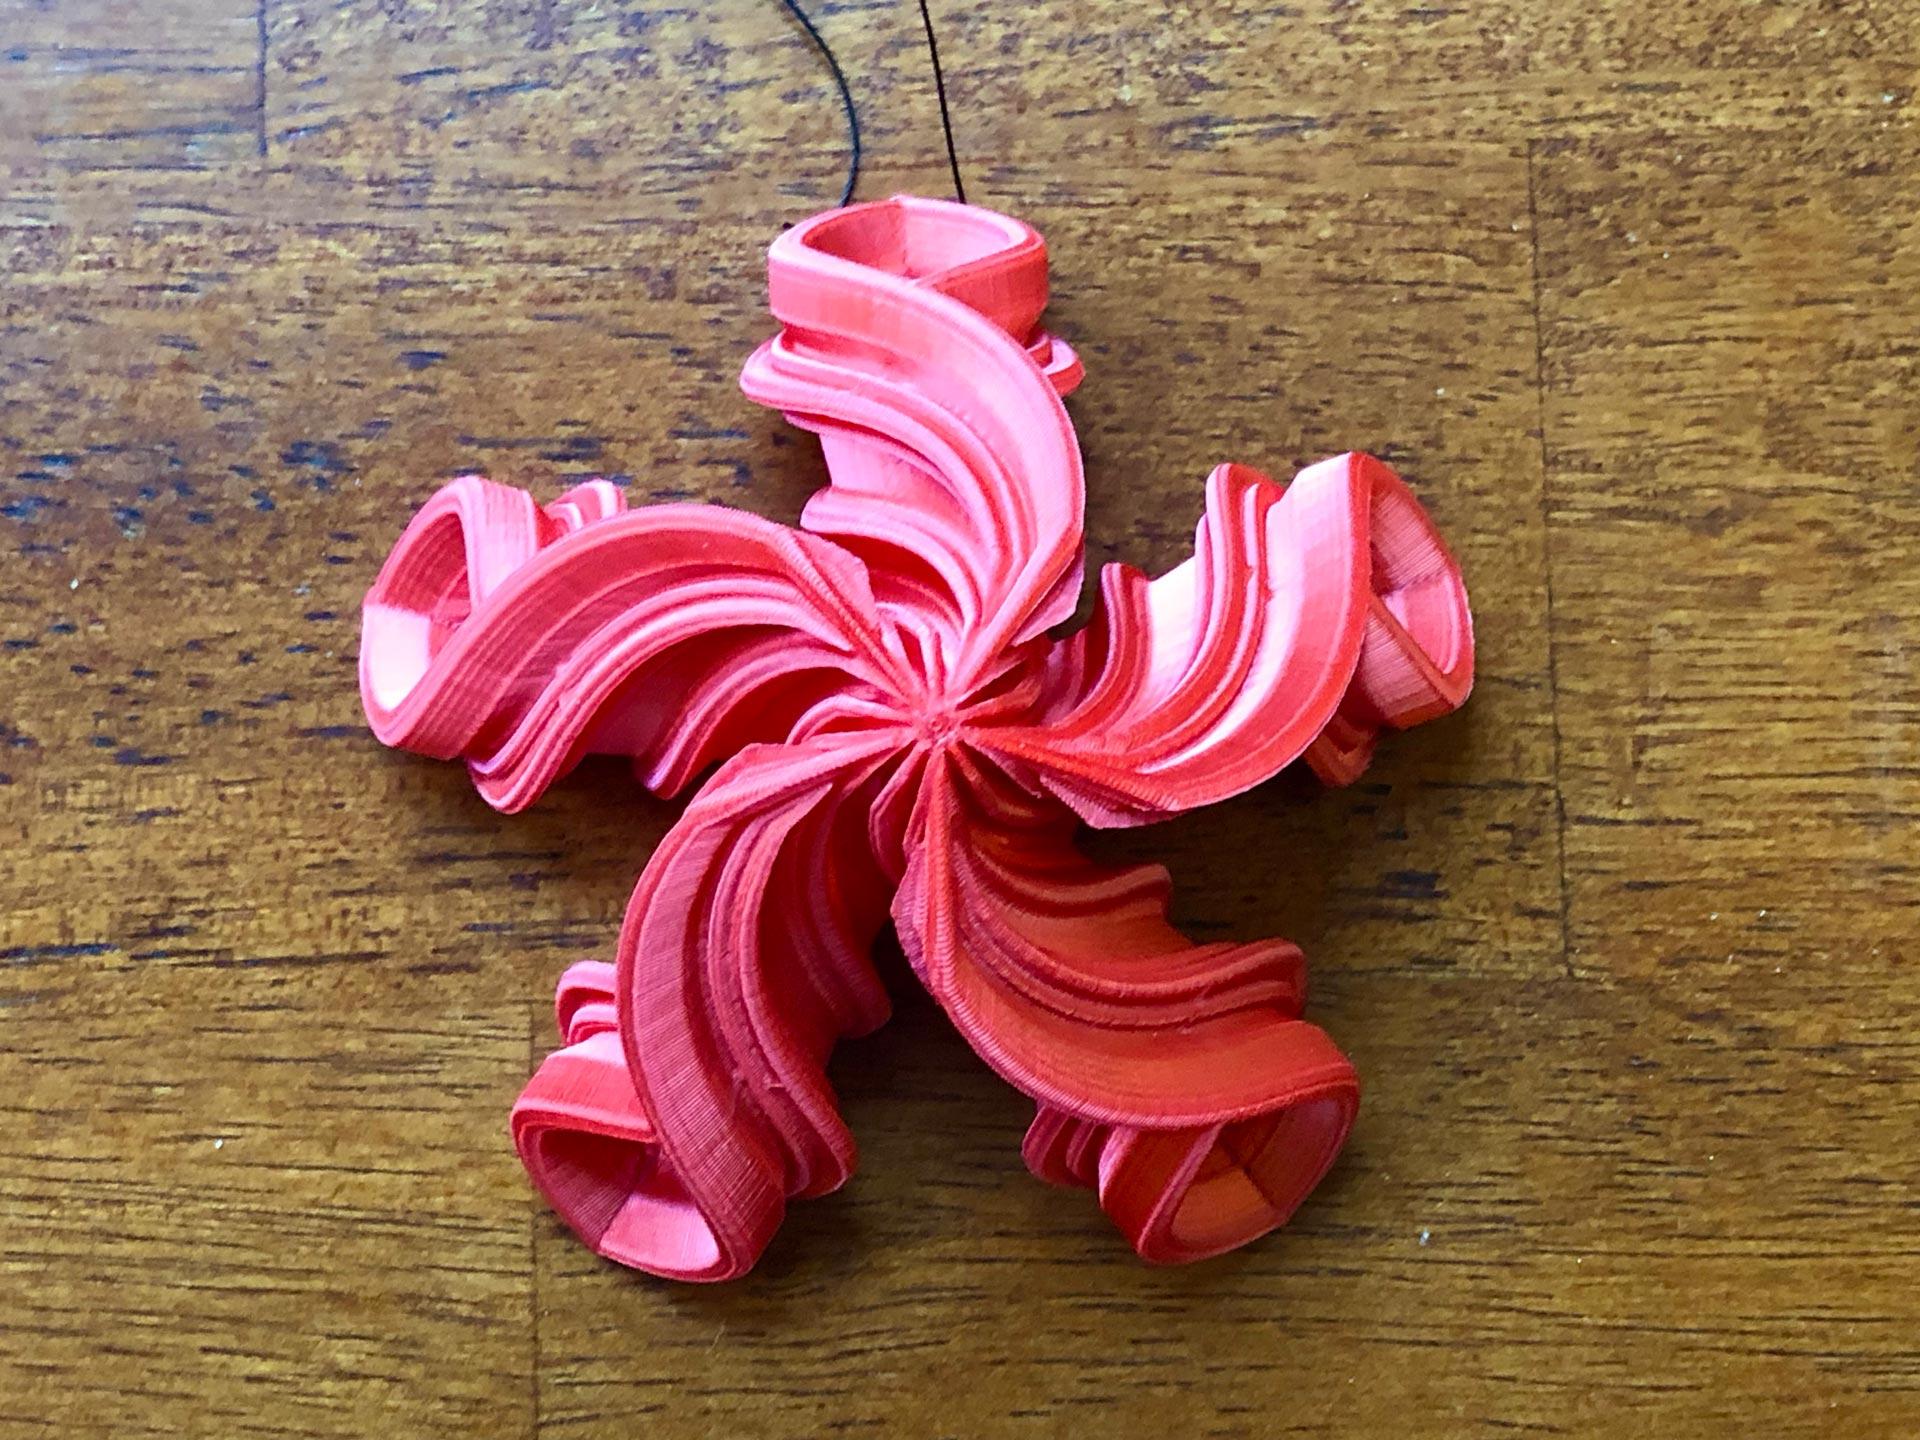
What is it? This is part of a series of designs that were originally intended as Christmas tree ornaments and I later found also made great suncatchers for any time of year (when printed with transparent filament/resin). This is the first in the series to be published.
Beyond that, what is it? Well, it's kind of a snowflake pattern (5 points instead of 6), kind of a swirl, and looks a little like an octopus, only with five legs. A pentapus? Anyway, other than that, it's just a cool geometric design that I enjoy looking at.
How to Hang it I've included two small, well hidden loops behind one of the arms so you can tie coat thread on them and hang it up. See the detail photo included above. They are really small and very well hidden.
Print Time Depending on the wall thickness, these printed in 2-3 hours for me.
Print Settings Thickness If you want to use these as Christmas ornaments, I recommend trying to print these with 1 line (0.4mm) walls. I had good luck with that in the Hatchbox Transparent Red, but I needed to make the walls with 2 lines (0.8mm) to get a good print from the TTYT3D Silky Red. I set the top/bottom thickness to 0.3mm.
You probably have your printer set up to print 1.2mm walls and top/bottom thickness. Don't use those settings for this design unless you plan to use it as a paperweight. If you forget to change them, cancel the print and start over.
Flow I increased the flow to 110% for the outer walls and 105% for the inner.
Infill This doesn't need any infill. Seriously. Don't add it unless you want to use this as a paperweight.
Speed I print the first layer at 18mm/second. That makes sure that the complicated design gets good bed adhesion without a raft or brim. It also adds less time to the print and less clean-up than using a raft or a brim. If you have a cold bed, you might need the raft or brim anyway.
For all other layers, I use:
- 30mm/second outer wall speed
- 40mm/second inner wall speed
- 60mm/second overall speed


