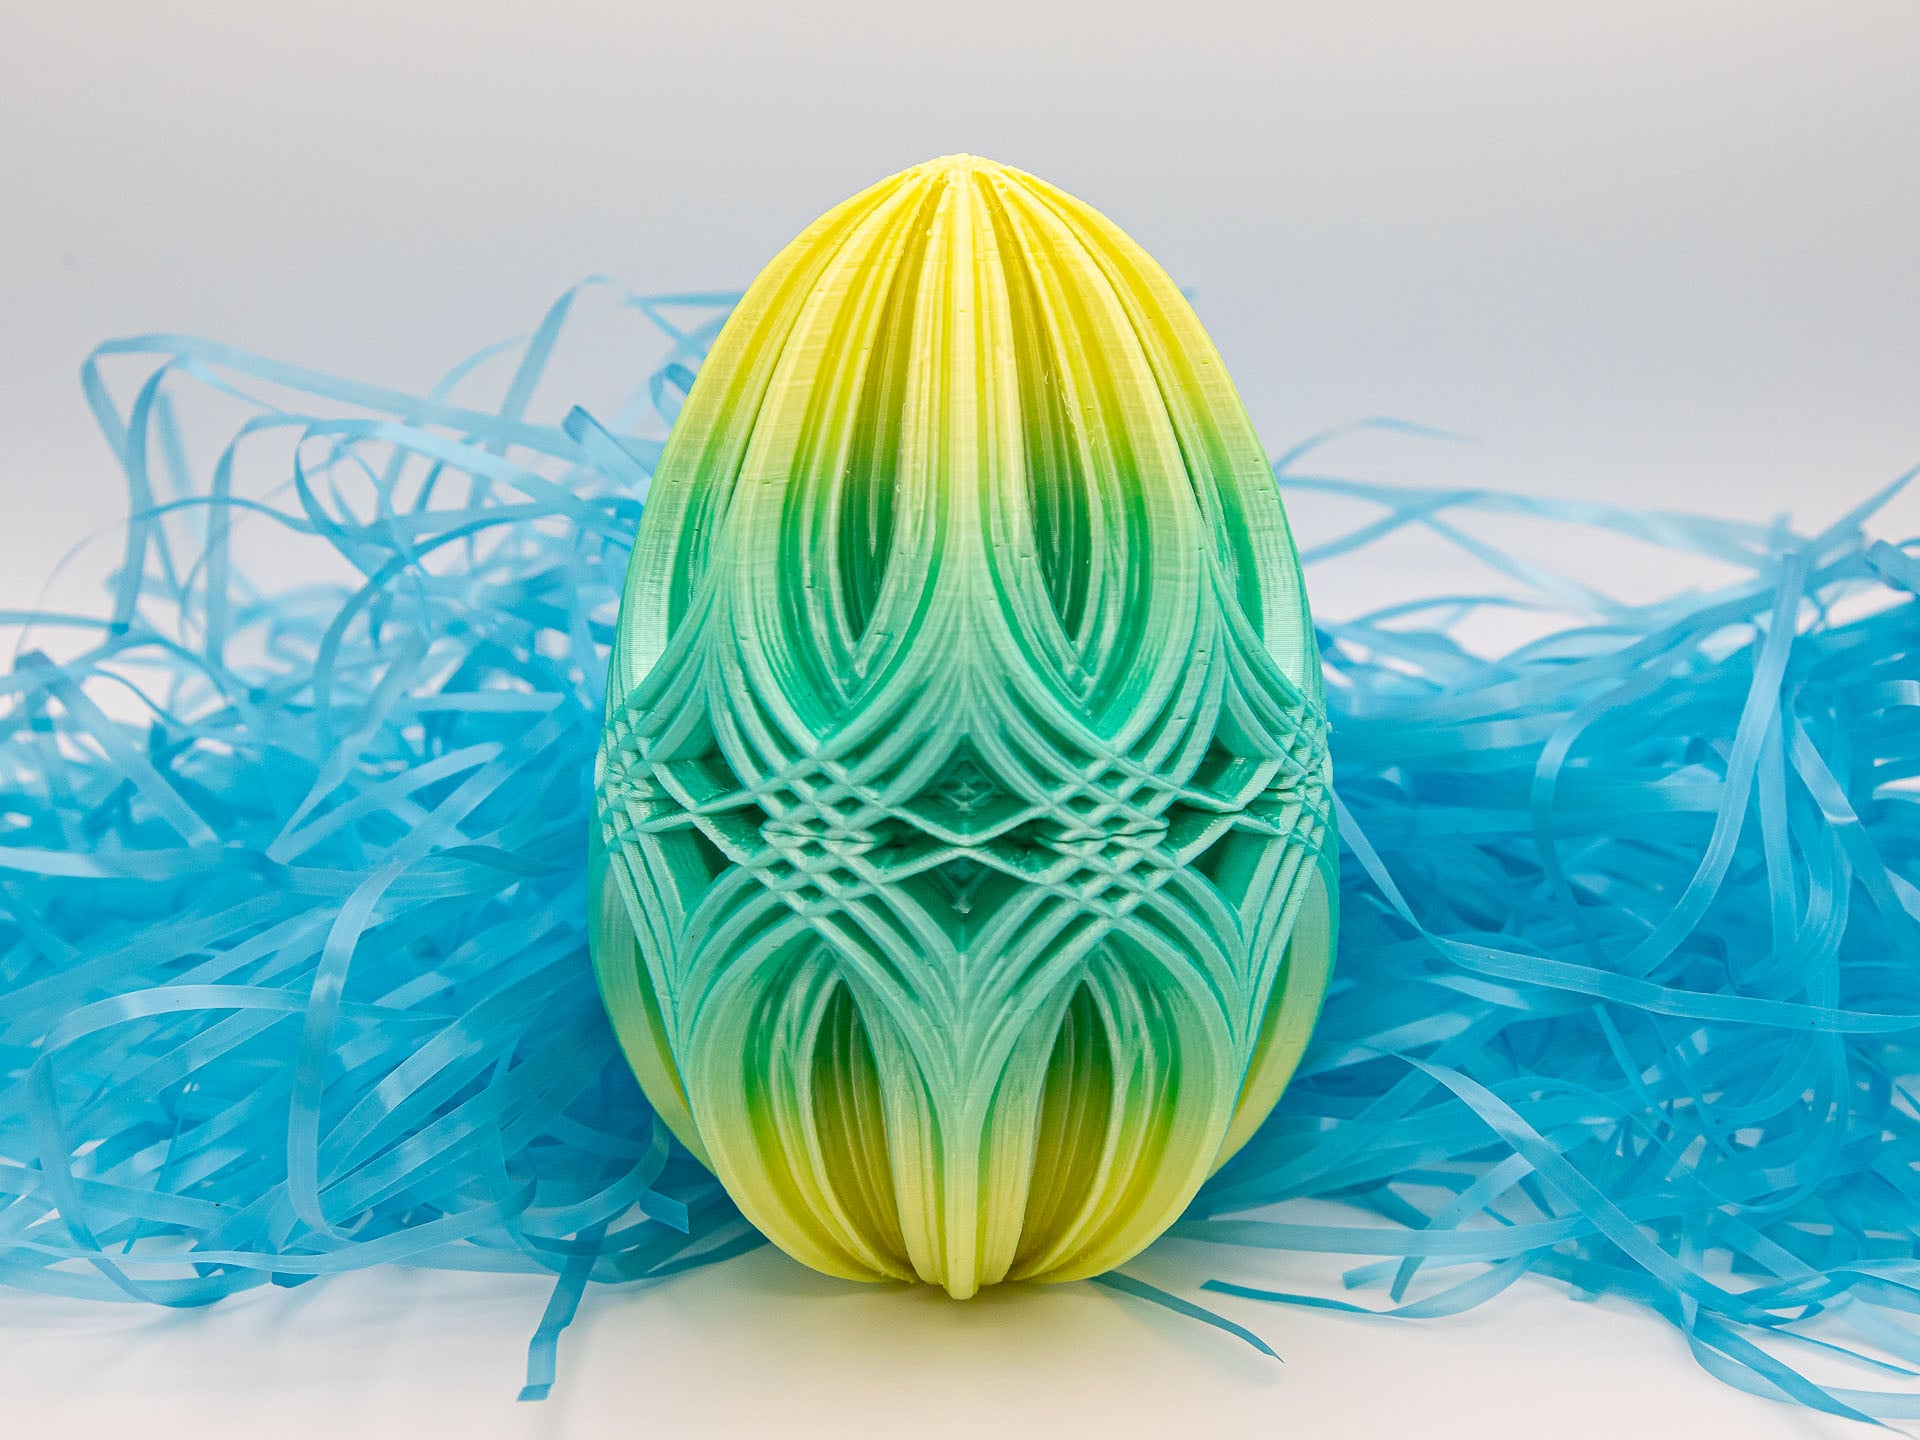


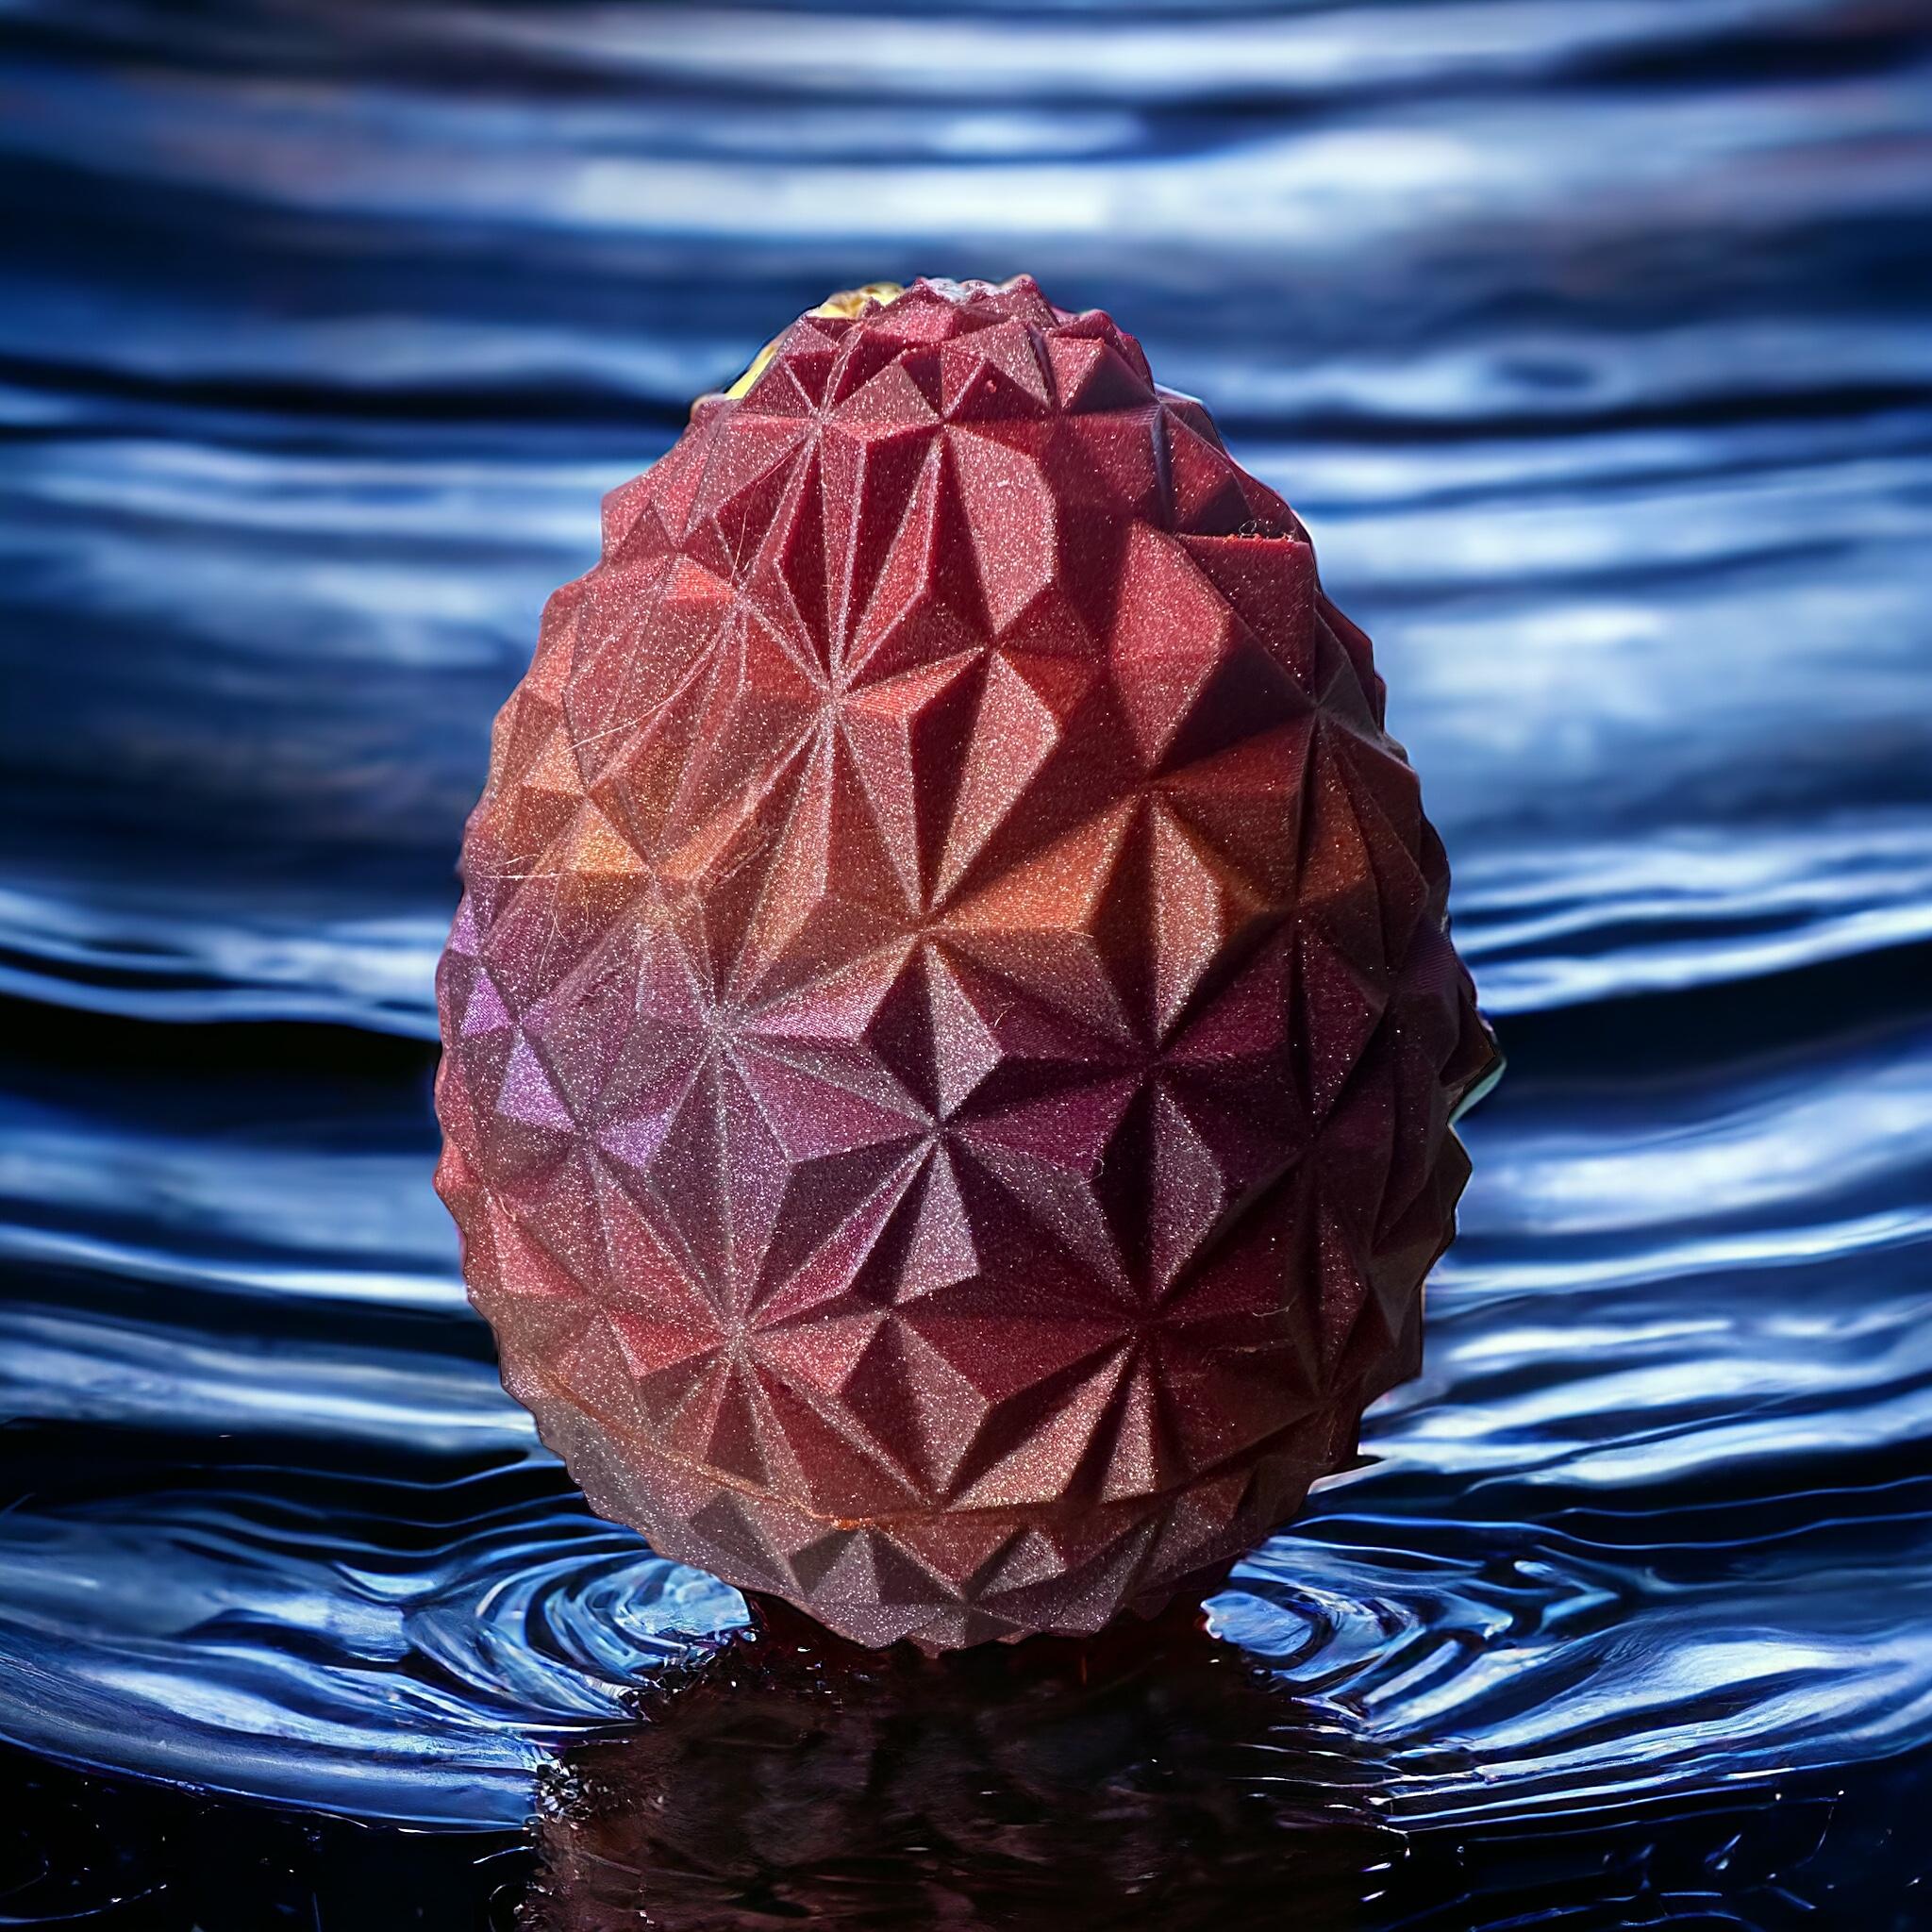
Starburst Easter Egg
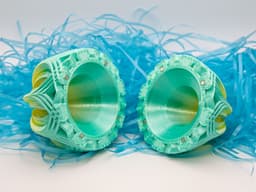
KEEP MAGNETS AWAY FROM SMALL CHILDREN. Magnets can come loose. If swallowed, magnets can be FATAL.
I've provided 3 versions of the design - one for each of 3 sizes of magnets. I find that either the 3x2 mm or 3x1 mm work really well. 2x1 mm works OK, but it requires a lot of them.
Not for commercial use. Please see license agreement.
You will need:
- Eight 3 x 2 mm magnets, or
- Sixteen 3 x 1 mm magnets, or
- Thirty two 2 x 1 mm magnets
RESIZING Because it would change the size of the holes for the magnets, this cannot be resized.
PRINT TIME About 12 hours
SAVE TIME I've included my PrusaSlicer 3MF files so those who use PrusaSlicer don't have to work out all the settings.
PRINT SETTINGS A lot of factors will impact exactly how large the holes print. Therefore, I would suggest you do a test print of the first 3mm of one half of the egg. Then, try to insert a magnet. Adjust your print settings or scale the egg up or down from there and try another test until you get it to fit just right. Once you know what works for you, print the whole egg.
If you're not using PrusaSlicer, I recommend 2 perimeters (walls), infill just below unsupported areas using 25% rectilinear (lines) or 15% infill everywhere. I generally used default settings for .15mm high quality settings in PrusaSlicer. I did adjust the temp and retraction slightly for the PLA. I also printed the last few millimeters at 0.1 mm layer height to get better detail.
Starburst Easter Egg

Dragon Egg Vase - Dracov Vase

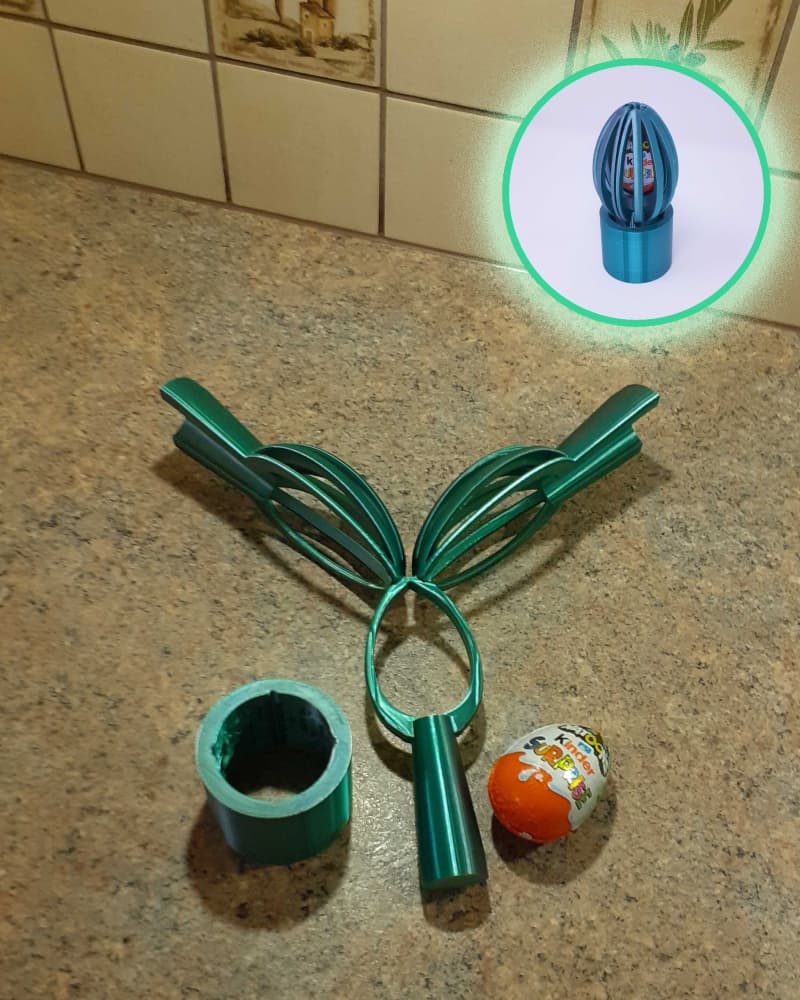
SURPRISE EGG HOLDER / EGG HOLDER / EASTER SUPRISE EGG BUNNY / EASTER GIFT / LITTLE GIFT FOR EASTER

SURPRISE EGG HOLDER / EGG HOLDER / EASTER SUPRISE EGG BUNNY / EASTER GIFT / LITTLE GIFT FOR EASTER

Easter Matryoshka Eggs, 5 Eggs - 10 pcs. Set, Easter Egg Gift, Matryoshka Nesting, Blank Matryoshka

JAPANDI DECOR EGGS / CUTE EASTER DECOR / EASTER EGGS / JAPANDI DECOR / MINIMAL EASTER DECOR

Easter Egg STL Bundle – Lace Egg, Smooth Egg & Low Poly Egg | Candy Holder Easter Egg | 3D Printable

Standing Easter Egg with Feet STL | Spring Easter Decor | Funny Easter Egg Figurine | 3D Printable F
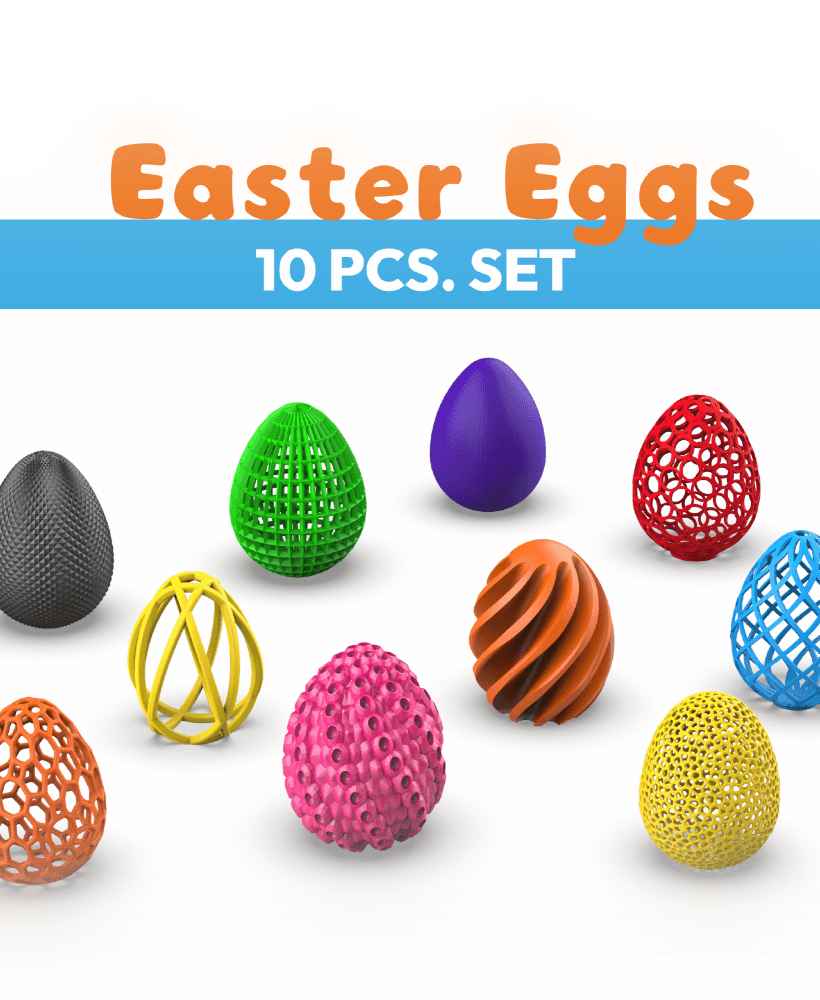
Easter Eggs 10 pcs. Set, Easter Egg Gift, 3D Printing for Decoration, 3D Dragon Eggs, 3D Home Decor

Easter Bunny Egg Holder, Easter Egg Gift, 3D Printing for Decor, Rabbit Holder, 3D Home Decor

Dragon Easter Eggs 5 pcs. Set, Easter Egg Gift, 3D Printing for Decoration, 3D Dragon Eggs

3D Bunny Egg Holder, Surprise Egg Bunny Ears Egg Holder, Candy Holder, Egg Hunt, Easter Egg Gifts

Dragon Egg Box, Easter Egg, Fascinating Dragon 3D Egg, Mystery Egg, Realistic Egg
Egg Jail: Festive Easter egg lock box with a Maze Challenge
ANNOYING EGG - DRAGON GLASS EGG - 57 BOLTS - EASTER EGG - DRAGON SURPRISE EGG

ANNOYING EGG - FIN EGG - EASTER EGG - 57 BOLTS, GIFT BOX

easter egg wall art decorated eggs wall decor easter holiday decoration

3D Trophy Egg Holder, Champion Cup Egg Holder, Unique Egg Stand, Funny Decor, Easter Egg Gifts

Dragon Egg Boxes, Easter Egg 2 pcs. Set, Fascinating Dragon 3D Egg, Mystery Egg, Realistic Egg
.jpg&w=3840&q=75)
Easter Egg Shapes Set | Use as stencils, decoration or w/ Ring Toss Game Set: Easter Eggs Edition
.jpg&w=3840&q=75)