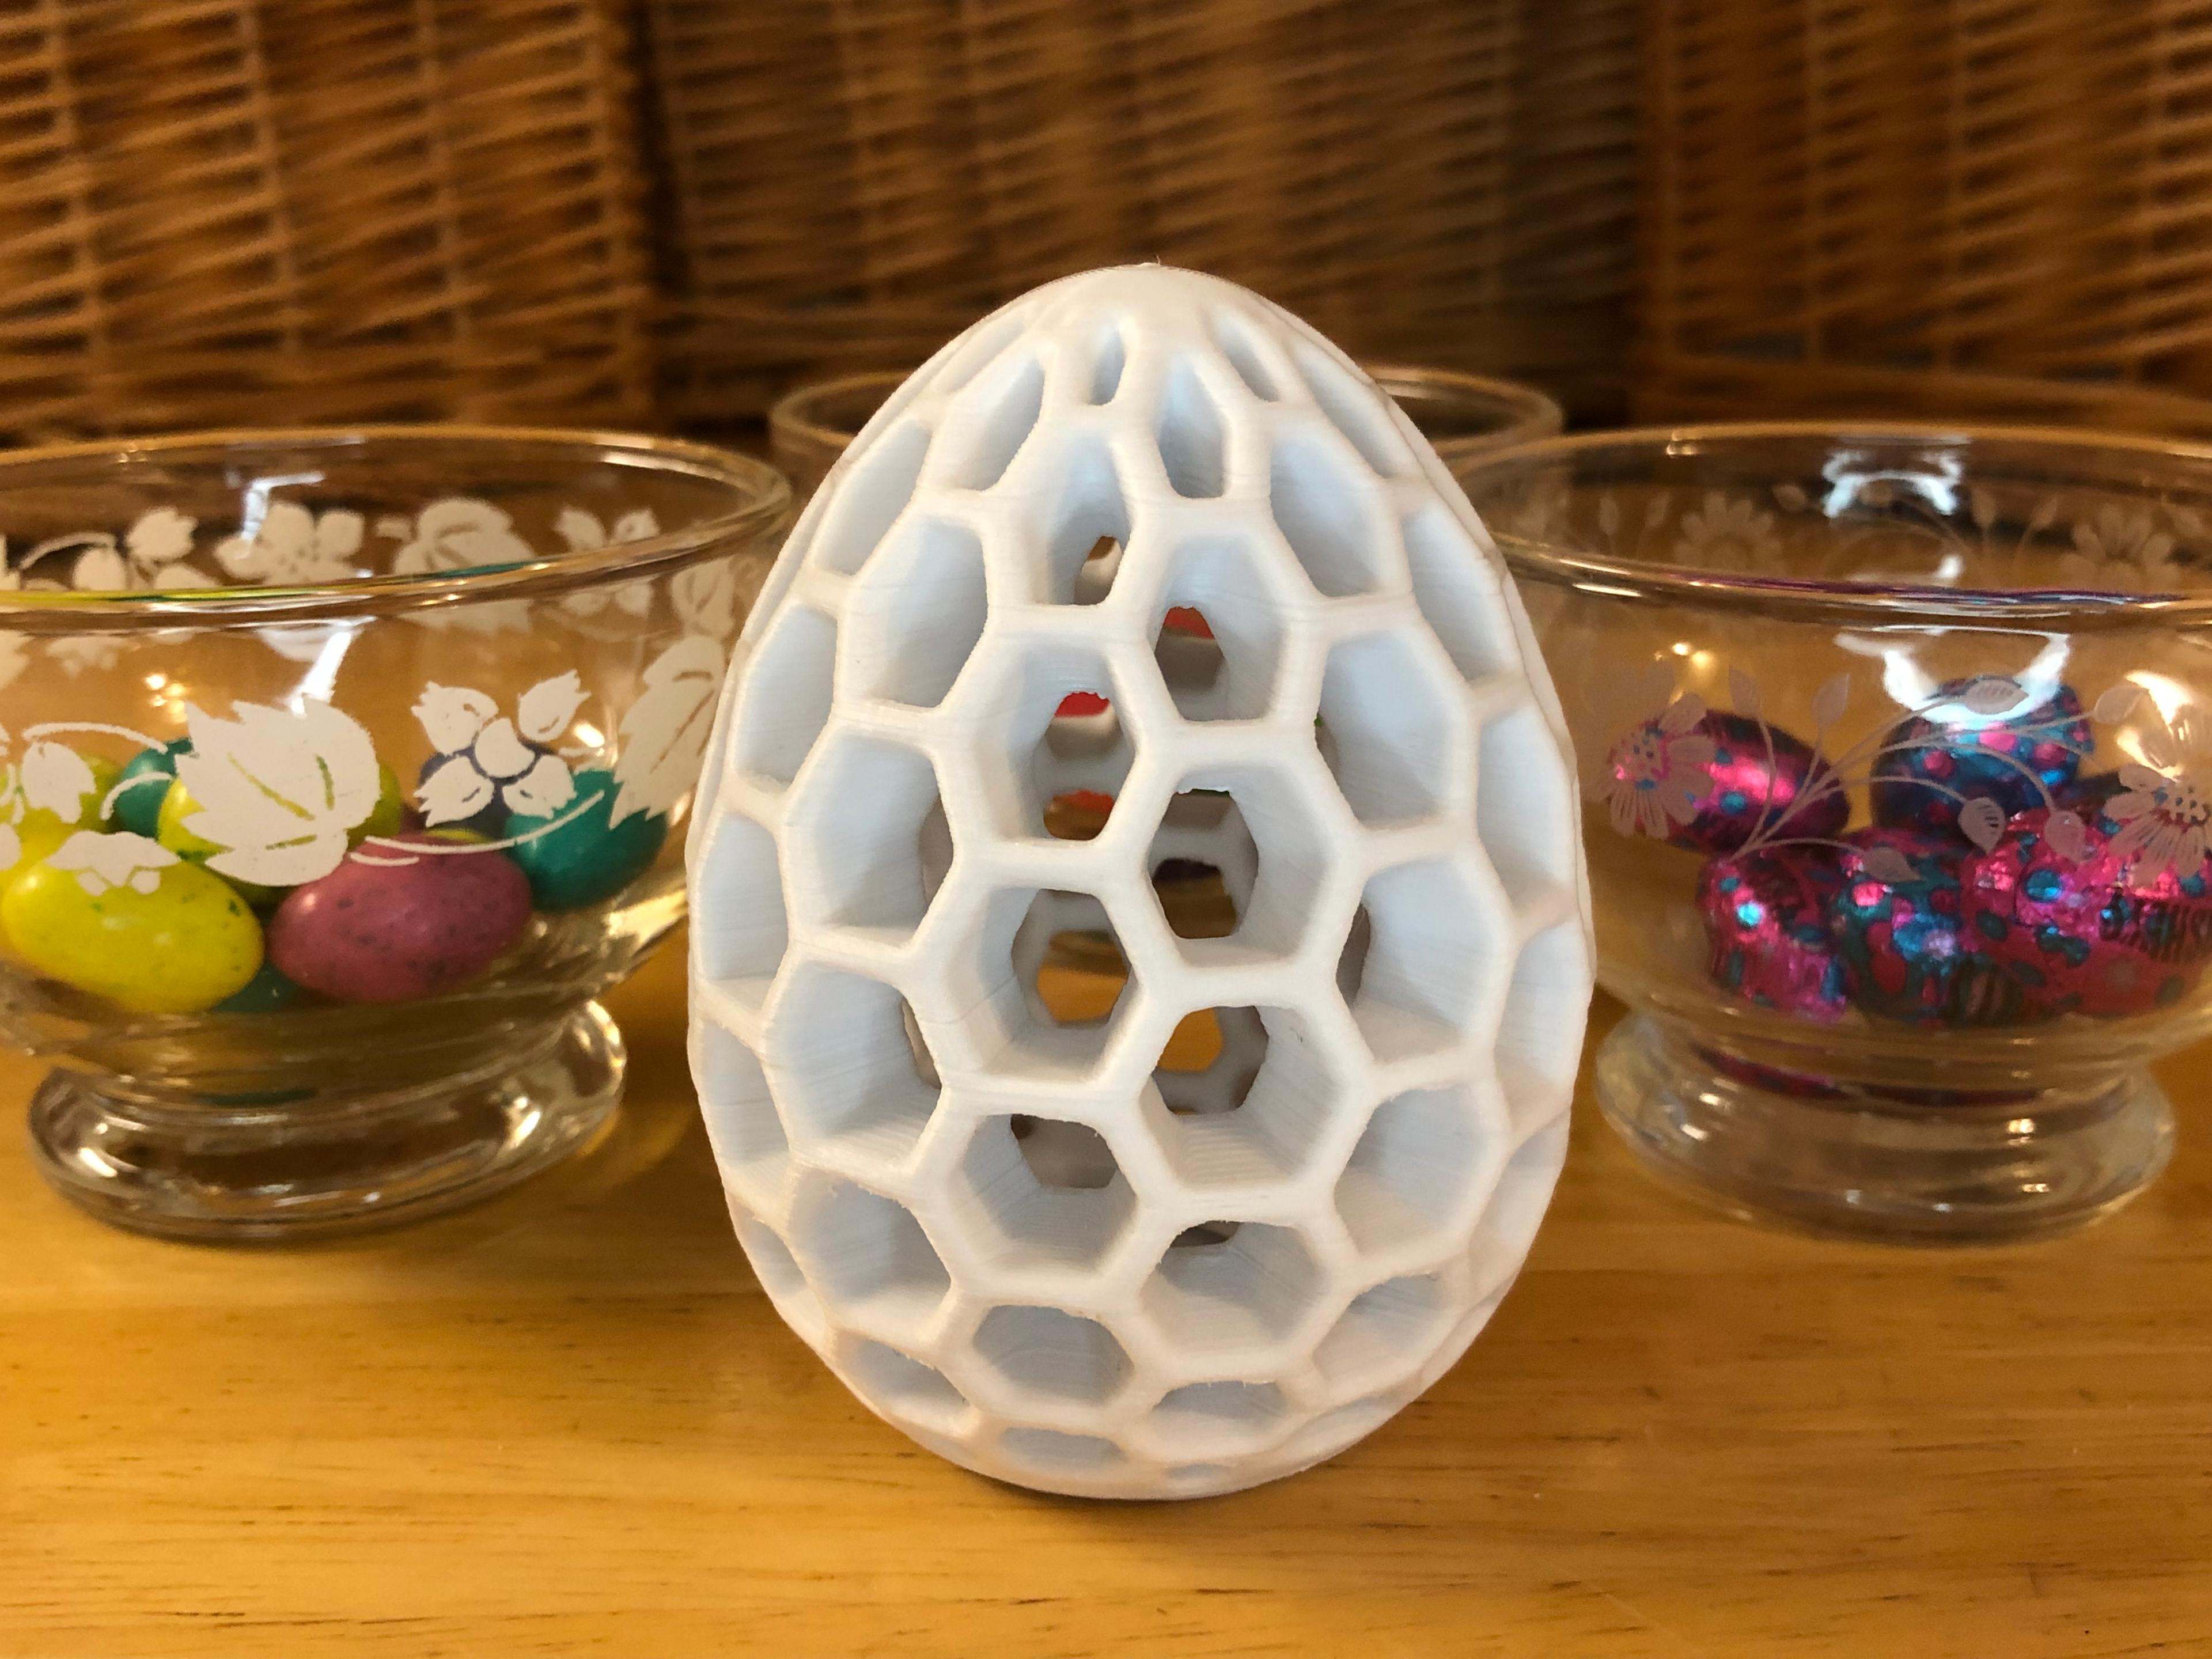


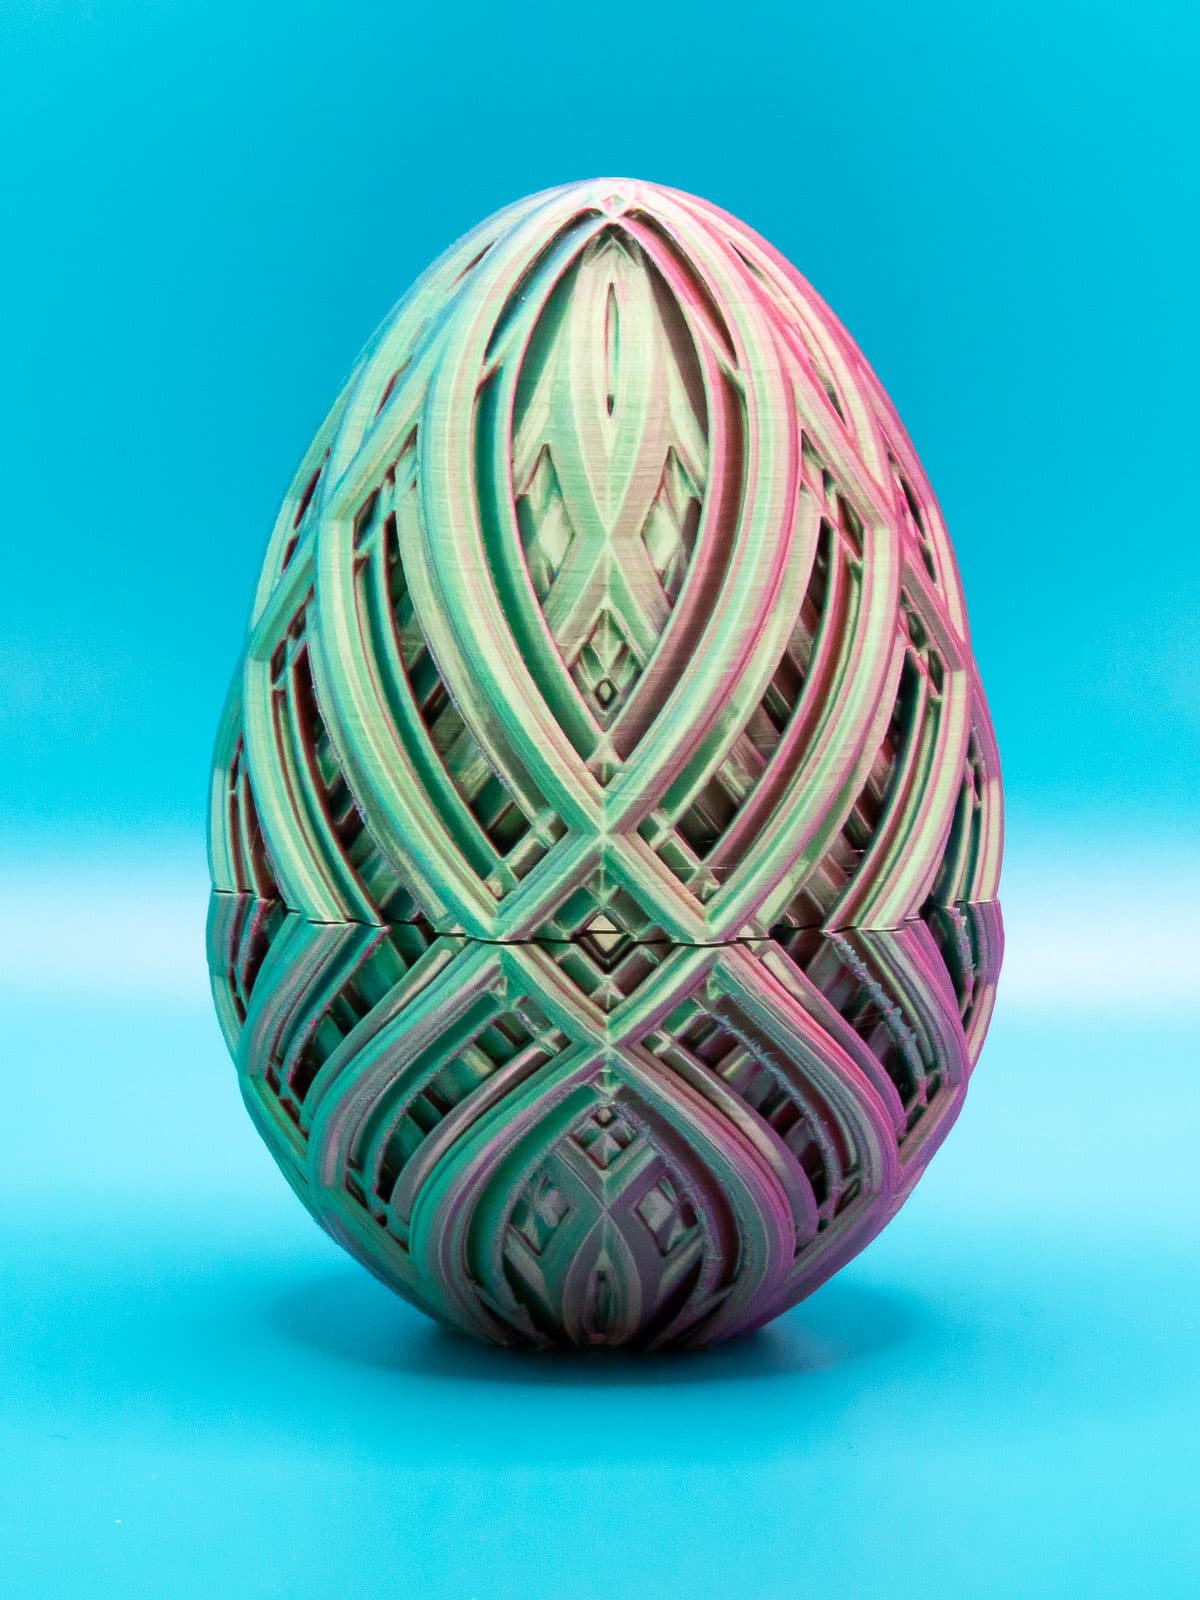
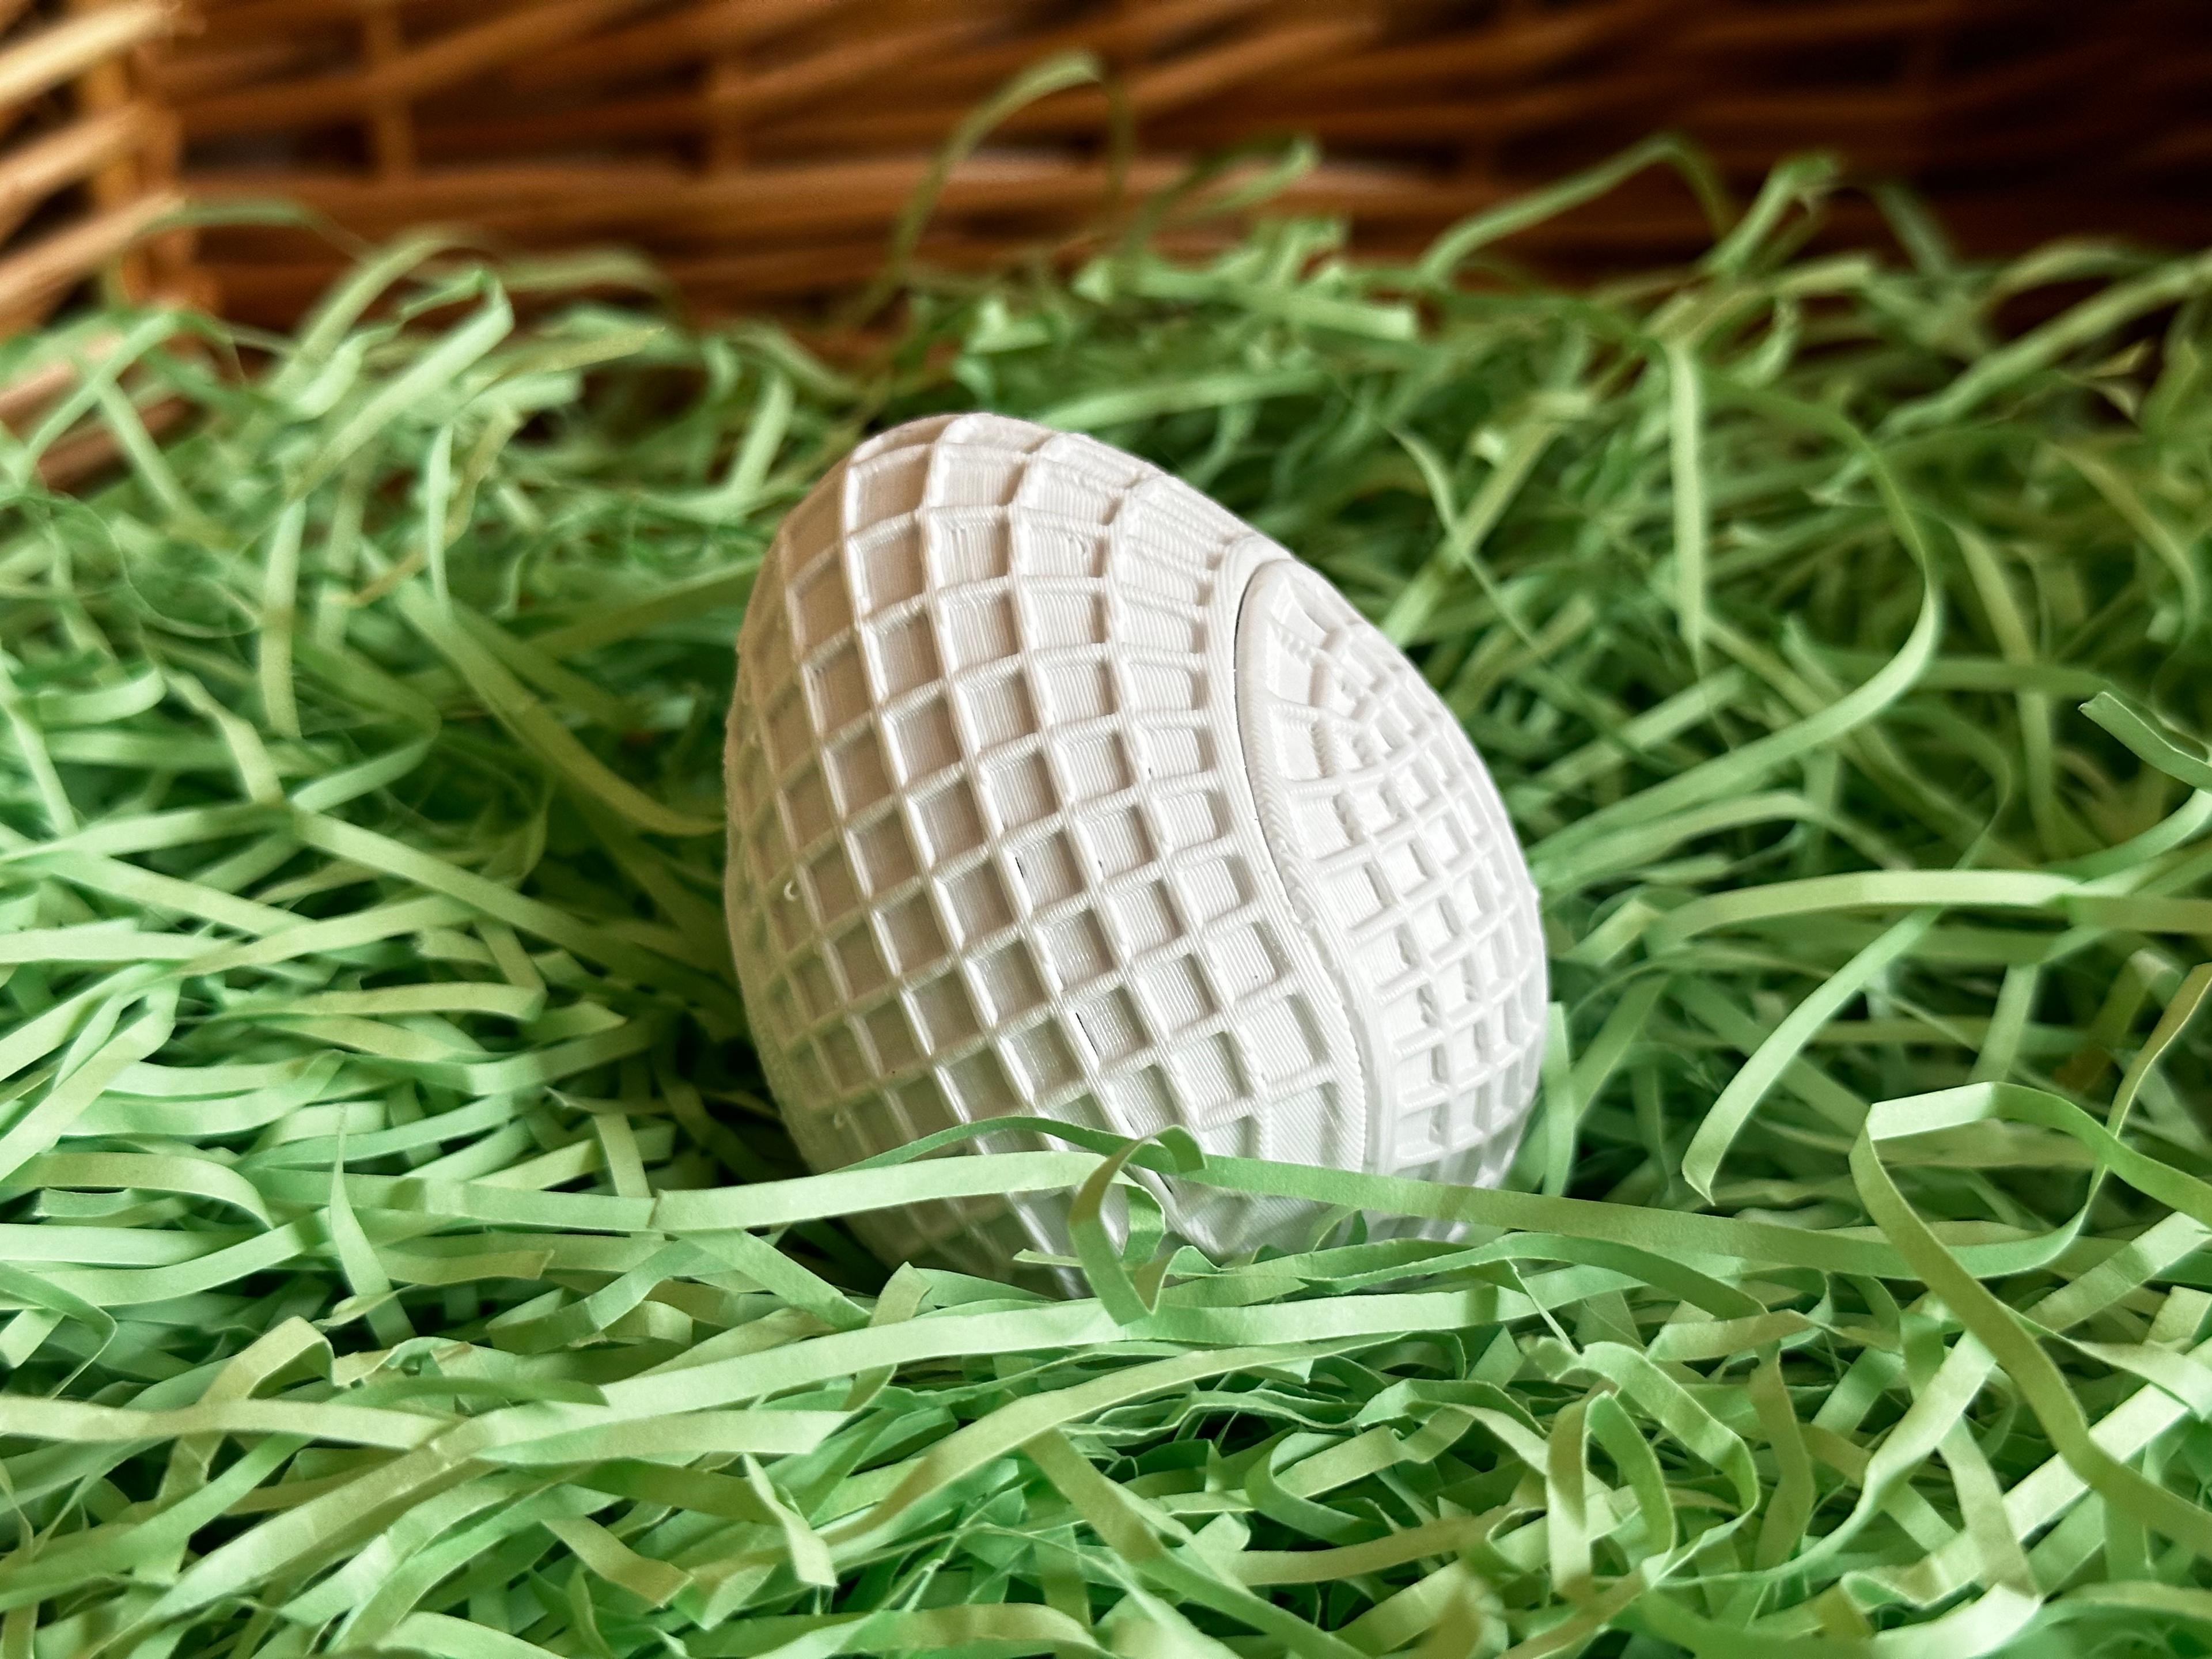
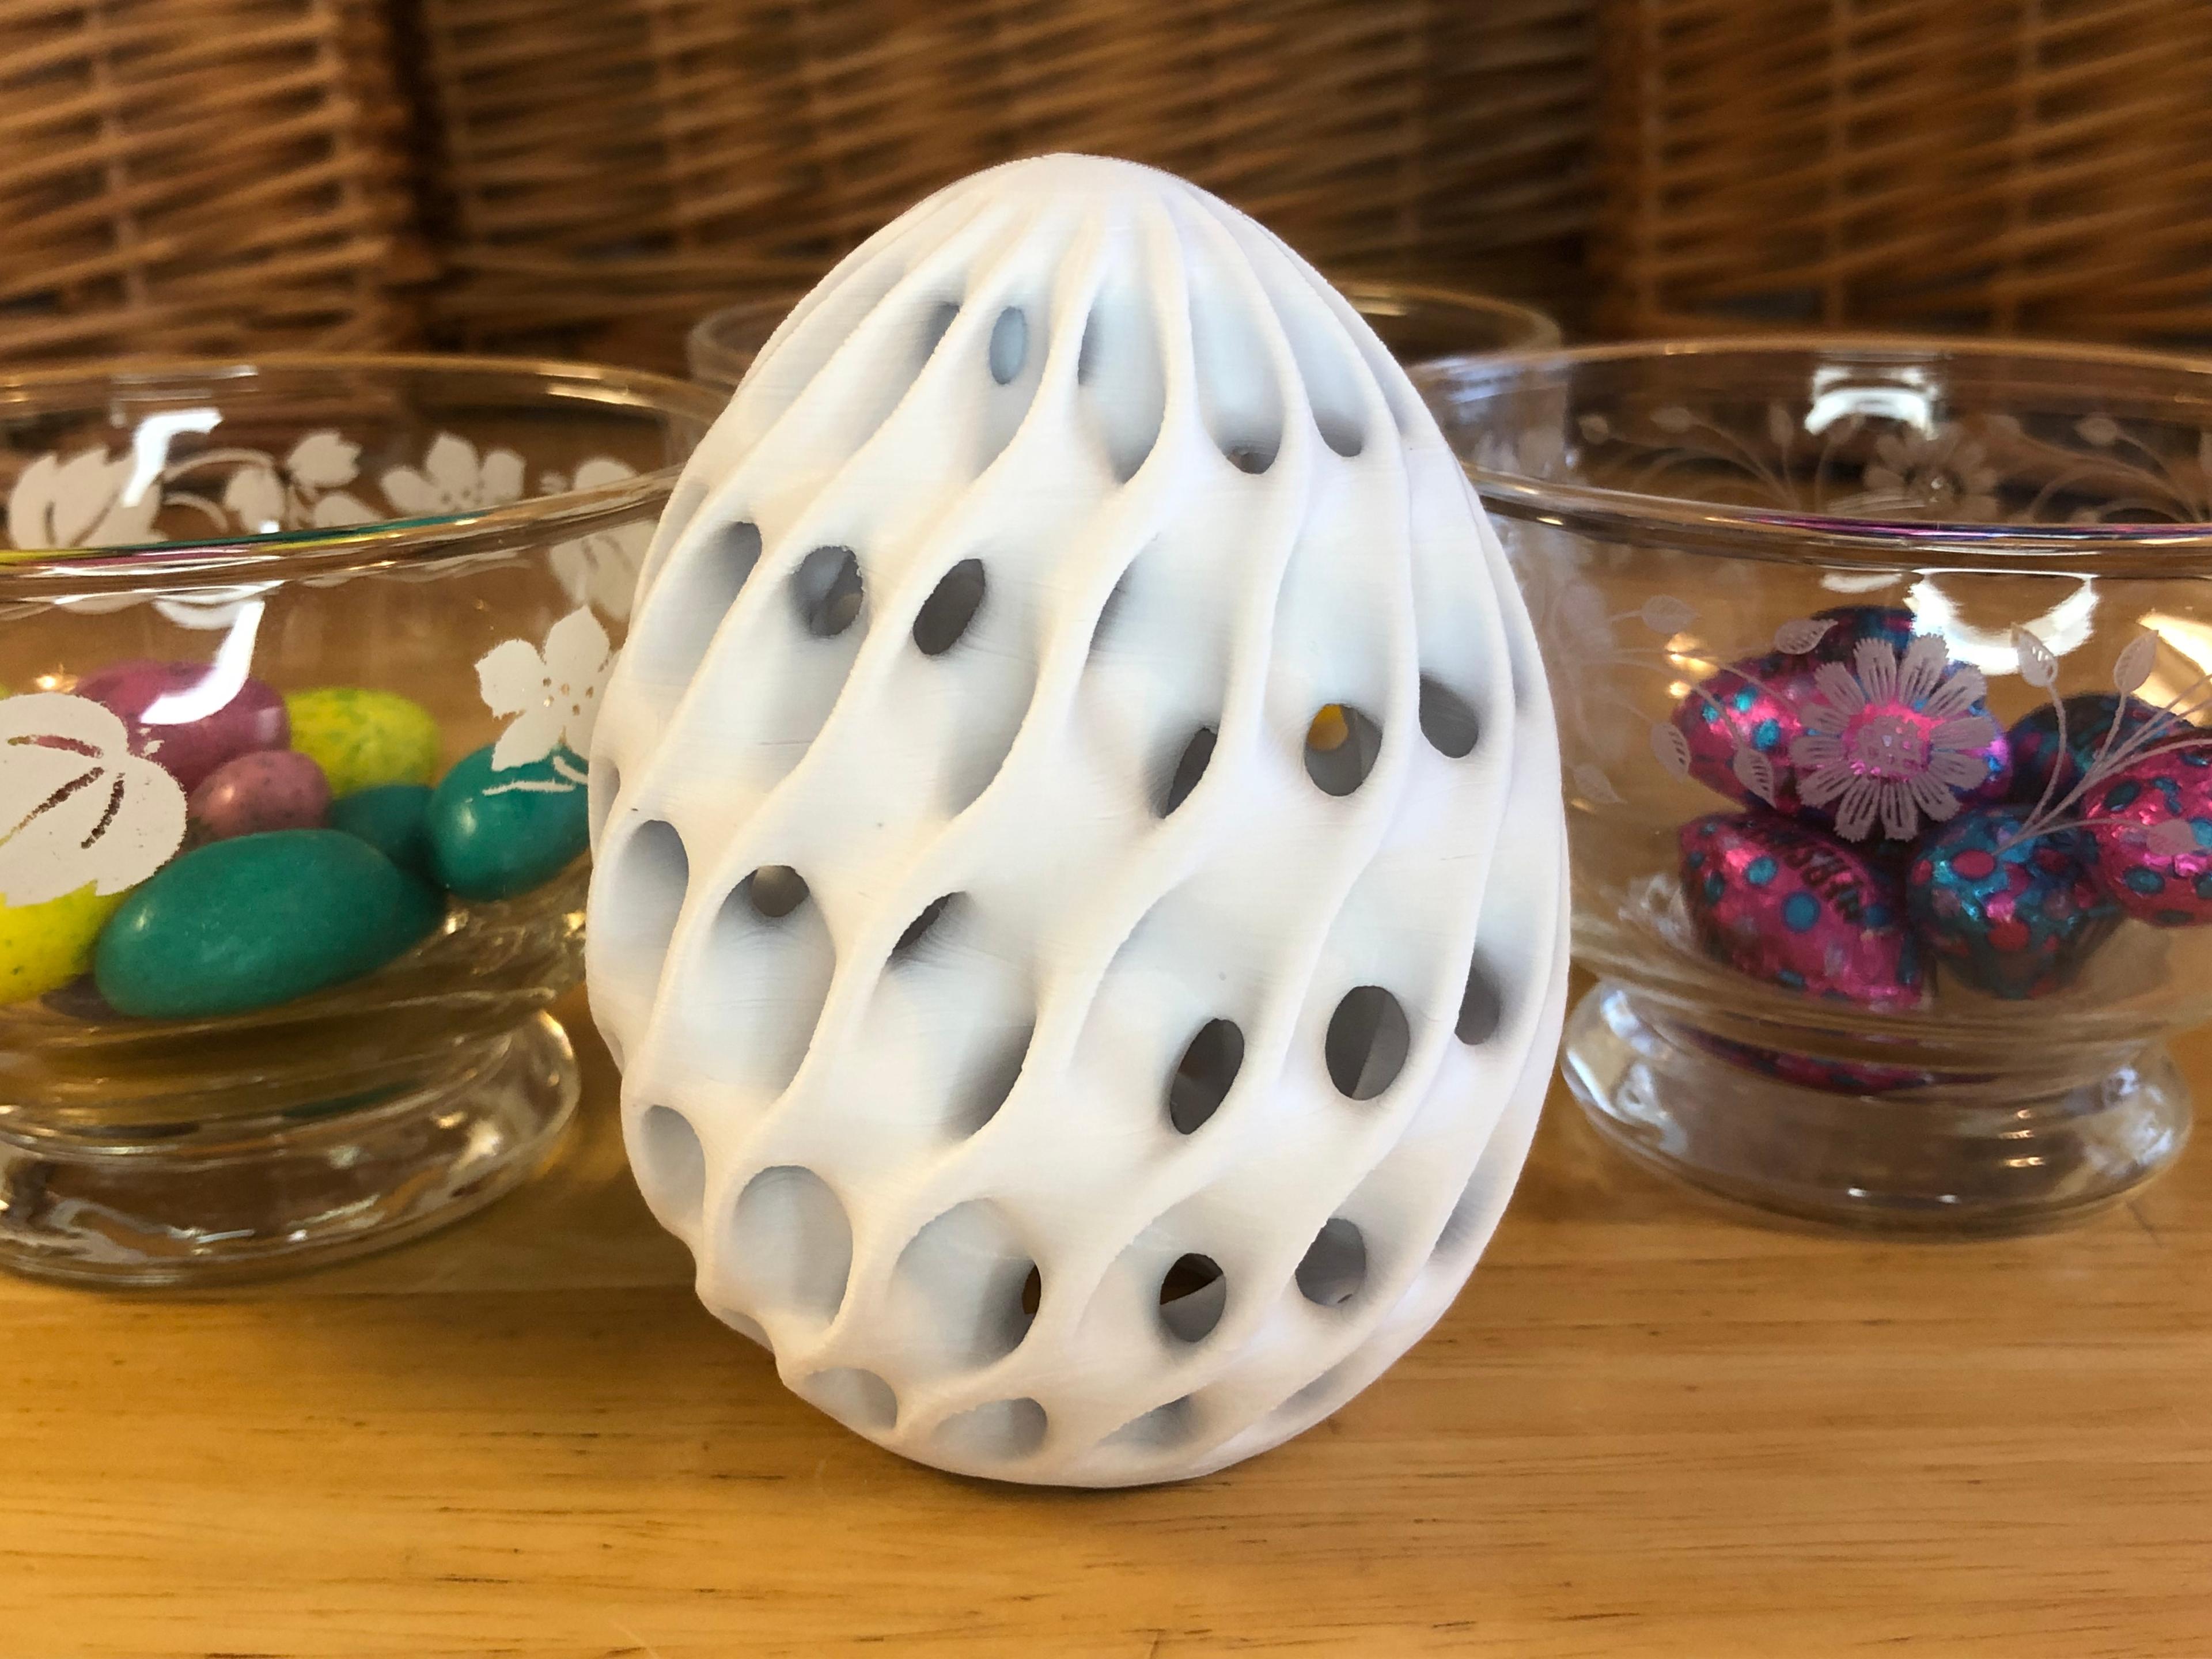
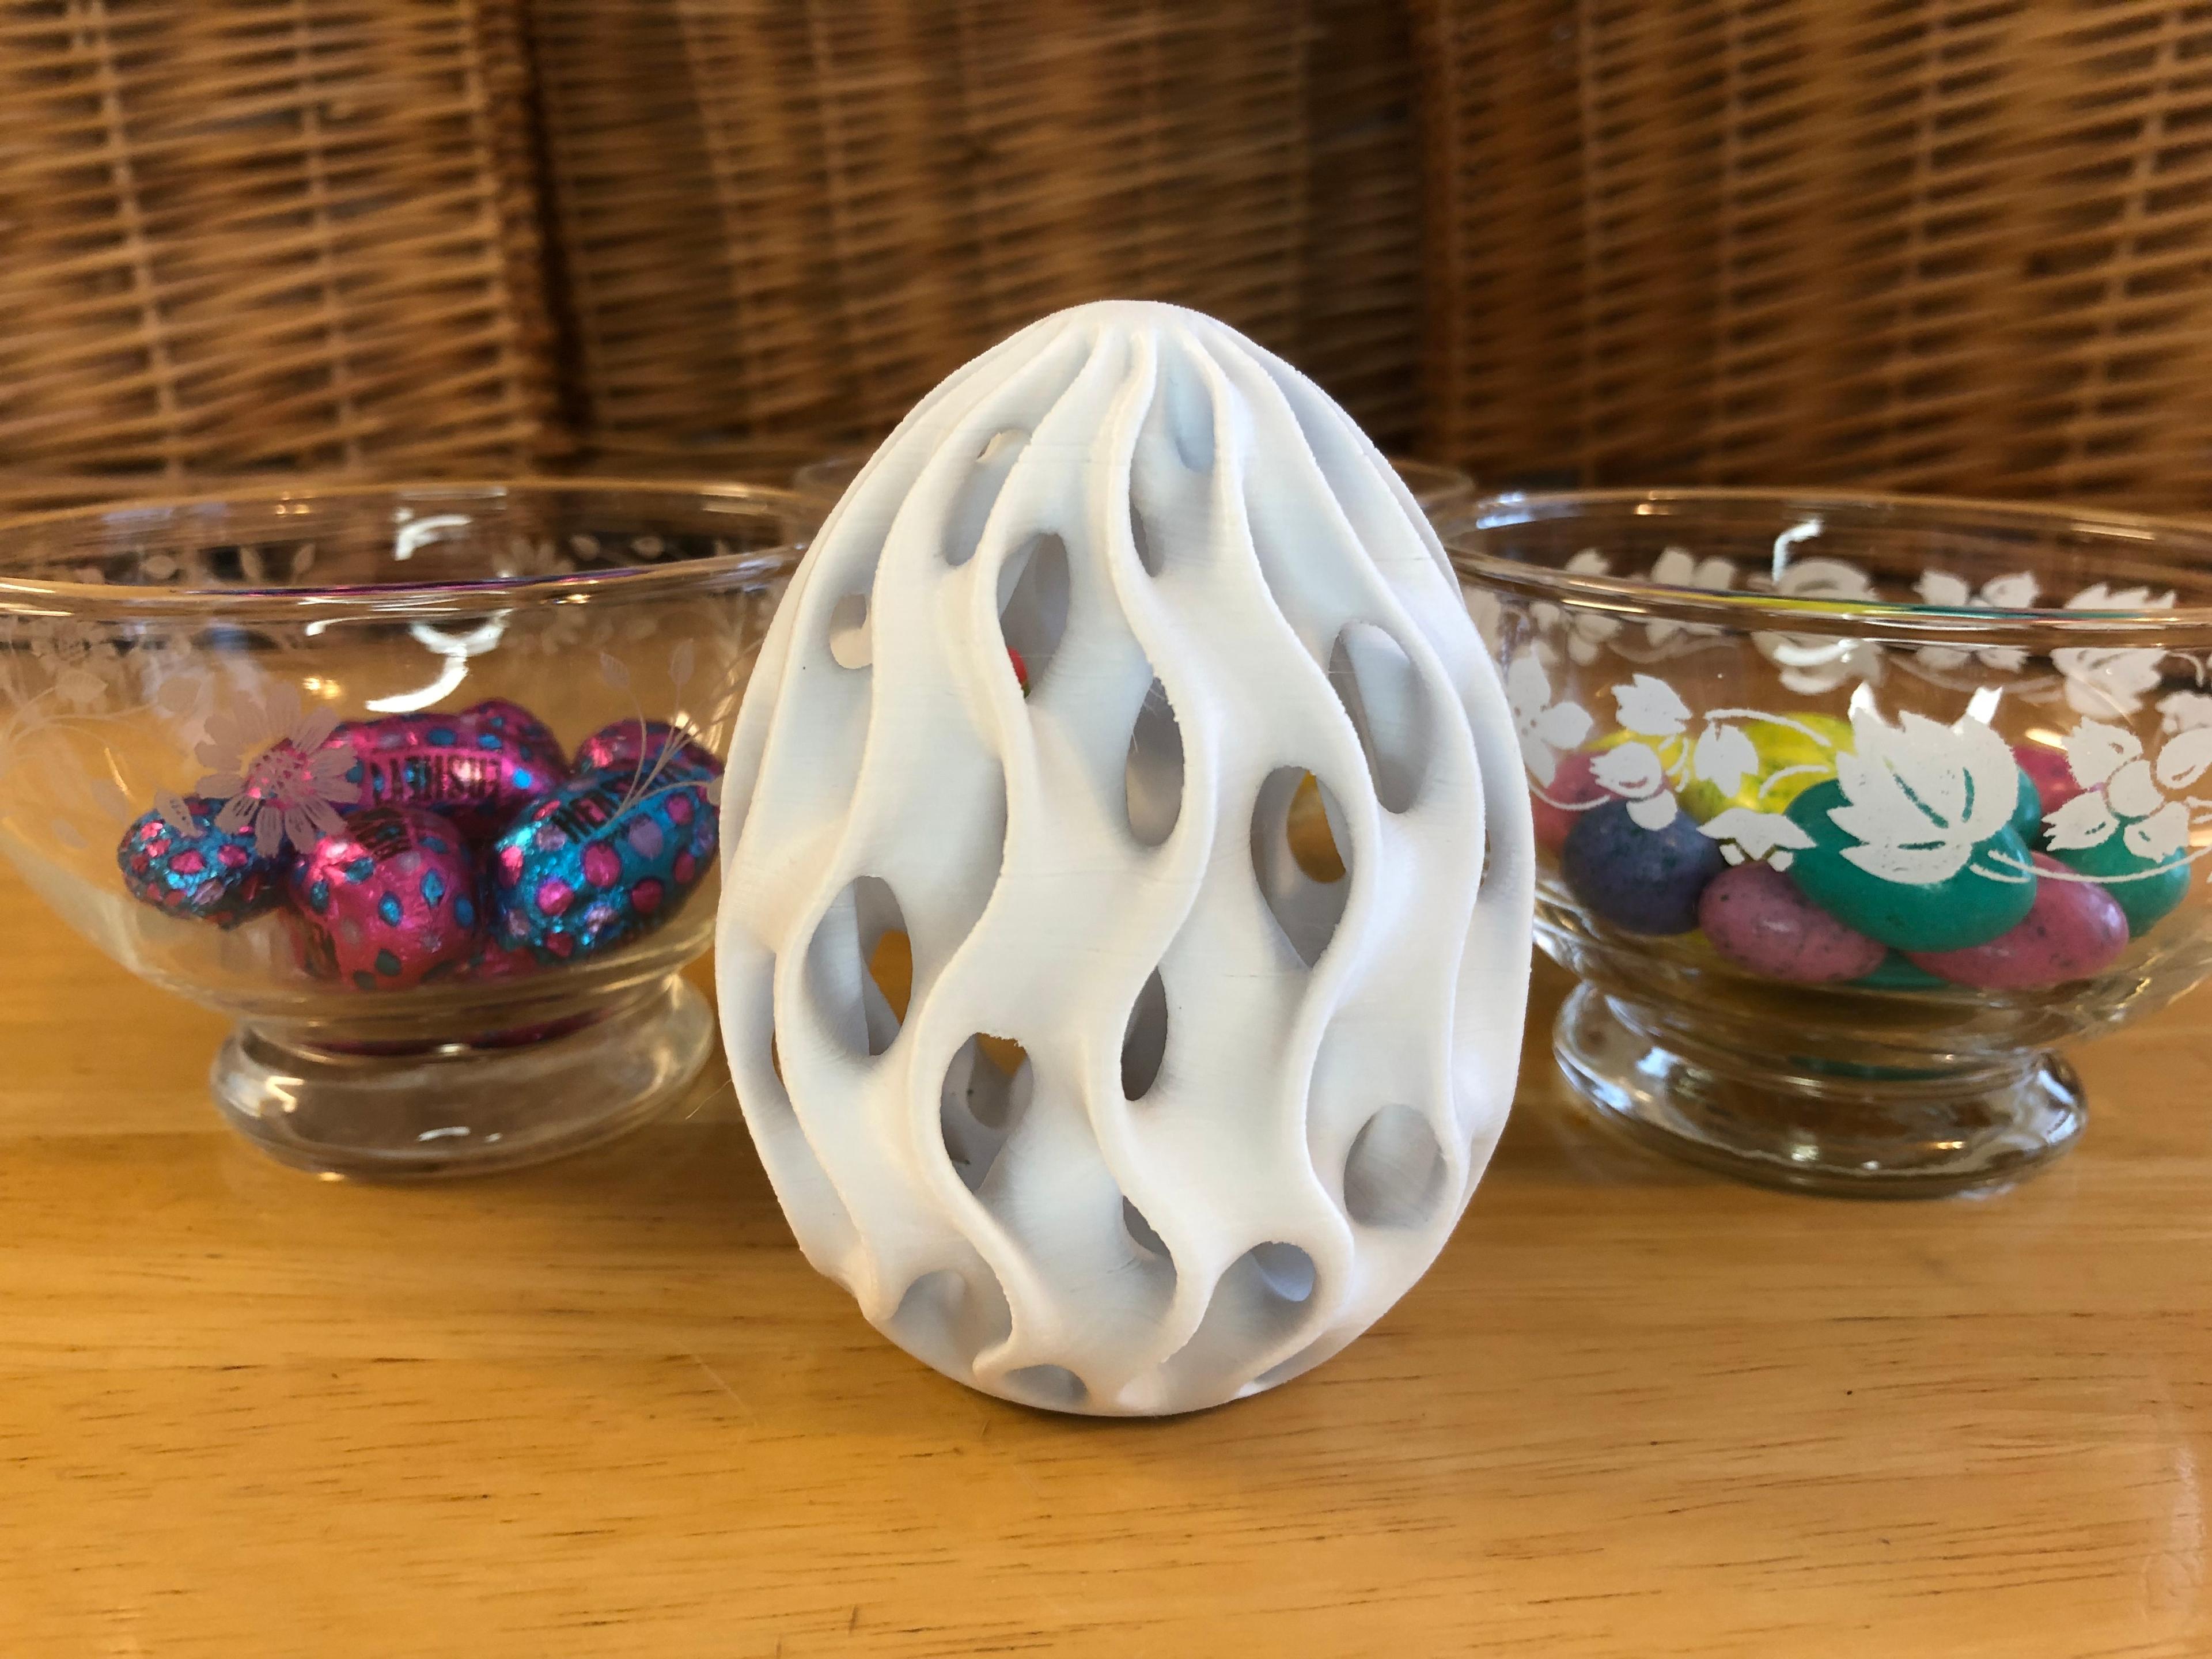
Diamond Easter Egg
An elegant and easy print for Easter!
Not for commercial use. Please see license agreement.
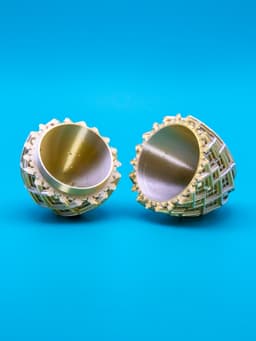
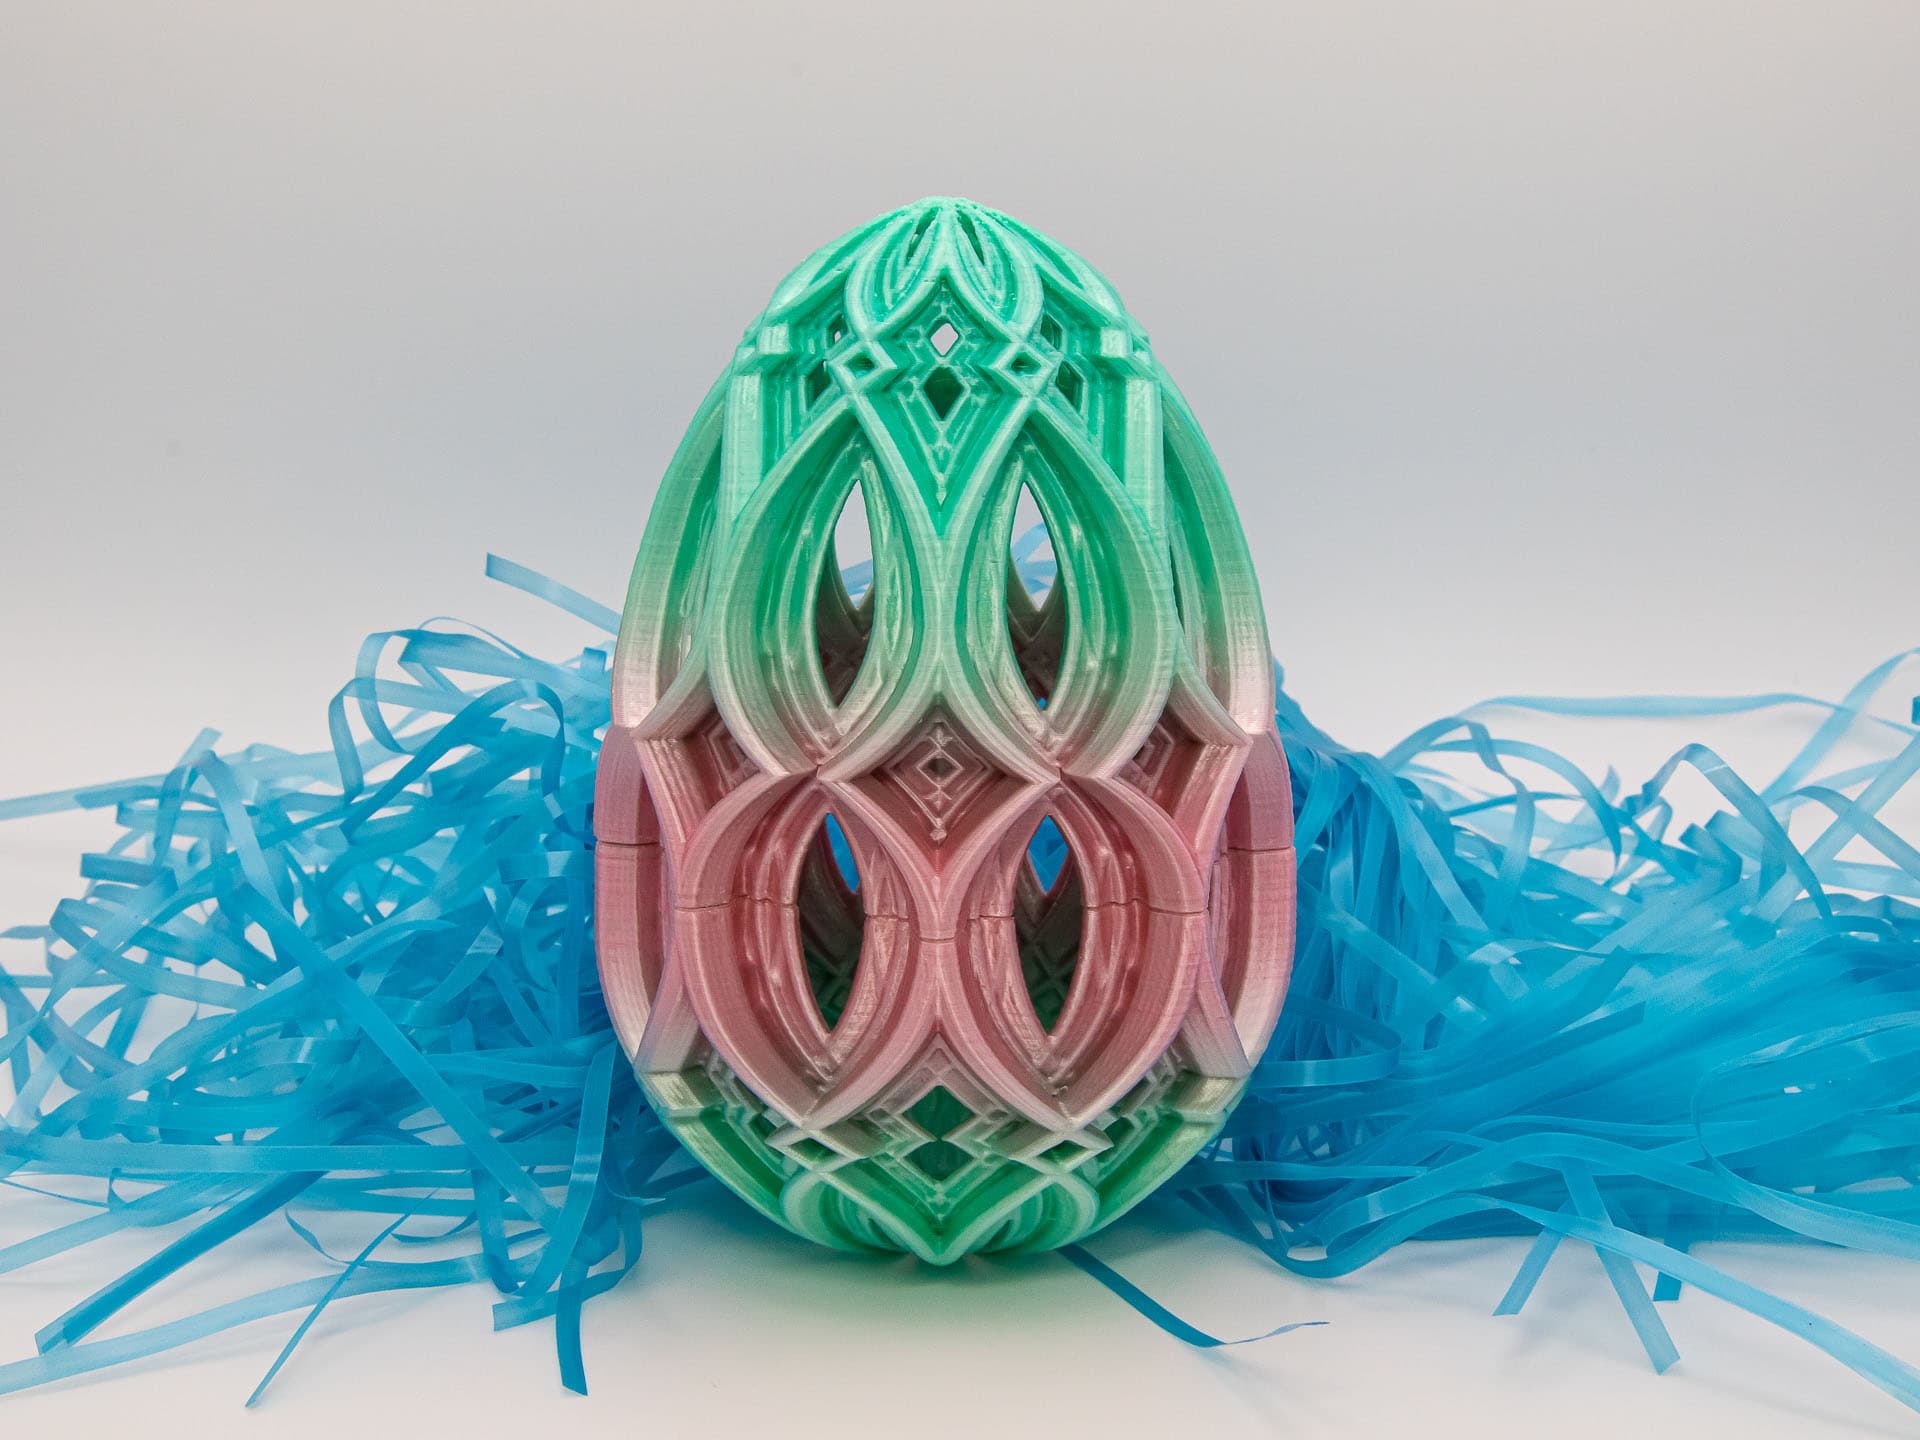
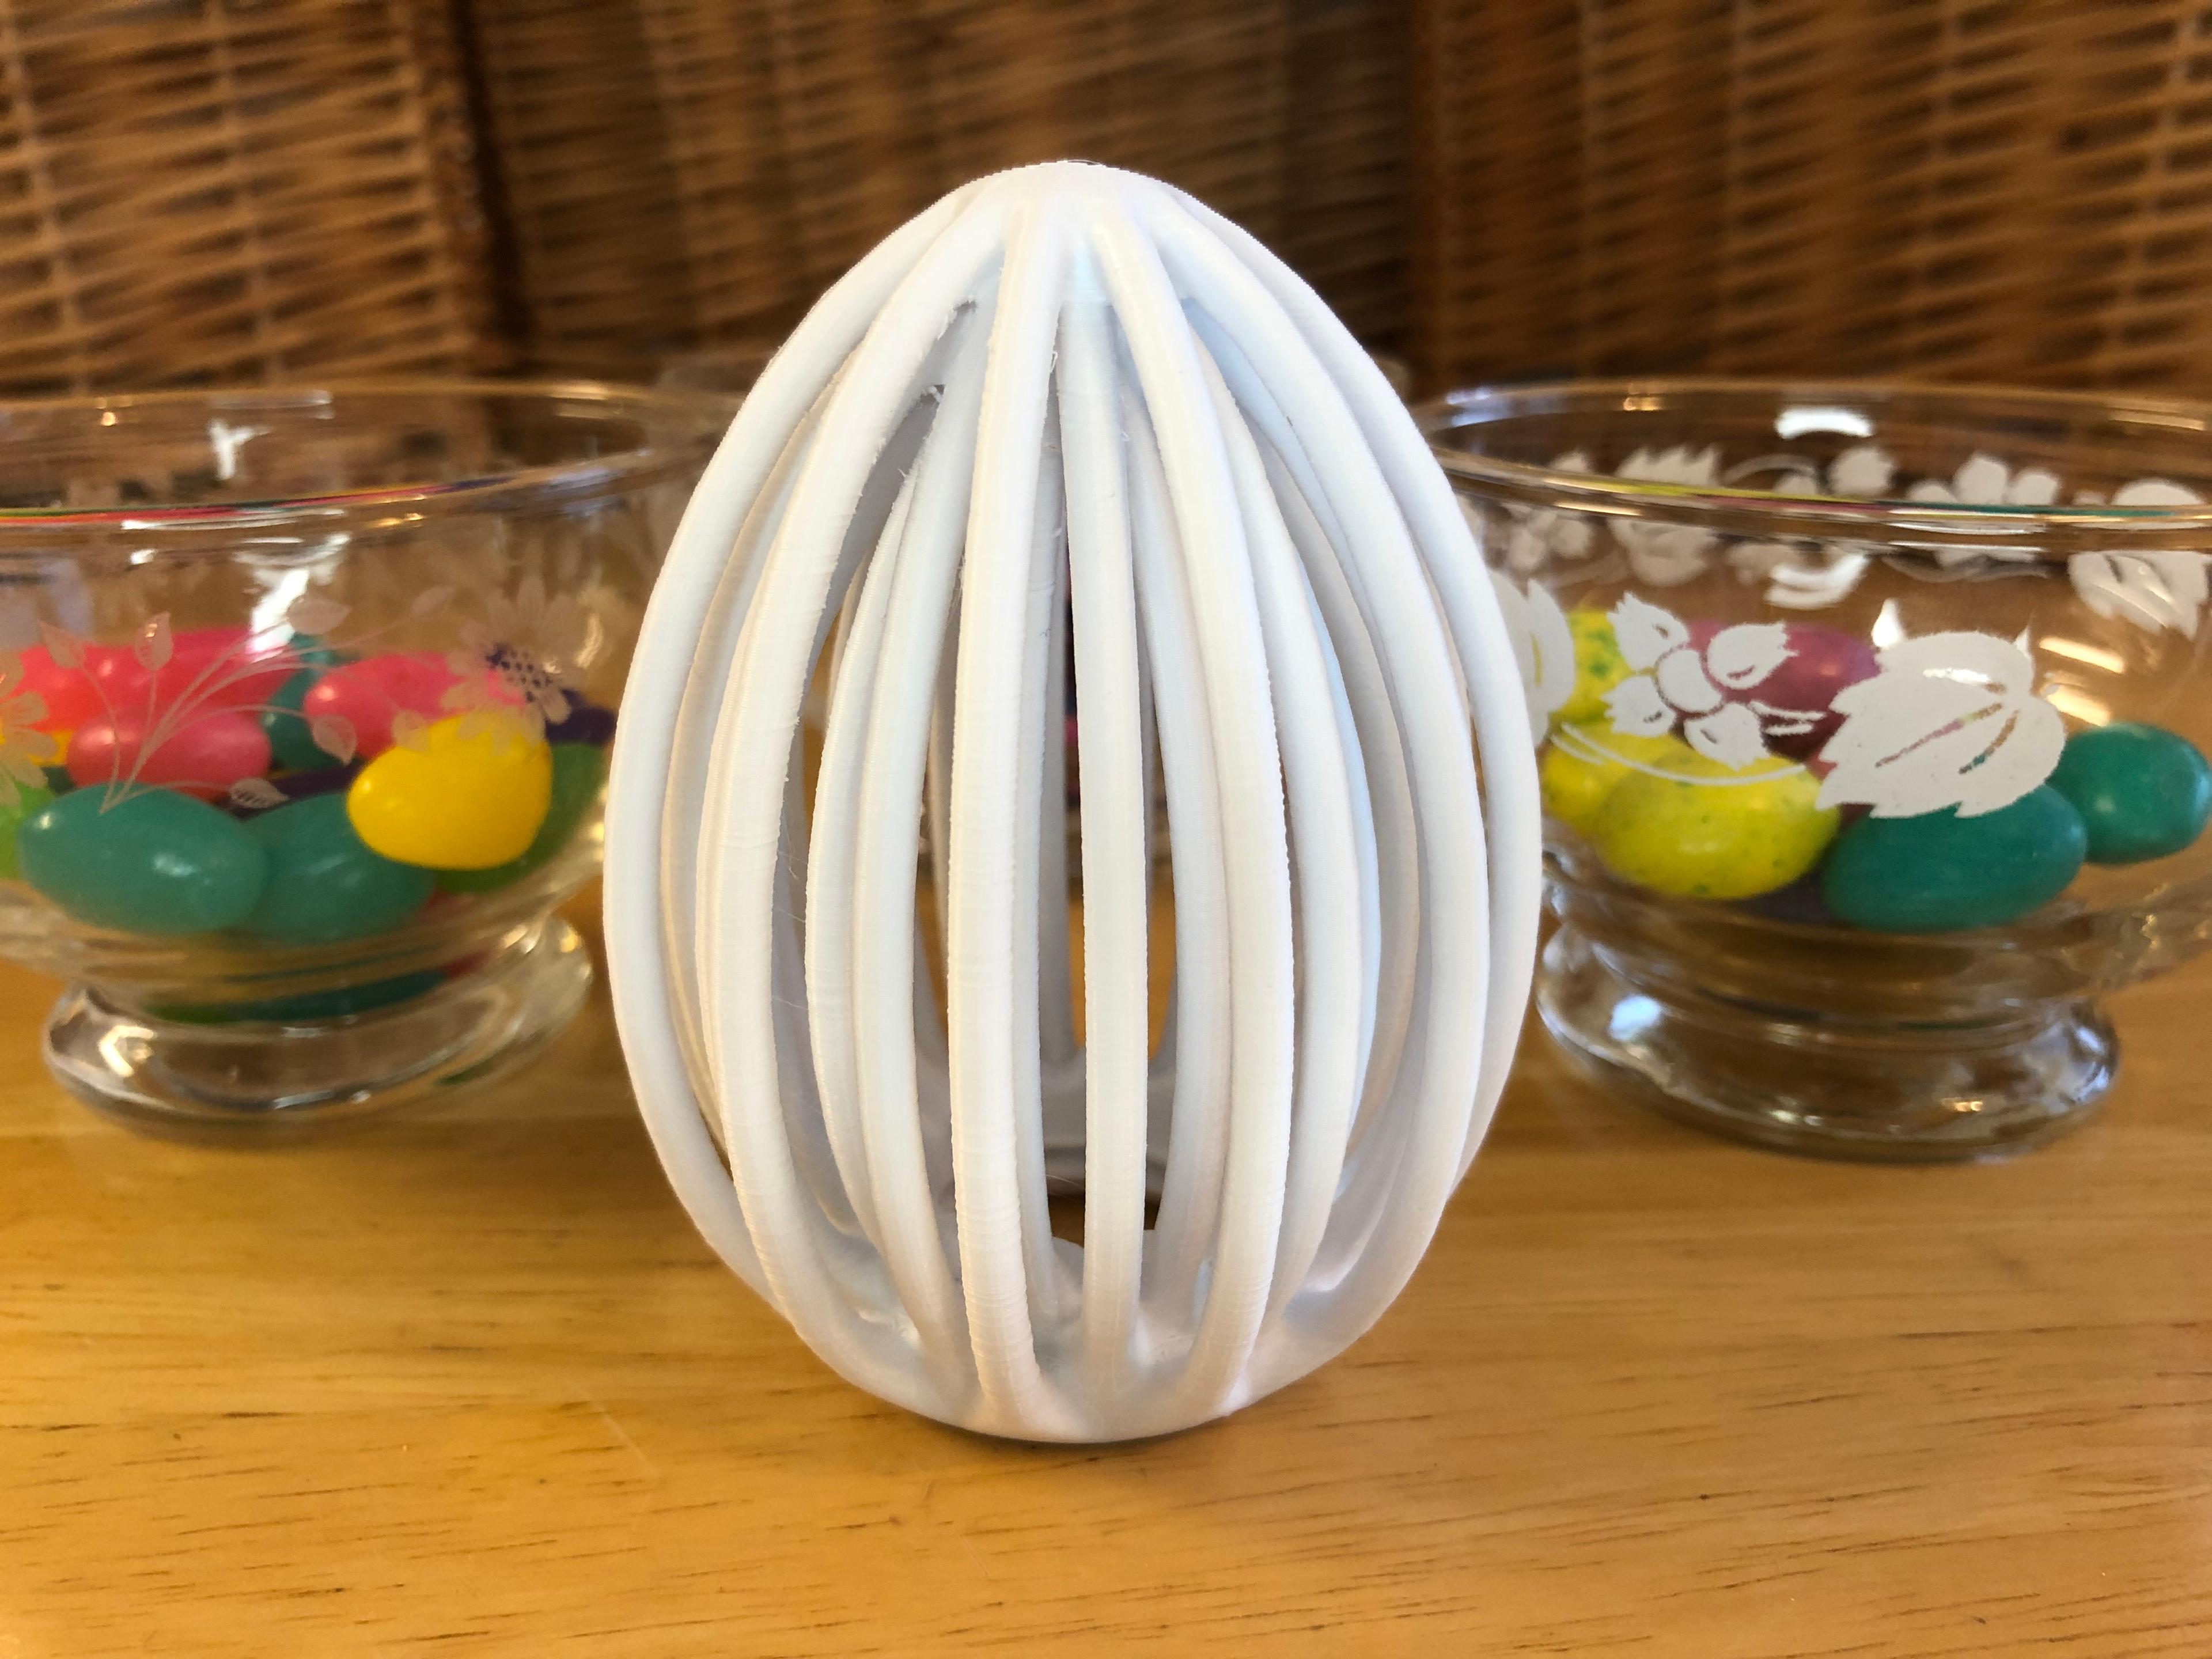
To open the egg, grab both halves, wiggle & pull apart. The bottom half has a slight ridge on 2 sides that clicks into a groove in the top. Because of that, it's easier to separate them wiggling in one direction than another. If wiggling one way doesn't work, try the other. It does get easier to open with use. When the pieces are together, hold one side and twist the other 360 degrees a few times and it will loosen up dramatically. You can also encourage it a little (if necessary) with a little sand paper.
This year, I've given my eggs a wider base, making them much more stable. I've also replaced the magnetic attachments with a simple click mechanism.
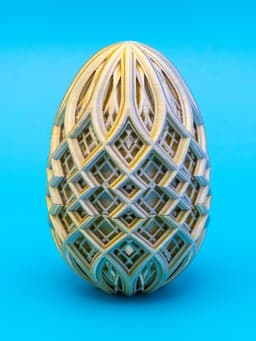
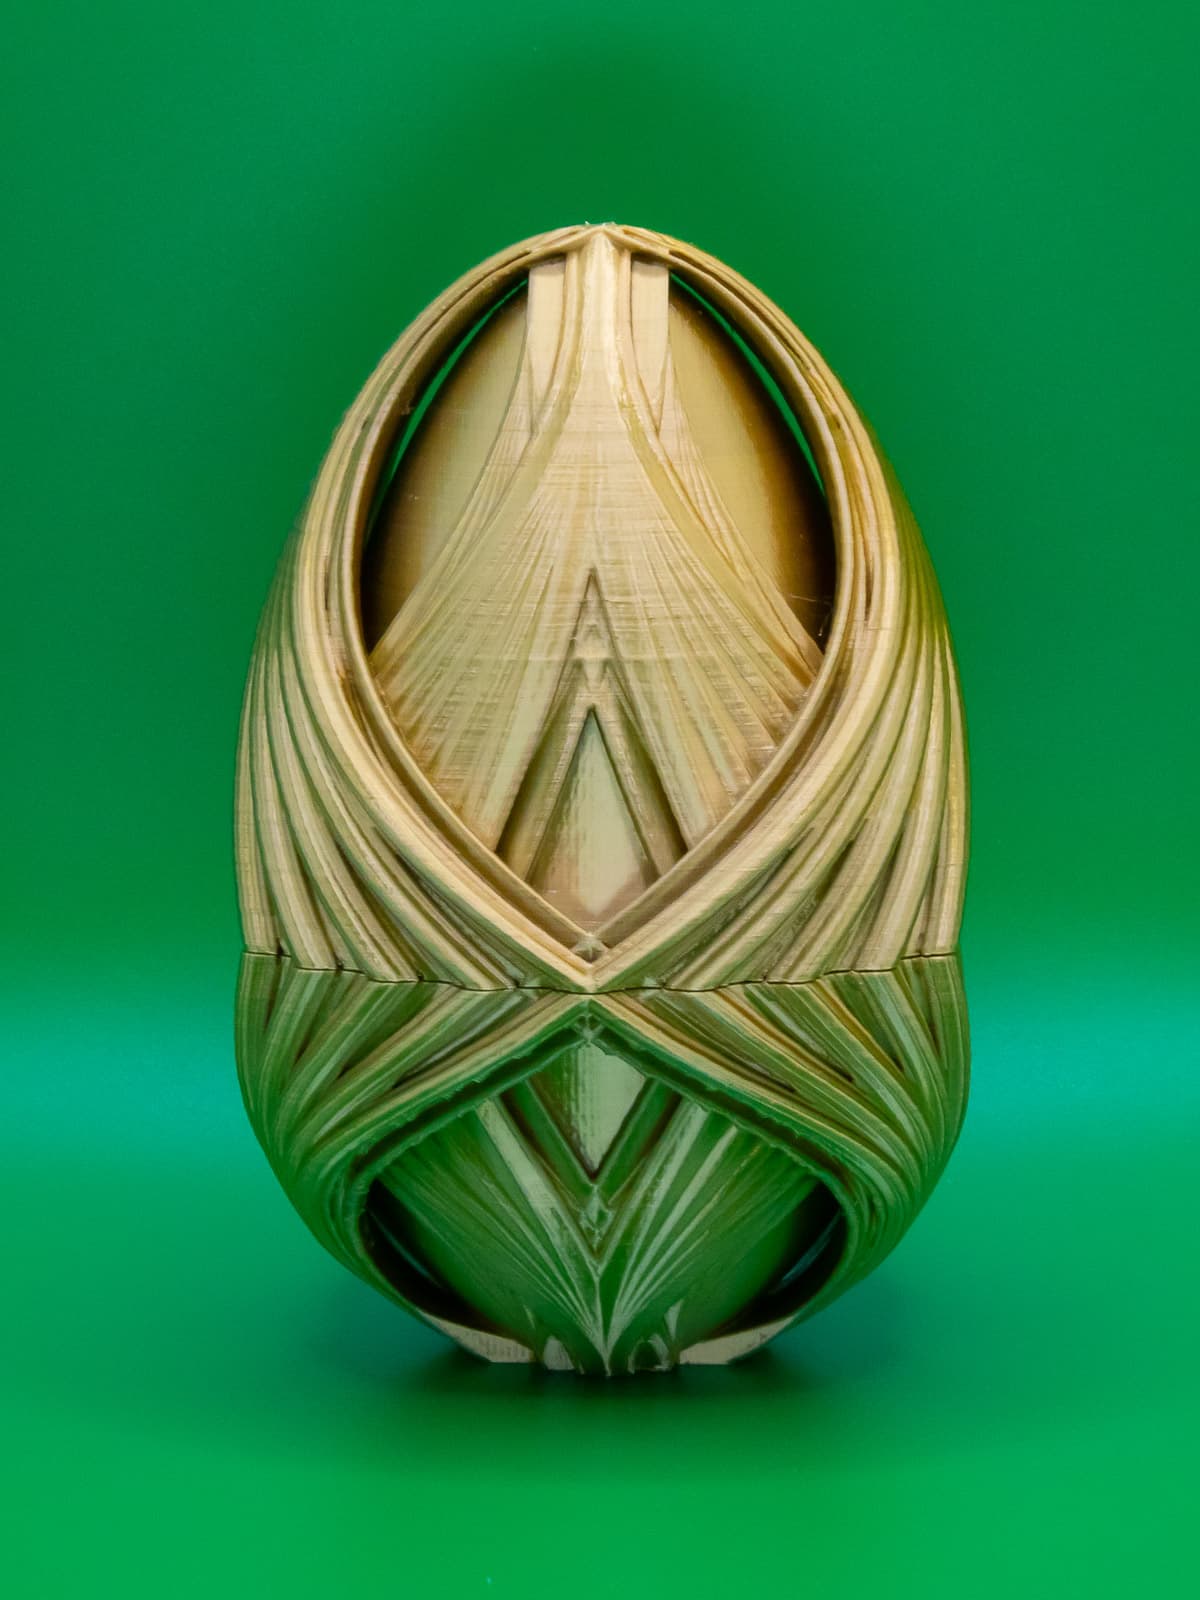
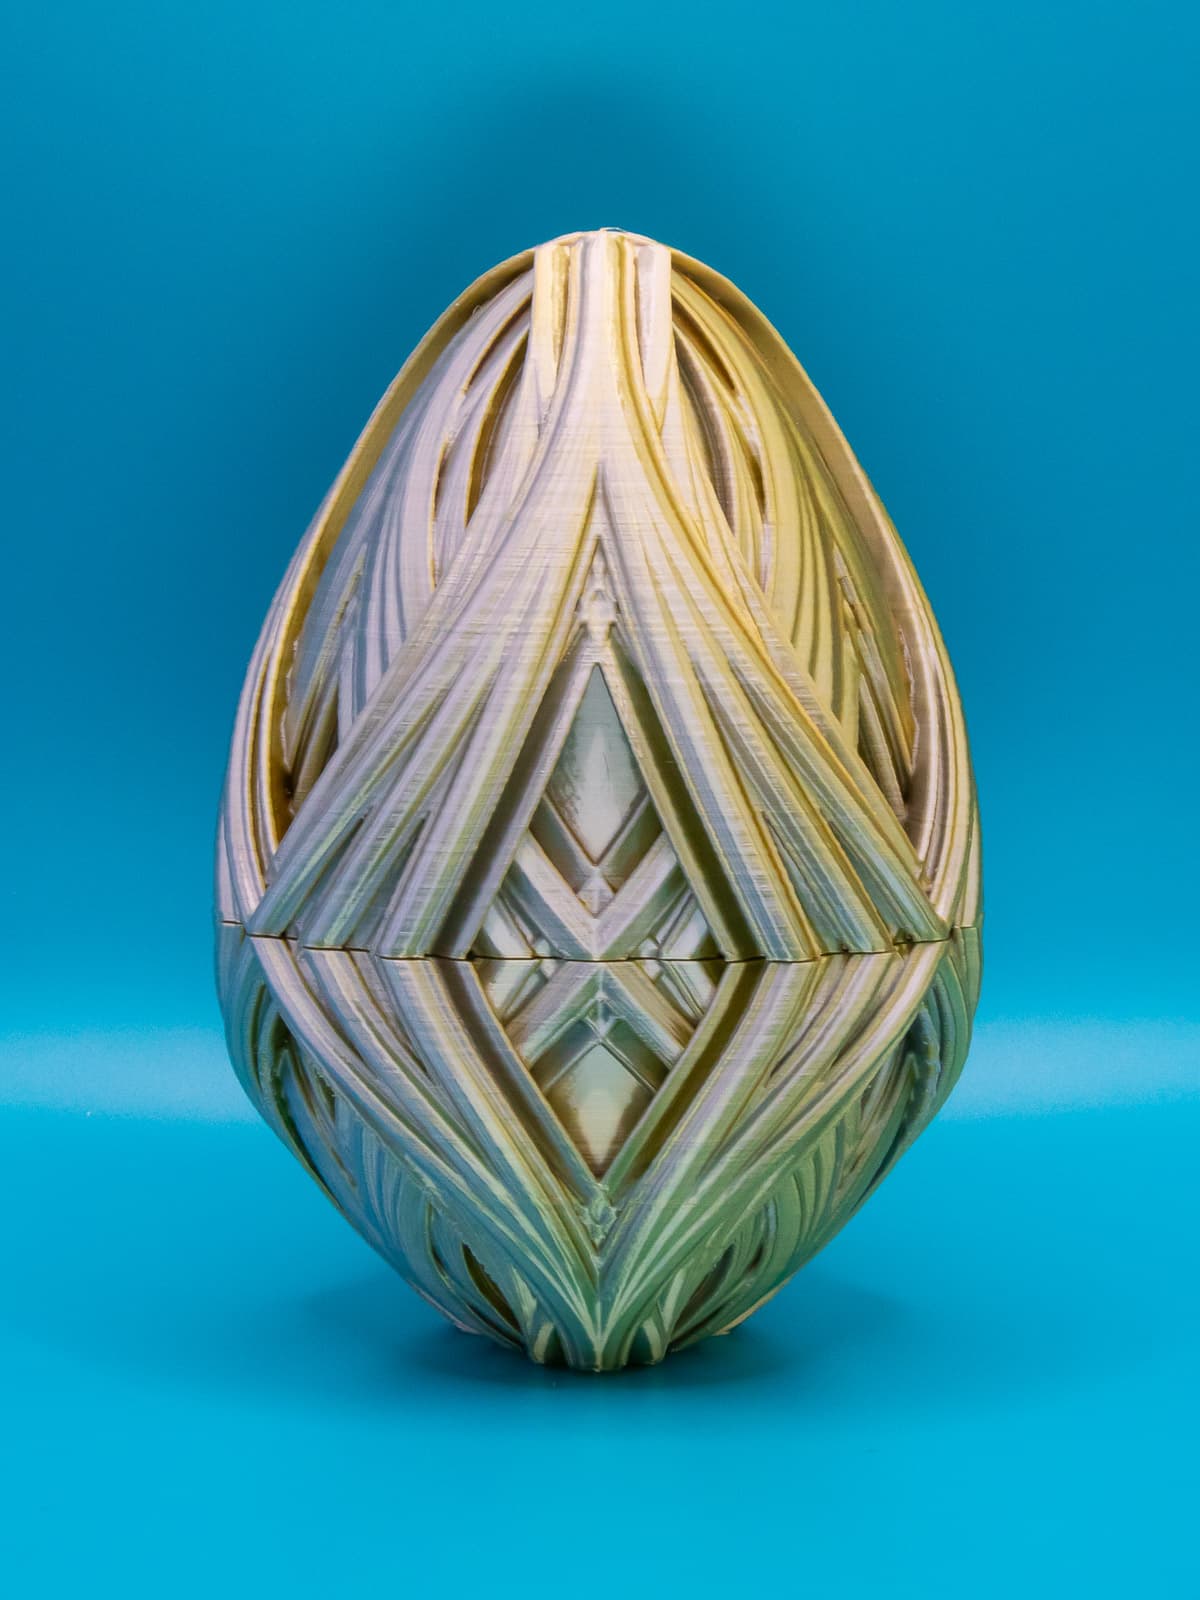
Both pieces can be printed “right side up” so you can use 3-color filament or rainbow filament and have the colors match up.
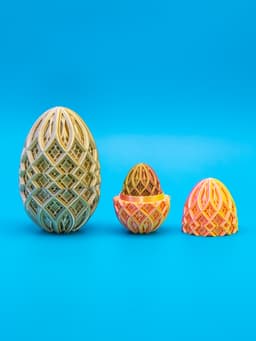
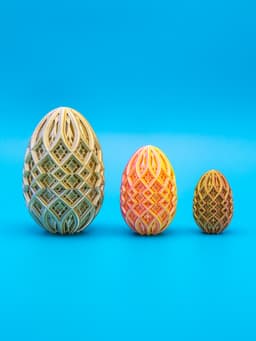
I've sliced it at 100%, 70%, and 50%. At those sizes, the eggs fit inside one another like Matryoshka dolls. As you scale them down, they get easier to separate. If you want to create a larger set, you should be able to scale above 100%, but I haven't tried it.
If you find the pieces are slightly tight, just put them together and pull them apart a few times. If they really stick, sand them a little or reprint them after re-calibrating your bed, adding more elephant foot compensation, decreasing flow, or a combination of these.
The easiest way to print these is with two perimeters, default top/bottom settings, and a bit of infill. The bottom half needs either a brim or supports for stability. I've tried both and had better results with grid supports at a 35-38 degree overhang threshold. You can print the top half without supports, but it prints better with just a little support in the middle for the dome.
If you want them lighter or to print faster, use my PrusaSlicer 3MF or Prusa MK3S+ GCODE files. I've done a lot of fiddling to get the settings dialed in just right.


Diamond Lattice Easter Egg 2025
Double Diamond Easter Egg
Triple Diamond Easter Egg
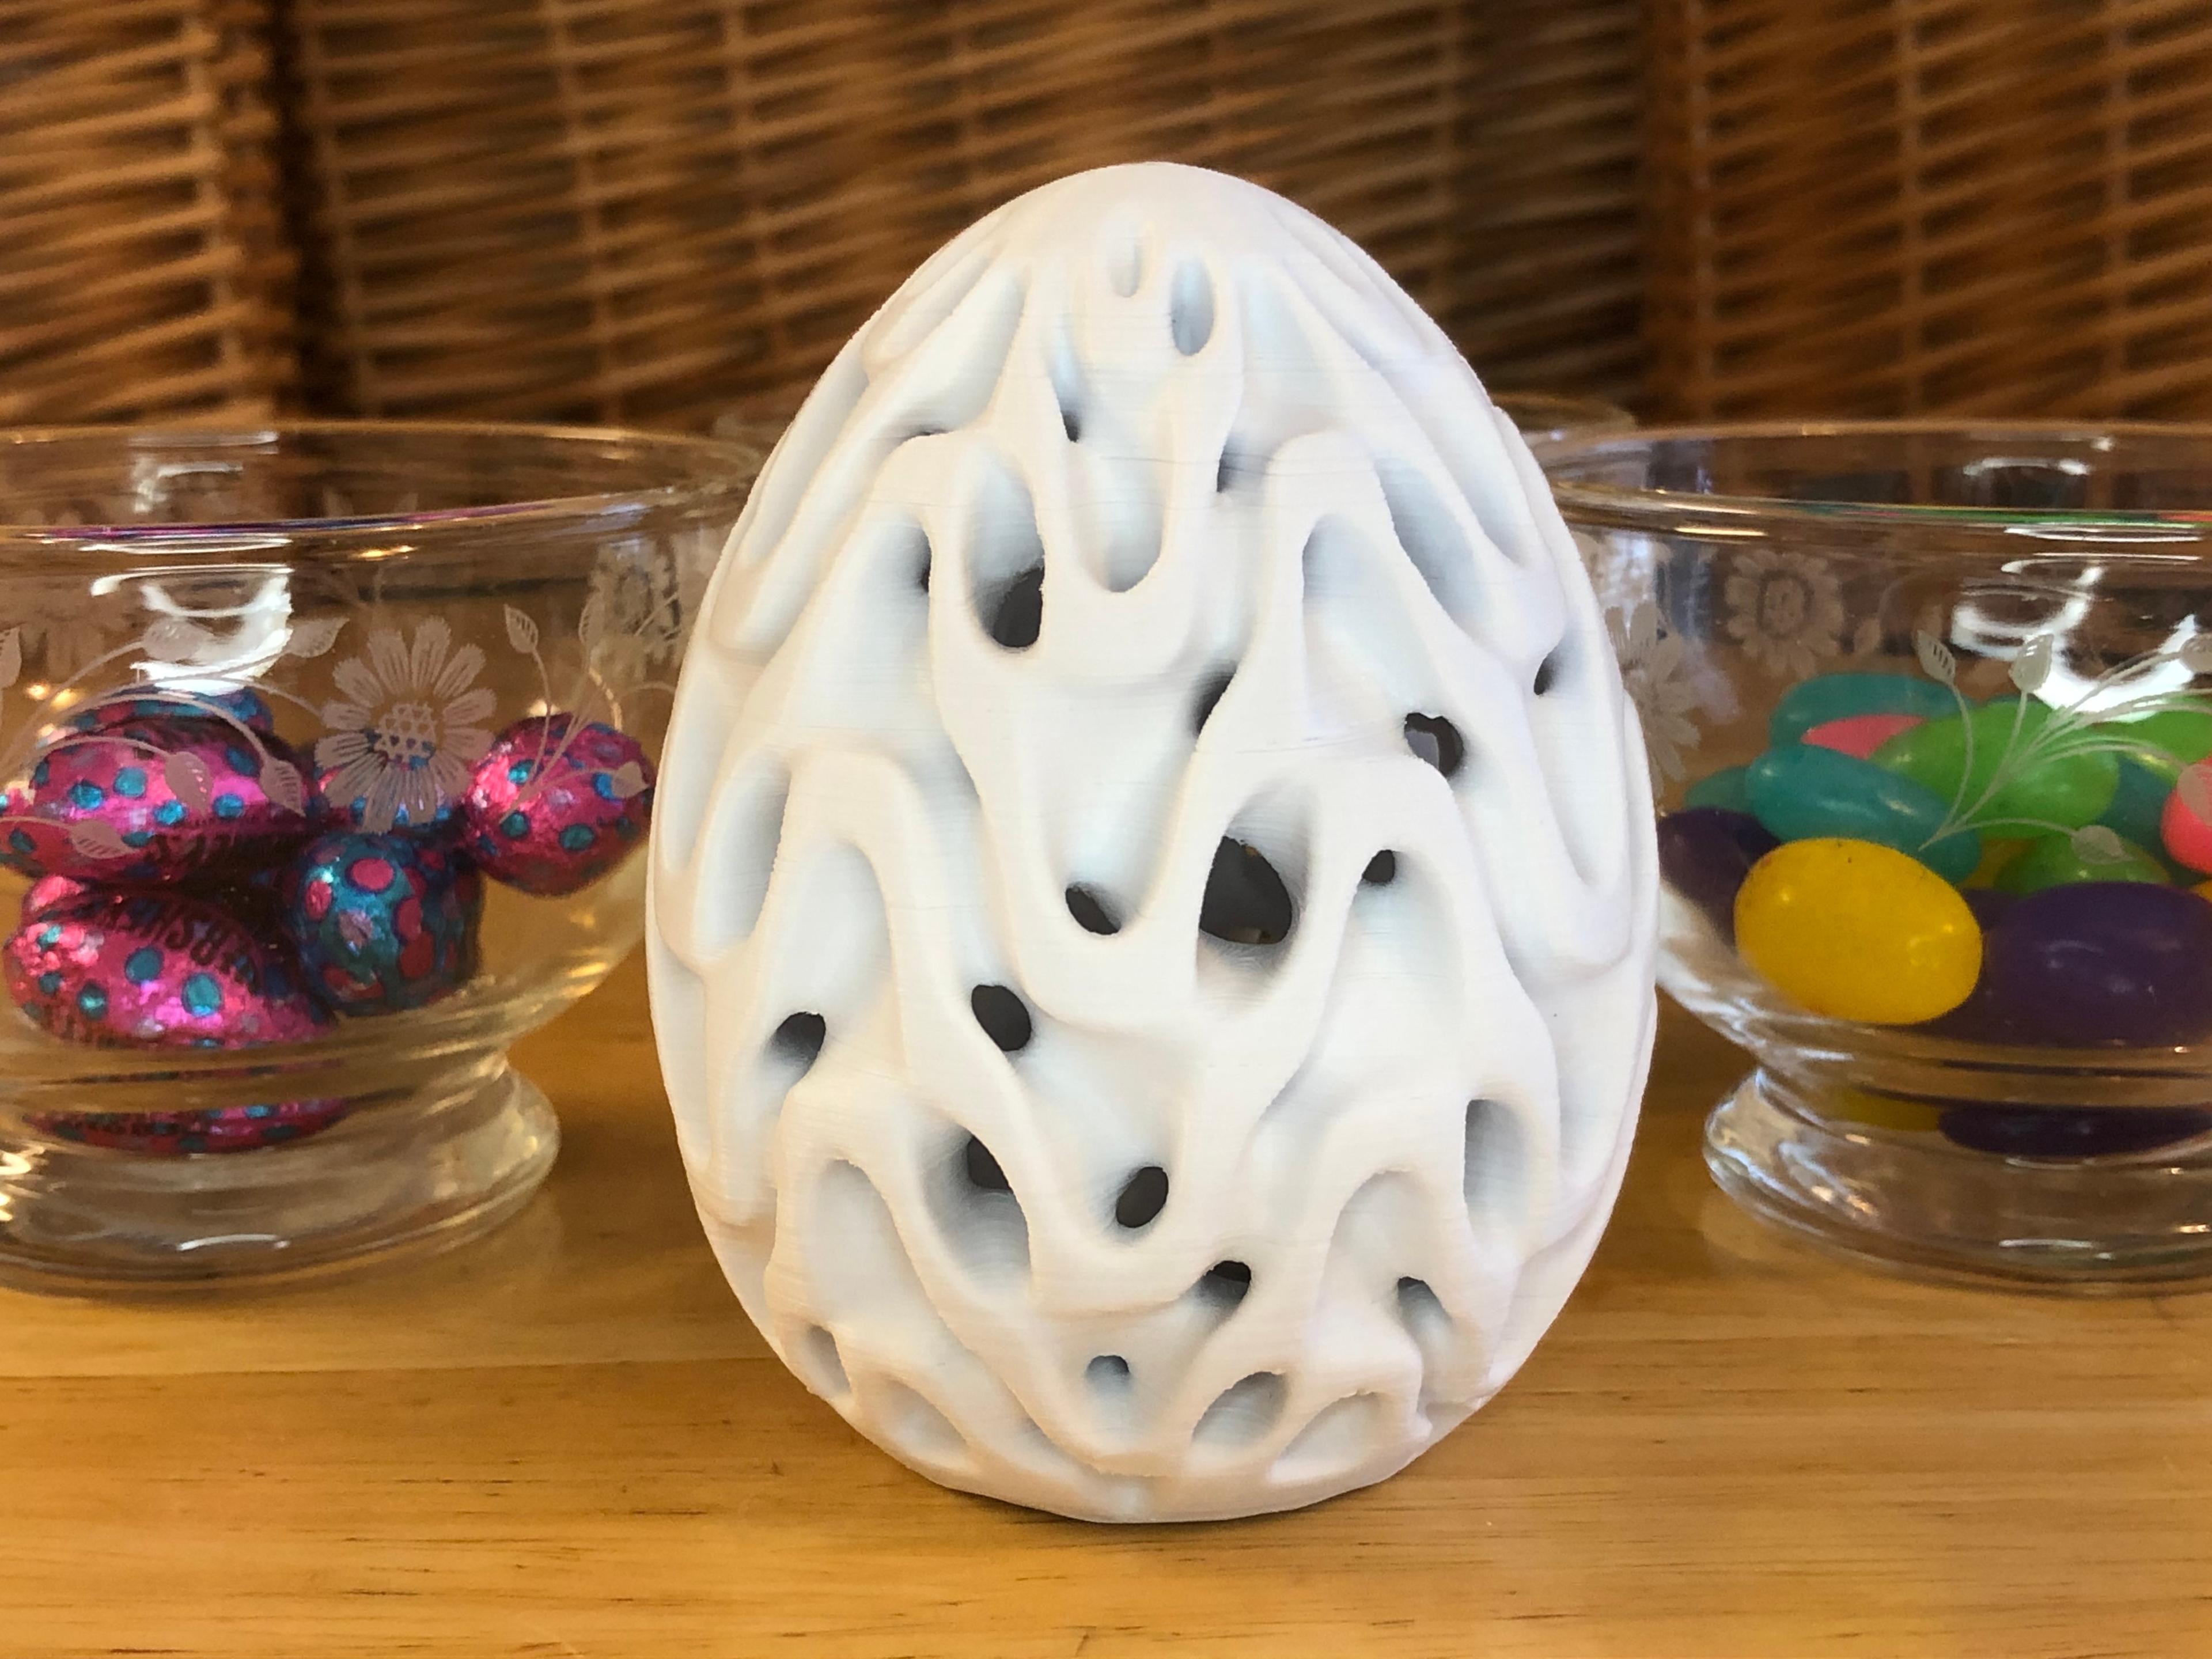
Diamond Stack Easter Egg
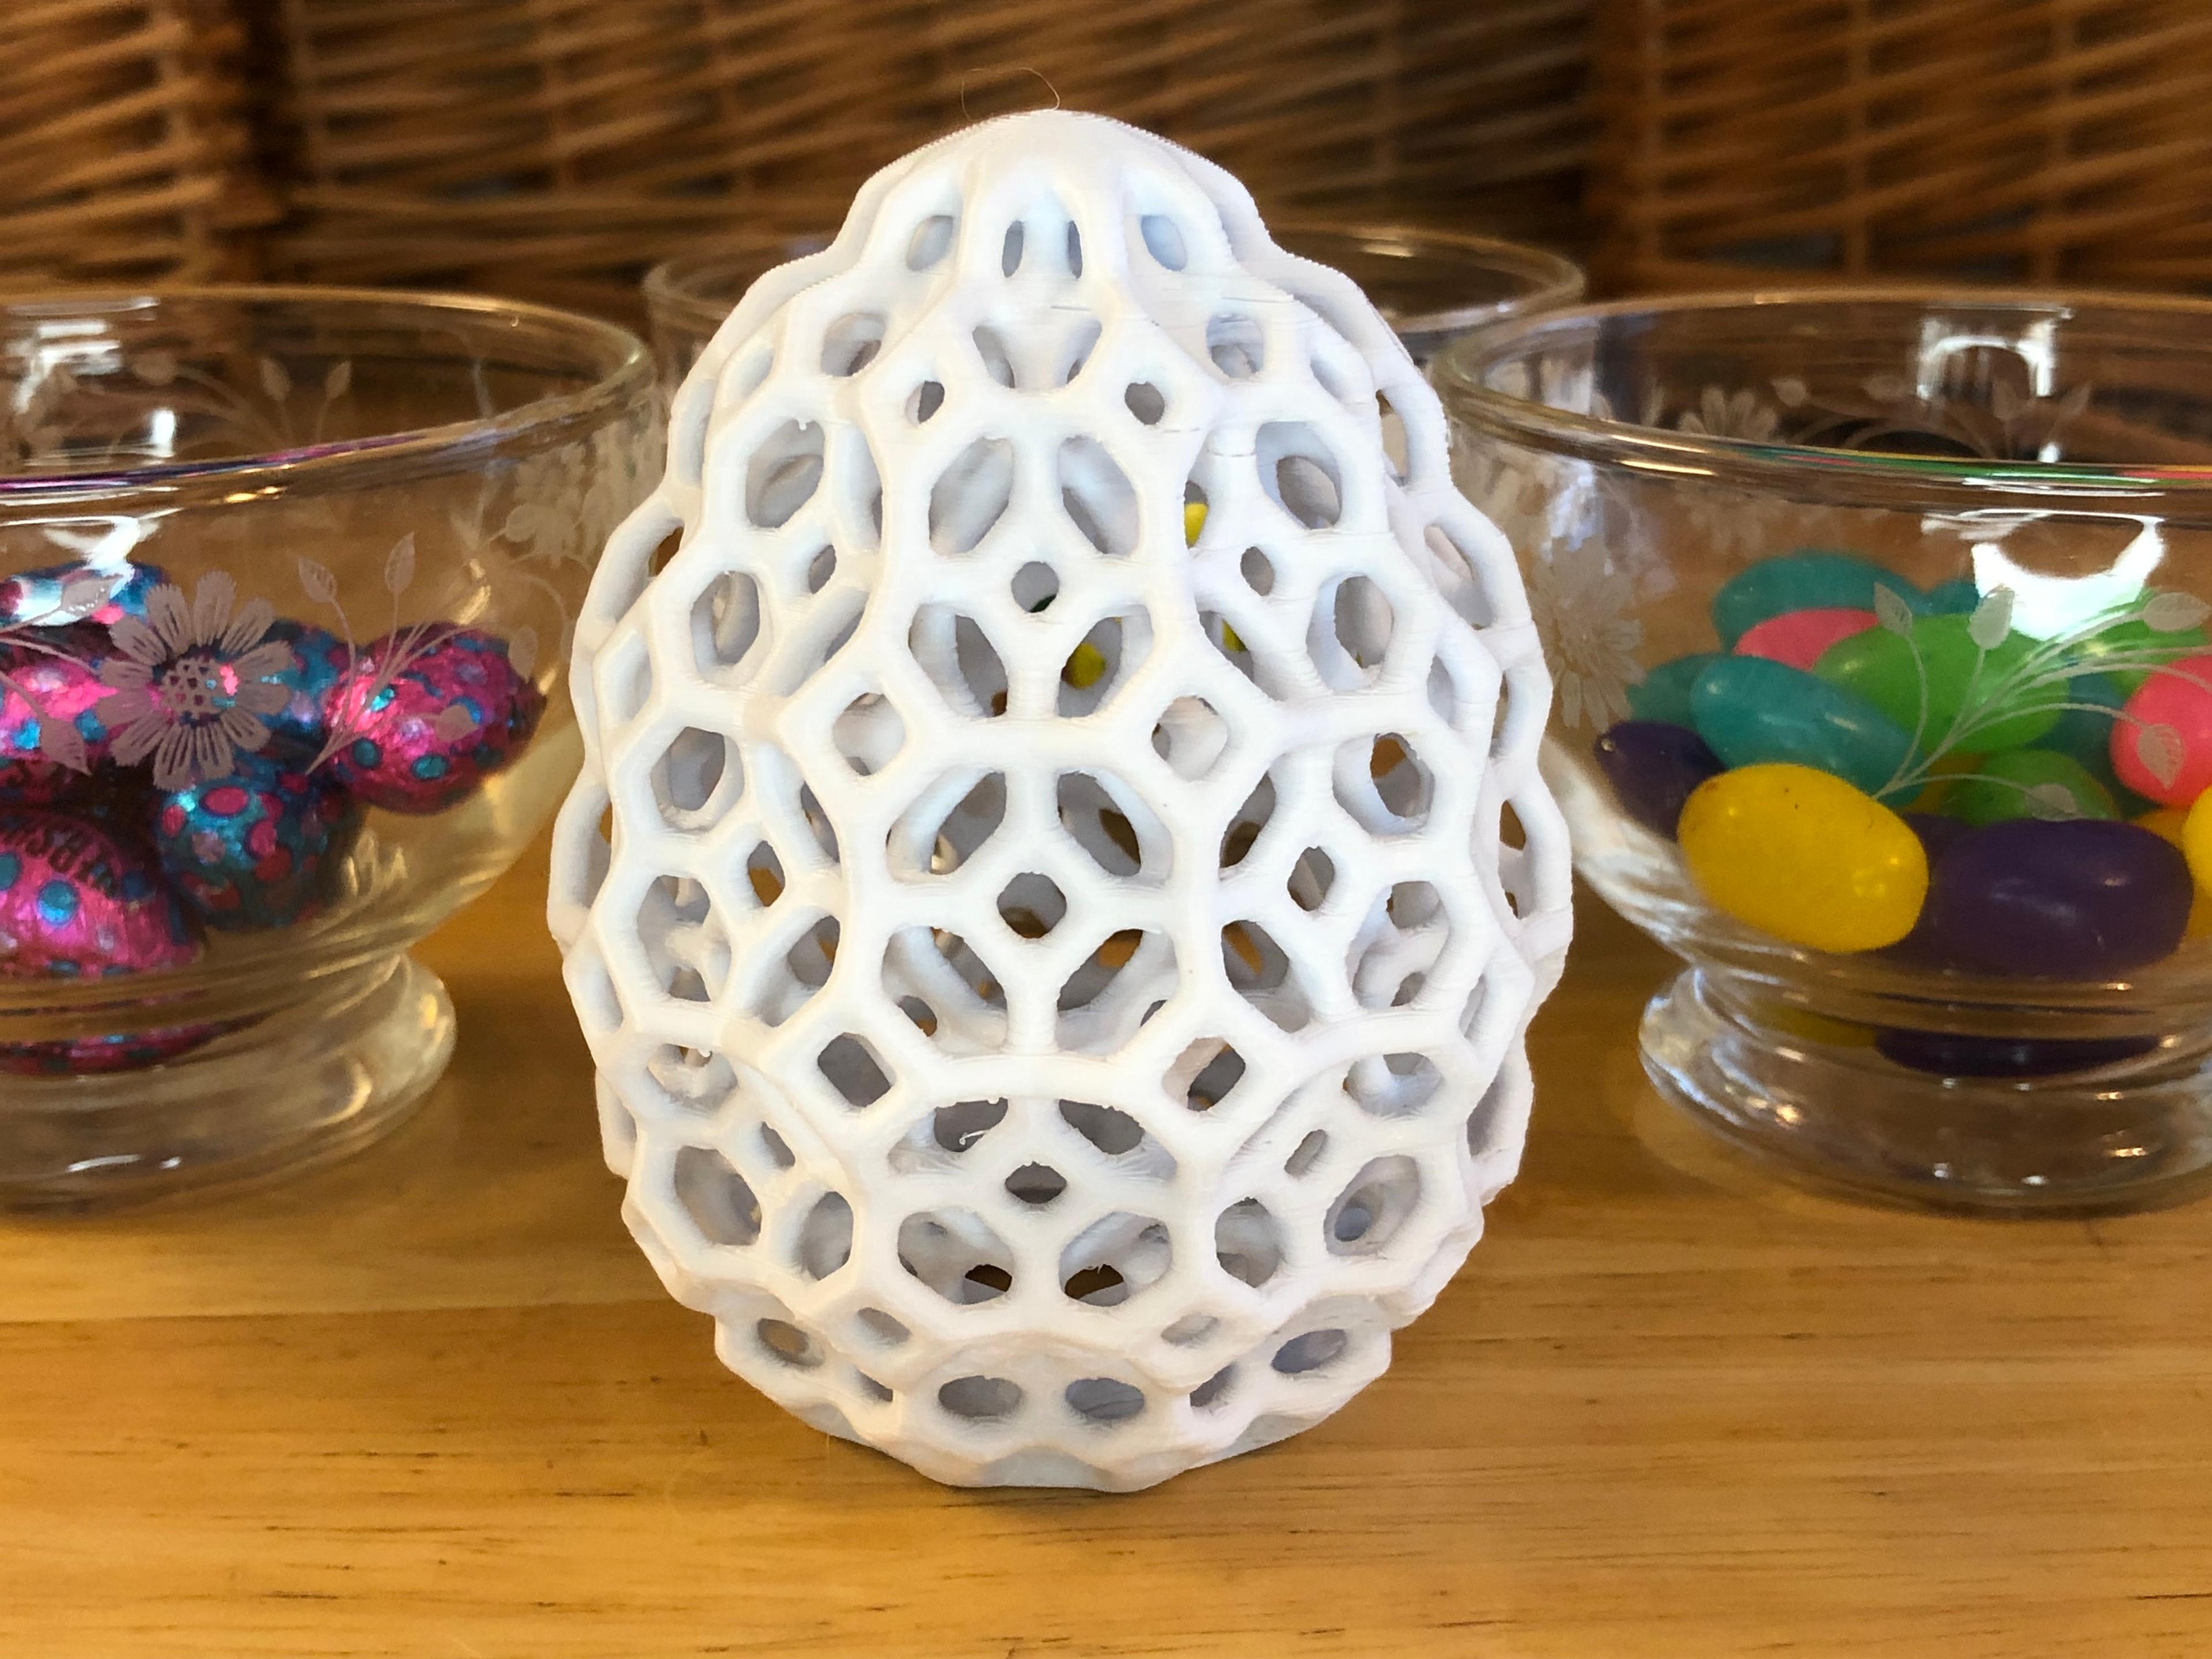
Diamond Kaleidoscope Easter Egg
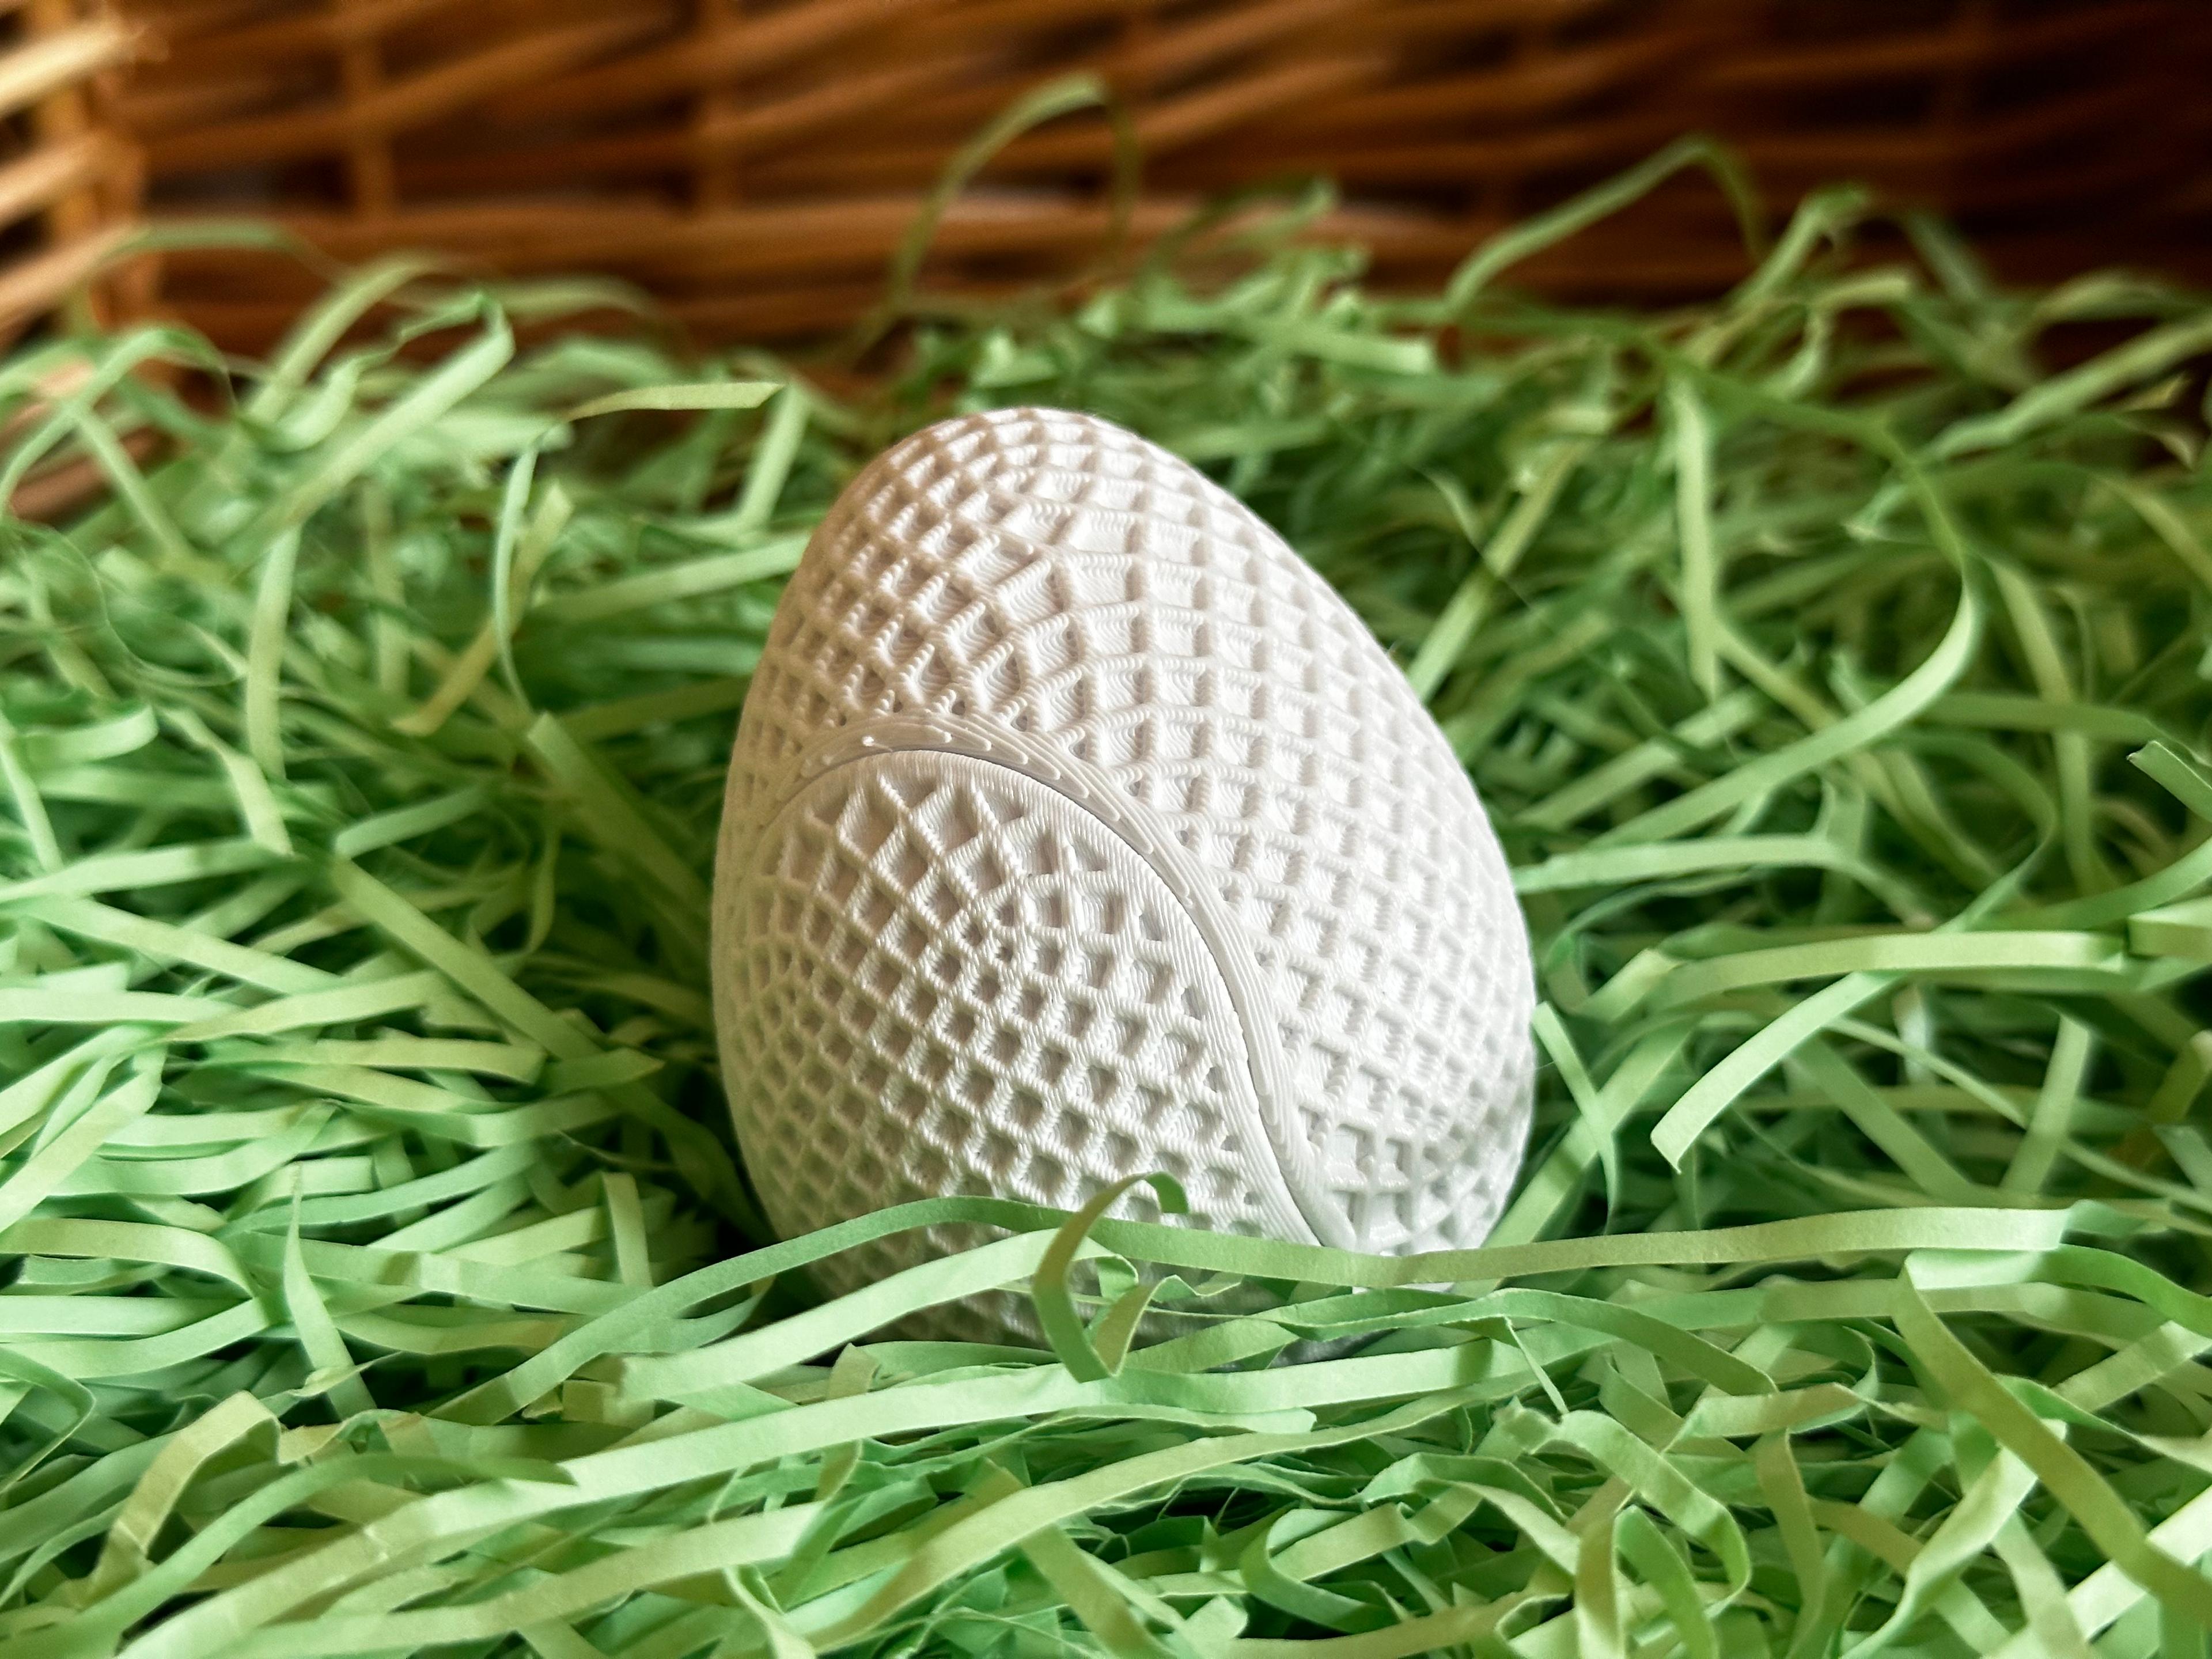
Textured Snap Egg (Diamond)
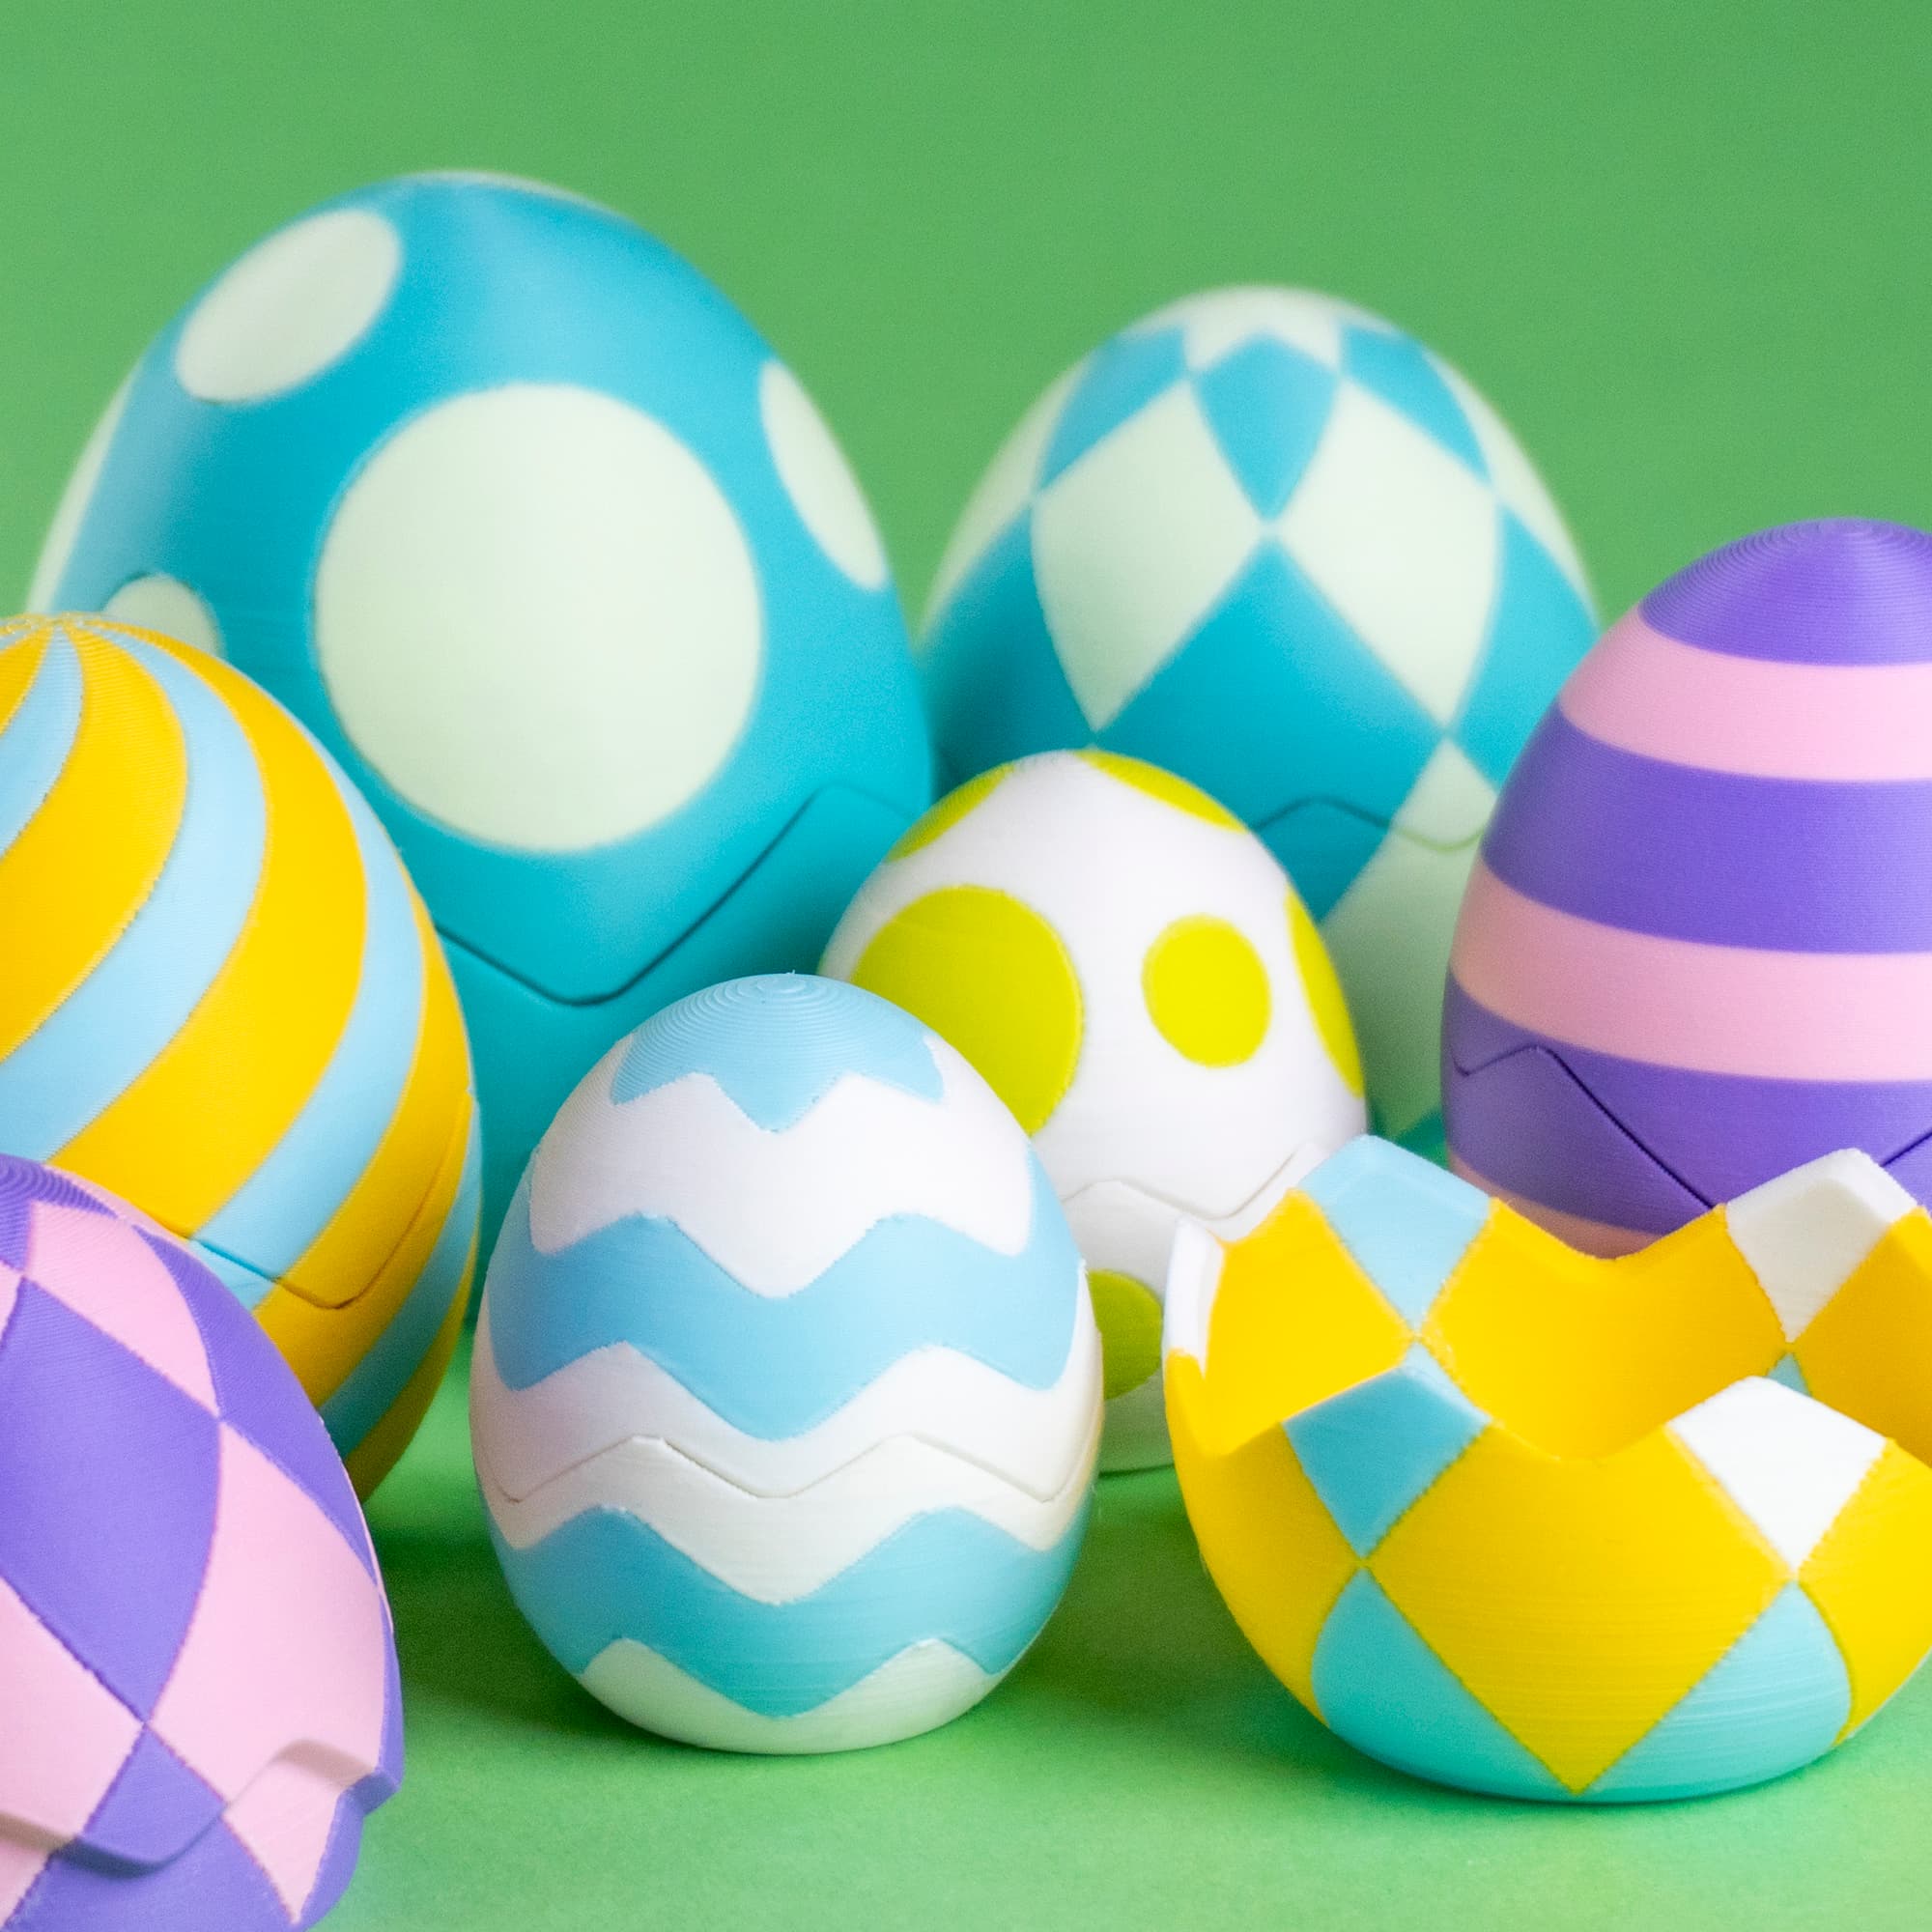
Blob Easter Eggs - Patterns For Multicolor Printers

Easter Egg Lamp Shade Ornaments | 4-Pattern Collection | Member Exclusive | R7Makers

Pokemon Easter Egg Pokeball Box

Pokeball Easter Egg Festive Box

Egg Tealight Cover -*Diamond Drop*

Easter Eggshell 5
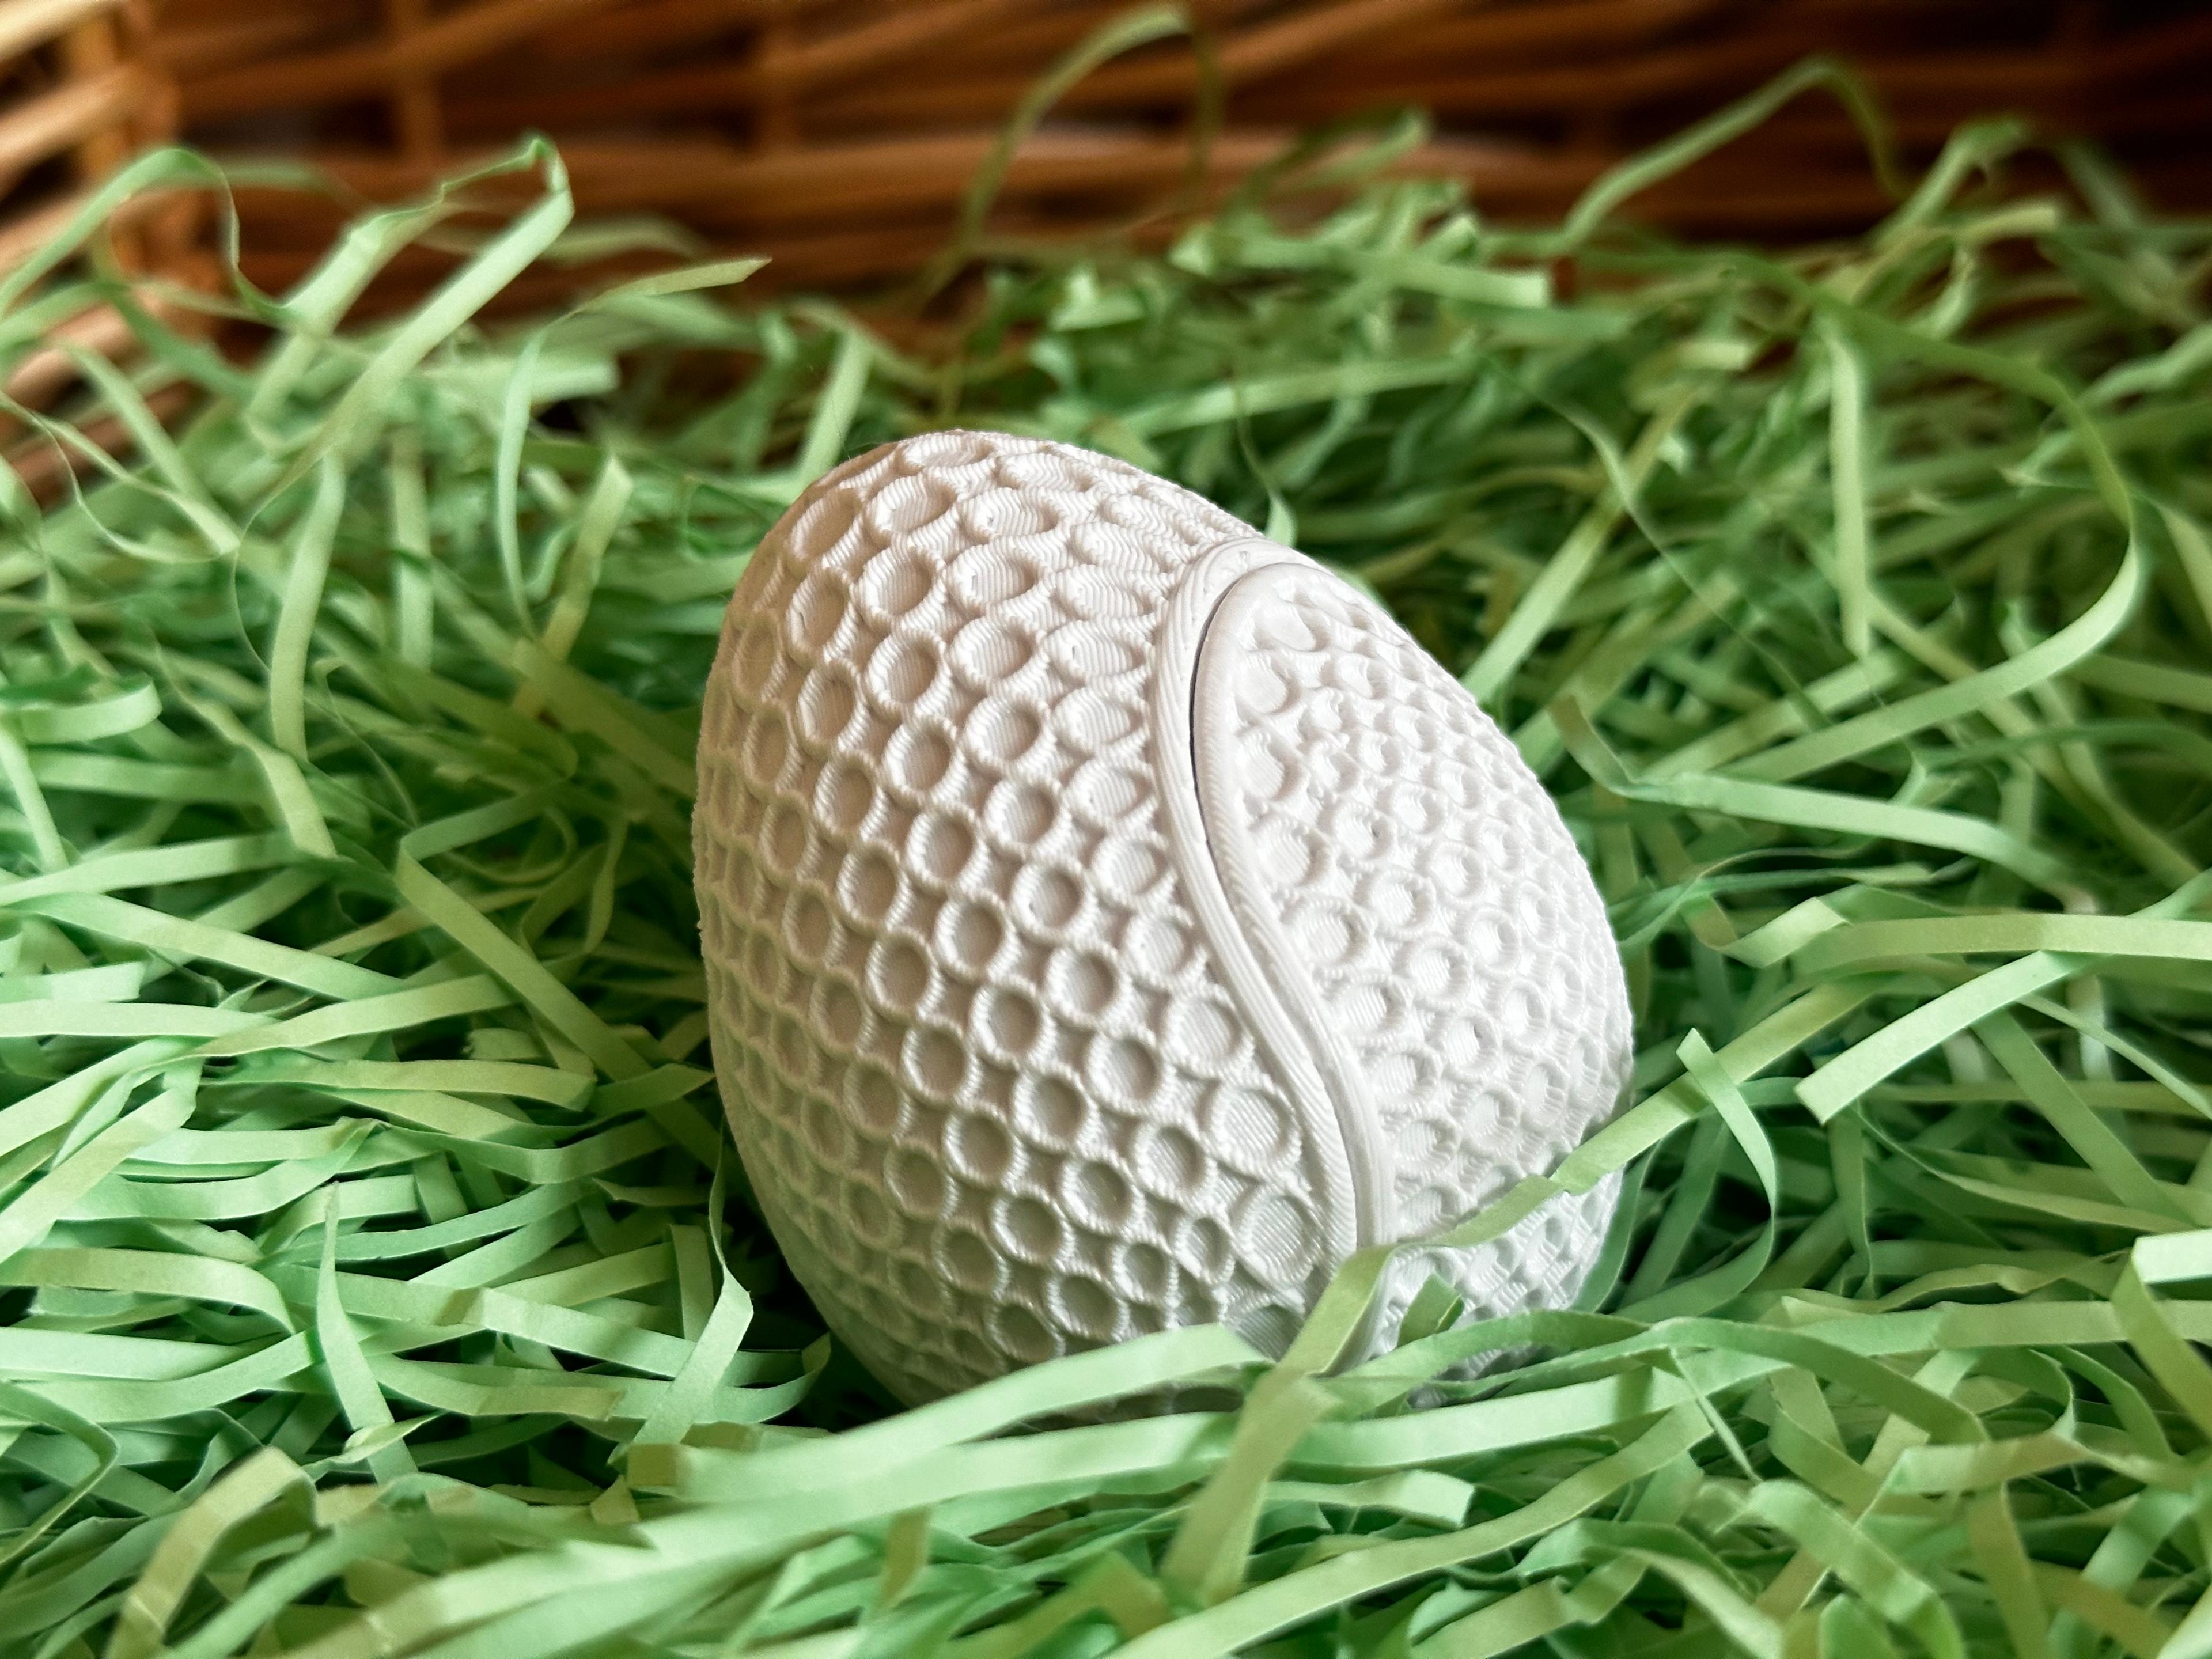
Textured Snap Egg (Circle)
Textured Snap Egg (Square)
Easter Eggshell 6
Easter Eggshell 8
Easter Eggshell 2
Easter Eggshell 7
Easter Eggshell 1