


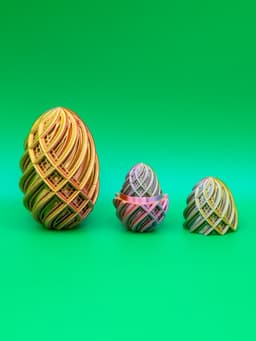


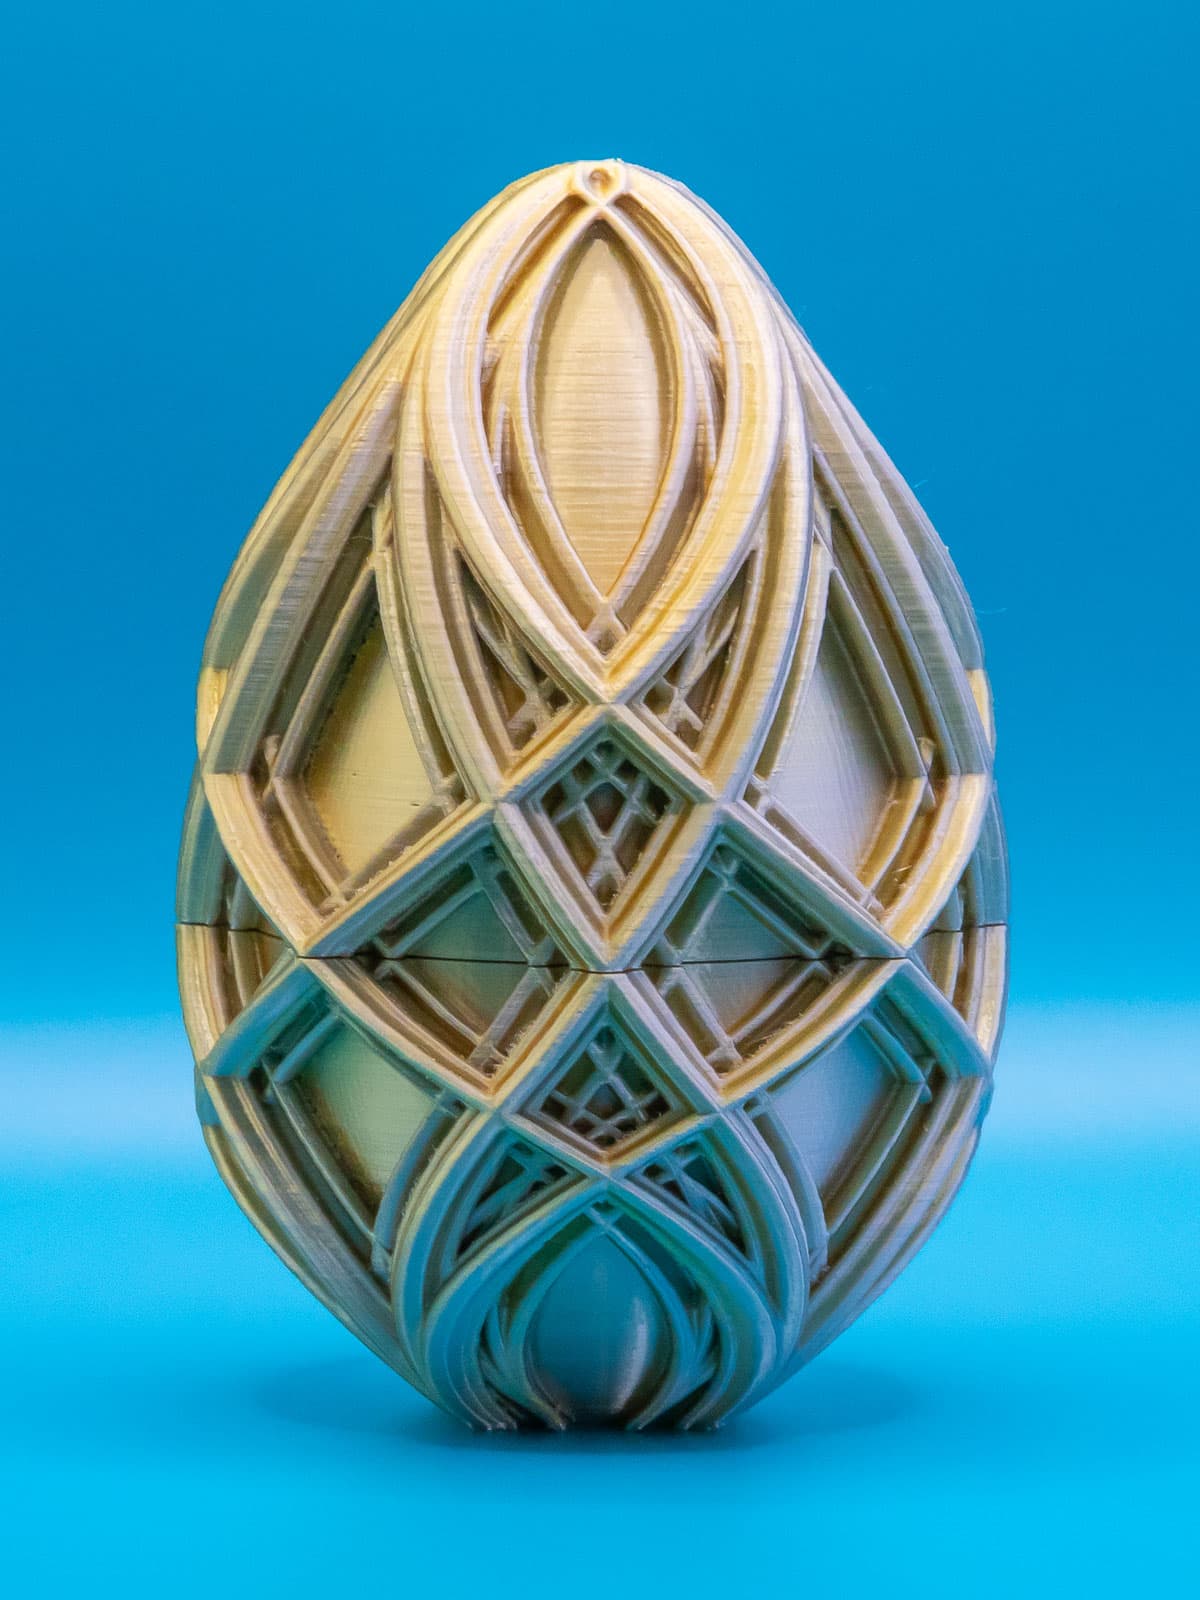
Counterswirl Easter Egg 2024
A fun design for the Easter holiday.
Not for commercial use. Please see license agreement.
I've re-imagined my Large Spiral Easter Egg from last year. I've made it smaller, given it a wider base for stability, removed the openings so you can't see inside, replaced the magnetic attachment system with a simple click mechanism, and adjusted the contour (egg shape).
Both pieces can be printed “right side up” so you can use 3-color filament or rainbow filament and have the colors match up.
To open the egg, grab both halves, wiggle & pull apart. The bottom half has a slight ridge on 2 sides that clicks into a groove in the top. Because of that, it's easier to separate them wiggling in one direction than another. If wiggling one way doesn't work, try the other. It does get easier to open with use. When the pieces are together, hold one side and twist the other 360 degrees a few times and it will loosen up dramatically. You can also encourage it a little (if necessary) with a little sand paper.
Tightness of the pieces will vary based on a lot of factors, including scale, so I've provided 3 different versions of the bottom half. I've provided PrusaSlicer 3MF and GCODE files (for MK3S+ printers) using the versions of the bottom half that worked best for me at three sizes: 100%, 70%, 50%, where the eggs fit inside one another like Matryoshka dolls. If you want to create a larger set, you should be able to scale above 100%, but I haven't tried it.
The easiest way to print these is with two perimeters, default top/bottom settings, and a bit of infill. The bottom half needs either a brim or supports for stability. I've tried both and had better results with grid supports at a 35-38 degree overhang threshold. You can print the top half without supports, but it prints better with just a little support in the middle for the dome.
If you want them lighter or to print faster, use my PrusaSlicer 3MF or Prusa MK3S+ GCODE files. I've done a lot of fiddling to get the settings dialed in just right.
Counterswirl Easter Egg 2024

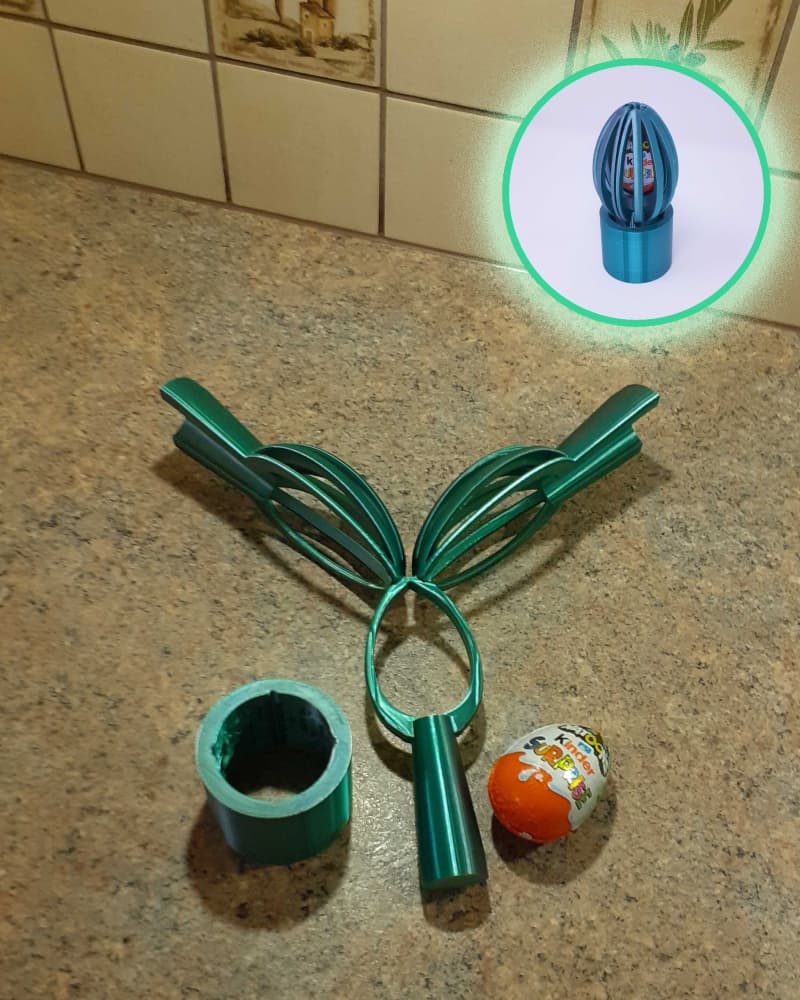
SURPRISE EGG HOLDER / EGG HOLDER / EASTER SUPRISE EGG BUNNY / EASTER GIFT / LITTLE GIFT FOR EASTER

SURPRISE EGG HOLDER / EGG HOLDER / EASTER SUPRISE EGG BUNNY / EASTER GIFT / LITTLE GIFT FOR EASTER

Easter Matryoshka Eggs, 5 Eggs - 10 pcs. Set, Easter Egg Gift, Matryoshka Nesting, Blank Matryoshka

JAPANDI DECOR EGGS / CUTE EASTER DECOR / EASTER EGGS / JAPANDI DECOR / MINIMAL EASTER DECOR

Easter Egg STL Bundle – Lace Egg, Smooth Egg & Low Poly Egg | Candy Holder Easter Egg | 3D Printable

Standing Easter Egg with Feet STL | Spring Easter Decor | Funny Easter Egg Figurine | 3D Printable F
Easter Eggs 10 pcs. Set, Easter Egg Gift, 3D Printing for Decoration, 3D Dragon Eggs, 3D Home Decor

Easter Bunny Egg Holder, Easter Egg Gift, 3D Printing for Decor, Rabbit Holder, 3D Home Decor

Dragon Easter Eggs 5 pcs. Set, Easter Egg Gift, 3D Printing for Decoration, 3D Dragon Eggs

3D Bunny Egg Holder, Surprise Egg Bunny Ears Egg Holder, Candy Holder, Egg Hunt, Easter Egg Gifts

Dragon Egg Box, Easter Egg, Fascinating Dragon 3D Egg, Mystery Egg, Realistic Egg
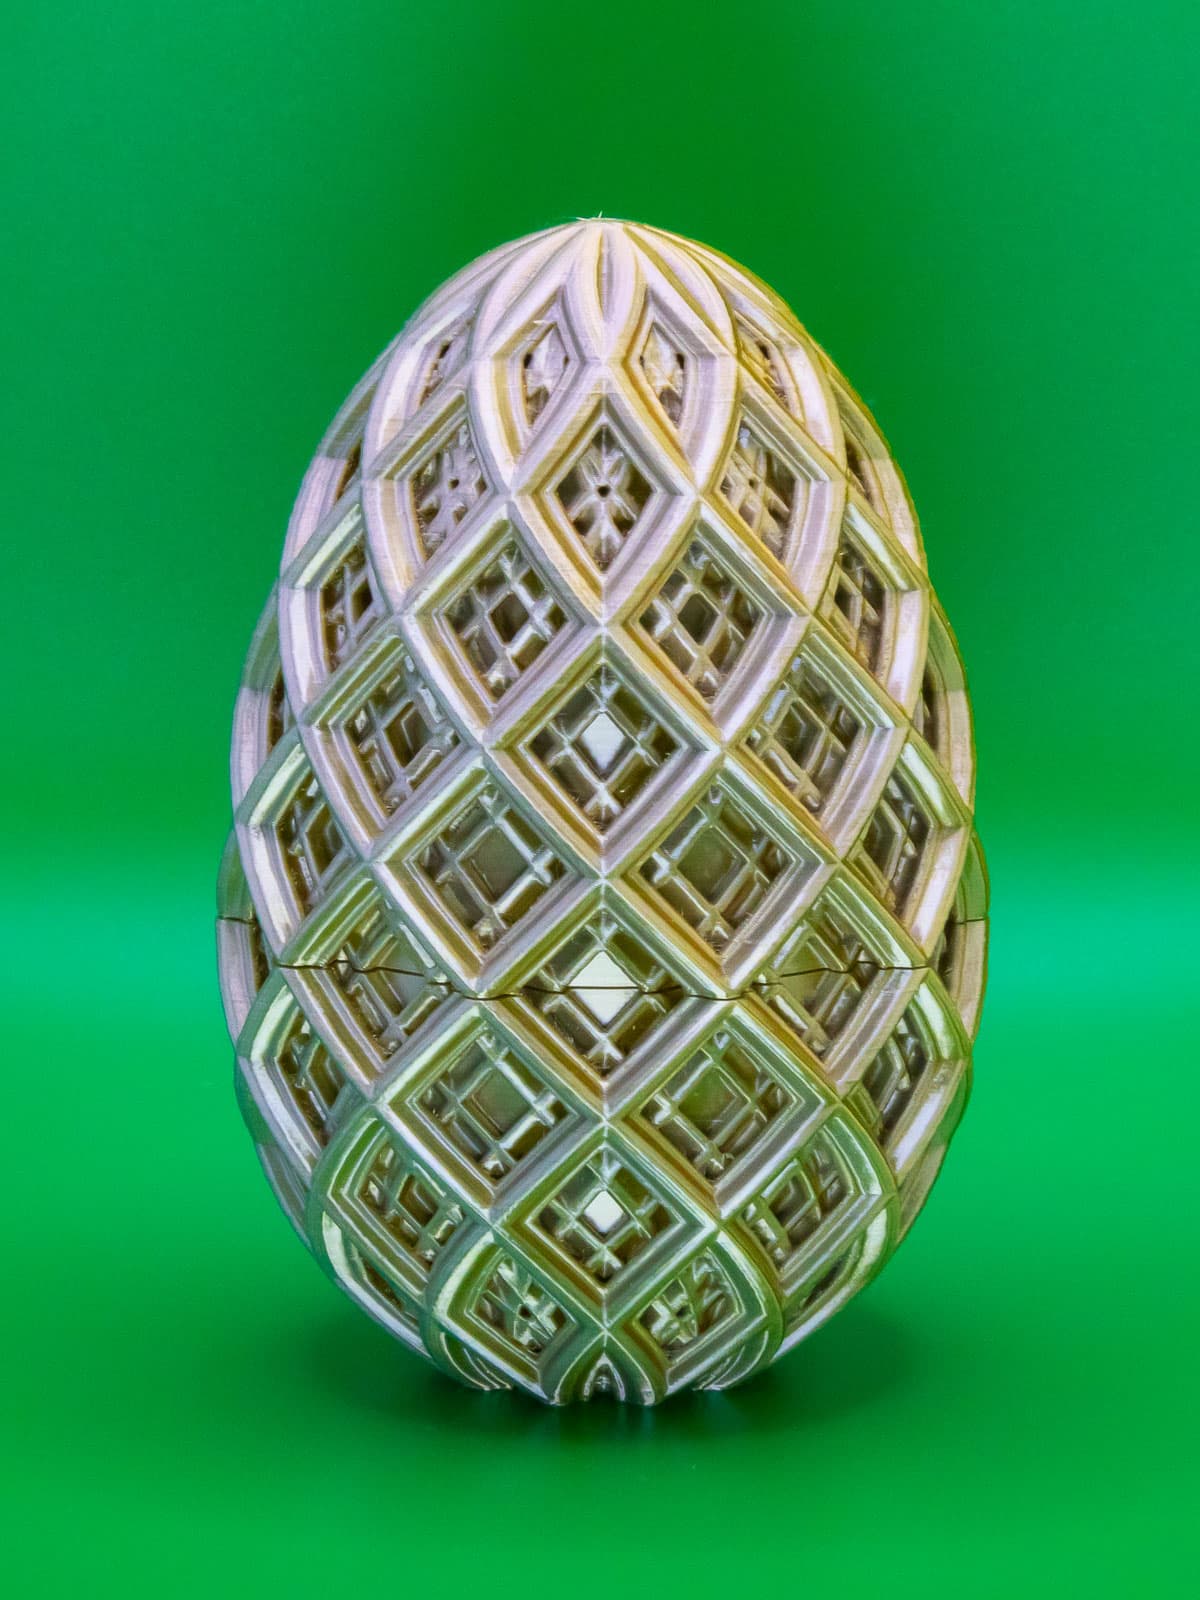
Lattice Easter Egg 2024
Egg Jail: Festive Easter egg lock box with a Maze Challenge
Kaleidoscope Easter Egg 2024
ANNOYING EGG - DRAGON GLASS EGG - 57 BOLTS - EASTER EGG - DRAGON SURPRISE EGG

ANNOYING EGG - FIN EGG - EASTER EGG - 57 BOLTS, GIFT BOX

easter egg wall art decorated eggs wall decor easter holiday decoration

3D Trophy Egg Holder, Champion Cup Egg Holder, Unique Egg Stand, Funny Decor, Easter Egg Gifts

Dragon Egg Boxes, Easter Egg 2 pcs. Set, Fascinating Dragon 3D Egg, Mystery Egg, Realistic Egg
.jpg&w=3840&q=75)