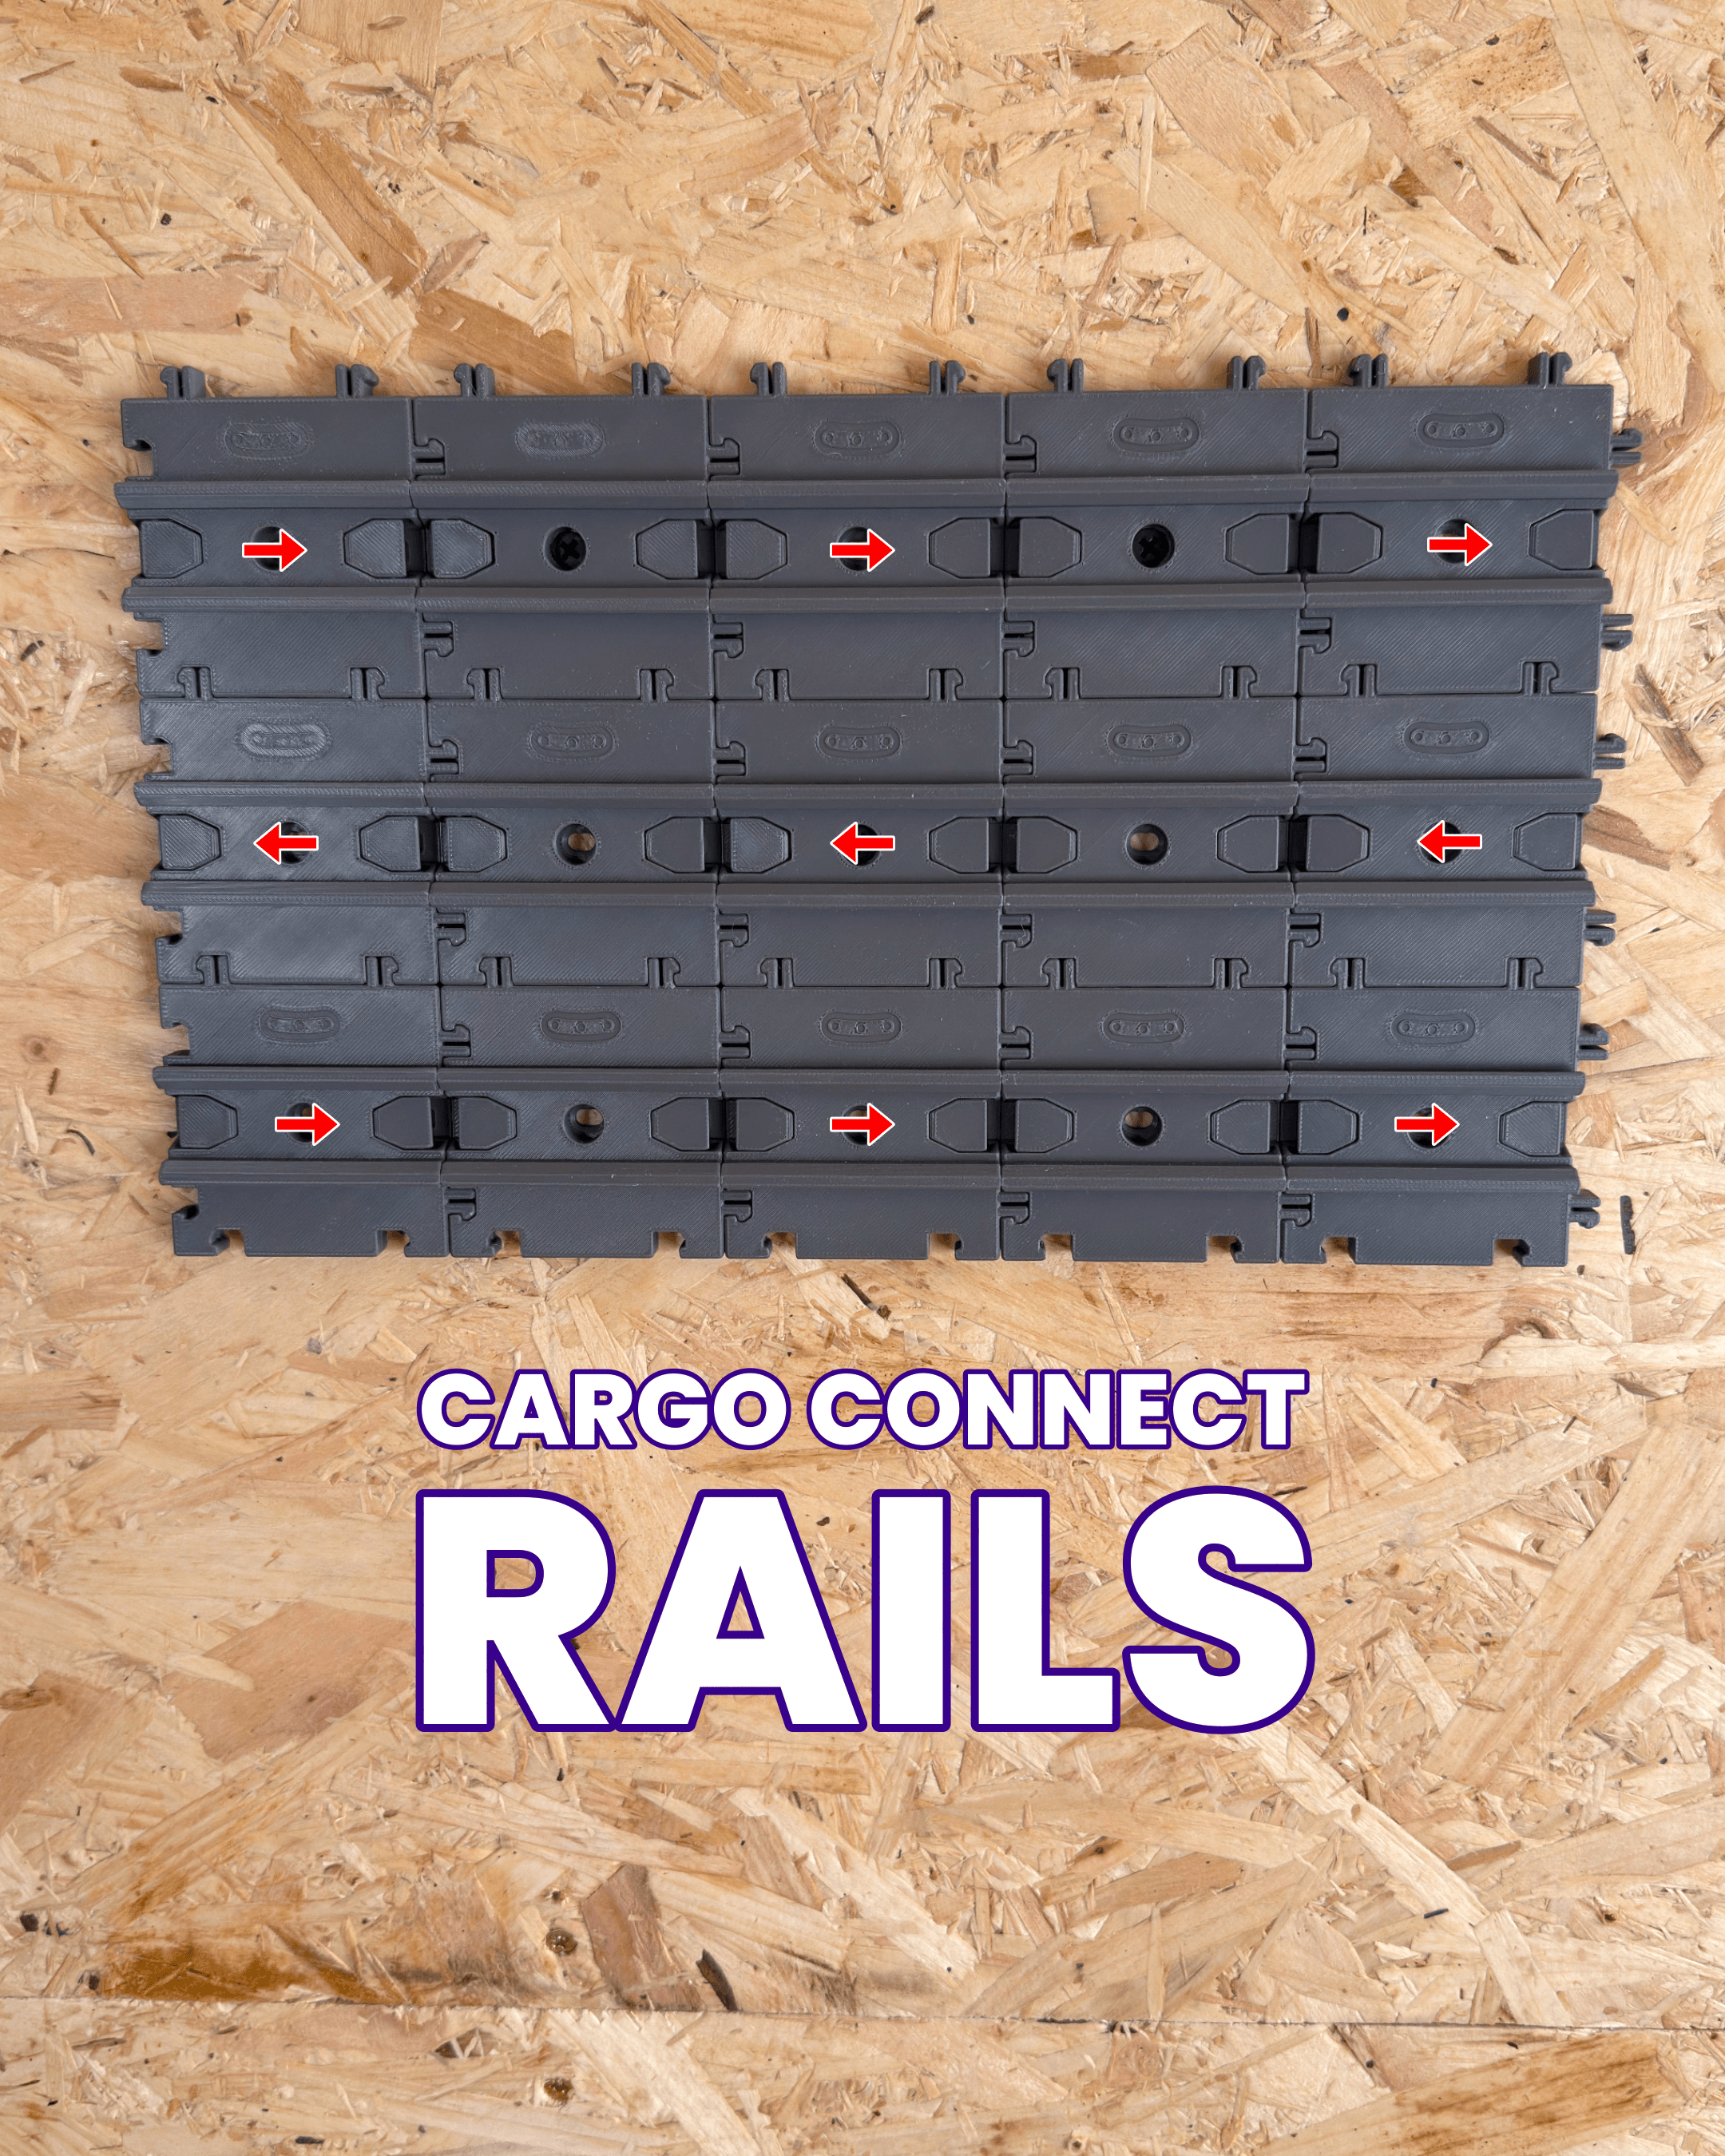


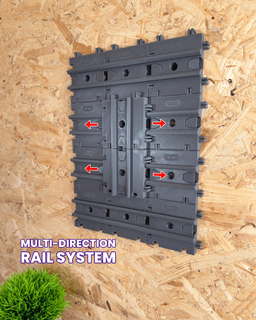

Rails 1x1 - Cargo Connect
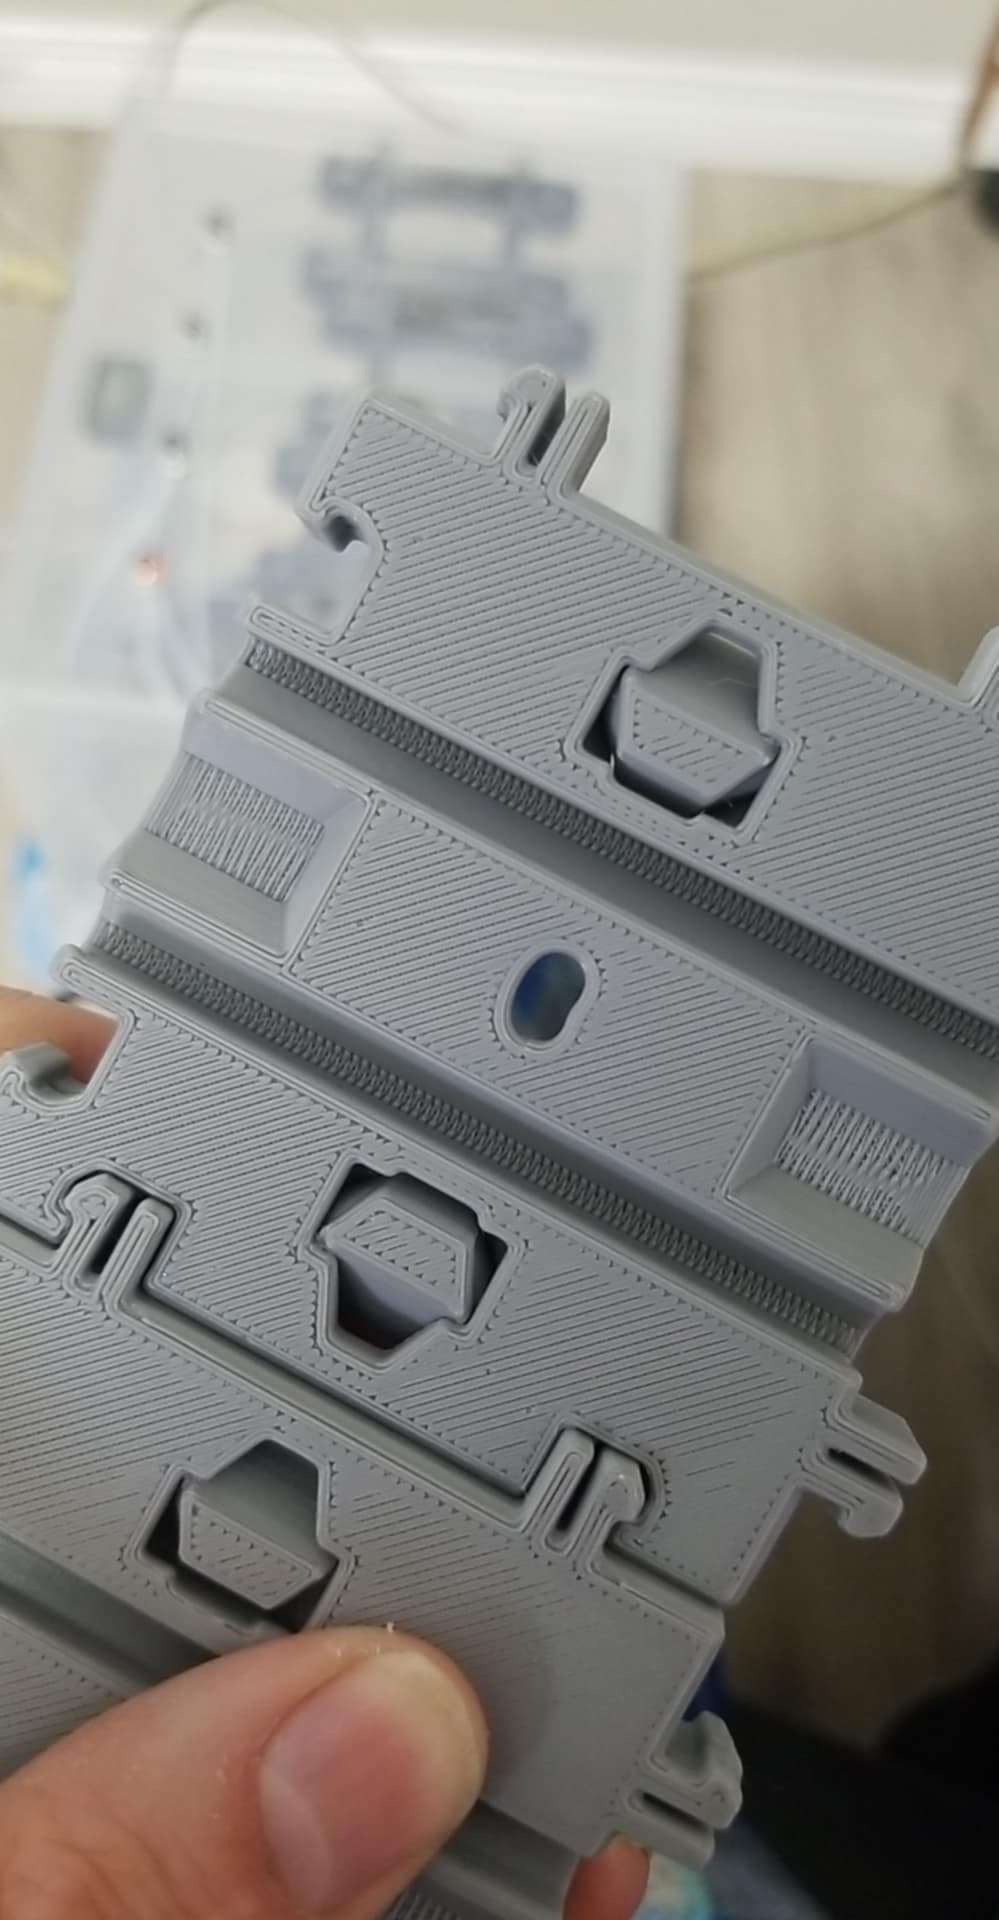
The Rails 1x1 creates the foundation for your Cargo Modular System, letting Cargo Containers and Cargo Attachments move freely around your setup or create a fixed layout using the built-in stoppers.
Main Features
- Easy, support-free printing
- Fully 3D printable - no extra parts needed
- Sliding Rails to create a flexible and moveable storage system
- Built-in stoppers to create fixed layouts
- Infinitely Modular
- Creates the foundation to build your own Cargo Modular System
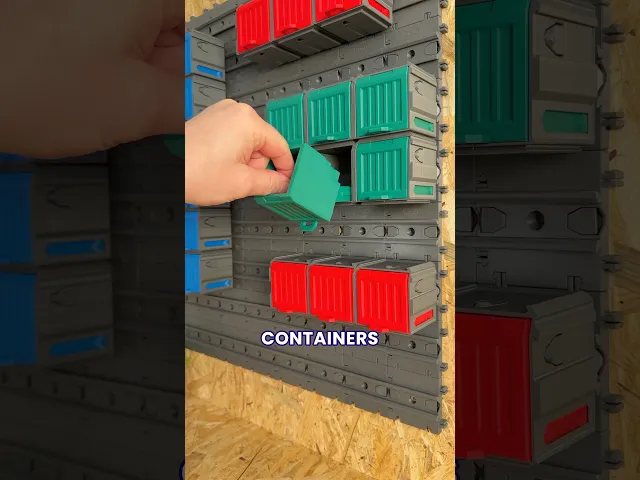
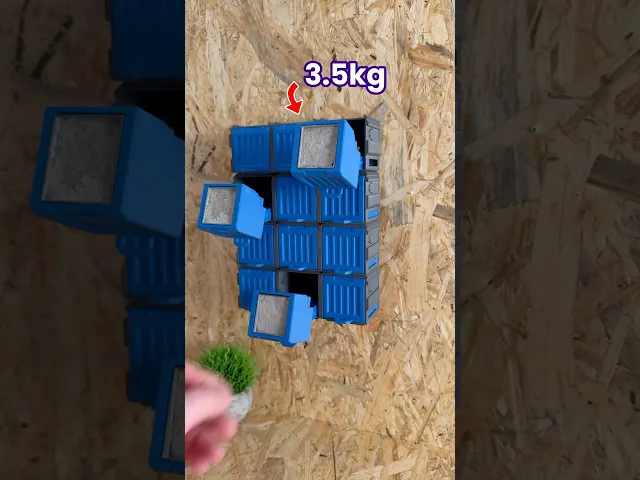
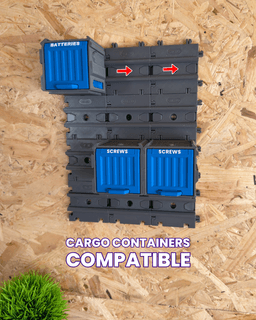
- Fully compatible with Cargo Containers and Cargo Attachments
What is the Cargo Modular System? Imagine a fully 3D printable system that can organise every aspect of your life, from your kitchen or workshop, to your gaming setup or craft studio.. that is our goal for the Cargo Modular System.
We are documenting the development on our social media channels and we'd love for you to join us as the Cargo system grows and evolves. If you have any upgrades you’d love to see or feedback, be sure to leave a comment!
The Rails 1x1 have been upgraded to improve overall usability and functionality. Any previous versions can be found in the 'Archive', which is included within the downloadable files, along with a User Guide that provides more details on earlier versions and compatibility.
What we use:
3D printer - Bambu Lab P1S - Get one here*
Filament - Bambu Lab PLA Basic Dark Grey - Get some here*
What's Included:
When you have downloaded the model, you will find the below inside:
Ready to Print (.3mf file) - All the parts in one place and ready to print. User Guide (.pdf file) - A complete ‘User Guide’ to help you print and assemble the model. Extras (.zip folder) - Contains any Optional Parts and an Archive of previous versions of the model, if applicable.
Happy Printing
Play Conveyor
*Some links in this description are affiliate links, which means we may earn commission if you purchase through them.


Rails 1x1 - Cargo Connect

Hook 1x2 - Cargo Attachment

Cargo Containers - 1x1 (Mini Modular Storage)

Cargo Containers - 2x1 (Medium Modular Storage)
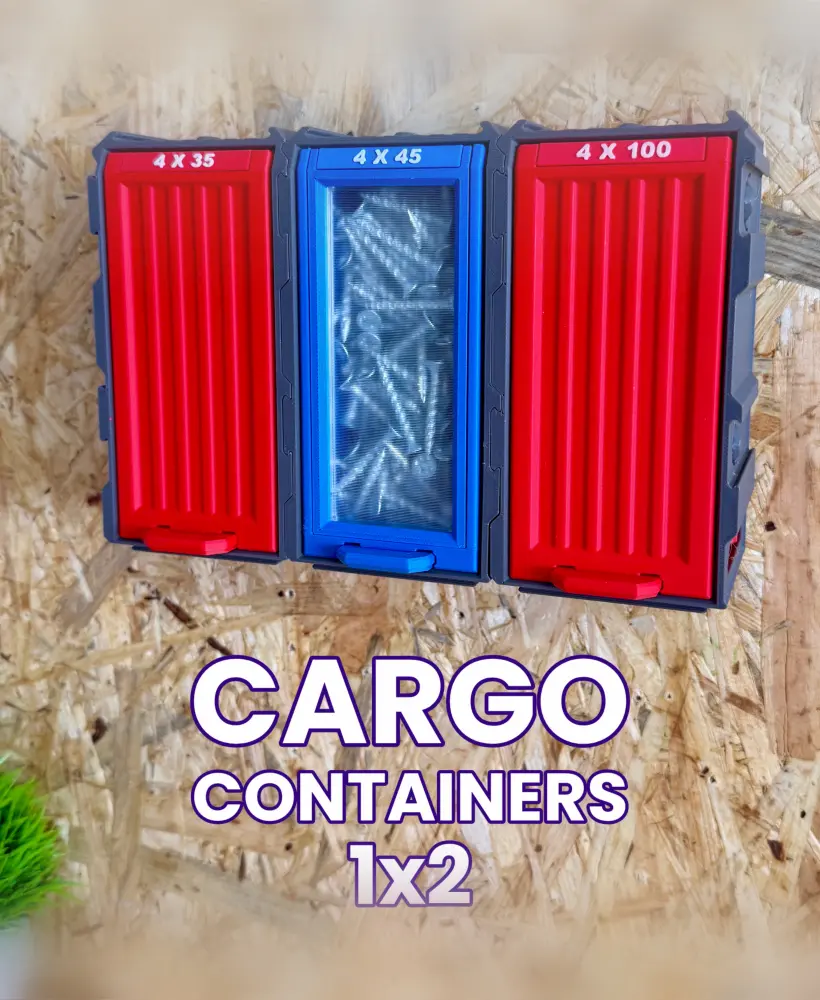
Cargo Containers - 1x2 (Medium Modular Storage)

Shelf 2x2 - Cargo Attachment

Cargo Containers - 3x1 (Large Modular Storage)

Hook 1x1 - Cargo Attachment

Extending Shelf - Cargo Attachment
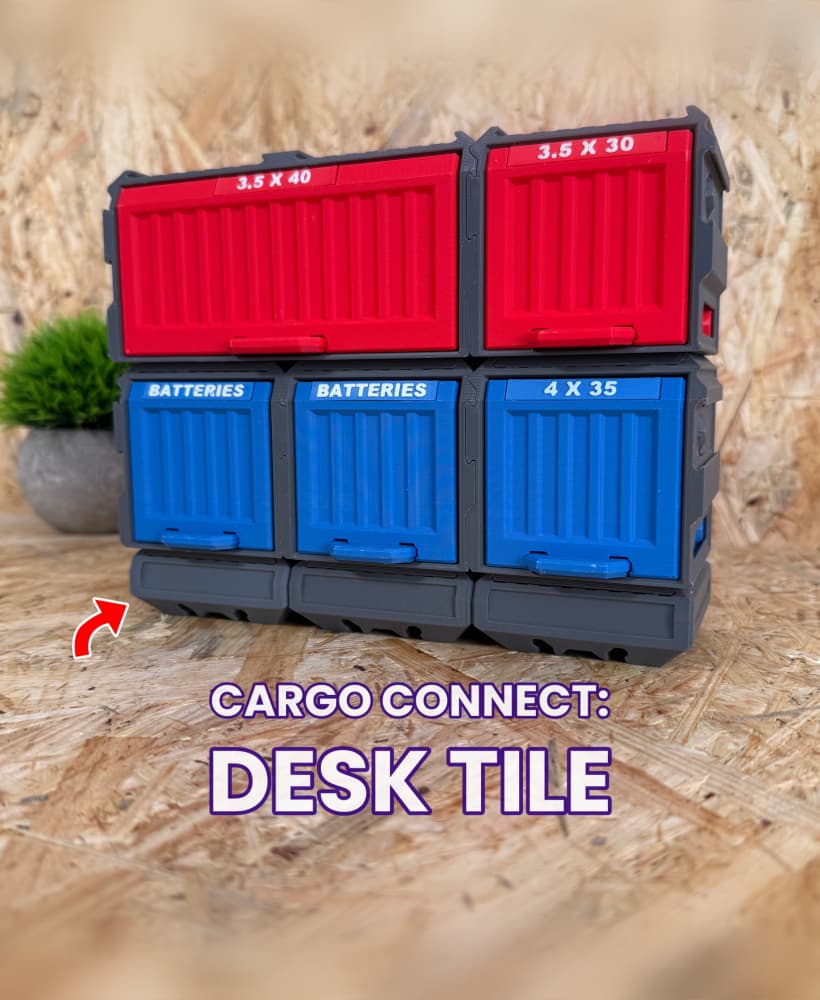
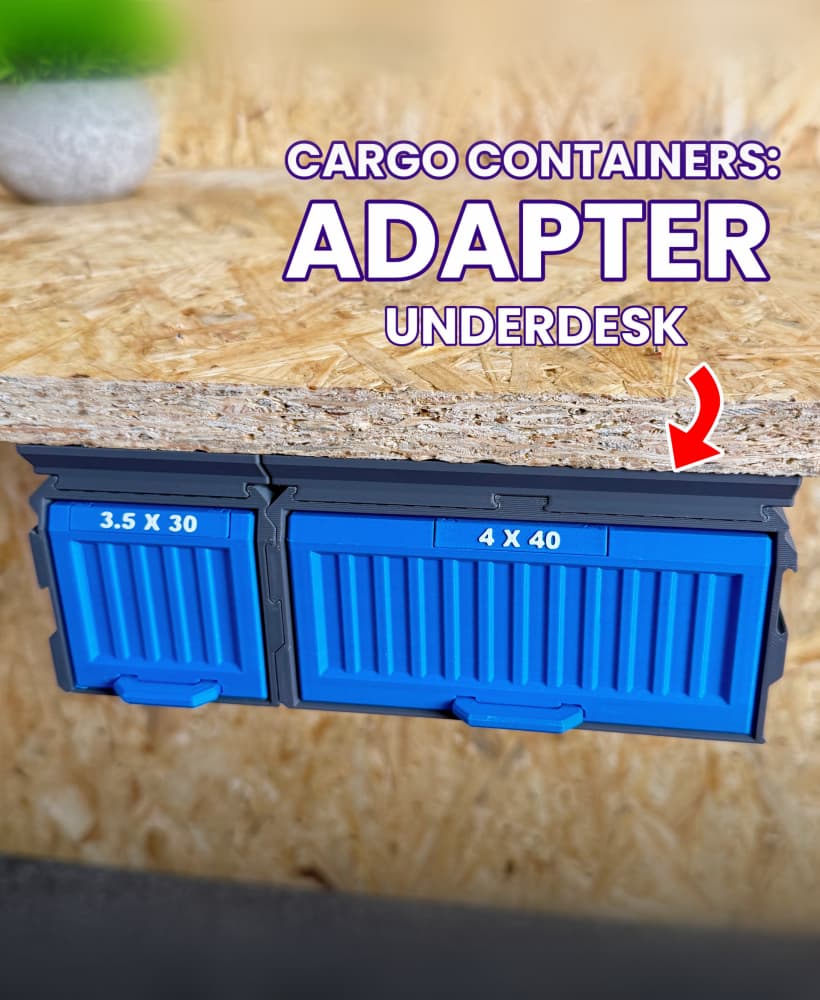
Cargo Connect - Desk Tile

Cable Organiser USBC 2x2 - Cargo Attachment
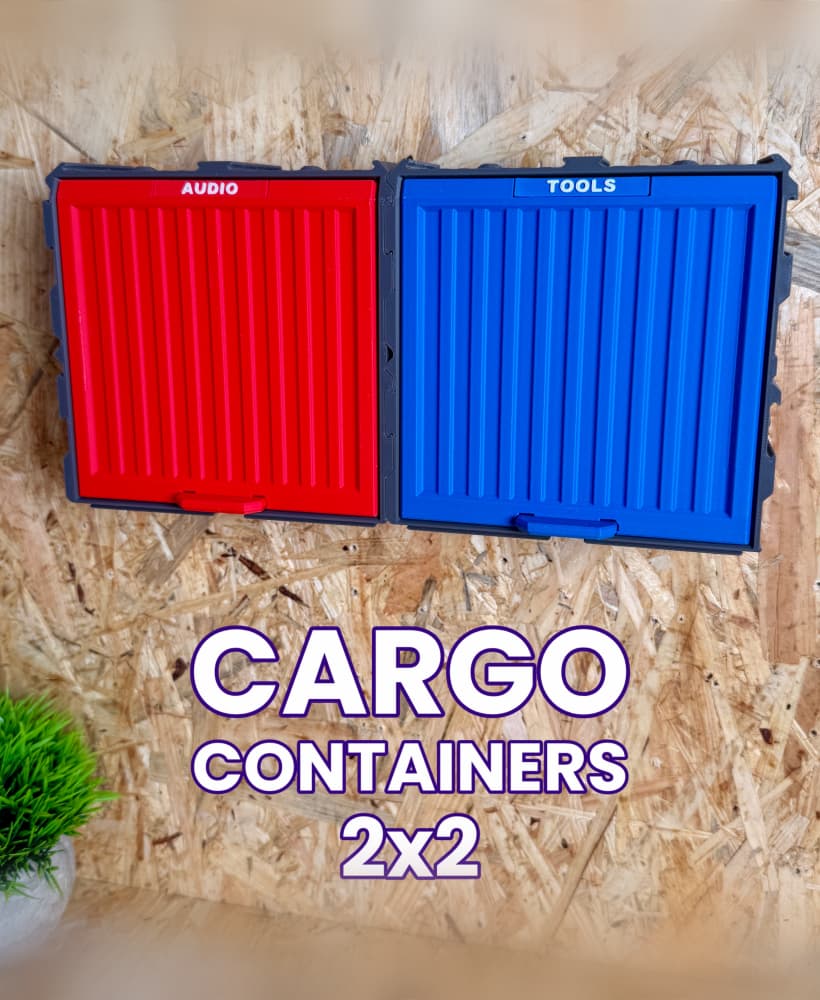
Cargo Containers - 2x2 (Medium Modular Storage)

Frames - Cargo Connect

Key Hook 1x1 - Cargo Attachment

Shelf 3x3 - Cargo Attachment

Gripper 1x1 - Cargo Attachment
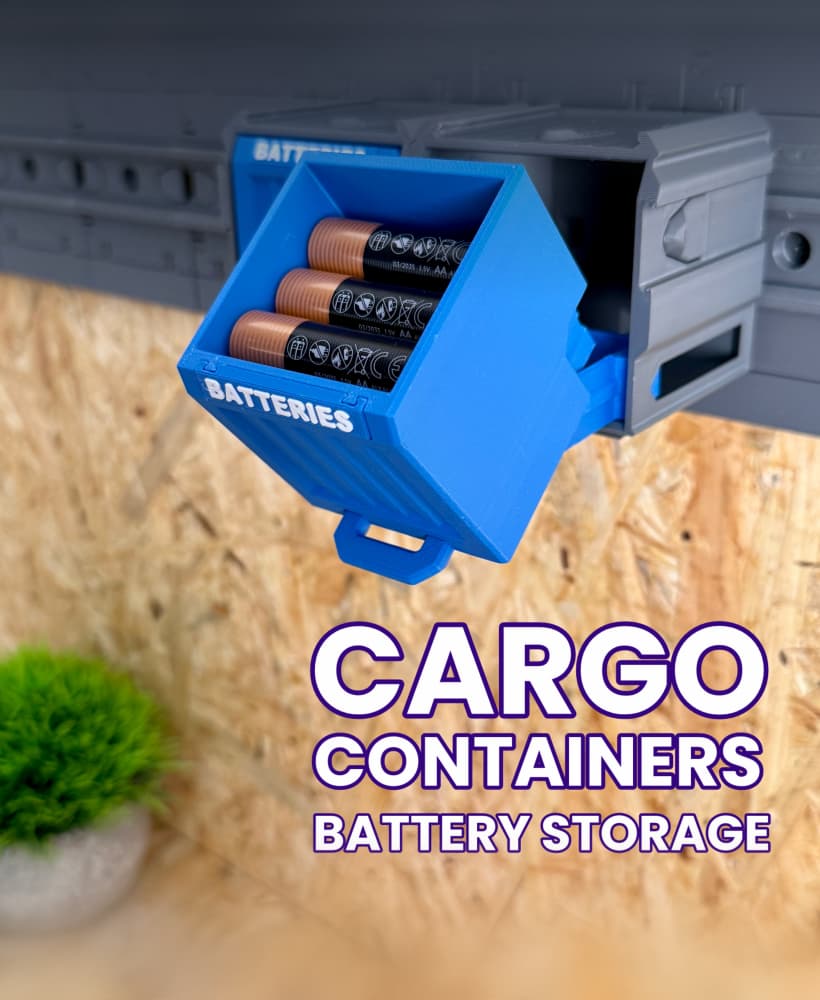
Cargo Containers: Battery Storage

Cable Organiser USBC 1x1 - Cargo Attachment
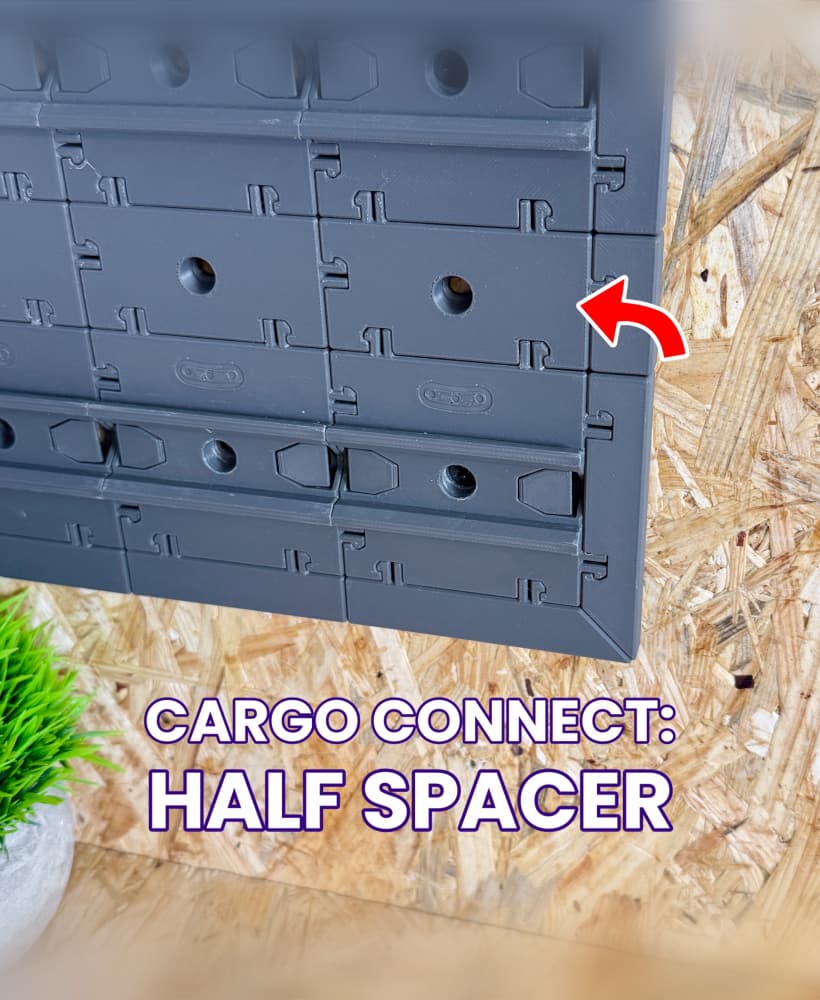
Half Spacer - Cargo Connect

Shelf 1x1 - Cargo Attachment
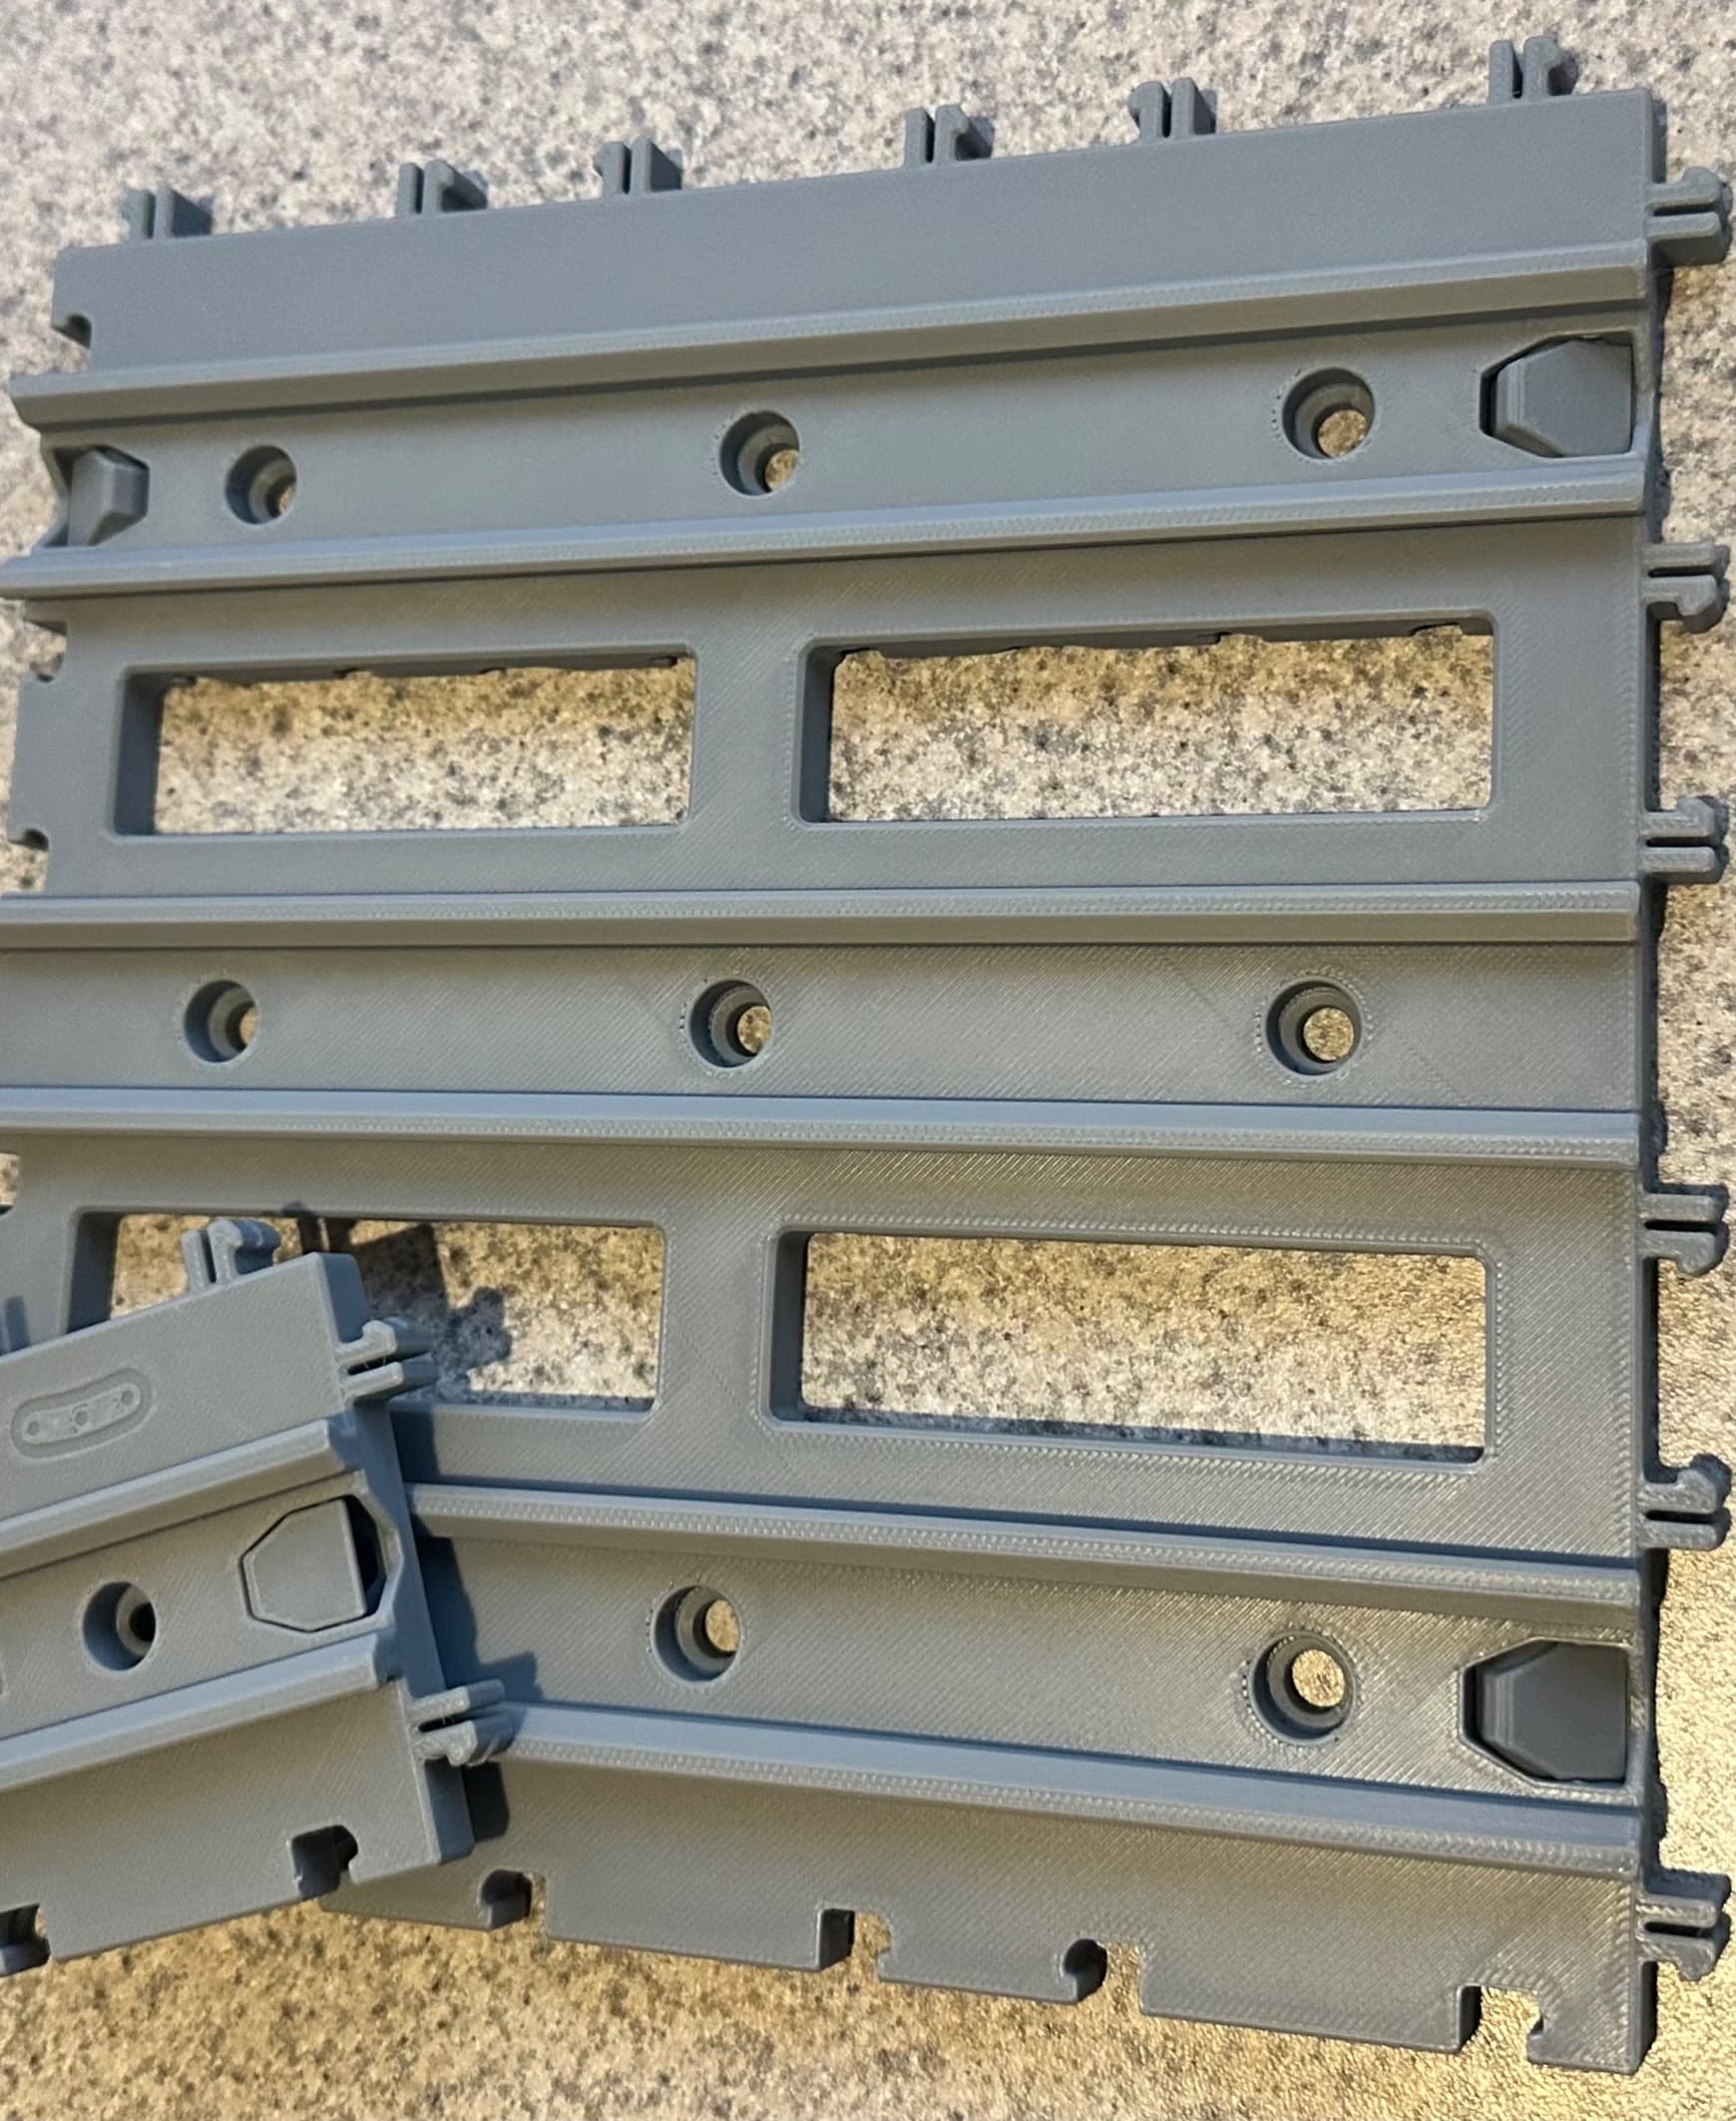
The tolerances are extemely tight. Even printing on settings that produce a super clean benchy (0.15mm layers, 80% speed) results in non-functional mechanisms. I would highly appreciate variant (tight, average, loose) tolerances to allow them to be printed on more printers / settings, even if it introduces a bit more slop in the mechanisms.
Hi, i have the same problem. The end tabs are stuck. It looks like it's printed shut. How do we fix this?
Same. You'd better have a Bamboo printer to print these, otherwise, everything prints as one piece practically. I can't set compensation tweaks large enough to make room for the parts to move and function as intended.
I printed on the Bambu p1s , same issue
I've also had trouble with tolerances. The end stops are completely non-functional, even after enough force to break the entire module, and the rails make it extremely hard to move the boxes.
had the same issue with the rails-- though I've had some success with repeated use-- it seems eventually they sort of "wear down" and then modules can move smoothly across them, but I came to this comment session looking for a solution to rigid mechanisms as well
Hey, for mechanisms that seem to be a bit too tight (which can be various factors, including printer, filament type and warping), as long as they're moving (even if a bit stiff), you can then try adding a bit of silicon grease - it's extremely effective for smoothing out mechanisms. If you add it to the Rails, the Cases and Tiles should glide a lot smoother.
I guess i found solution. When you print it and fint out that part that should work as hinges is melted together just adjust stopper Y size to 98% or 97% (to make gap there bigger) then you just hepl it to move first time with screwdriver and it worked like magic for me! Printed on full speed with Anycubic Kobra S1.
i printed this today and thought the lock was "glued" But i just pressed on the backside until i heard a crack, then turned it around and rocked it back and forth with the help of a plier and it works just fine.
Hey, this is most likely a printer, filament type or warping issue. The stoppers are tightly toleranced to stop them flapping around when you're using them so can't be too loose unfortunately - try printing at 50% speed to see if that helps
Please create a version from the rails and the bins witch have at least 0.2 tolerance! We are paying for this!!!
Hey, yes the designs generally require high quality printers because of the mechanisms and connections, unfortunately by changing the tolerances for each design it would have a knock-on effect, affecting the function of both features in that part and other designs. We design and test on Bambu P1S, A1 and Prusa Core One printers atm.
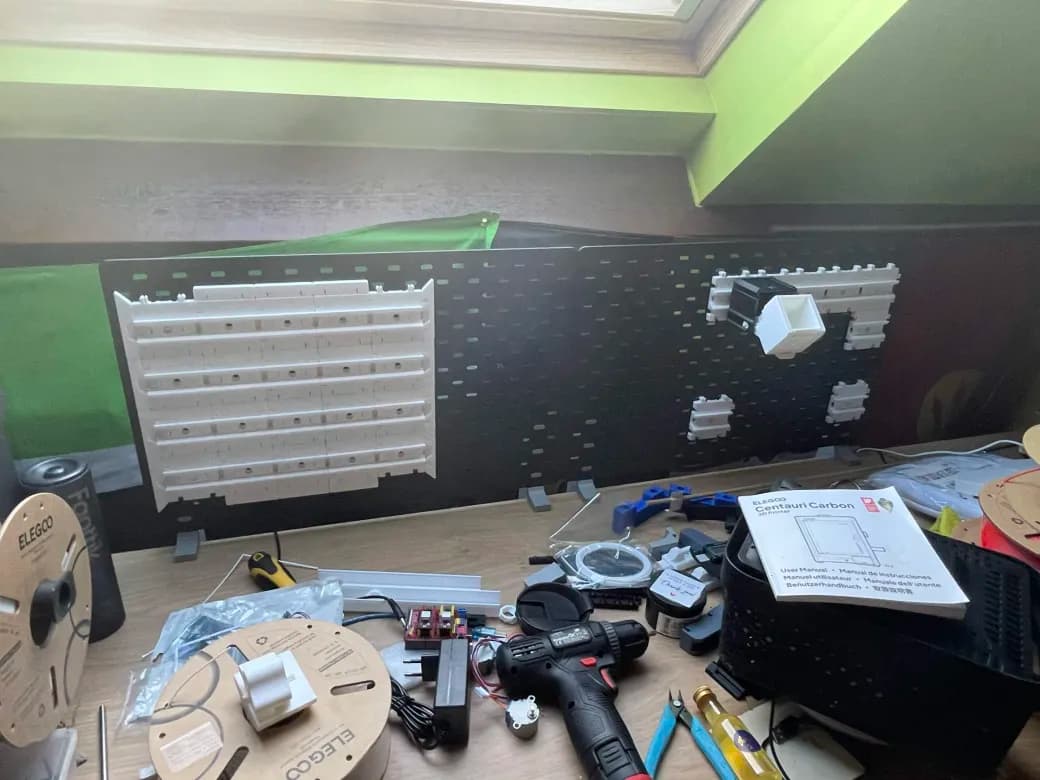
Oh I need this. I am planning to do a wall that would hold potentially 70-100 containers, and being able to print a 3x3 piece rather than 9 individual would be great!
Hey mate. Could share or send me a copy of this STL file please?? Here's my email spike331@hotmail.com if u could send it as an attachment that would be most appreciated.
Hi, have you had any luck? Did you get in contact with tonysr? :)
Tell us more. :)
do you have a file?
Hey, the stoppers are tightly toleranced to stop them flapping around when you're using them so can't be too loose unfortunately - try printing at 50% speed to see if that helps. Also, we test at 0.2mm so try that layer height (it should also print quicker)
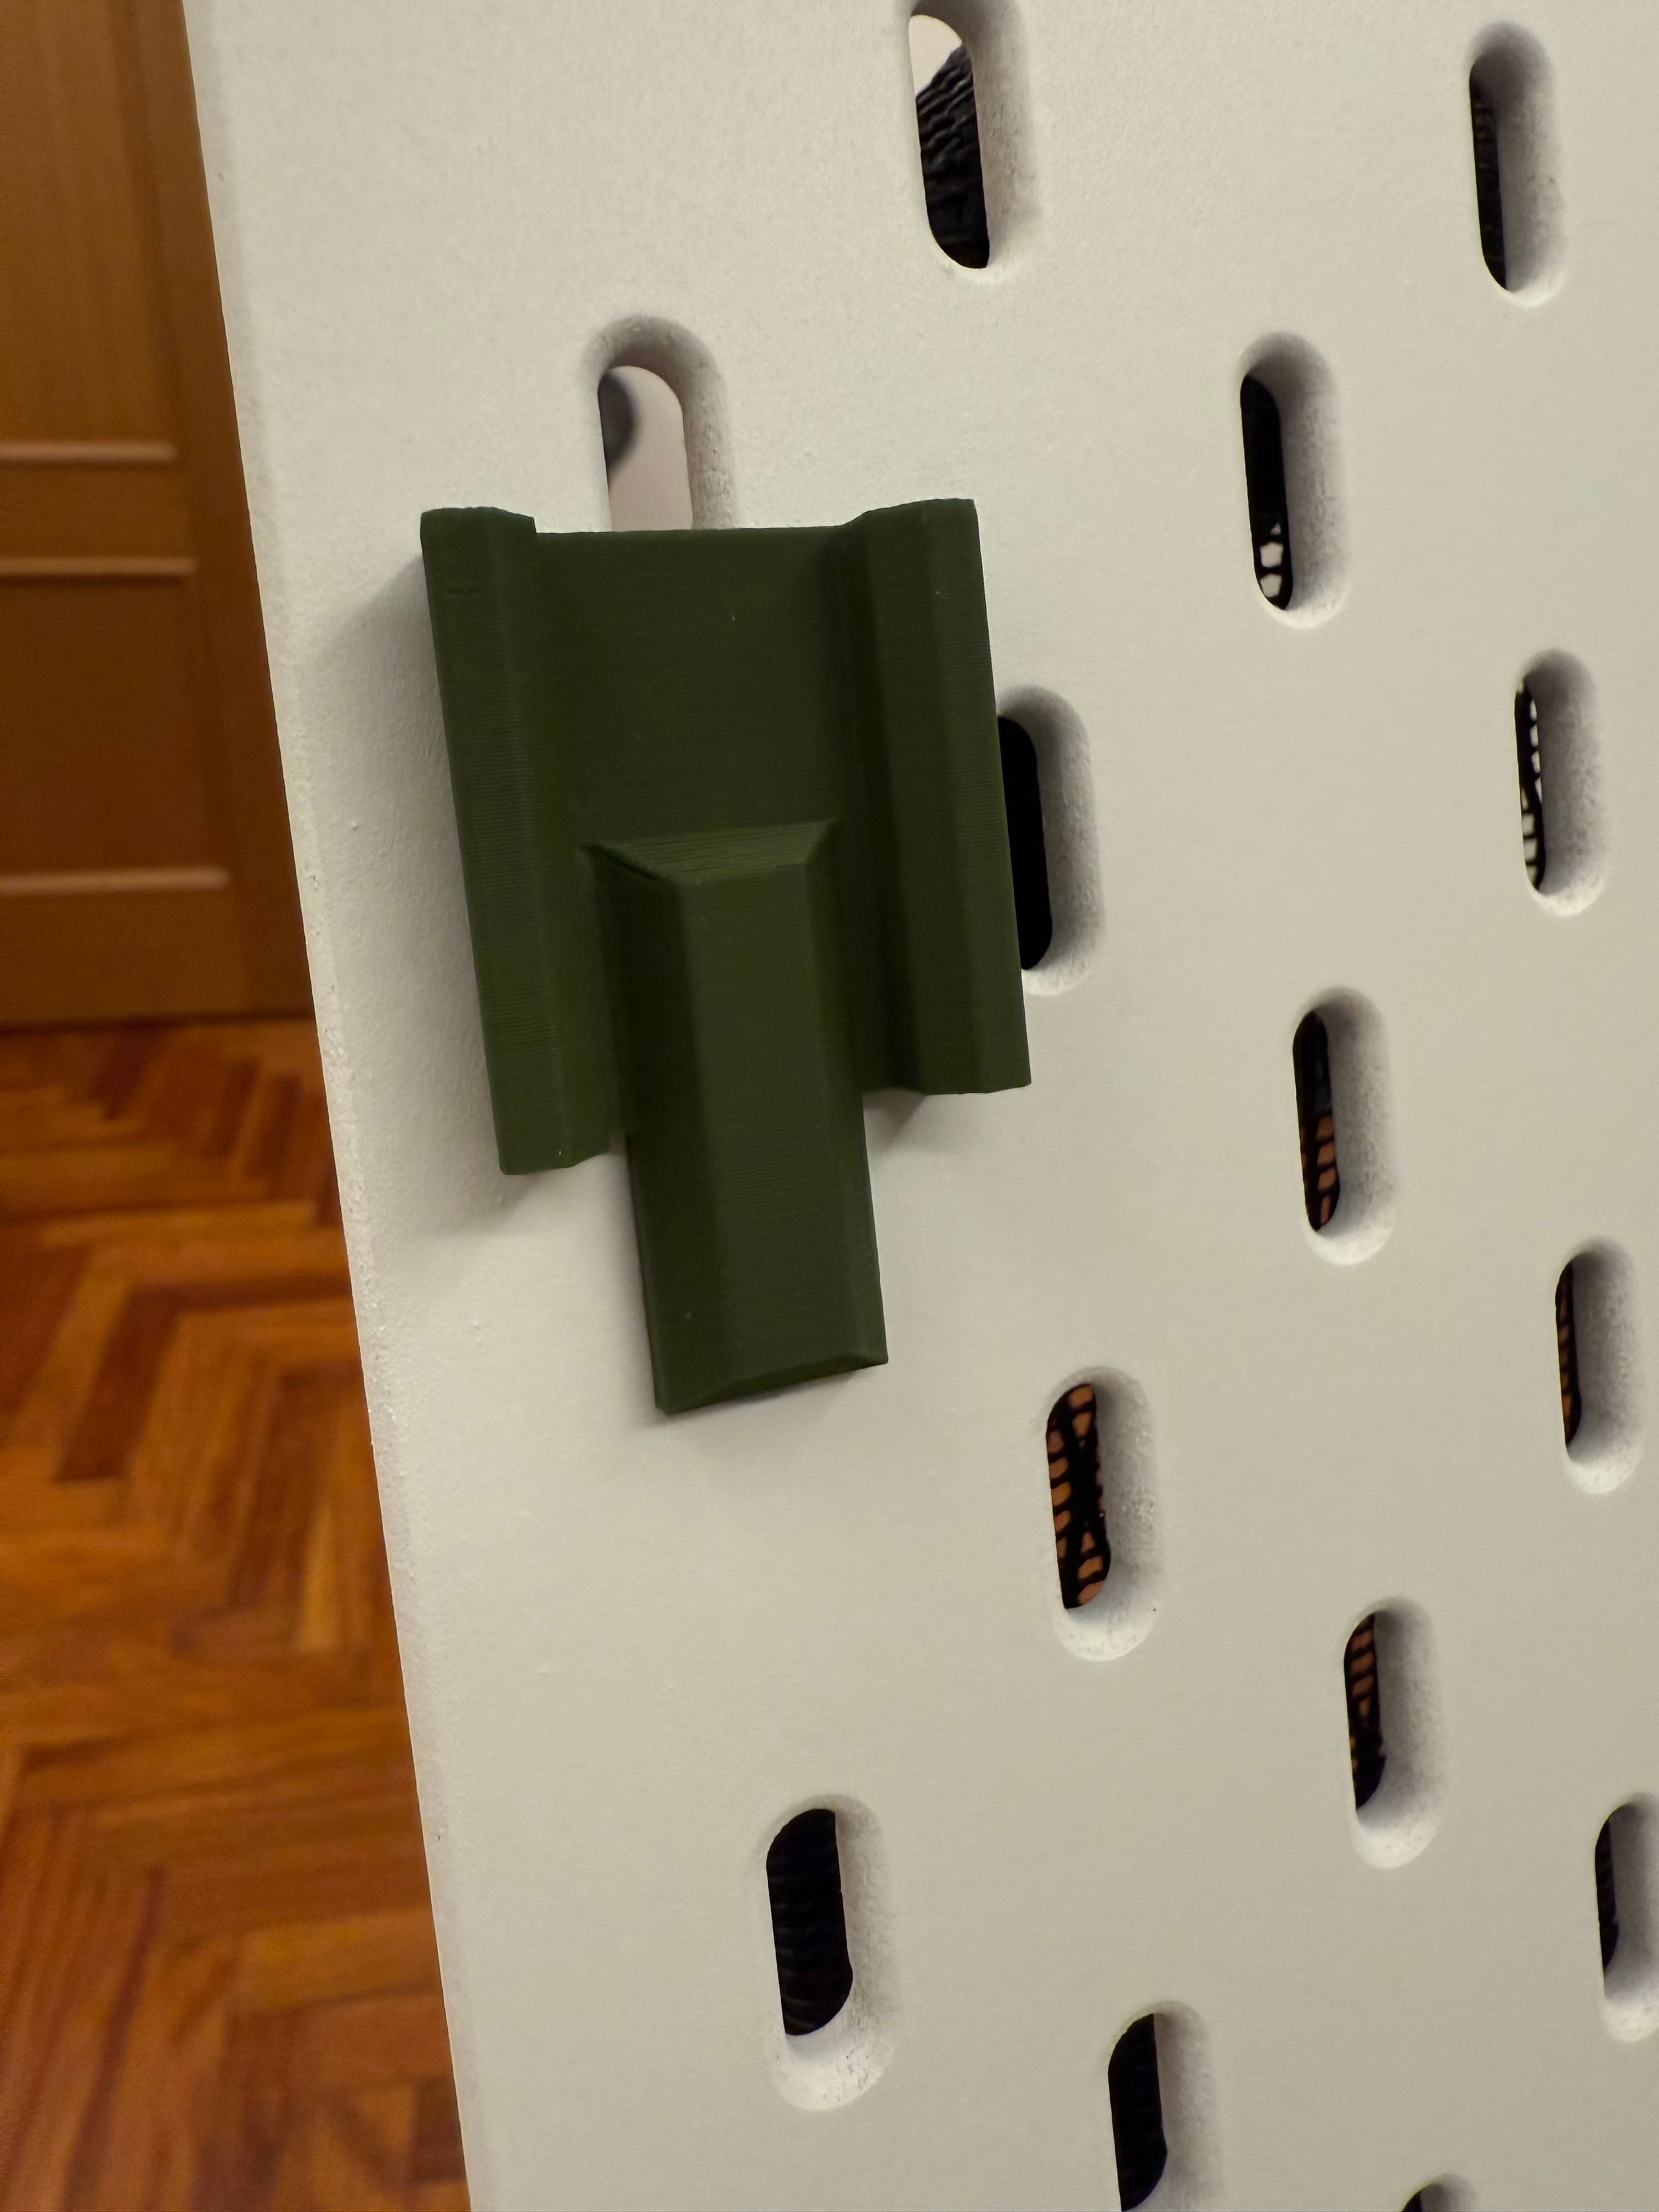
Thanks for 123% Scaling. I edited mine and added holes compatible with the Skadis T Clip System designed by Samulski https://makerworld.com/en/models/859600-twist-clip-for-skadis-t-clip-system?from=search#profileId-809544
If anyone needs the files for the T Clip System I am happy to share them. As to not undermine Play Conveyor as it would give away the original model I will just need to see some sort of proof that you have paid for the files from Play Conveyor already. Feel free to send me email at benamellott@gmail.com.
Hello, where can I find the adapter for skadis? I mean the green one you created.
Great, glad to hear it!
Do the mechanisms work?
Fonctionne tres bien sur creality k2 plus en standard 0.20, nozzle 0.4 et 15% de remplissage avec pla + sunlu
!! amazing, did you upload a remix somewhere? Would love that
Any Chance this can be modified to connect to Multiboard directly?
This really needs Ikea Skadis compatible hooks.
Thank you for the great design! Only thing i struggle with is the tollerance on the push notches, its so tight i could not move the notches.
Hey, the stopper for the Rail needs an initial strong push and further use should loosen it more.
A high quality printer (e.g. Bambu or Prusa), matching filament and great bed adhesion is also very helpful with tolerances as well
I printed on a P1S, same issue
Hey, we use 0.2mm layer height, Bambu filament, Textured PEI plate and aim for around a 20-26 degree celsius print environment.
Also try printing slower, 50% speed can help if you're having trouble (although we test with 0.2mm standard speed, 2 walls and 15% infill)