
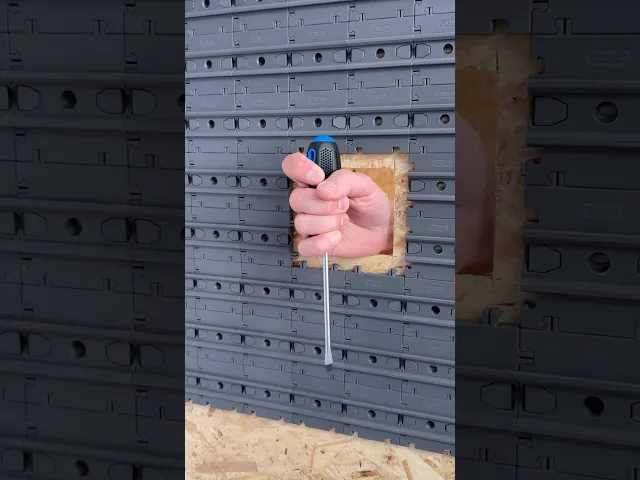


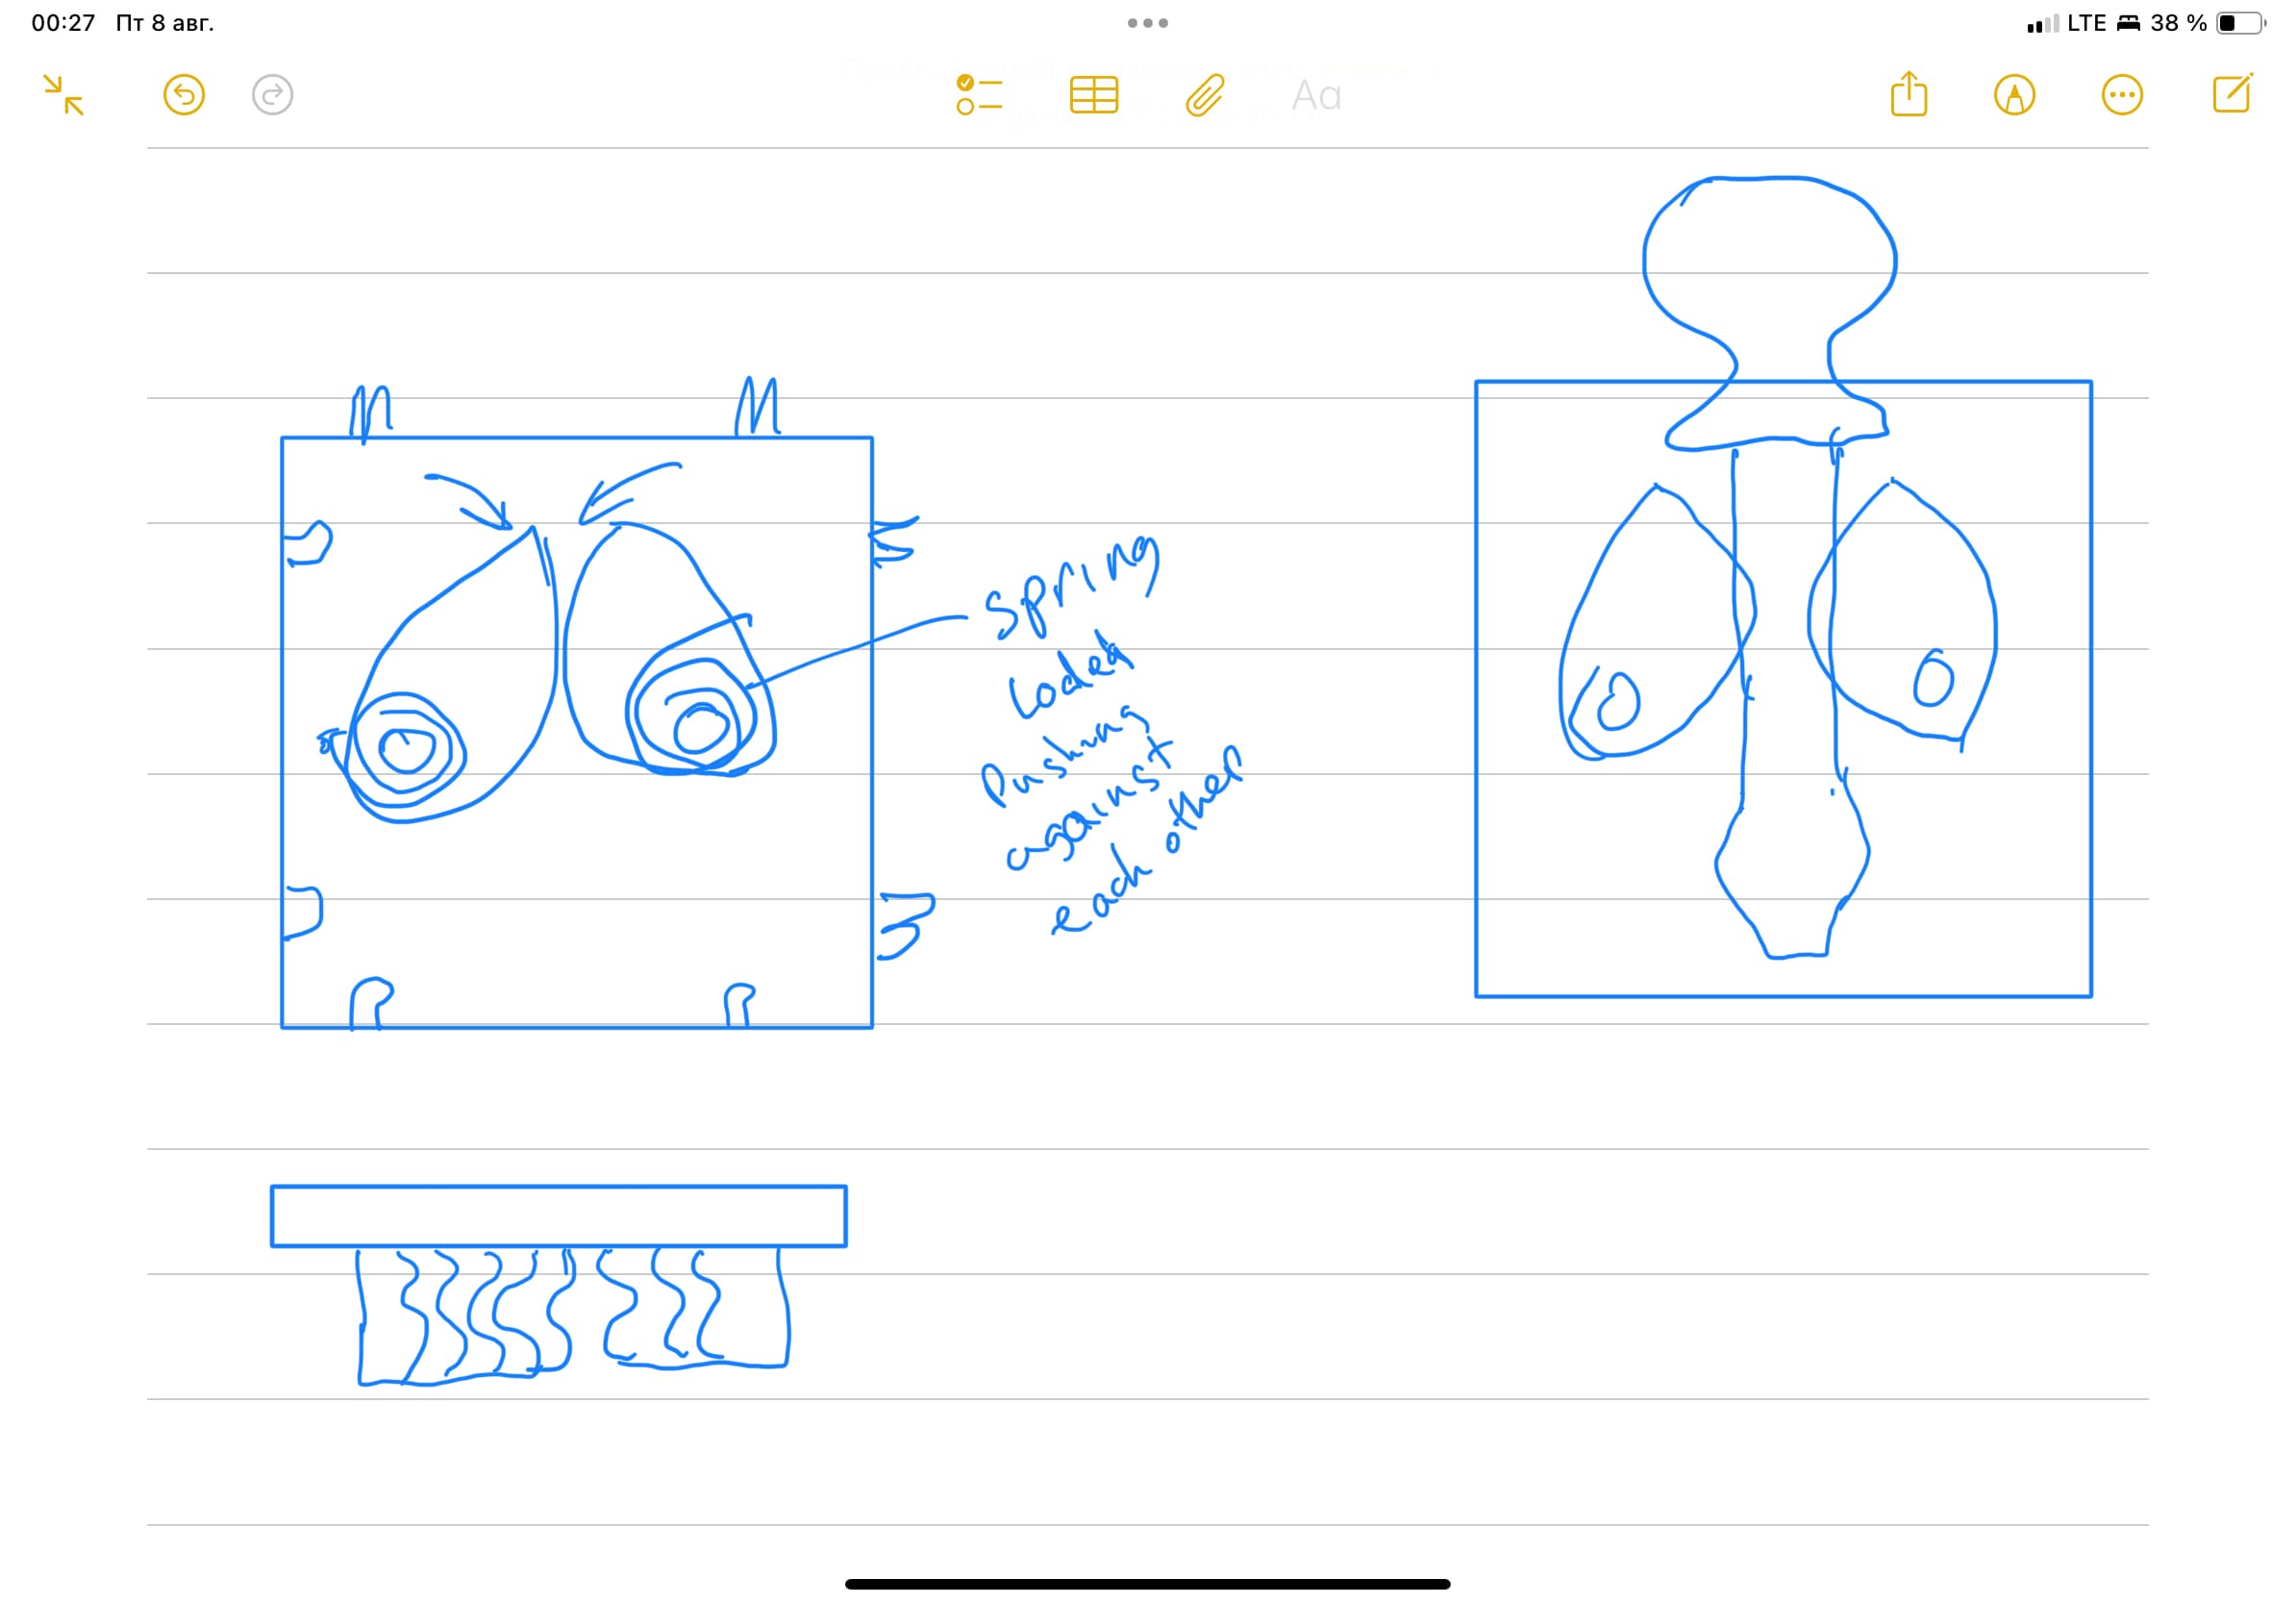
Gripper 1x1 - Cargo Attachment
Add flexible gripping storage to your Cargo Modular System, The Gripper gives you an adjustable, self-locking holder for tools, tech and everyday items of different sizes.
Main Features
- Built-in adjusting gripper arms
- Self-locking system holds items firmly in place
- Fits a wide range of item sizes
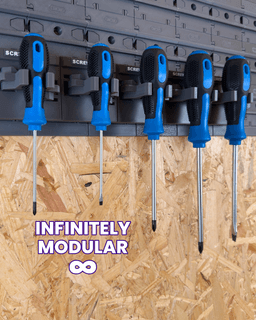
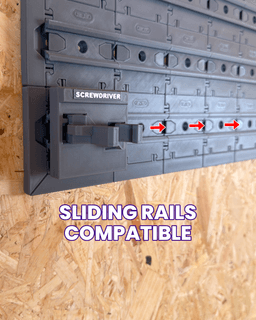
- Slides onto Cargo Connect Rails for flexible storage placement
- Infinitely modular - expand, move and rearrange your setup anytime
- Support-free printing with quick, simple assembly
- Fully 3D printable design
- Prepared 'Ready to Print' file included
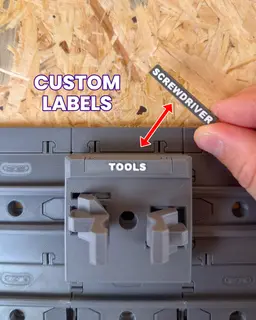
- Built-in label slot for custom organisation
What is the Cargo Modular System? Imagine a fully 3D printable system that can organise every aspect of your life, from your kitchen or workshop, to your gaming setup or craft studio.. that is our goal for the Cargo Modular System.
We are documenting the development on our social media channels and we'd love for you to join us as the Cargo system grows and evolves. If you have any upgrades you’d love to see or feedback, be sure to leave a comment!
What we use:
3D printer - Bambu Lab P1S - Get one here*
Filament - Bambu Lab PLA Basic Dark Grey - Get some here*
What's Included:
When you have downloaded the model, you will find the below inside:
Ready to Print (.3mf file) - All the parts in one place and ready to print. User Guide (.pdf file) - A complete ‘User Guide’ to help you print and assemble the model. Extras (.Zip folder) - Contains any Optional Parts and an Archive of previous versions of the model, if applicable.
Happy Printing
Play Conveyor
*Some links in this description are affiliate links, which means we may earn commission if you purchase through them.
Gripper 1x1 - Cargo Attachment

Hook 1x2 - Cargo Attachment

Cargo Containers - 1x1 (Mini Modular Storage)

Rails 1x1 - Cargo Connect

Cargo Containers - 2x1 (Medium Modular Storage)
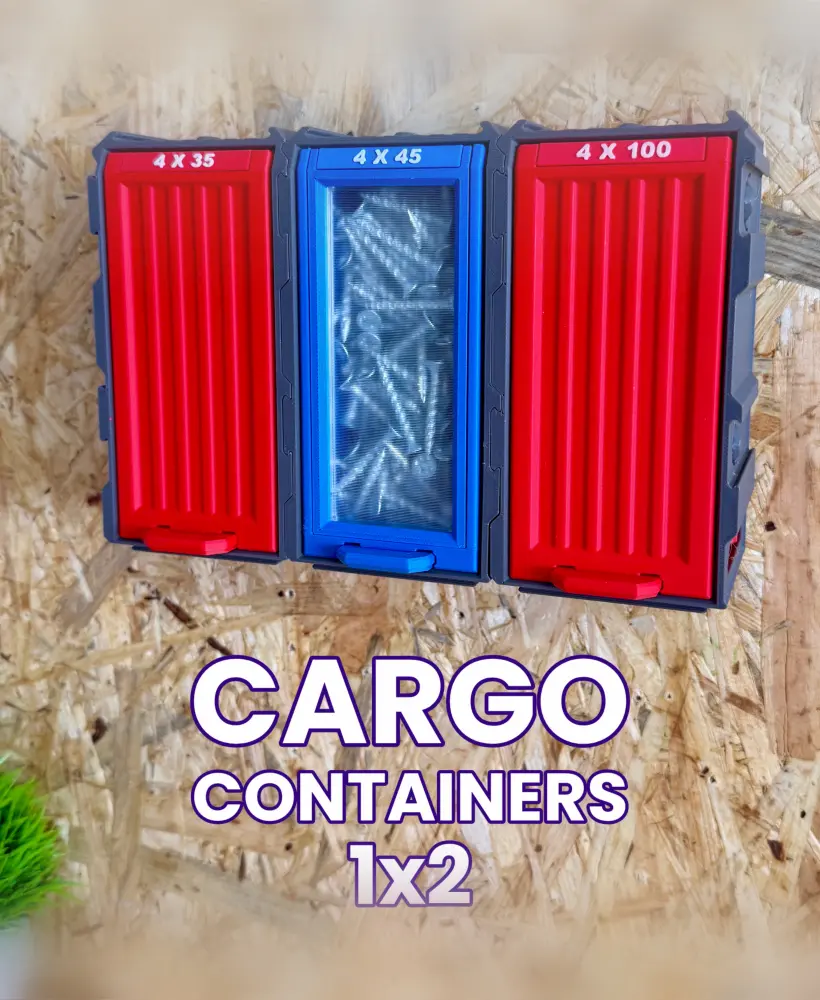
Cargo Containers - 1x2 (Medium Modular Storage)

Shelf 2x2 - Cargo Attachment

Cargo Containers - 3x1 (Large Modular Storage)

Hook 1x1 - Cargo Attachment

Extending Shelf - Cargo Attachment
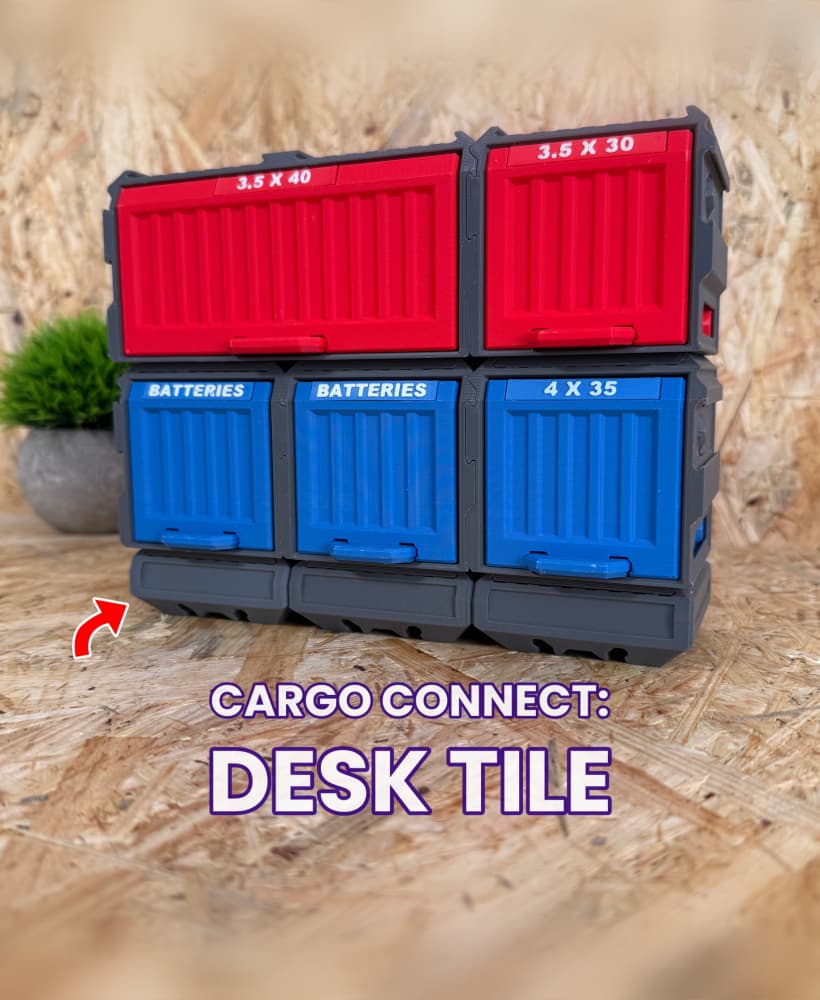
Cargo Connect - Desk Tile

Cable Organiser USBC 2x2 - Cargo Attachment
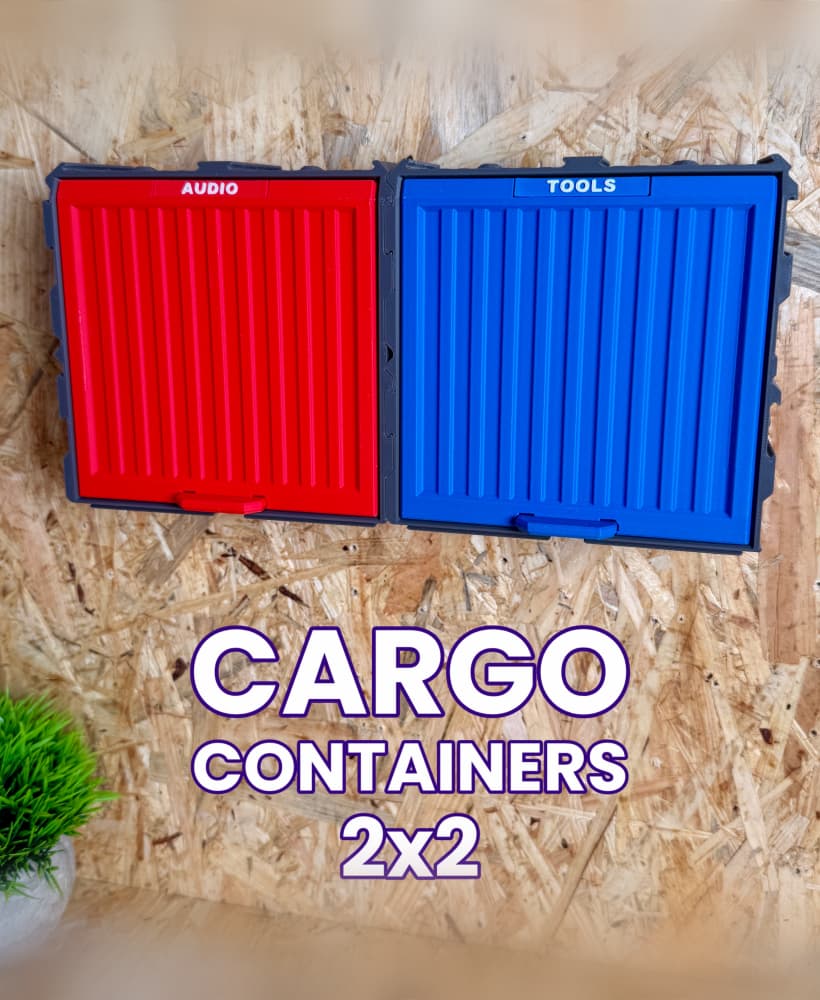
Cargo Containers - 2x2 (Medium Modular Storage)

Frames - Cargo Connect

Key Hook 1x1 - Cargo Attachment

Shelf 3x3 - Cargo Attachment
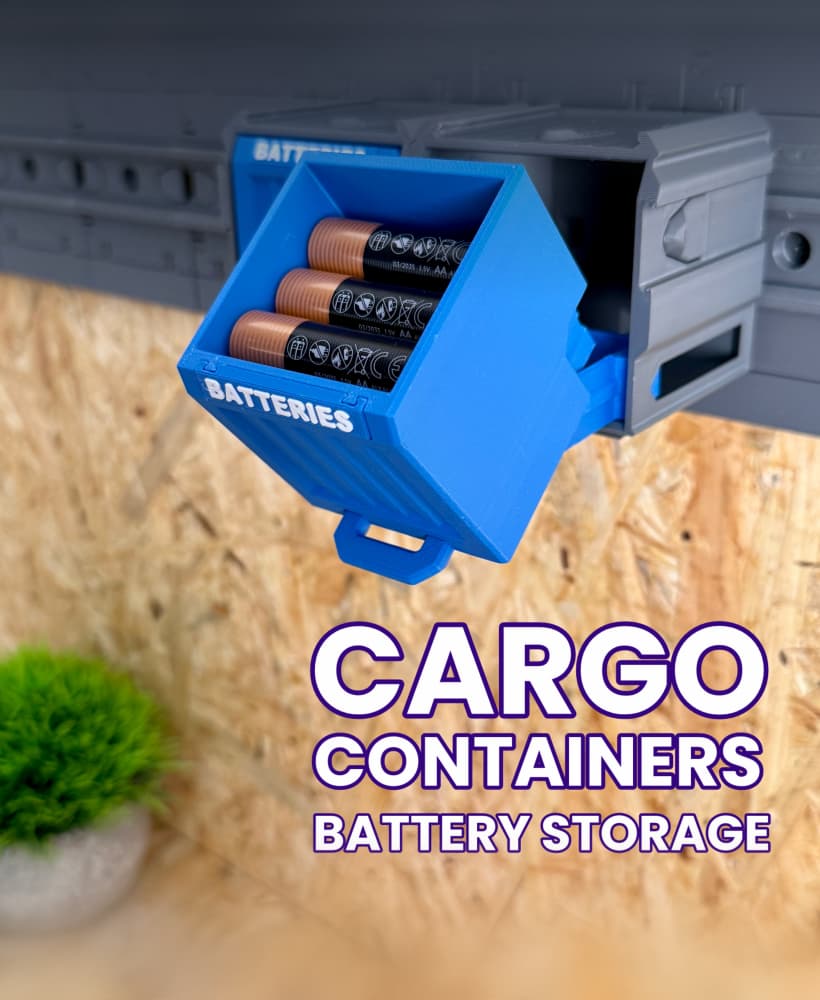
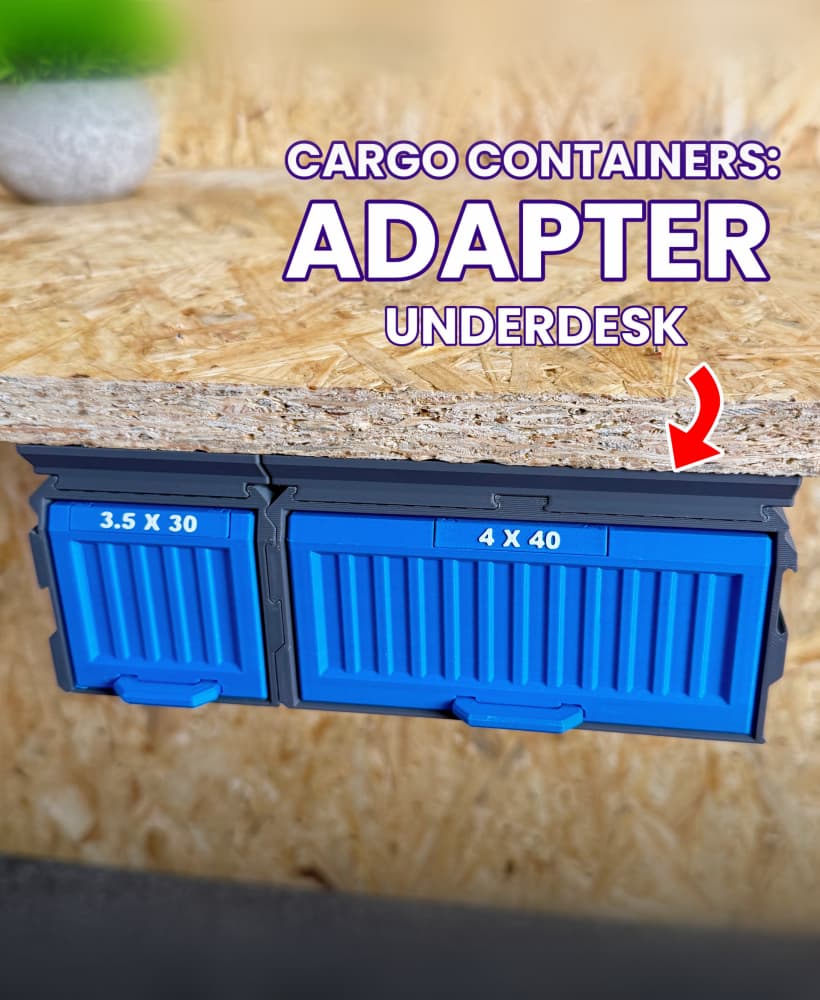
Cargo Containers: Battery Storage

Cable Organiser USBC 1x1 - Cargo Attachment
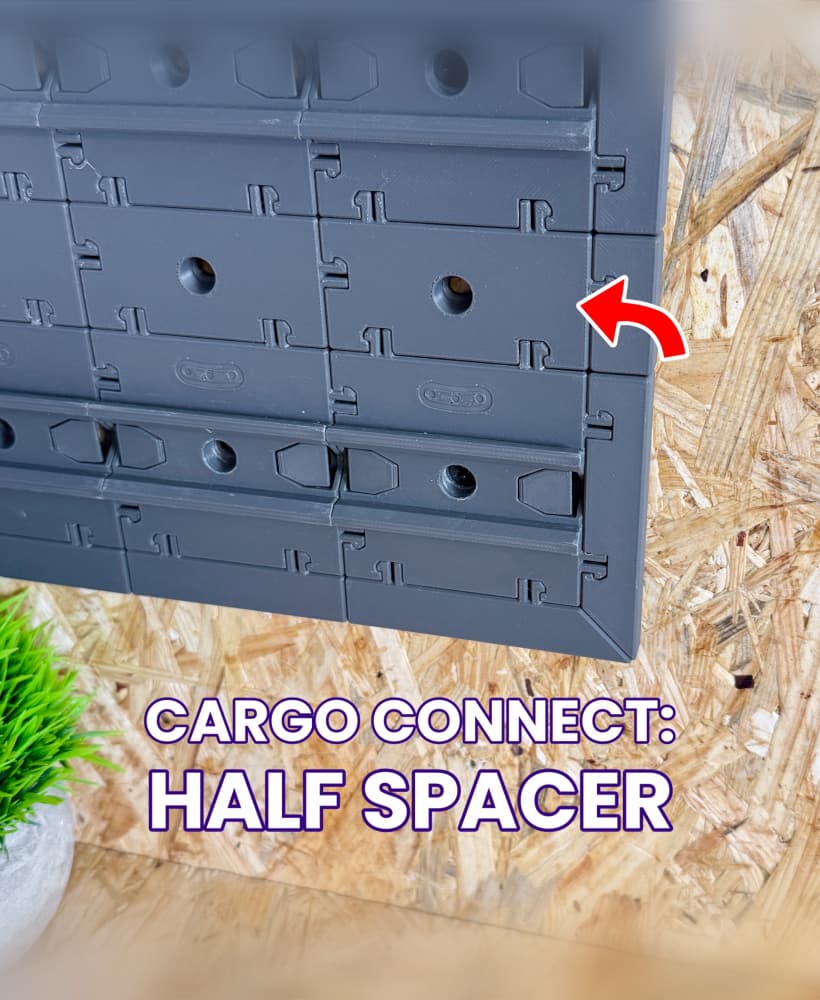
Half Spacer - Cargo Connect

Shelf 1x1 - Cargo Attachment
Hi, this is such an awesome design. But, after printing I find the parts are very tight. This particular part broke apart in my hand when I tried to adjust the gripper arms. I'm sure you have answered this before, but any tips on getting them to fit together better? Thanks
Hey, we're glad you like the design! We had to rely on fairly tight tolerances for the Gripper to fit everything into one tile. We've been designing a couple of alternative versions that have more forgiving tolerances, which are now available in the Optional Parts zip folder (the downloadable files have been updated).
The problems everyone is having are not being addressed. This is the first time I've subscribed to Thangs, and because of you it will be my last. The tolerances are too tight and you have done nothing to fix it. Just taking peoples money.
I have had some trouble with this print, but after some experimenting i have found the key to be: printing on a raft high infill working the mechanism back and forth a few times with some silicone lube before installing it on the rails
Definitely to tight, to move the gripper. Printed in petg-cf and after the first slide, the slider just broke off
It seems like we are all having the same issues with not being able to loosen the gears without breaking the tabs. Is this being looked into or are there any solutions?
do not bother having loose gears. even if you do not have tolerance issues, the very small connection between the mechanism at the back and the hooks at the front will break very soon. and if you try to glue it back together, everything becomes static - so what about the purpose of a variable hook width, then? in my opionion, nice looking try, but much room for improvement left. let's see what they will come up with.
Hey! We've been working on two alternative options that have more forgiving tolerances. We've updated the downloadable files and you can find these two versions in the Optional Parts zip folder.
Hope this helps!
after 3 times printing and trying to get this hooks moving, i give up. too tight, no chance to loose this thing, so it'll move nicely. imho it's not a good idea to place the moving pieces at the beginning of the rail.
Finally i succeeded to print the Gripper and to loosen the gripper arms....
i managed to do this, right after printing, lets say, waiting for 2 or 3 minutes i startet to loosen very gently the gripper arms. with this way i succeeded to release them without breaking them.
maybe it was also the filament or maybe both.... i used polymaker filament...
so maybe this is for someone helpful who did not yet succeed printing and realising without breaking.
Hey, thanks for the updates. The Gripper does rely on fairly tight tolerances to fit all the parts into a single tile - we're glad to hear you got it solved in the end! if you have any issues in the future, we have added to alternative options which have slightly more forgiving tolerances.
Same here the design is not working, If you want to adjust the grippers it breaks. I printed in PLA (Bambu) PETG (Generic)
Please adjust the design, its a great addition to the series
Hey! We've added a couple of alternative versions that have slightly looser tolerances and are more forgiving to print if the original design isn't quite coming off the printer smoothly. The downloadable files have been updated, so you can find these two versions in the Optional Parts zip folder.
Hope this helps!
Nice design before printing. 4 tries everey Part ist breaking. It´s too tight designt. It´s not working.
Guys! This is not a tolerance issue.The carriage is guided at the front but not properly constrained at the rear. When users adjust it, they apply force above the sliding plane, creating an overturning moment. The carriage tilts, side-loads the rails, friction spikes, and the mechanism binds — then parts break. Pressing the back against a flat surface removes the tilt and it slides smoothly, which confirms it’s a constraint issue, not clearance. Send me step-files. And I'll gladely fix it.
So far this is the only part of the cargo connect system i've had any trouble printing, all other parts print perfectly woth no supports, rafts or brims at all. I did manage to get the release version to print correctly but i had to slow my printer down, lower layer height to 0.1mm and add a raft to just keep everything perfectly in place.
All that being said I have the larger tolerances version sliced and ready to go so ill keep my fingers crossed for that one turning out well.