
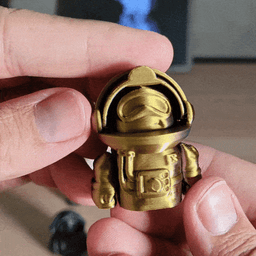


Tiny Rocketman
36 downloads · 2 years ago · **Tiny Rocketman and Spaceship!**
Print-in-place with zero supports!
THINGS TO CONSIDER:
- For si
This model is restricted by licensing terms.
View license.
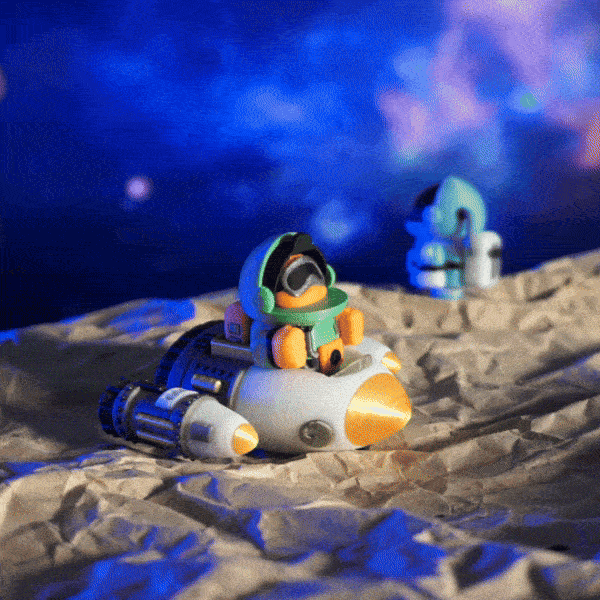
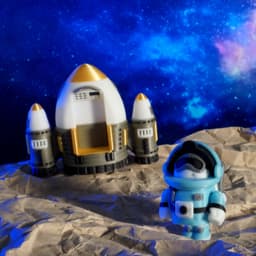
Tiny Rocketman and Spaceship!
Print-in-place with zero supports!
THINGS TO CONSIDER:
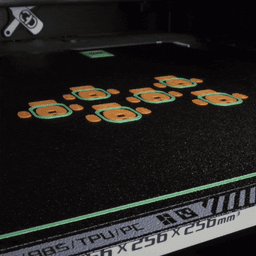
- For single-color printing, use the STL file (no weird gaps).
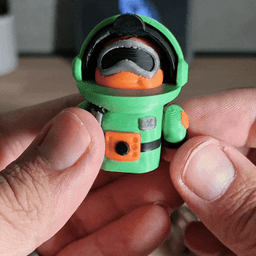
- The visor starts printing mid-air over the helmet's inner flat surface, with a 0.2 mm vertical gap (like a removable support). This means:
- The slicer may warn you about floating regions, but you can ignore it. I'm adding a "head only" test file so you can check this before a long multicolor printing session.
- Scaling it too much may cause the visor to fail. For that, I recommend printing it apart and assembling it later ("visor " and "visorless" files).
- After printing (check this video):
- You need to firmly push down the visor tab to loosen it the first time. Force may vary between filaments due to differences in adhesion.
- You have to loosen the arms BEFORE the legs. Simply rotate the arms until the legs can wobble. Then you can pull the legs out, and they can lock in place (and still allow a few degrees of articulation).
- If the legs get stuck, you can use a flat screwdriver or similar to pull the legs using the provided hole at the bottom.
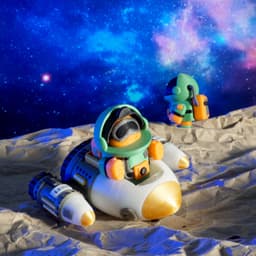
- To sit the Rocketman in the Spaceship, you must retract the legs and rotate the arms forward (as in driving position)
- Pro tips:
- The vertical "line" behind the helmet is intended to be used for the seams.
- Variable layer height is recommended for the top (the last 5-6 mm for a smooth visor and helmet). For the rest, 0.2 mm layer works great.
I've done several tests, but I foresee the visor causing issues to some people/printers/filaments. For that, I've provided separate files inside the "Visorless" folder. Then you can snap the visor after printing.
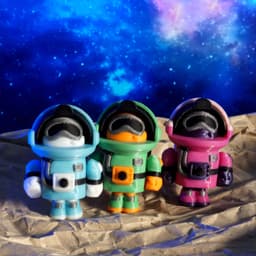
There are 3 files for the Spaceship. Among these, the file Spaceship_v1.3MF has been designed to be printed in multicolor, but using just 5 COLOR CHANGES. The geometry was designed with this in mind, as an attempt to save waste in big multicolor prints. It can even be printed in single-color printers 😁
Tiny Rocketman
36 downloads · 2 years ago in and
This model is restricted by licensing terms.
View license.