
.png&w=256&q=75)
.png&w=256&q=75)
.png&w=256&q=75)
.png&w=256&q=75)
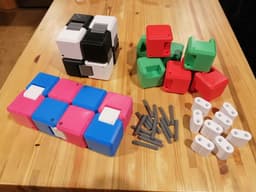

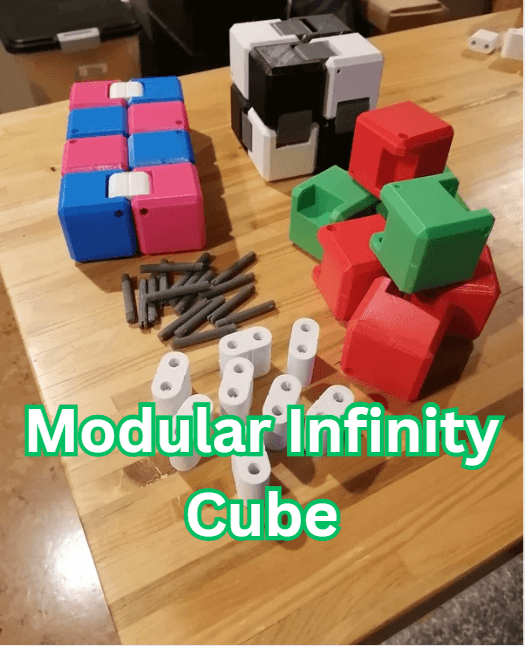
Modular Infinity Cube
17 downloads · 9 months ago · Print parts and build your own custom colored infinity cube! Pick any color of cubes, hinges, and bo
This model is restricted by licensing terms.
View license.
Print parts and build your own custom colored infinity cube! Pick any color of cubes, hinges, and bolts for any number of options. The total number of parts to build 1 whole infinity cube are as follows:
- 4x A pieces (blocks)
- 4x B pieces (blocks)
- 8x hinges
- 16x bolts As well as you'll need a small flat head screw driver for installation and a toothpick or similar to remove bolts (after loosening).
Building instructions:
- Follow the pictures showing the pattern, I've included top, front, and bottom pictures to make sure your blocks end up in the proper orientation.
- First line the hinge holes up with the holes on the blocks then insert the bolt into the large hole side of the block. Using a small flat head screw driver to apply some pressure and torque (DO NOT OVERTIGHTEN) make inserting the bolt much easier.
- If at any point you make a mistake removing the bolts is as easy as loosening then pushing the bolt out with a toothpick or similar sized device.
- DO NOT OVER TIGHTEN THE BOLTS. They dont need to be super tight to hold. if your really worried about them falling out you can put a dab of superglue on the thread hole side. Be carefull when glueing to not glue the bolt to the hinge. Also gluing will result in not being able to change out parts in the future or if build mistakes happen.
- Thats it! Enjoy your new customized infinity cube! It may be a little bit tight off the bat but it will loosen with use.
Printing instructions:
- I used standard PLA settings with about 25% infill but im sure this could varied a bit with the exception of the bolts needing to be 100% infill.
- Blocks can be printed on their side, edge, or corner with supports as shown in pictures, printing on the corner keeps the print bed texture to a minimum but is also hardest to successfully print.
- Hinges are to be printed on their flat side. They have cut lines in the center to keep the rounded sides smooth and without printing stop/start bubbles.
- Bolts must be printed laying down. They probably wont come out super dimensionally accurate but you wont really see them once installed and as long as the threads print good enough to tighten a bit.
Modular Infinity Cube
17 downloads · 9 months ago in and
This model is restricted by licensing terms.
View license.
Bundle
.PNG&w=3840&q=75)
Utility Knife - Wall Holders
Bundle
.PNG&w=3840&q=75)
Hand Saw - Wall Holders

Mini Excavator Ignition Cap

60mm - Cable Wranglas

Pegboard Mounting Blocks

Cup Drying - Office Desktop - Standard

Pegboard - Multi Tool Holder.stl

Pegboard - 1" Clip.stl

Hose Holder.stl

Rubber Band Harmonica

Glass/Panel Retainer Clip - Triangle Shape

Glass/Panel Retainer Clips - L Shape - Imperial

Glass/Panel Retainer Clips - L Shape - Metric
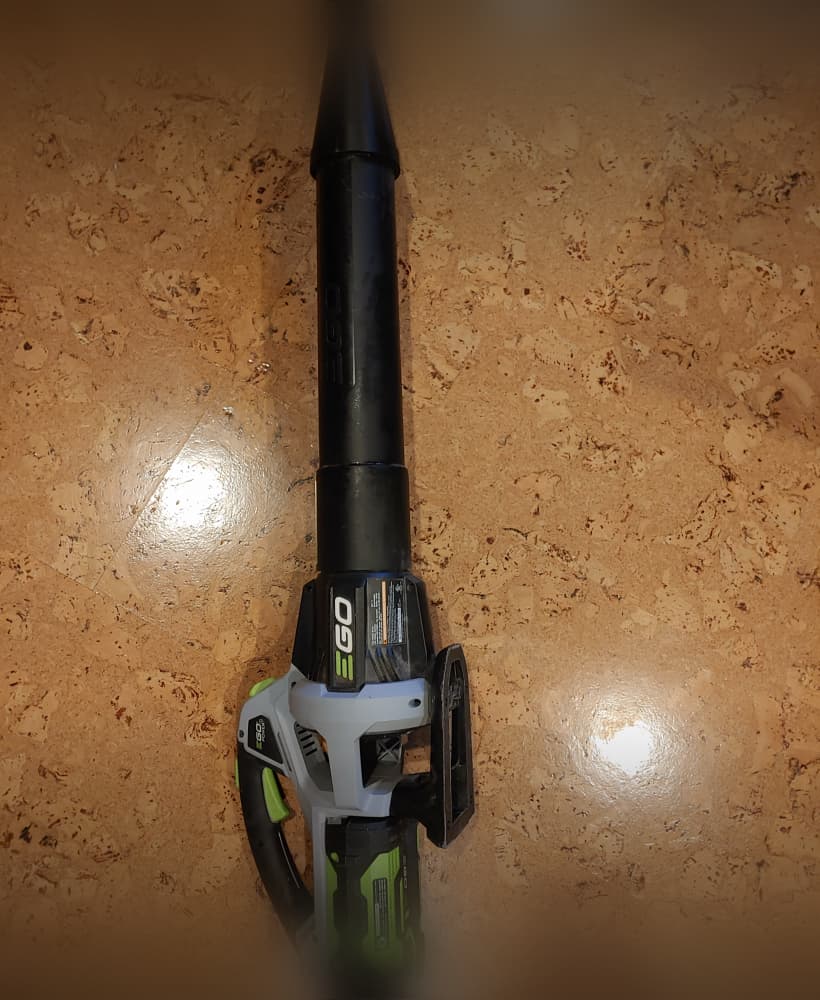
EGO Blower Nozzle.stl

Dust Port adapters Mastercraft Router Table
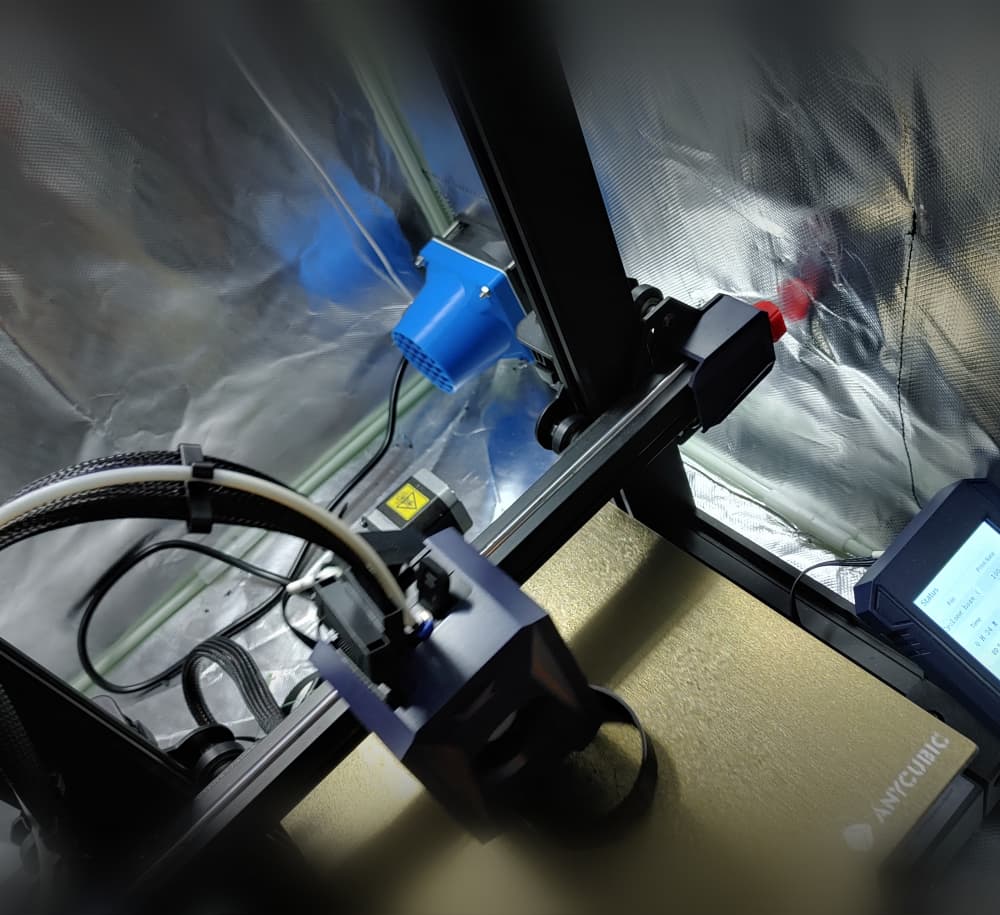
Fan intake for YOOPAI printer enclosure

Toothpick replacement for Swiss Army Knife
Bundle
.PNG&w=3840&q=75)
Hose Clamps 172-200mm
Bundle
.PNG&w=3840&q=75)
Hose Clamps 128-170mm
Bundle
.PNG&w=3840&q=75)