


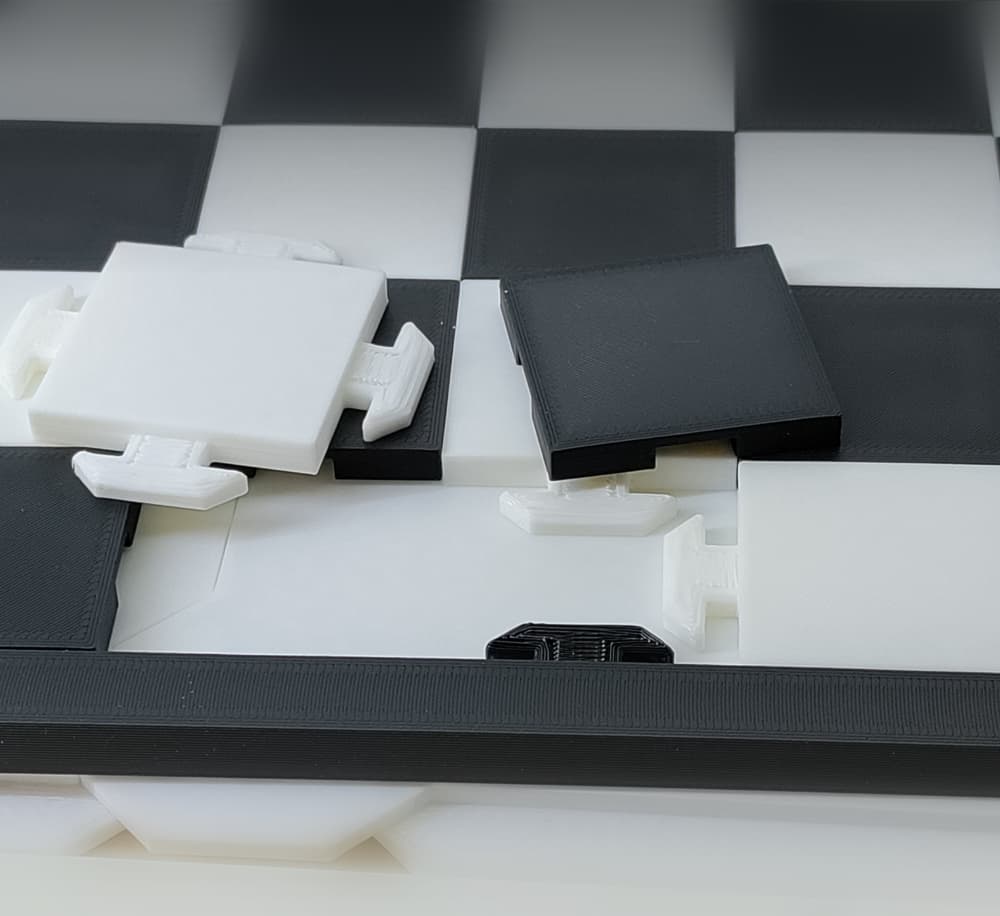
Modular chessboard - Deluxe
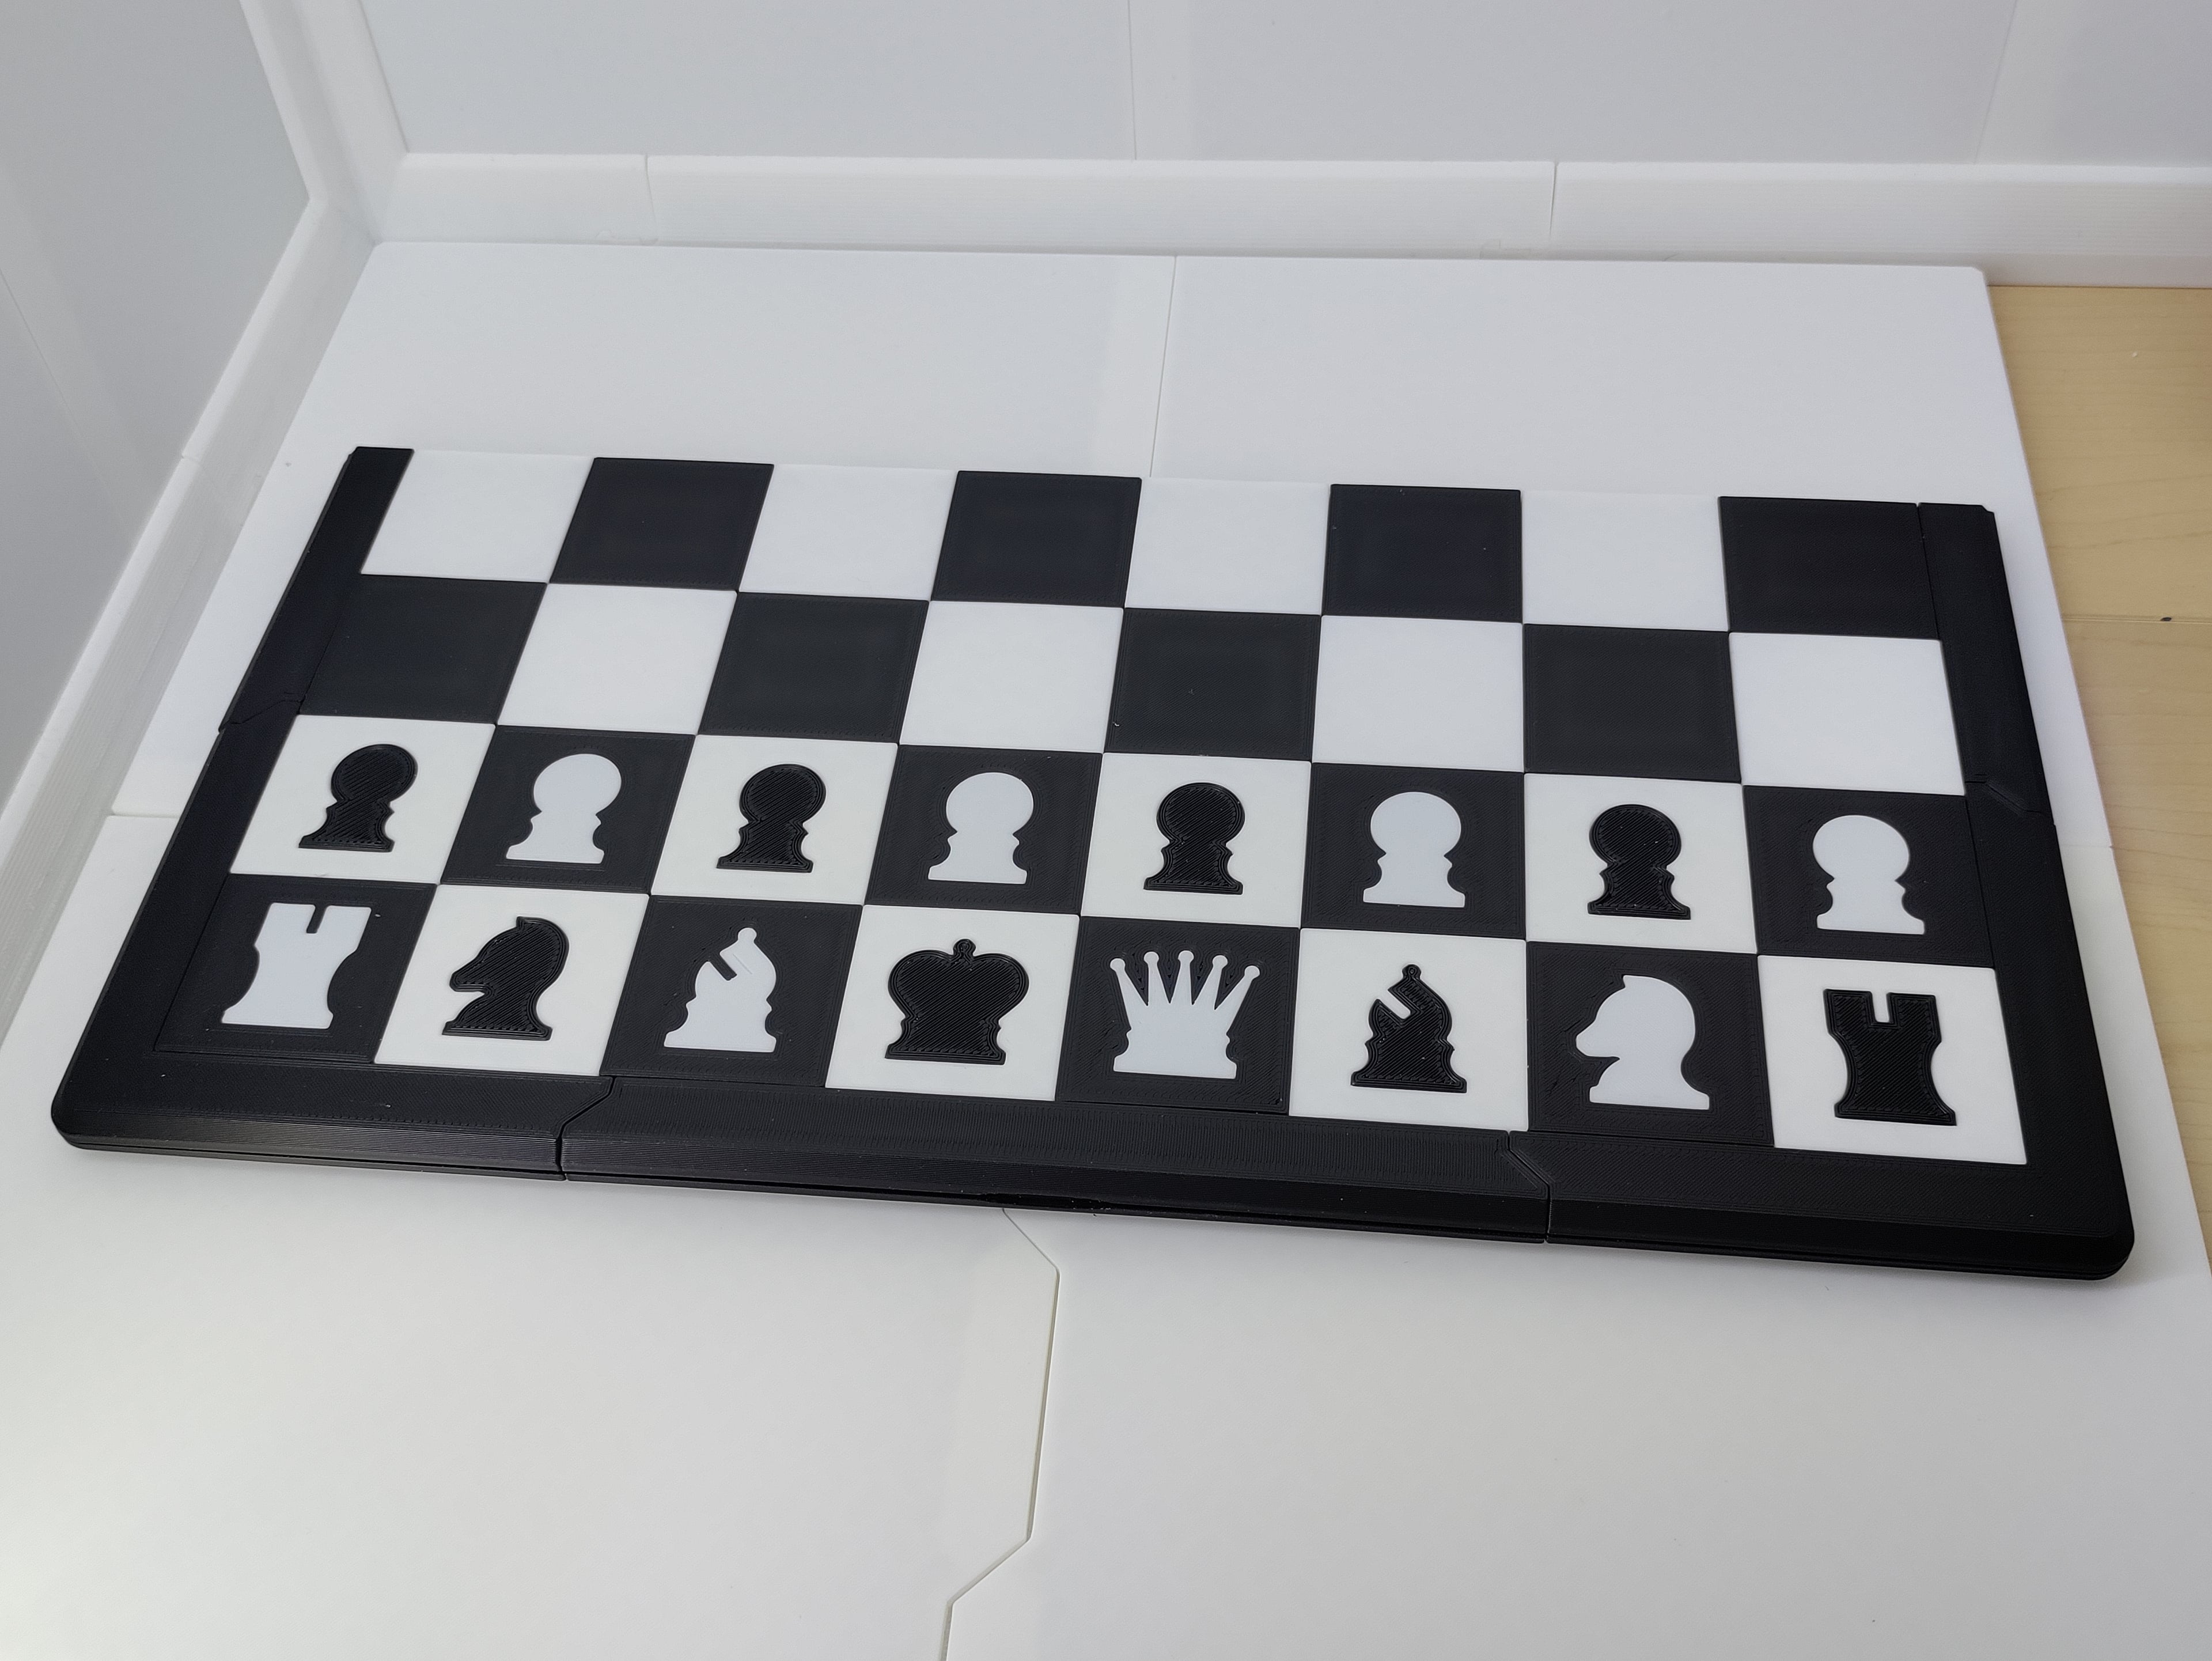
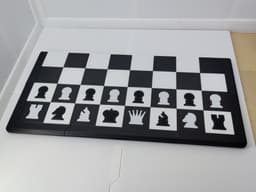
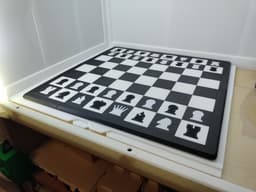
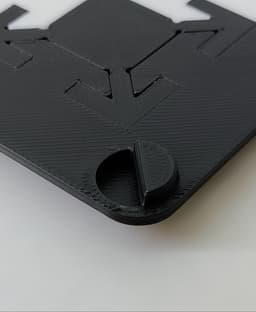
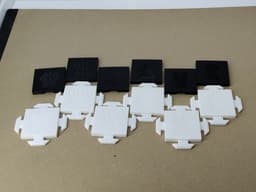
An upgraded version of the original. This version sports two new features: a hinge midway through the board, with interlocking feet on the corners to hold it closed when not in use; and a set of board squares with symbols on them representing each of the pieces of a standard chess set, to help beginners remember which piece goes where.
The instructional squares themselves come in two versions: one with an included insert to be printed in the opposite color for visual clarity; and one with only a one-layer-thick symbol cutout, for a subtler (and possibly more durable) approach.
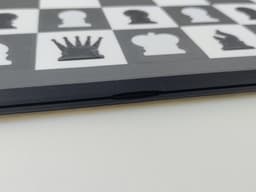
The corners of the border also come in three versions with different amounts of space between the feet and their "sockets" in the opposing corners, in case your printer is calibrated differently than mine, or you just have different preferences. The version labeled "_05" has a .05mm space between the feet and the sockets, the one labeled "_10" has a .10mm space, and the one labeled "_15" has a .15mm space. I used the .10mm version for the board in the photos, since I find it clicks together nicely without taking much effort to either close or open.
Also included is an upgraded set of the original's assembly and disassembly tools, with an extra version of the assembly tool designed to accommodate the hinged squares as well.
ASSEMBLY NOTES: Supports should only be necessary for the tabs on the sides of the white squares and for the border parts, not for the squares' symbols or hinges. Also, a length of standard 1.75mm filament should theoretically work for the hinge, but for the sake of durability, I used one of these steel rods (amazon link). Either way, I strongly recommend pushing the rod or filament through each hinged square individually first, to bore out any stubborn bits of plastic that may be hiding in there. Fair warning, it's a bit of a tight fit, especially with the rod; I used a scrap piece of wood I had around to slowly and carefully hammer the rod into place (although I then realized that the pieces can be set on the rod first and then pressed together, which might be the easier way to do things). The hinge will be stiff during assembly, especially with the metal rod, but it's much smoother when the board is complete (and becomes a bit smoother still with use).
Modular chessboard - Deluxe

Fidget Ball hearts set

Fidget Ball mushroom stem

Fidget Ball spikes set

Fidget Ball penny side

Fidget Ball open side

Fidget Ball stand - large

Fidget Ball textures set
Fidget Ball - small version

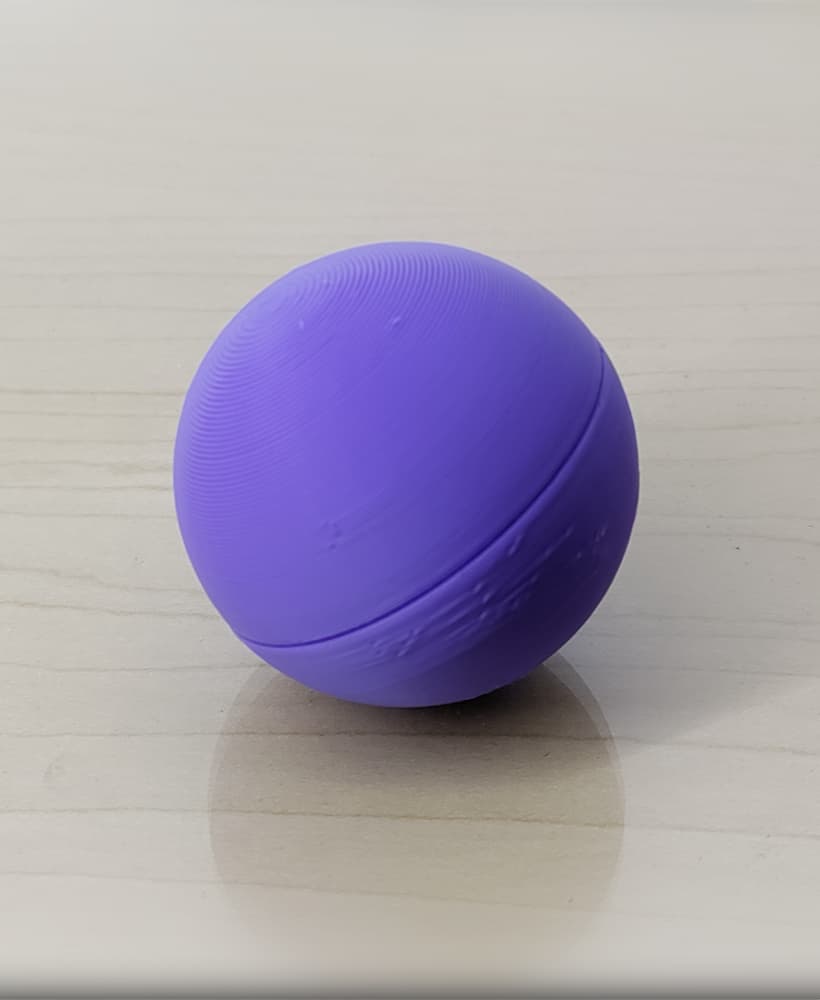
Fidget Ball
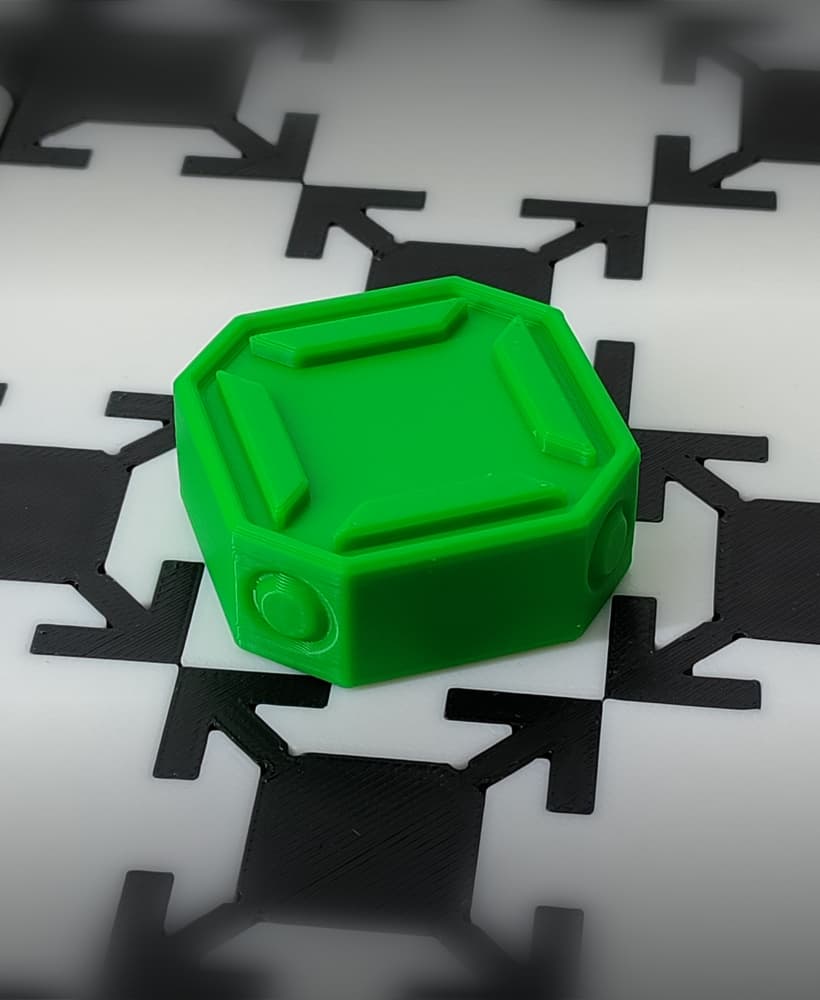
Modular chessboard tools

Memory Chess Set
Modular chessboard

Slots Chess Set

Yin Yang Pendant - Fuxi / King Wen

Yin Yang Keychain - Fuxi / King Wen

Yin Yang Pendant - King Wen

Yin Yang Keychain - King Wen

Yin Yang Pendant - Fuxi

Yin Yang Keychain - Fuxi
