


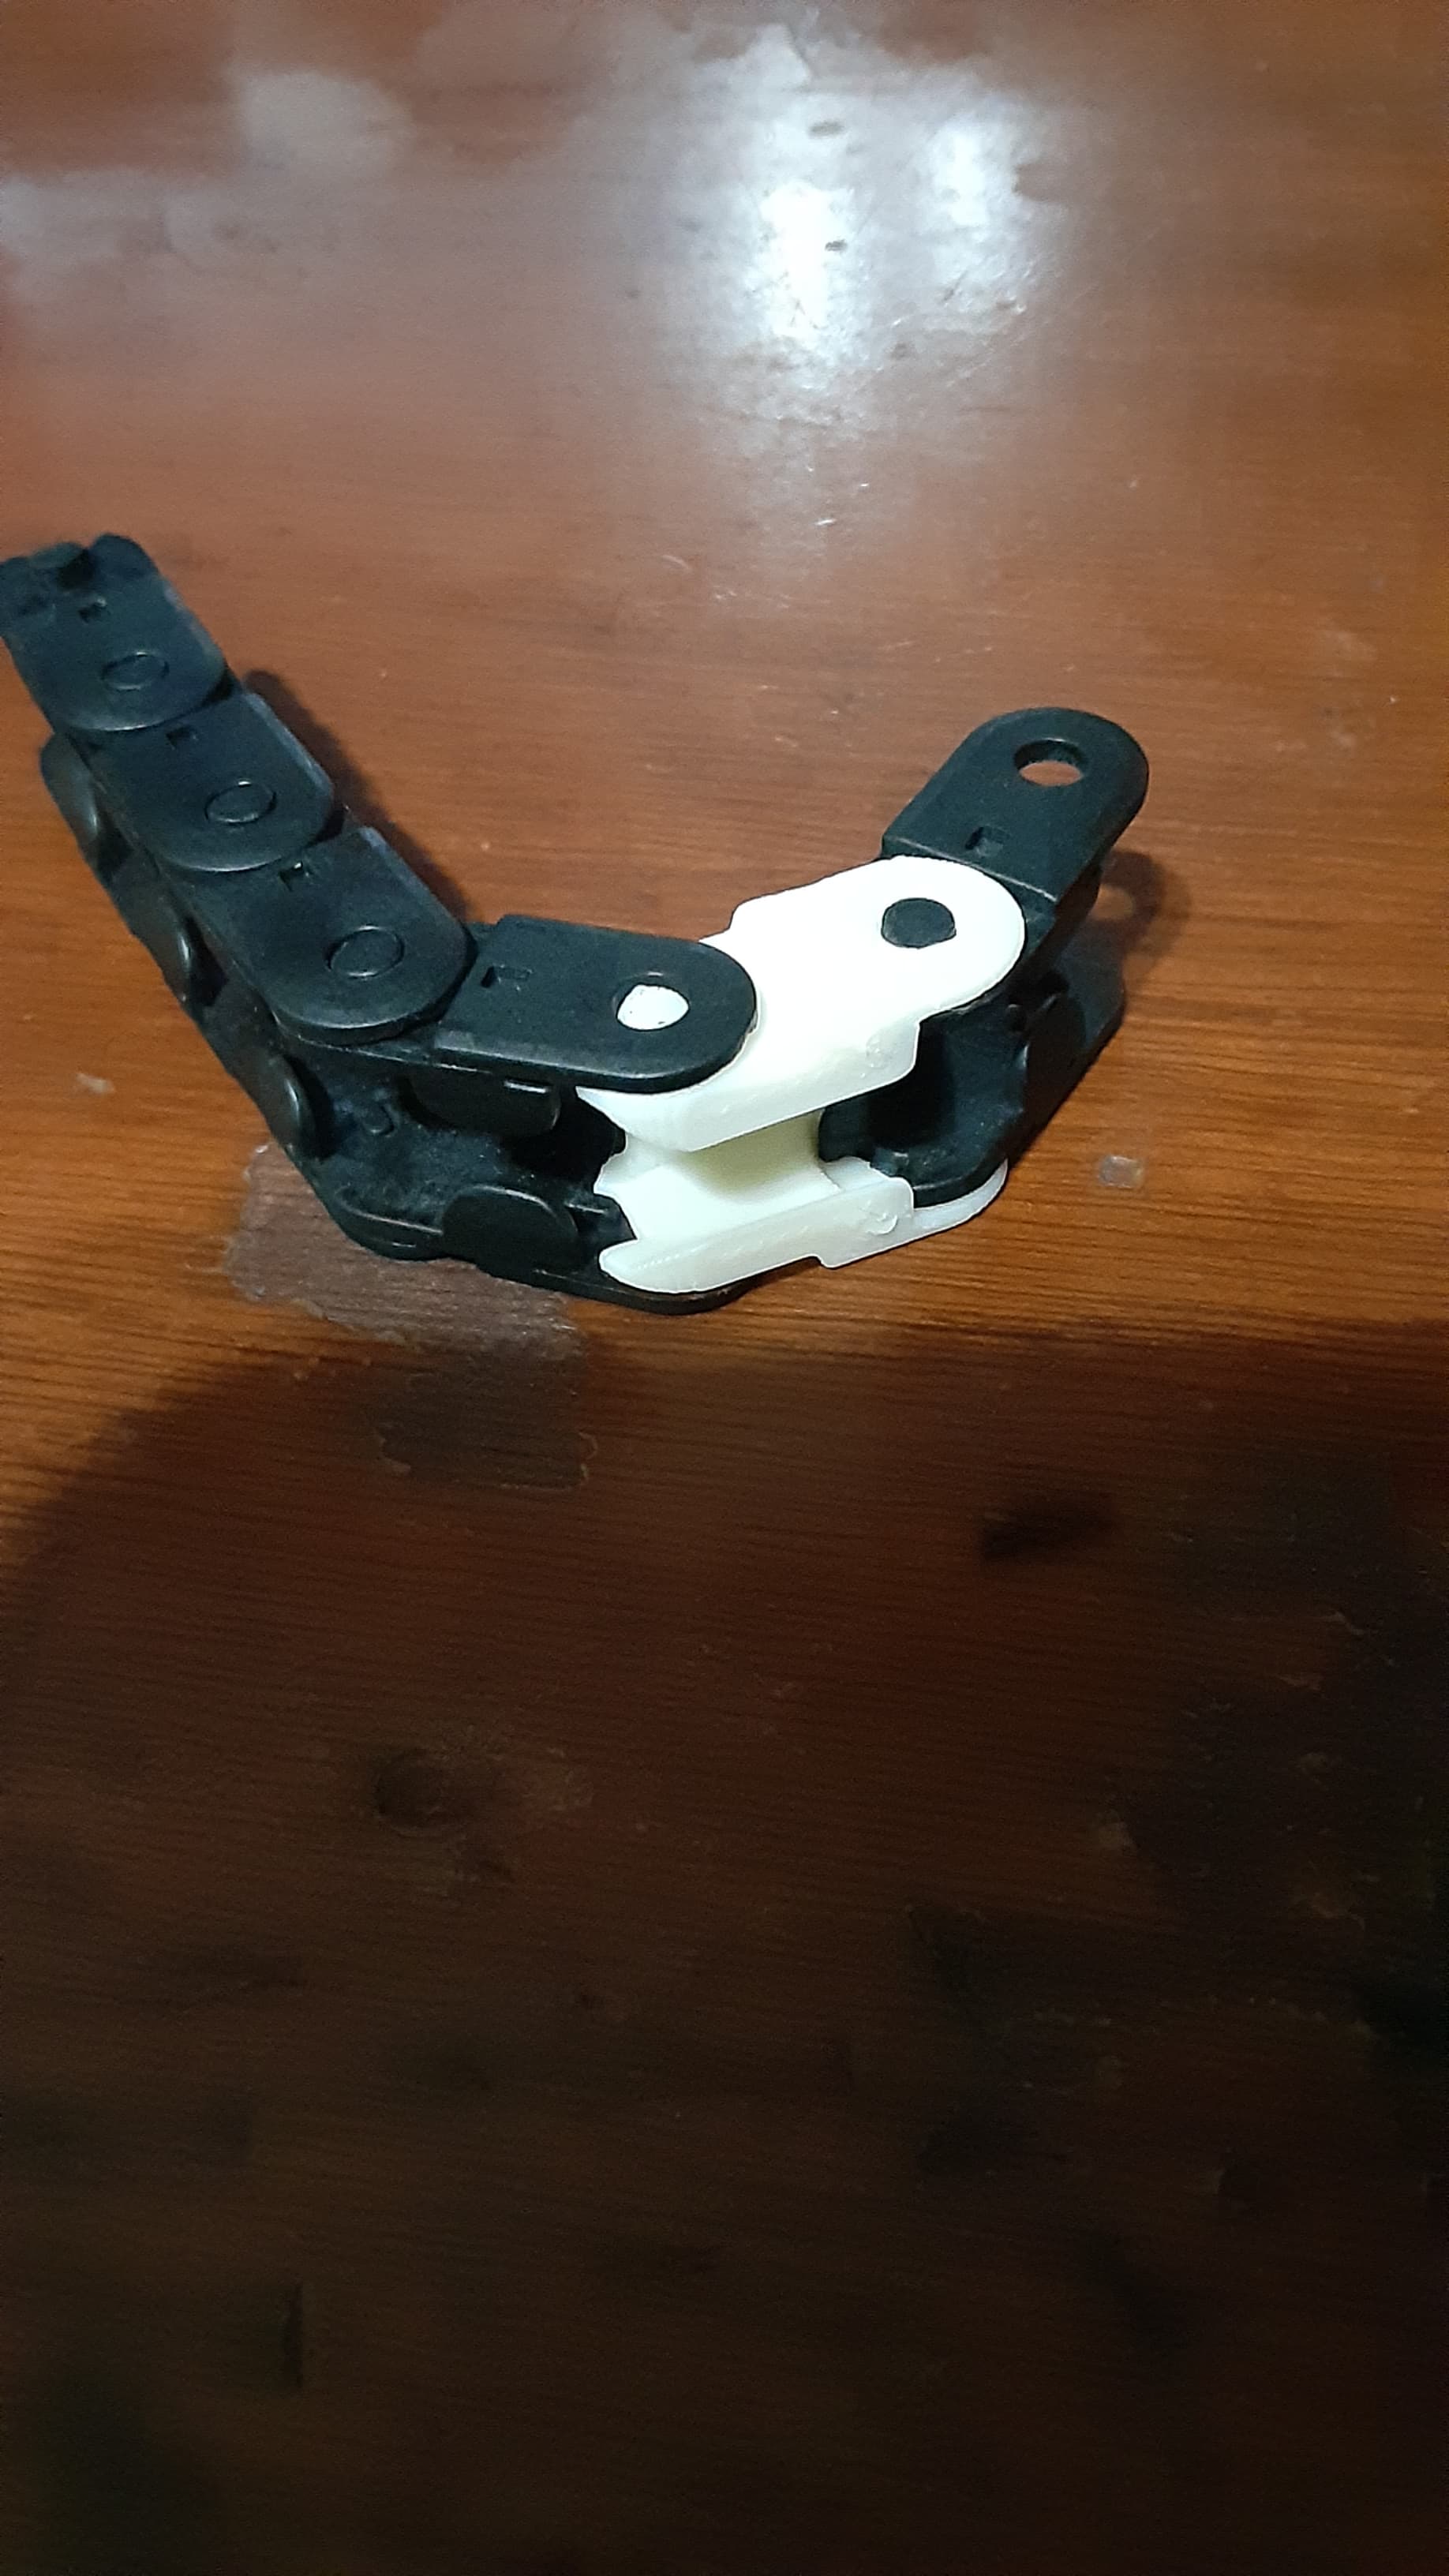
K1C or K1 SE Cable Chain Base
I wanted to upgrade my K1 SE by adding enclosure sides and a lid so part of this would involve moving the power and PTFE cable to a chain like the K1C.
I quickly found I didn't like any of the existing options. I tried a few printed cable chains but you can buy cable chains much nicer than anything 3d printed (made of GF Nylon) for ~$10 with enough to make 2 chains. None of the bases screwed into the rear frame with vertical mounting holes for standard chain ends.
Very simple models, but especially with mods I think it's important to have an abundance of documentation and instruction, built in supports, the whole 9 yards so there's no guess work if someone else might find it useful as well.
It could interfere with some common risers so I'll probably end up redesigning it eventually so as to not interfere with risers. I recently changed my PTFE feed to the right side of the K1 SE as well.
The Chain I Used I was a bit hasty so a few important call outs on this particular chain.
- Unless modified It only moves in 1 direction. There's a tab to limit the rotational arc of each pivot, I just used my filament snips to cut this tab off.
- The one on the K1C is closer to the 7x7mm one. Not really an issue but the chain does feel a bit heavier duty than needed. https://www.amazon.com/dp/B07R1VWY5P?ref=ppx_yo2ov_dt_b_fed_asin_title&th=1
Models
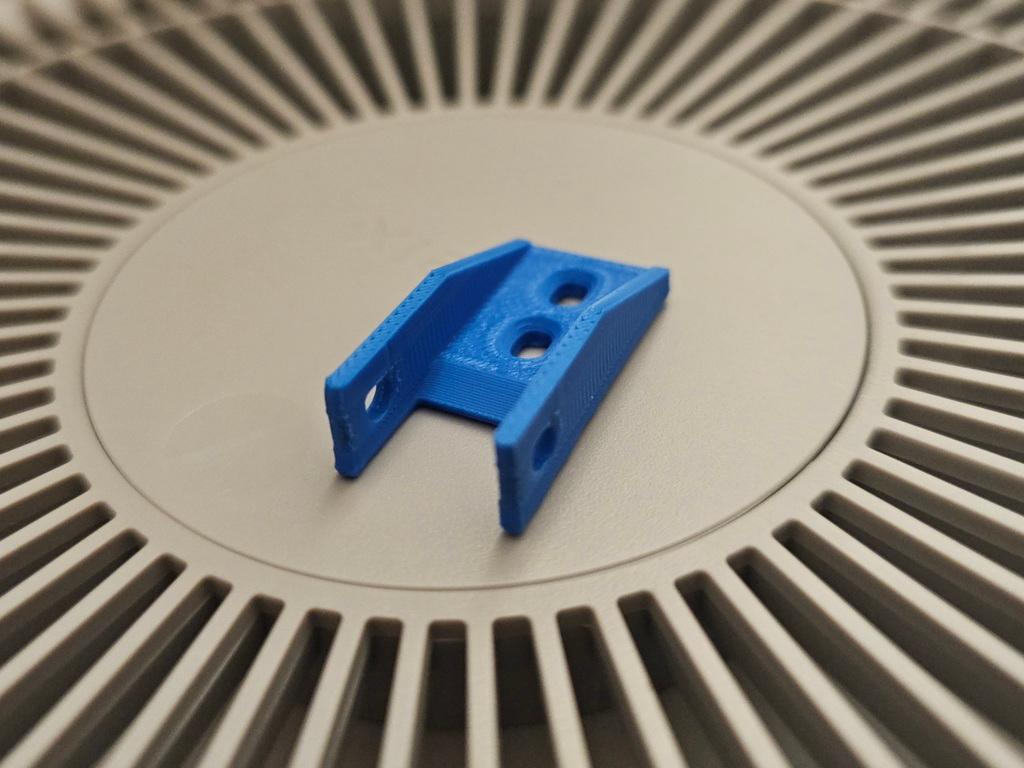
- Cable Chain Base - This is for the rear of the printer where the PCB power cable comes up. it screws into the base with an M3. I used an m3x12 and has 2 4mm slots for the chain base. 2.Cable Chain Riser - This is for the printer head.
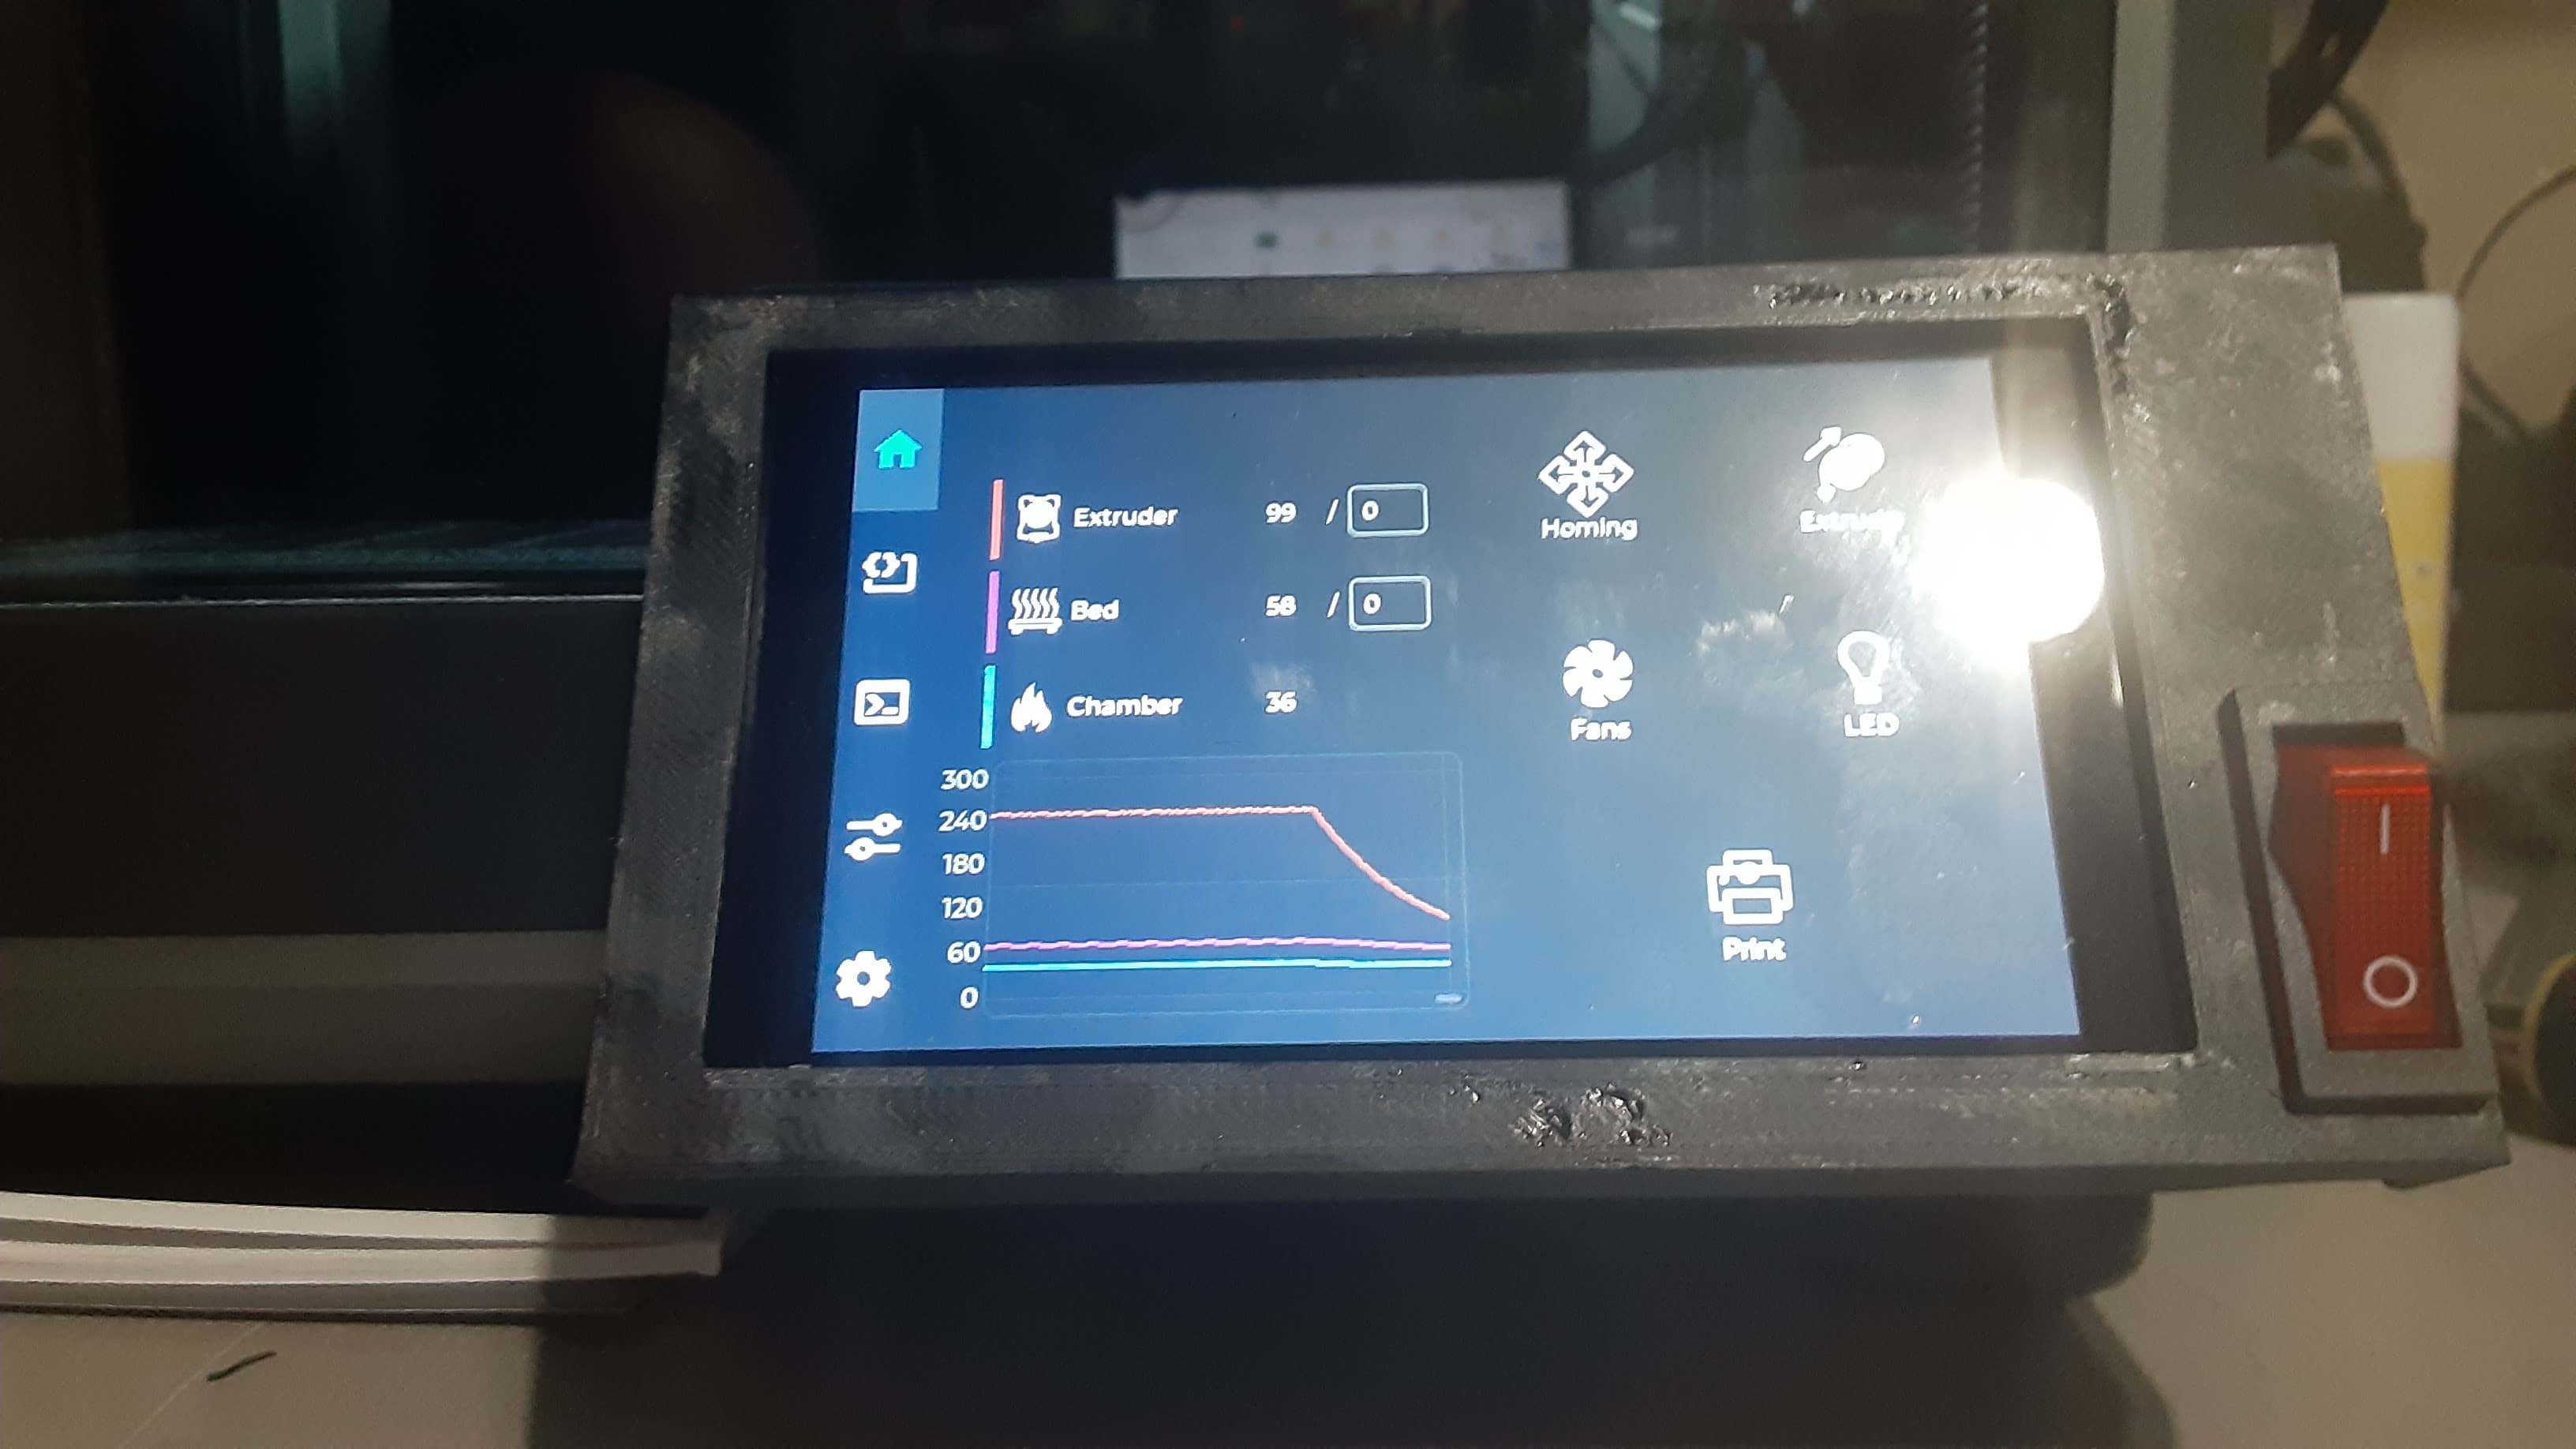
Instructions for printing The files should be ready to go. I used ASA but also tested in PETG.
There are built in, snap off supports for the intended orientation that should easily pull away/snap off. It's a personal pet peeve of mine when models don't build in supports, it's always far better than slicer generated and easier and same with not orienting them in the correct way to print as these should.
I tried to angle the slots so they do not require supports and at least on my printers they did not need them.
The front riser base would ideally be flat on the face instead of looking like a flag post but this was the only way I could find to reliably get the mounting hole to print right. The part should not come under much torsional force from the chain so I haven't had any issues with it.
Instructions for Assembly First is preparing the K1 SE, you will need to remove the existing hardware, the bracket on the rear frame is simple enough but freeing the power cord to feed through the chain could seem intimidating if it's your first time but it's really, really simple while making you feel like a master hacker.
- Take off the front cover - if you have not done this before, there are 2 screws on the side you will need to remove. This video will start showing you where/how to remove the cover: https://youtu.be/2LwdHS9vhko?si=Q6gm6PysCfCcpydC&t=43
- Unplug the Power cable from the PCB, it's the big white square connector in the middle of the top edge. Creality (for some ungodly reason) glues this. The easiest way to remove it is with a little bit of isopropyl or denatured alcohol, brush it all around the glue and edges of the glue with a cotton swab or brush, then it should peel off (may take 2 applications if it doesn't start pulling off pretty easily) then you can GENTLY wiggled the connector out of the terminal. -If you don't have alcohol, use a hobby knife to carefully cut and pull away the glue from the edge.
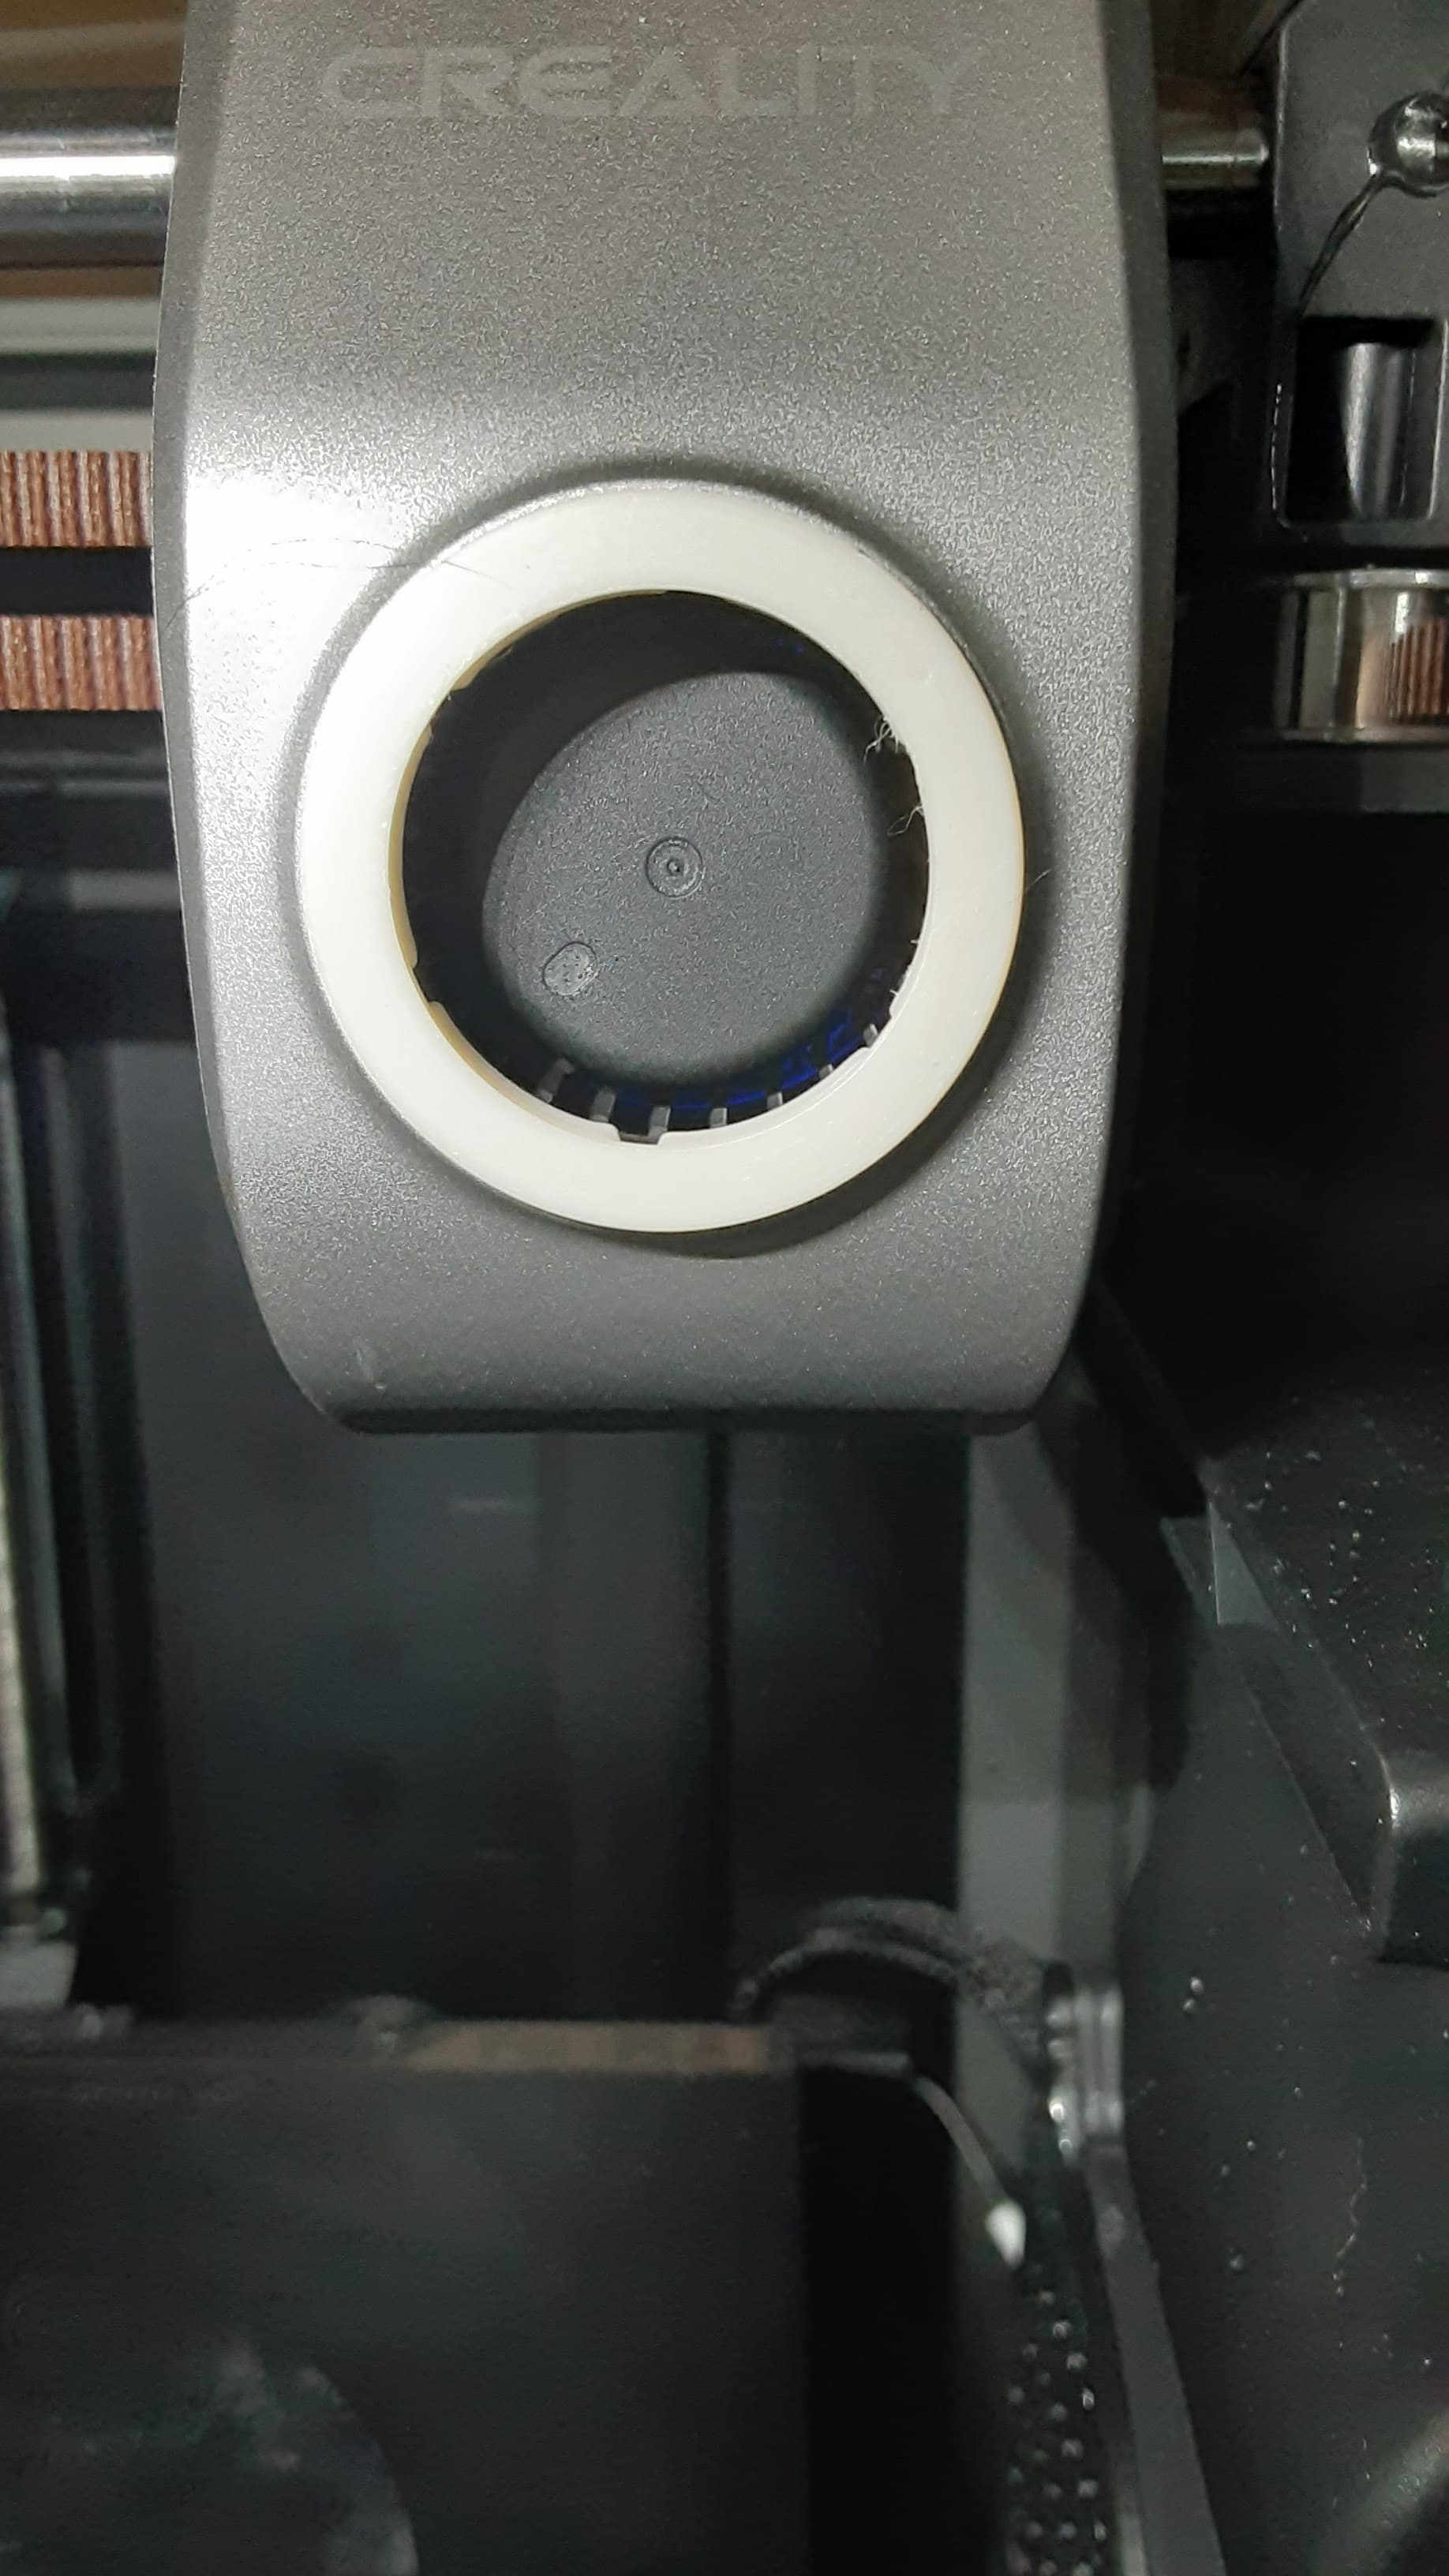
- Remove the power cord retention plate - I've included a schematic picture as the third image showing the 2 m3 screws that secure this in place. Note: this has springs under it, it doesn't come shooting off, but be careful the springs don't drop though.
- The power cord is now free and can be easily snaked through the cable chain.
- Screw in the Cable Chain Riser model using the same M3 used on the base part.
- Secure cable chain using m3x8 or m4 screws. I used m4 and it was a very tight fit.
- Replace the power cord and retention plate. Then the cover.

K1C / K1 SE Cable Chain Attachment Base

K1 SE > K1C Lid Cable Chain Frame Mount
.png&w=3840&q=75)
AIRFLOW HEAD EXTRUDER MOD (CREALITY K1 SERIES) / K1 / K1 MAX / K1 SE / K1C
CREALITY K1 FAN SILENCER / COVER (also for K1C & K1 Max) / NOISE REDUCING

K1 Cable Chain Anti-Sag Riser Back
Holder Clip for Creality K1 / K1 Max cable chain mount replacement
%2520(1080%2520x%25201350%2520px).png&w=3840&q=75)
CREALITY K1 & K1C RAISER / DECKEL / TOP COVER / UPGRADE (VERSION 2)
.png&w=3840&q=75)
CREALITY K1 & K1C RAISER / DECKEL / TOP COVER / UPGRADE (VERSION 1)
Creality K1 / K1C power switch relocation
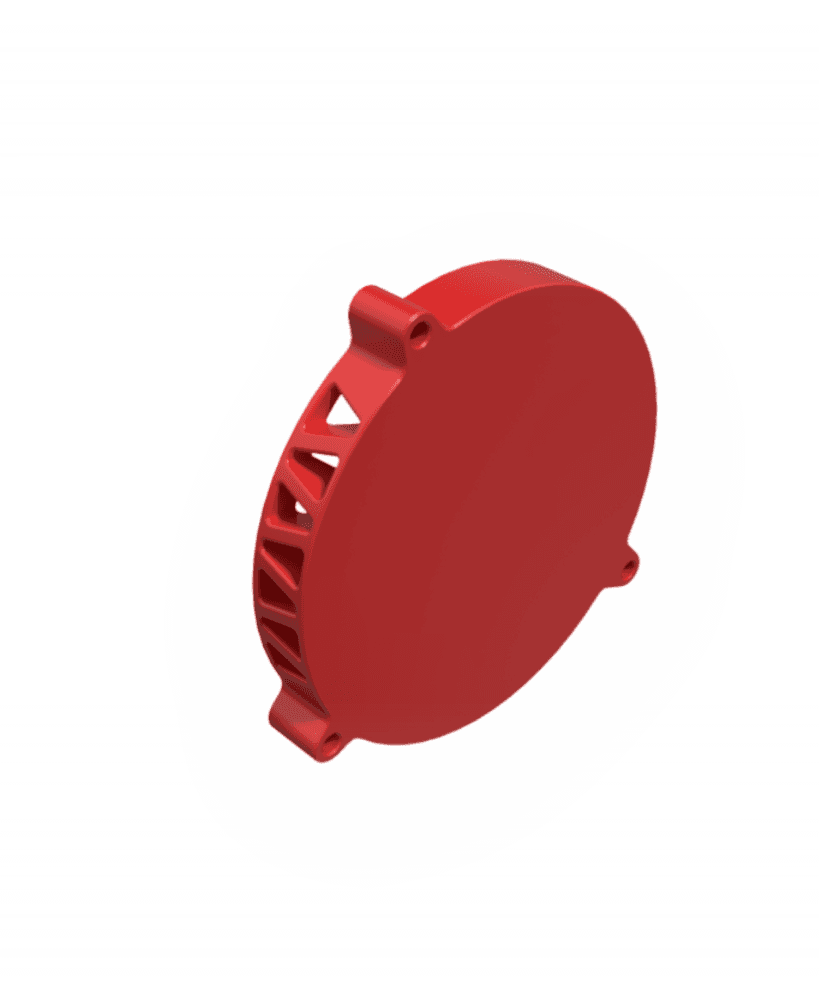
Creality K1 / K1C hotend ring / grill

D3P riser for K1 K1C K1E

K1 SE pcb shim
Creality K series replacement chain link

CREALITY CFS SIDEKICK - Dual CFS roll-out stand
.jpeg&w=3840&q=75)
Gantry Support for Ender 3 v3 SE/KE

K1 D3vil Booty Burner + BTT Eddy Mount + Beacon Mount

Creality K1C 120mm Fan HEPA & Carbon Filter Conversion

CREALITY K1 MAX RAISER / RISER / DECKEL / TOP COVER / UPGRADE (VERSION 2, WITH SWING-ARM)
Creality K1C Charger stand
