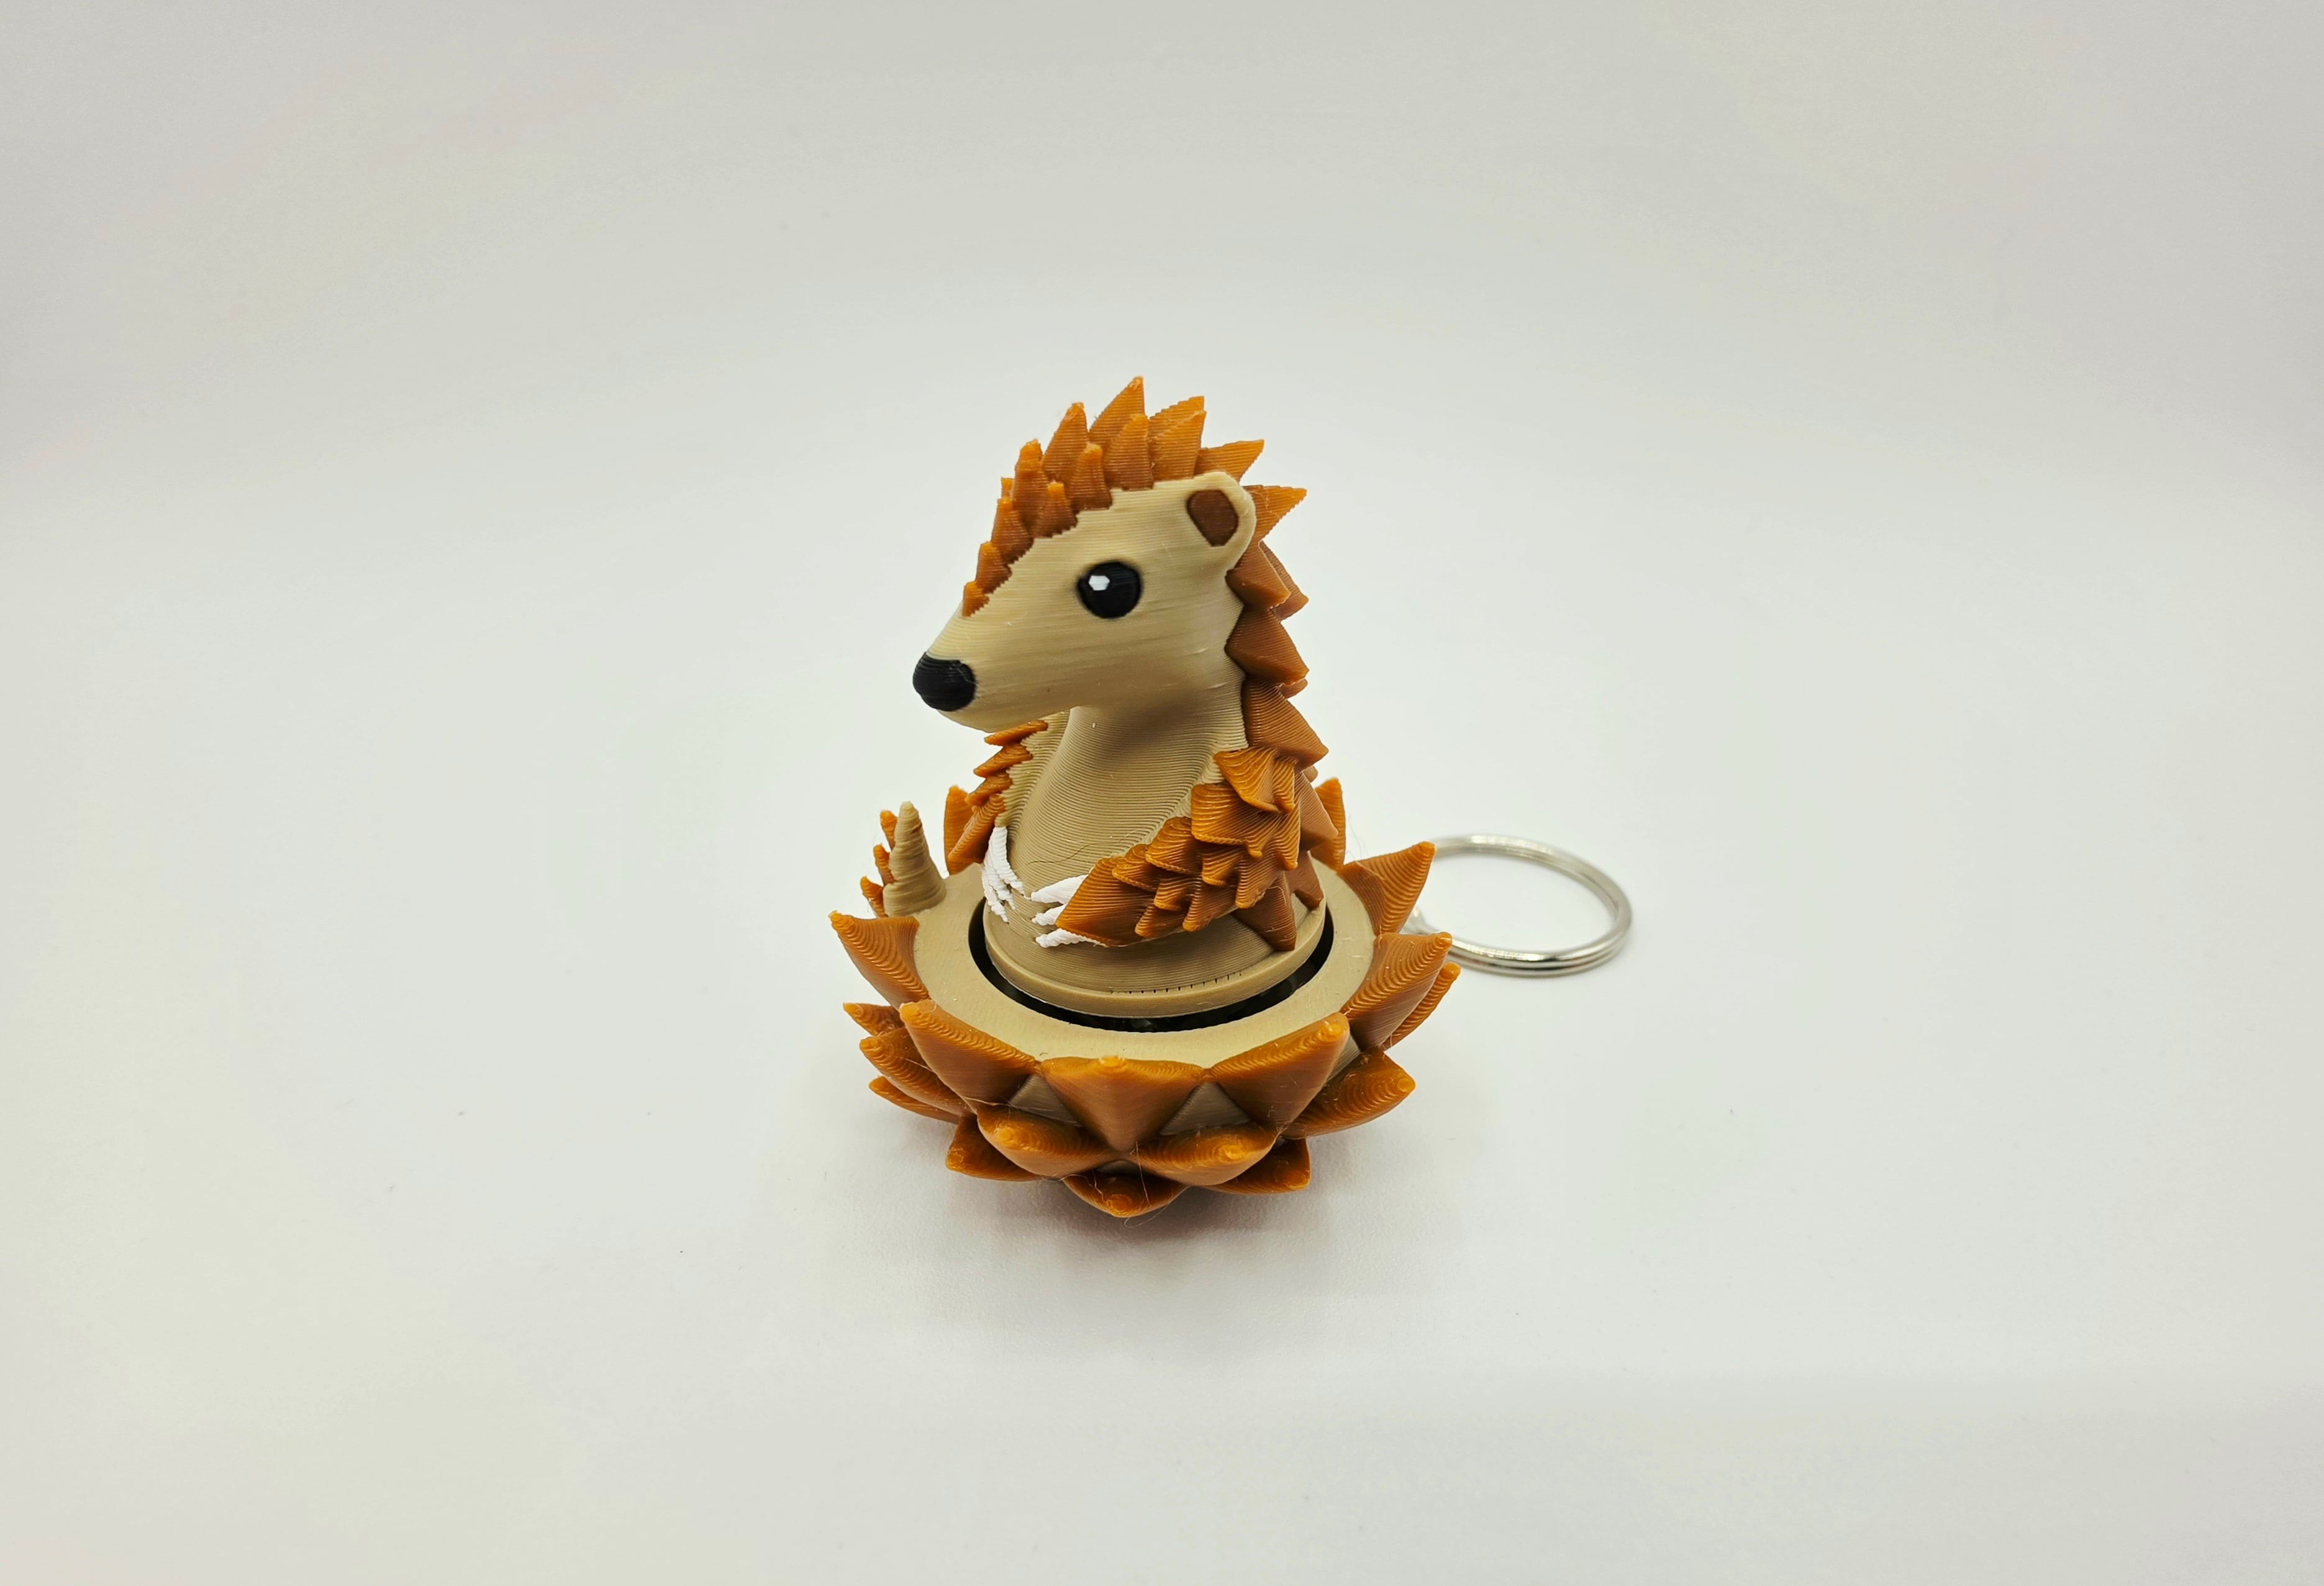
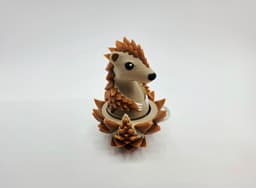
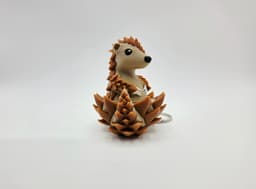
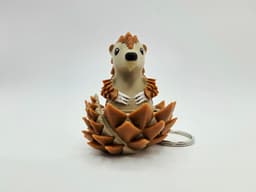
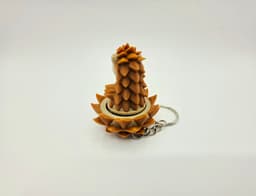


Pangolin Clicker Fidget
INTRODUCING MY SECOND FREE CLICKER FIDGET KEYCHAIN FROM THE CUTIE COLLECTION - THE CUTE PANGOLIN CLICKER
Simple & easy to print, print many on a single print bed & minimise waste
Easy and quick to assemble require a simple Cherry MX switch, Keychain & a small amount of superglue
Cute small & easy to carry anywhere, the perfect sensory fidget for stress on the go
A simple addictive click to satisfy your fidget urges
Requires a single keychain found online easily on sites such as Amazon along with any single generic Cherry MX switch such as the ones here -
PRINT SETTINGS
Gyroid infill recommended
0.16 recommend layer height or less for improved print quality (0.2 default for improved print speed)
Supports enabled for critical regions - under the chin only required (optimised in the supplied print profiles)
In rare cases sometimes the bottom of the top section (the circle surrounding the plus slot underneath the top of the clicker) can over extrude due to the elephants foot setting, this causes the clicker to stick when pushed down, in this case carefully score the circle surrounding the plus slot. This is due to over extrusion creating a mini brim which catches inside the clicker, removal of this mini brim using a scraper will fix the issue
BUILD INSTRUCTIONS
Remove all supports
On the bottom of your Cherry MX switch carefully remove the brass pins using a cutter or simply fold flat
Insert the top of the clicker into the plus shaped top of the Cherry MX switch
Carefully superglue the bottom on the Cherry MX switch into the slot of the clicker base ensuring the front of the clicker is facing the front of the base & is straight
Insert your keychain into the slot on the rear of the clicker & test your new cutie clicker
Pangolin Clicker Fidget

Clicker Cutie Collection 1 pt 2 - Cute Pomeranian, Beaver & Pony

Clicker Cutie Collection 1 - Cute Racoon, Shark & Chick

Sad Pikachu Clicker Fidget

SNORLAX TWIST FIDGET

FLEXI SEA BUNNY

UltraBall Twist Fidget

New Link Flexi Komodo Dragon

CUBONE TWIST FIDGET

CUBONE CHIBI

Flexi Belly Rub Kitty

CRICKET BALL TWIST FIDGET

Flexi Sensory Rattlesnakes

Super Mario Twist Fidget

Cute Flexi Beaver

Rubiks Cube Twist Fidget

FLEXI WHALE SHARK

Yoshi Egg Inspired Twist Fidget

FLEXI RED EYED CROCODILE SKINK
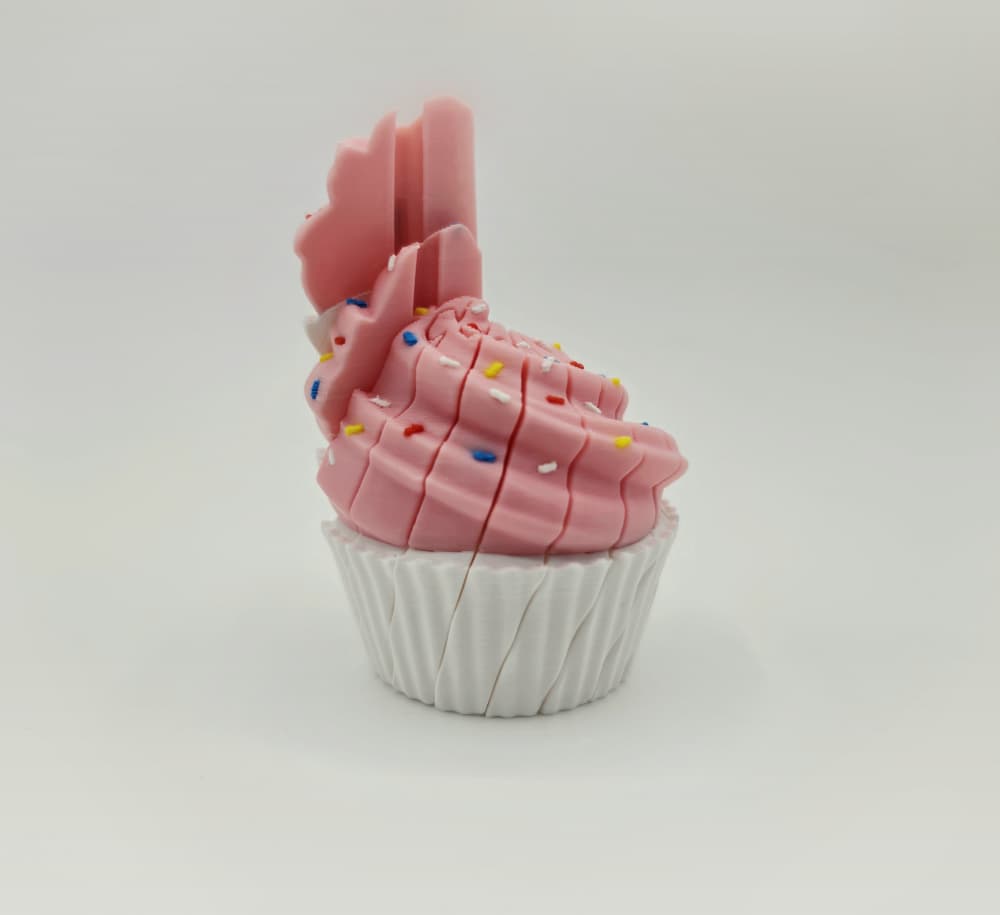
Cupcake Twist Fidget