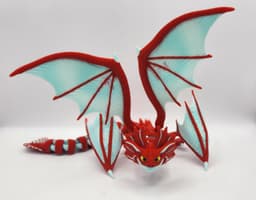


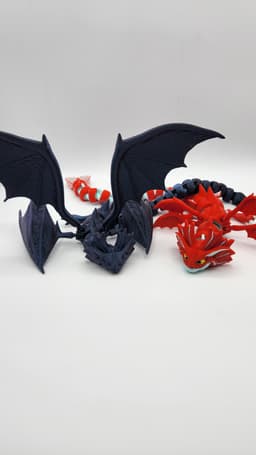


Flexi-Fit Cloud Jumper Dragon
Model Cutie Cloud Jumper Dragon Flexi-Fit (Special Articulated) Model With Multiple Choice Of Wing Designs
Based on the dragon cloud jumper from the movie ‘how to train your dragon 2’ - Built with articulated links using my self designed ‘flexi-fit’ chain. The flexi-fit design is an evolving experiment seen in previous models I have released and now been improved upon. It allows a standard articulated design to snap together to remain rigid for posing and support or simply for your own amusement.
Improvements include -
-Better and easier bridging.
-Changed location of socket to allow greater pivoting
-Slightly increased join size, tighter fit (can be eased with multiple uses)
-Larger and extra walls for strength
Still in early development, with your feedback I hope to improve even further for an awesome articulated design that is commonly enjoyed.
Note *My First time printing with Bambulab exclusive filament
Printed with the beautiful PLA Arctic Whisper, PLA Onyx Black Sparkle & PLA Basic Yellow & Red Thank you so much Bambulab for creating this fantastic and beautifully optimized filament.
Model contents
-Painted and unpainted variations/ miniature scale for A1 mini
-Cloud Jumper base model and basic mini wings (for those who wish to use without large wings but choose to fill the wing sockets)
-Solid wings, folded and spread, the cover photograph contains one of each, but your free to choose 4 folded or 4 spread if that's what you wish
-Flexi wings, purely for fun based upon the ‘NASA fabric’ designs you may have seen by multiple other designers
-All STL files associated
-Additional profile for the solid wings, to anyone who may encounter issues printing the larger wing. I included this file which lays the wings as flat as possible to the bed, the rear of the wings quality will be likely be impacted and require cleaning, but have zero danger of the print collapsing, print only if you have issues with your tool-head knocking your prints.
How to & Assembly
Simply print the base model and your choice of wings, selecting whichever printer you are using.
Once printed simply insert the wings into the correct sockets being careful not to damage your model, you may wish to lightly trim or sand the ball socket on the wing if required (see pictures & troubleshoot section below) and your done.
To use the flexi-fit joins, pull the ball into the clip on each link, can be stiff at first but loosens up each time you use this function.
Print is calibrated towards PLA basic. Tested successfully in silk at 120% (CC3C Silk no issues), I am unsure how strong the link will be when printed with silk but its generally not recommended for articulating models.
Print Settings
Printed multiple times in different sizes & filaments
For those not using the 3.mf files here is what is recommended…
Standard 0.42 wall/ 0.3 used on the outer wall for the main body to increase detail.
No brim or support needed on the main file & flexi wings.
brim and supports used on the spread wing, the folded wing recommended brim for better corner adhesion
4 wall for strength
25% gyroid infill
z hop 0.4 on the solid wings
Wall slowed to 120 however this is entirely up to you depending on what your comfortable printing
Troubleshooting
-Common problems I often hear can often be easily solved but simply cleaning your 3D print bed so if you have adhesion issues make sure to scrub your plate thoroughly using warm water and soap, rinse with hot water and air dry vertically. IPA is often recommended by most but I personally find standard dishwasher soap to be fine.
-Other adhesion issues can be fixed using a brim, but is not recommended unless urgently required or specified in the print settings above.
-Tool-head knocks print, I have added an easier print profile with is to be avoided unless required, this profile is labelled 'SAFE' use only if other methods fail. Other reasons for the tool-head knocking the print can be, z-hop required in your slicer settings (turned on by default in my uploaded profiles) Your printer belts may require tightening, carbon rods require cleaning and bearings require lubrication. Calibrate your filament and increases fan speed on your tool-head. If these all fail please use the profile listed earlier.
-Ball sockets are too tight to insert, common but the sockets require a tight fit to remain rigid once inserted - its completely fine to lightly sand or even use clippers to slightly trip the ball to allow you to easily insert the socket while remain stable. This may be required depending on which filament you choose to print with.
Any other issues please ask and I will help as best as I can, thank you.
FIN


Flexi-Fit Cloud Jumper Dragon

Clicker Cutie Collection 1 - Cute Racoon, Shark & Chick

Sad Pikachu Clicker Fidget

SNORLAX TWIST FIDGET

FLEXI SEA BUNNY

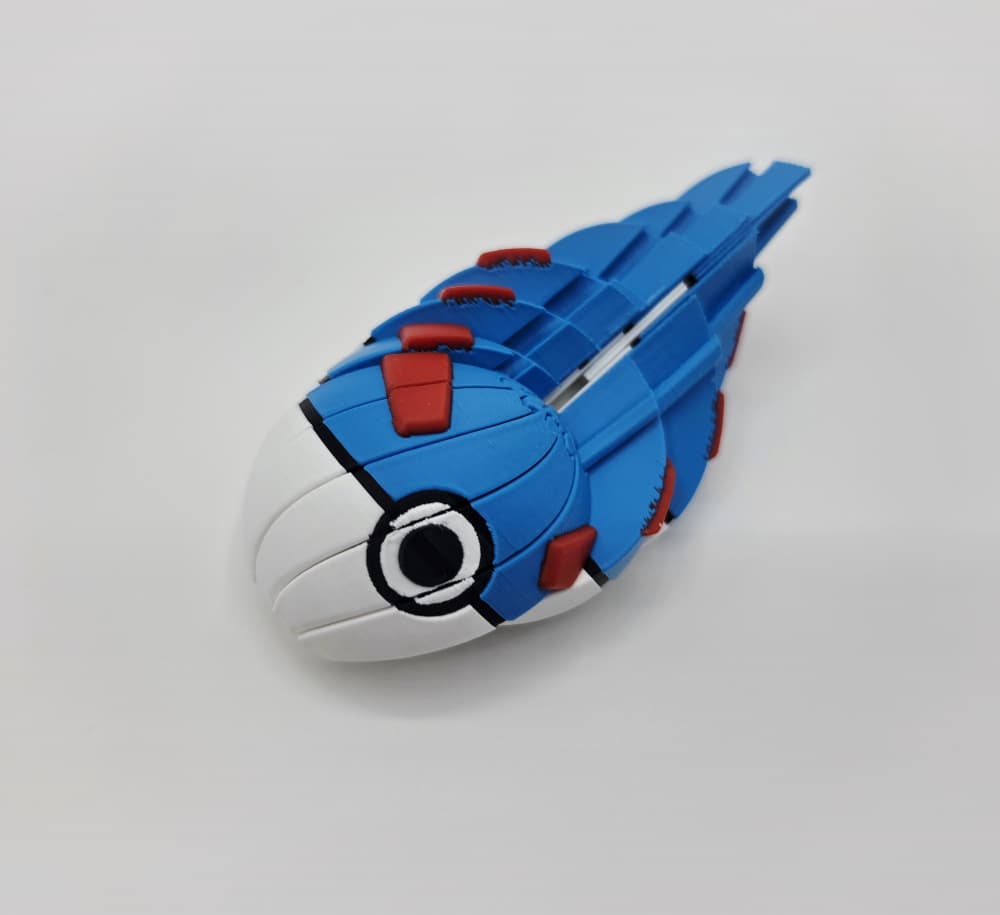
UltraBall Twist Fidget

New Link Flexi Komodo Dragon

CUBONE TWIST FIDGET

CUBONE CHIBI

Flexi Belly Rub Kitty

CRICKET BALL TWIST FIDGET

Flexi Sensory Rattlesnakes

Super Mario Twist Fidget

Cute Flexi Beaver

Rubiks Cube Twist Fidget

FLEXI WHALE SHARK

Yoshi Egg Inspired Twist Fidget

FLEXI RED EYED CROCODILE SKINK
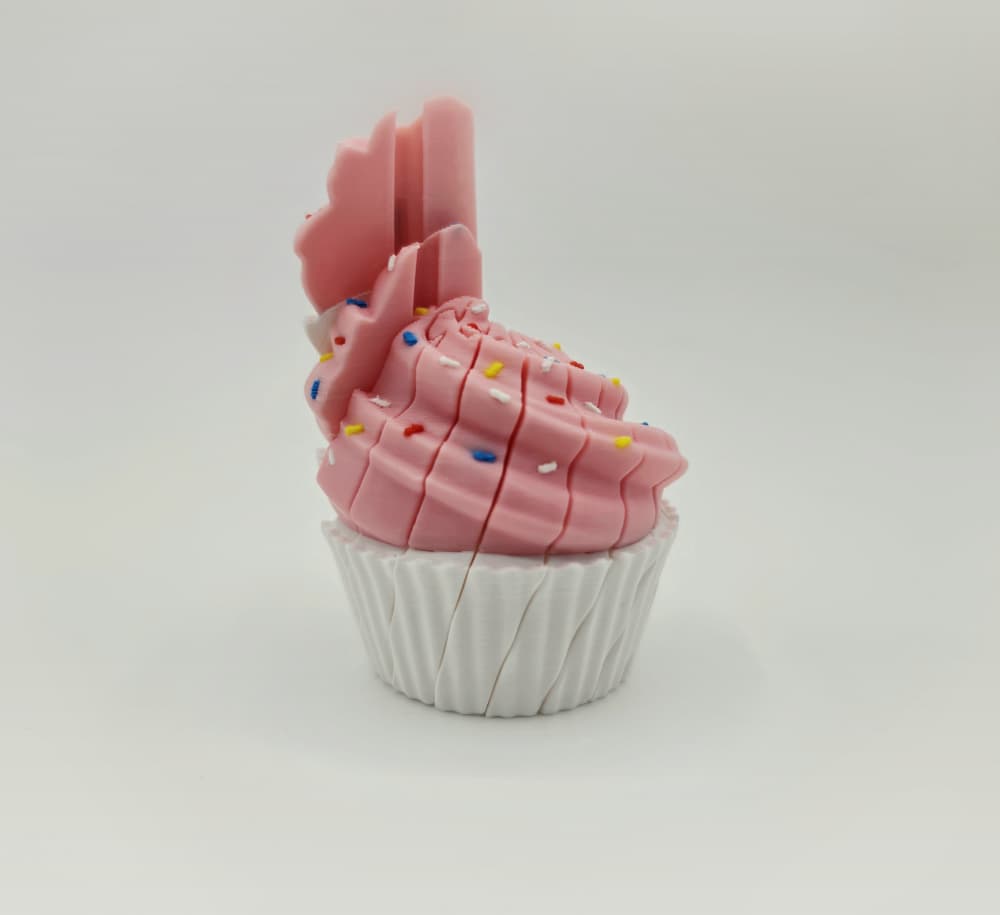
Cupcake Twist Fidget
Flexi Pomeranian