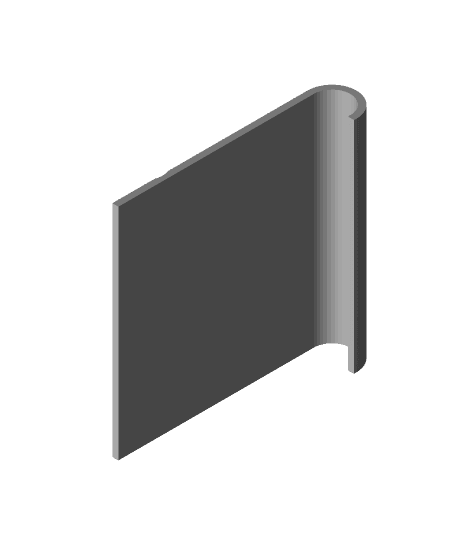
.png&w=256&q=75)
Tablet Stand | Vantage Collection
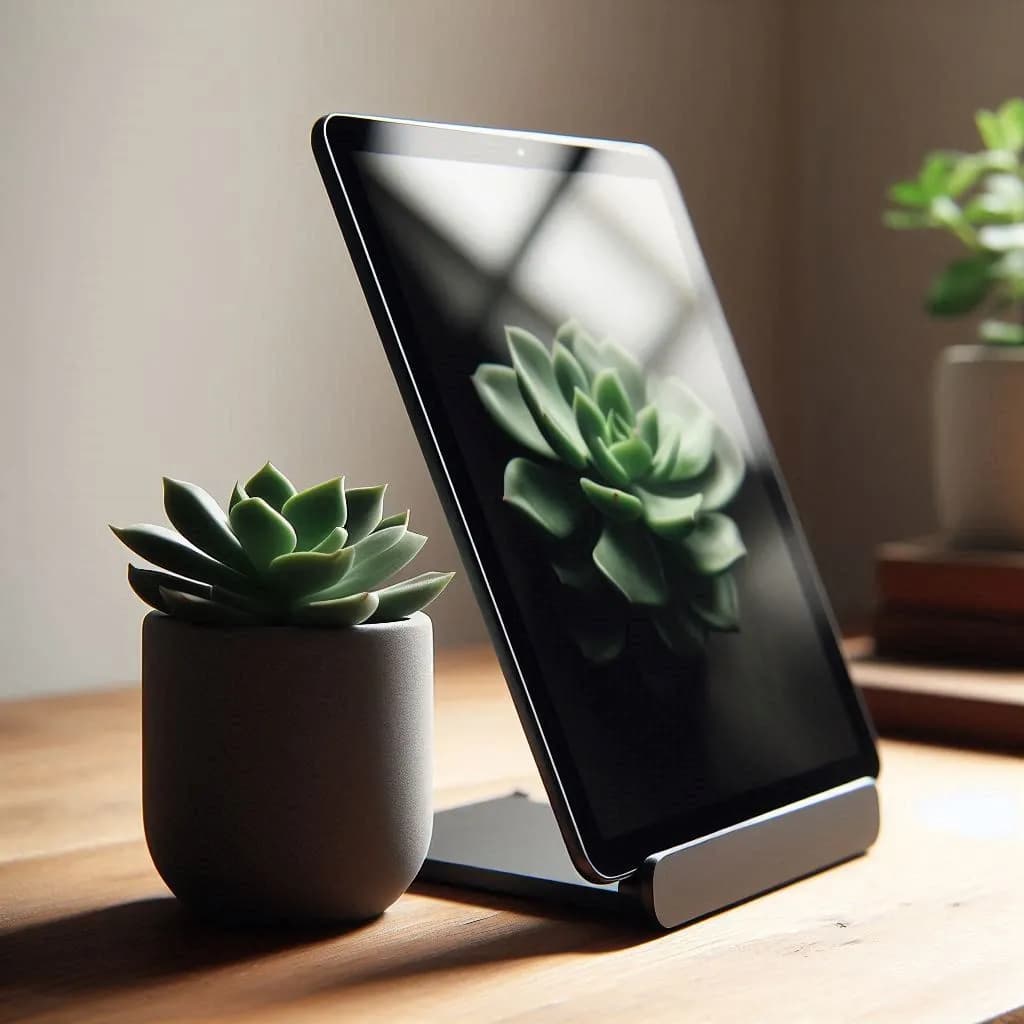
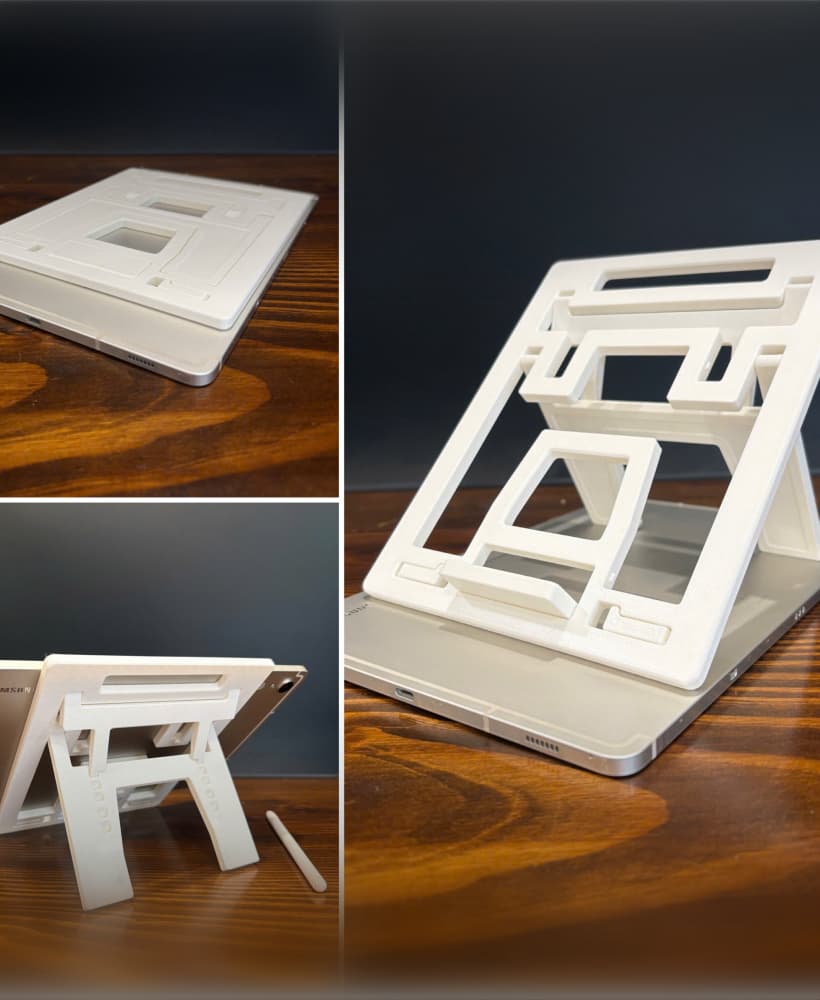
23 downloads · 1 year ago · **VANTAGE PHONE STAND**
- A sleek, adjustable, and ergonomic stand for tablets and e-readers
- Custo
This model is restricted by licensing terms.
View license.
VANTAGE PHONE STAND
- A sleek, adjustable, and ergonomic stand for tablets and e-readers
- Customizable and modular design with interchangeable and extendable components
- Available in three distinct styles to complement any workspace: ripple, hex, and plain versions
Print Instructions & Recommendations
- It is recommended to use 0.16mm layer height and 3 walls. Especially the layer height is critical to achieve precise and more detailed surface patterns.
- No support is required for printing any parts except for the Ripple Base with the current orientation. Ripple Base can be printed with its bottom facing the surface, but the layer lines will be visible. To eliminate this, the orientation has been adjusted to remove visible layer lines.
- All parts of the model are fully compatible with each other, allowing to mix and match the base, arm, and holder from different styles to create preferred combination.
- Not all parts need to be printed. Only one of the locking caps (tightness) should be selected, as there are multiple options. The rest of the parts can be printed as preferred.
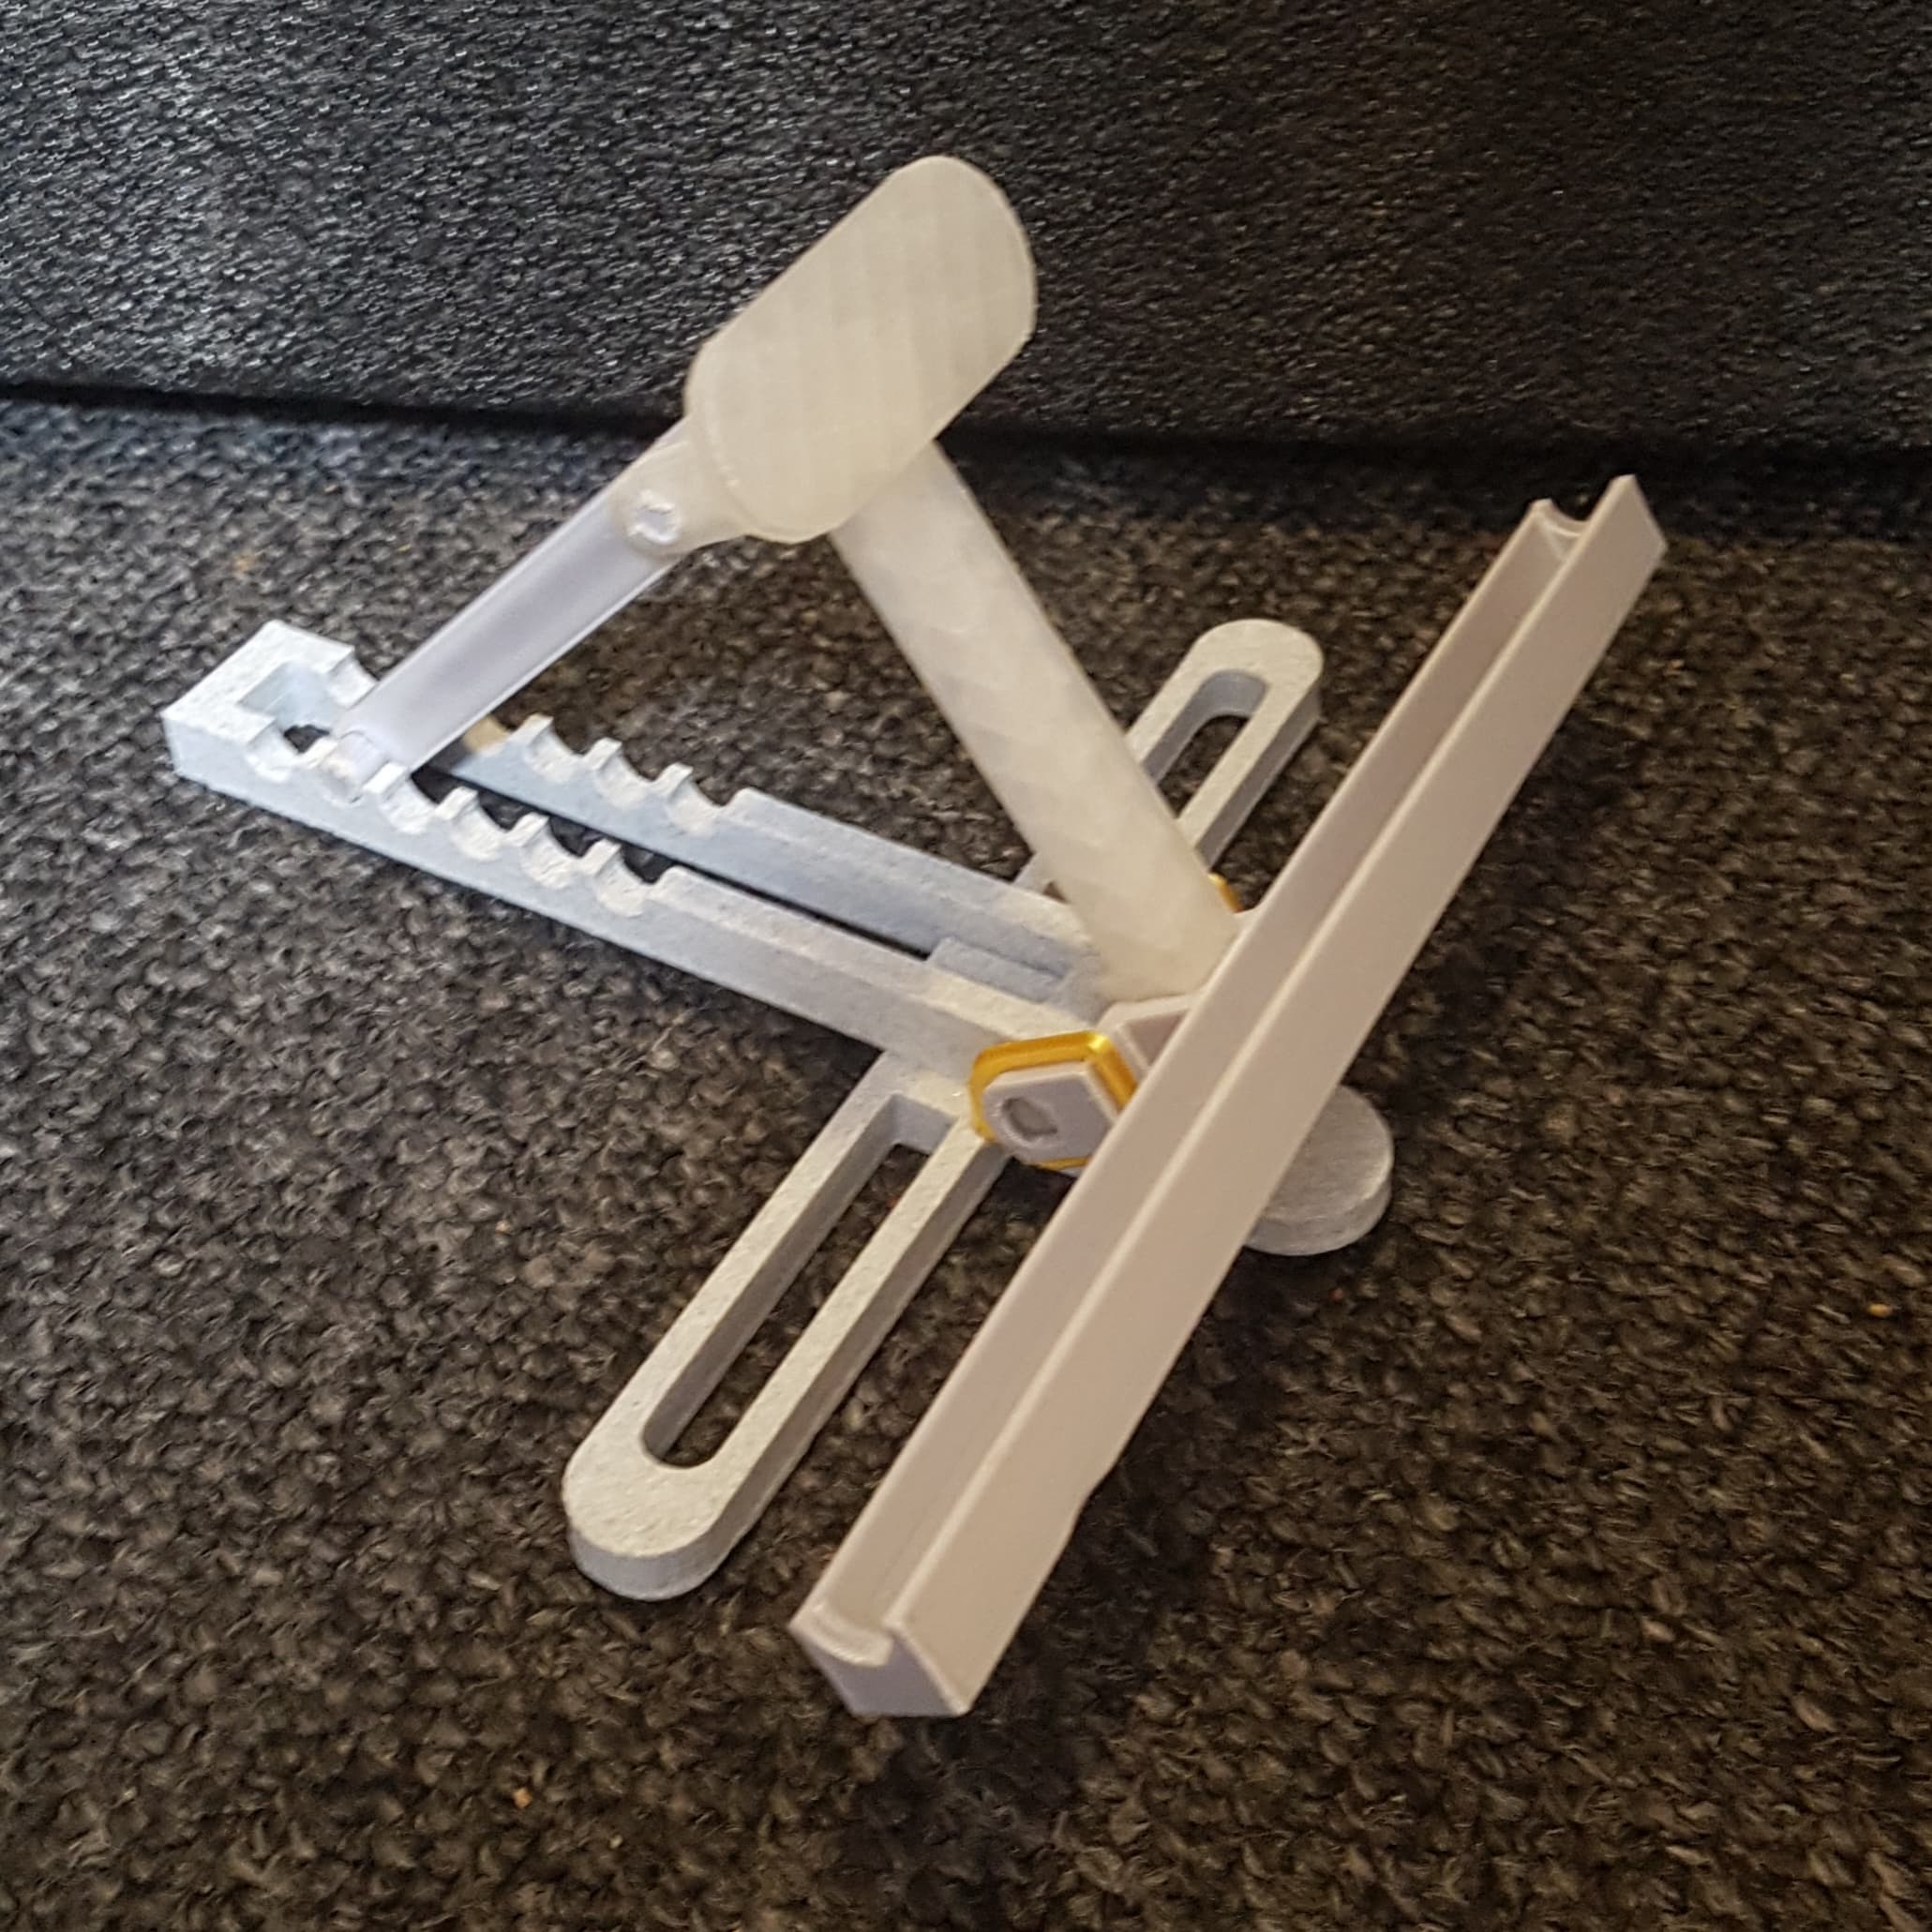
- The adjustable feature relies on the friction between the arm, base, and holder. To optimize the movement, four different locking caps are provided with varying diameters to either increase or decrease friction, allowing users to find the optimum balance for smooth movement and stability. Based on the experience from prototype testing, the following caps are recommended:
-
- PLA Basic ~ Tight caps
-
- PLA Wood ~ Extra tight caps
-
- PLA Matte ~ Normal caps
-
-
- Note #1: Do not use PLA Matte for printing the arm, as it breaks easily. It can be used for the rest of the model.
-
-
-
- Note #2: There are engravings on each cap to indicate its type (I, II, III, and IV) where higher the number, tighter the fitment.
-
- 3MF files with optimized settings included in the model files.
Assembly Instructions
- Assembly requires no additional tools, materials or post-processing.
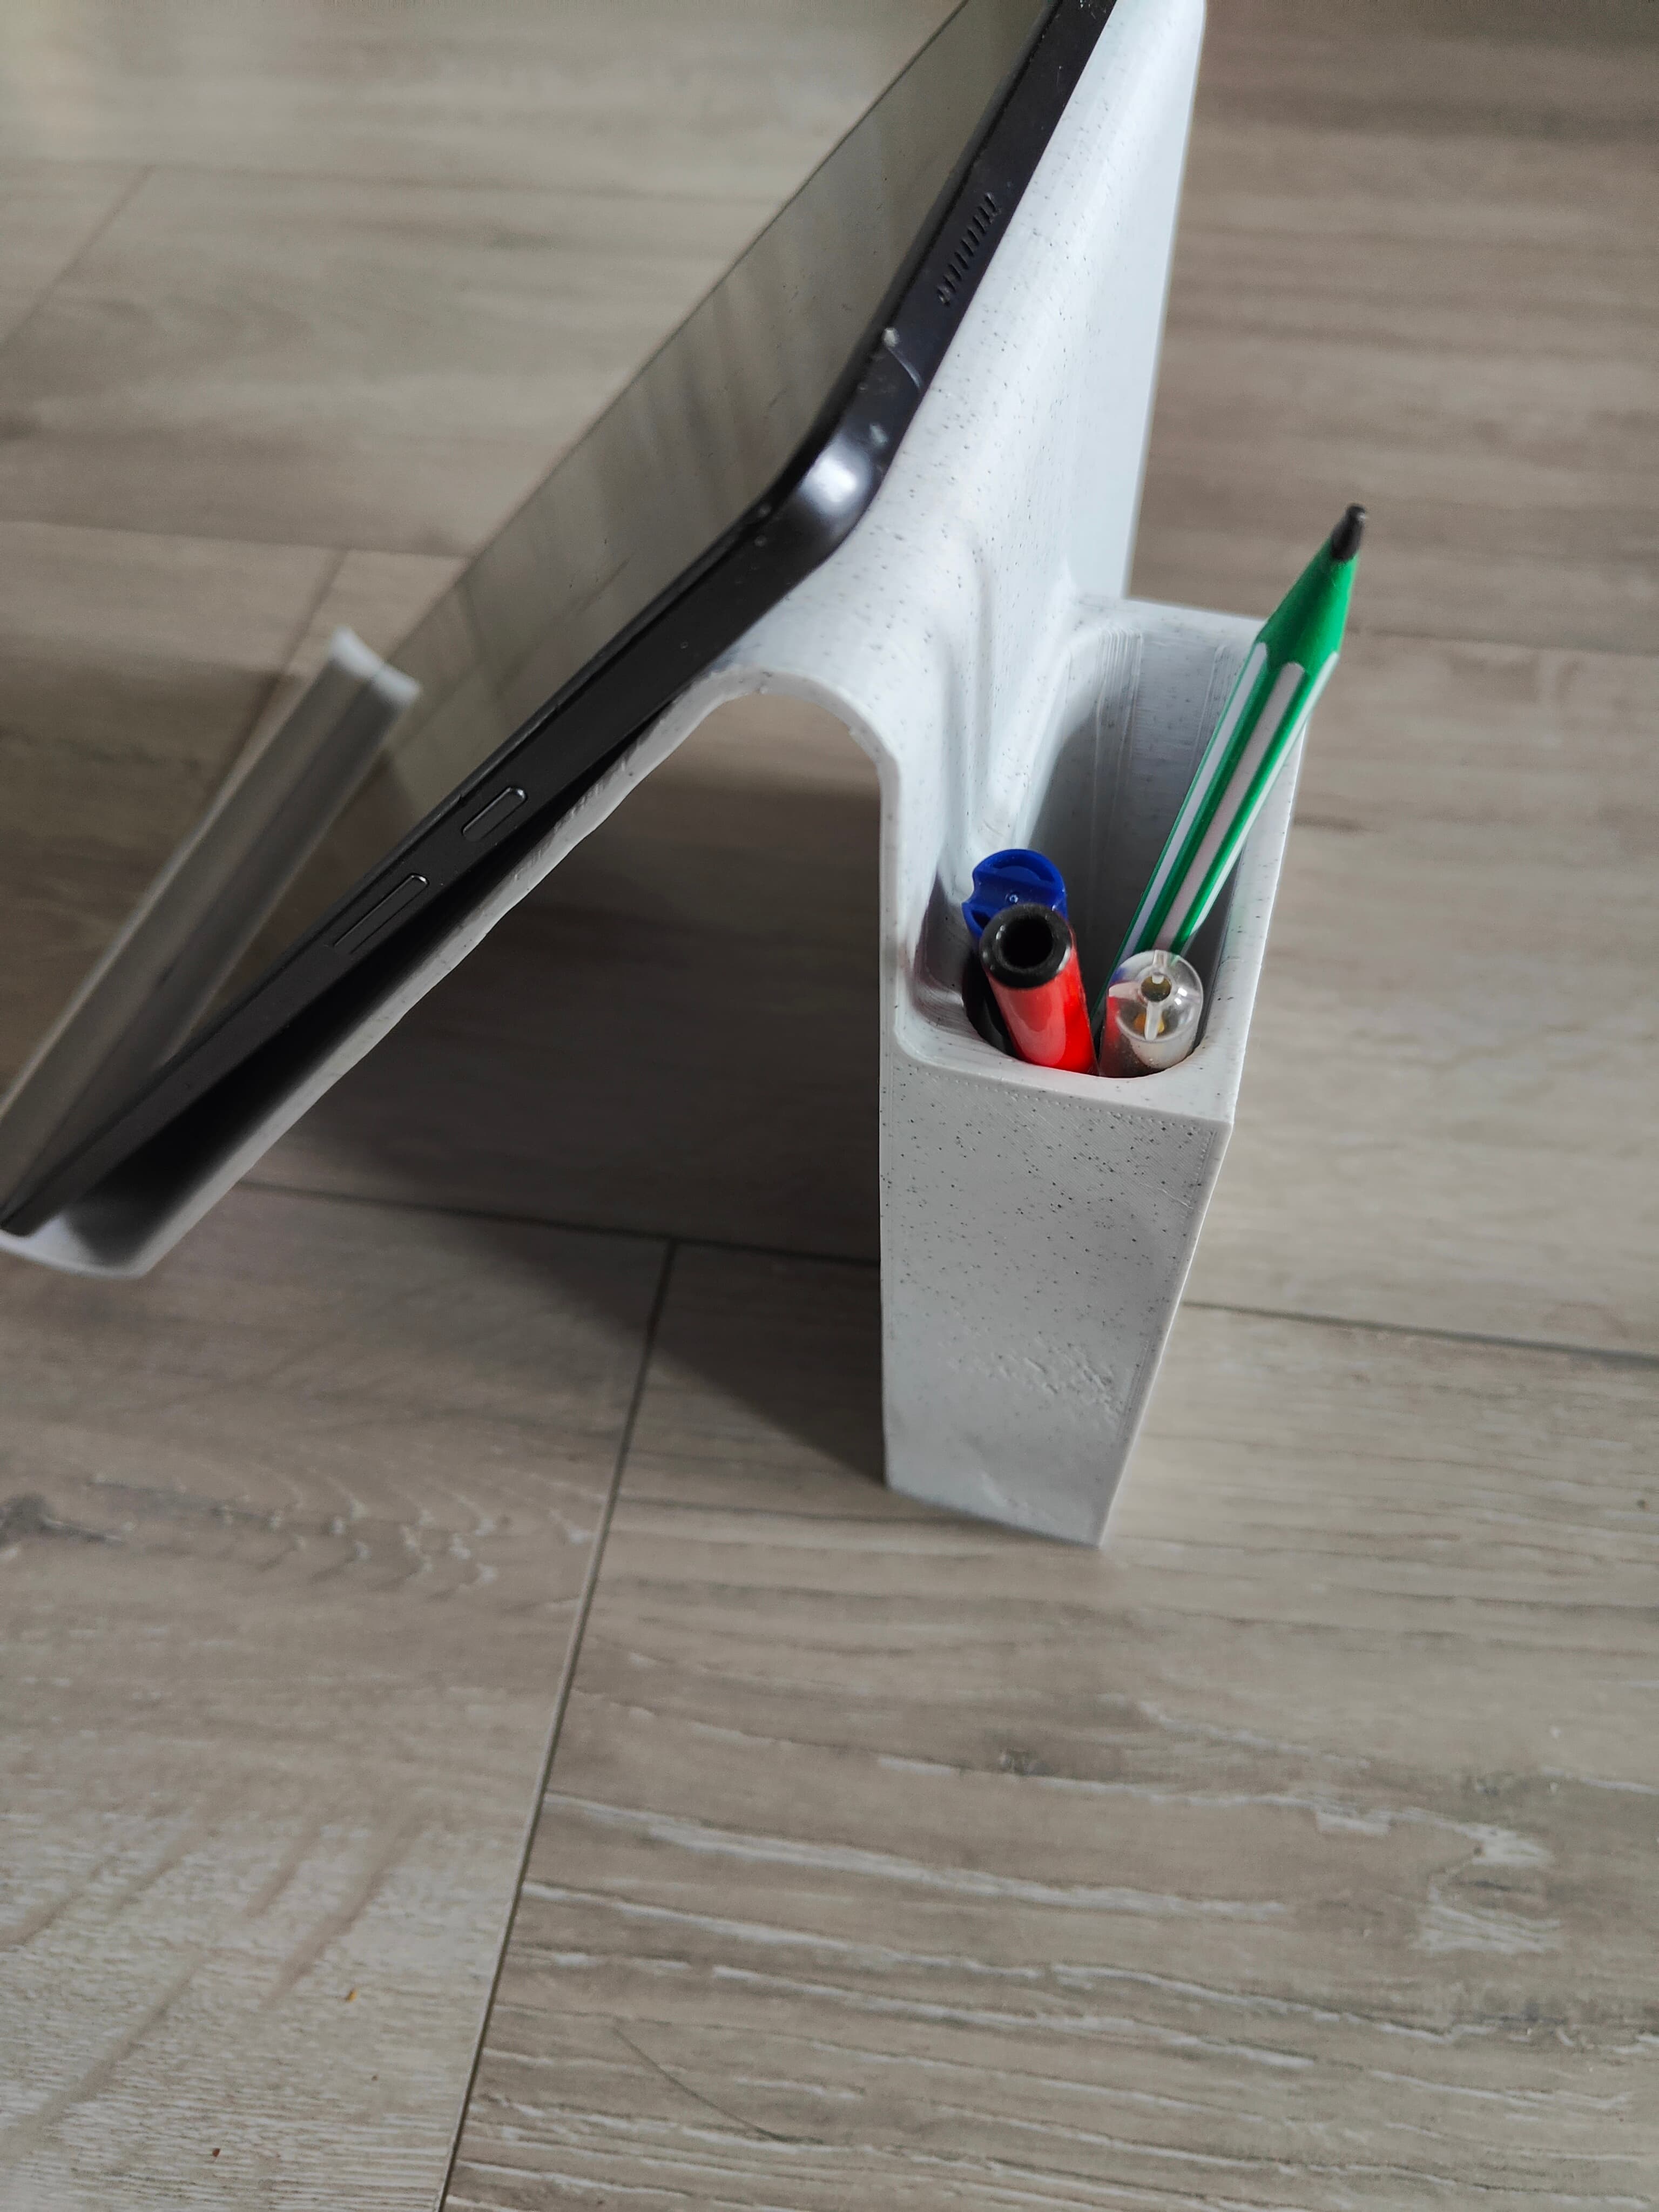
- Each hinge location uses two caps pressed from each side to lock. One of these caps has a hollow in the center, allowing for easy removal if necessary. Be careful not to lock two caps with no holes in the same hinge, as it will make removal impossible without damaging the parts.
- Assembly steps are provided in the photos.
Model Information
- Dimensions (X-Y-Z) | Assembled: 135 x 135 x 175 mm
- Dimensions (X-Y-Z) | Assembled ~ Extended: 135 x 135 x 280 mm
- Commercial Use: Terms and conditions are available on Patreon.
Tablet Stand | Vantage Collection
23 downloads · 1 year ago in and
This model is restricted by licensing terms.
View license.

Laptop Stand | Vantage Collection
Design iPad Stand, Tablet Stand - Tablet Holder

Headphone Stand | Vantage Collection

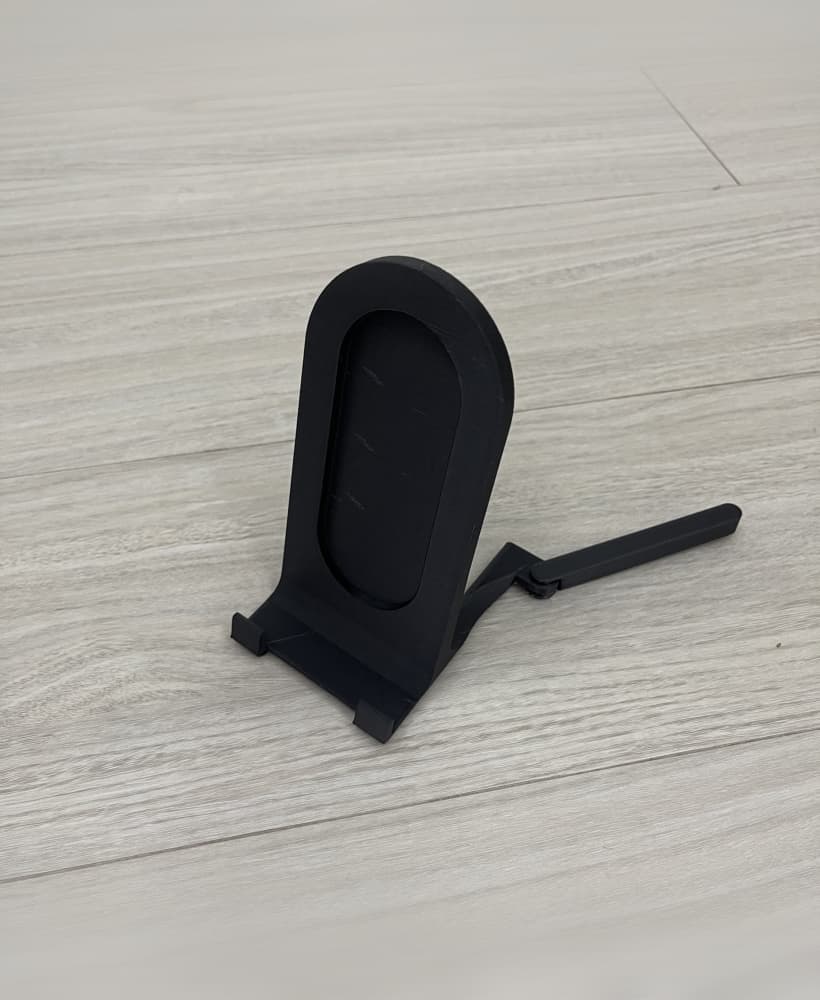
Phone Stand | Vantage Collection

LAPTOP / TABLET STAND WITH LOCK MECHANISM / LAPTOP STAND / MACBOOK STAND / OFFICE ORGANIZER

Tablet Turret - Adjustable Tablet Stand

Tablet Stand Holder iPad Stand Smartphone Holder iPhone Base

LAPTOP TABLET STAND X
Tablet Stand with Pen Holder

Portable iPad / Tablet stand
Modern phone / tablet stand v2
Print-in-Place Tablet Stand
tablet stand adjustable

Building Brick Collectibles Display Stand

Articulated Folding Laptop, Tablet Stand

Tablet crystal stand

Adjustable Phone, Tablet Stand
"Triangly" the phone stand and tablet holder

Model Rocket Display Stands Collection