
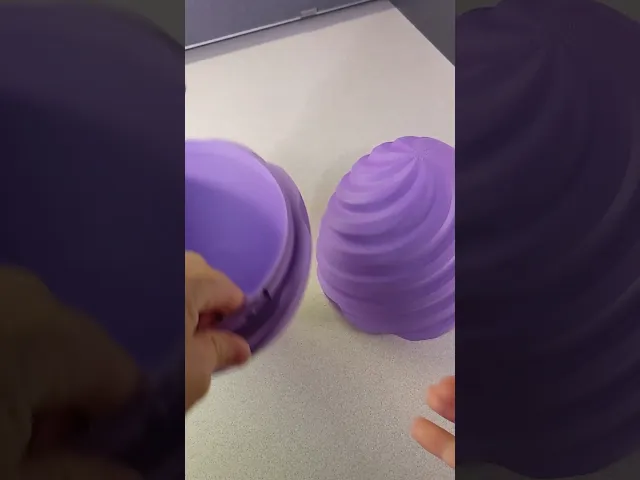


Large Spiral Egg
Update October 26, 2024: Added “ez” versions of the egg bottoms so it's easier to connect the eggs together.
Update August 8, 2024: Added alternative egg tops with a flattened interior roof for easier bridging.
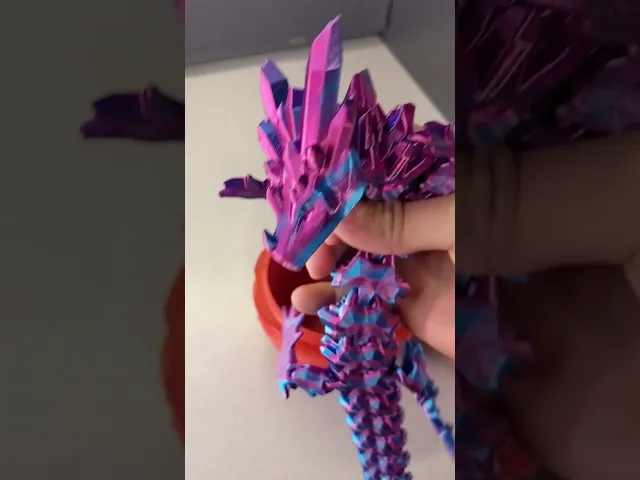
This is a scaled up model of my original spiral egg that can hold the large dragons I've designed!
You still have the same magnetic features of my smaller eggs, but now you can hold so much more!
I've uploaded a large version as well as a GIANT version!
Is it too over-the-top? You decide.
It's recommended that your printer be well tuned to ensure pieces fit comfortably. Tolerances are set to 0.3mm. This puts the fitment somewhere between snug and loose in order to accommodate the wide variety of printers out there and their tuned states.
If you happen to have clearance issues, you can always scale the model up in order to loosen up the tolerances necessary for pieces to fit together properly.
Print Instructions: Required Hardware: 6 - 6x3mm magnets for the egg
Supports: Not required. However, if you want the inside of the egg to look neat toward the top you might consider adding supports.
Assembly: When placing the magnets, ensure the magnets placed in a way where they attract each other when closing the egg.
I've designed the magnets to be a “loose” press fit. Due to the wide variety of printers out there and the various states of tune the printers are in, I didn't want to make the tolerance too tight and make it difficult for those who haven't tuned their printers well enough. So, if your printer is well tuned, you may need to use glue to fasten the magnets.
Happy printing!
Feel free to join my discord for additional support, questions, or suggestions!

Large Spiral Egg

Helix Spiral Table Lamp - Mid-Century Modern Desk Light

Lamp 003 Base.stl

Cup 004 - Spiral Ribbed Desk Organizer / Modern Vase / Pencil Cup

Cup 003 - Chiseled Organic Vase / Pencil Holder

Glowing Castle Lamp & Tabletop Fortress

Birdhouse 002 - Mid-Century Modern Birdhouse & Succulent Planter
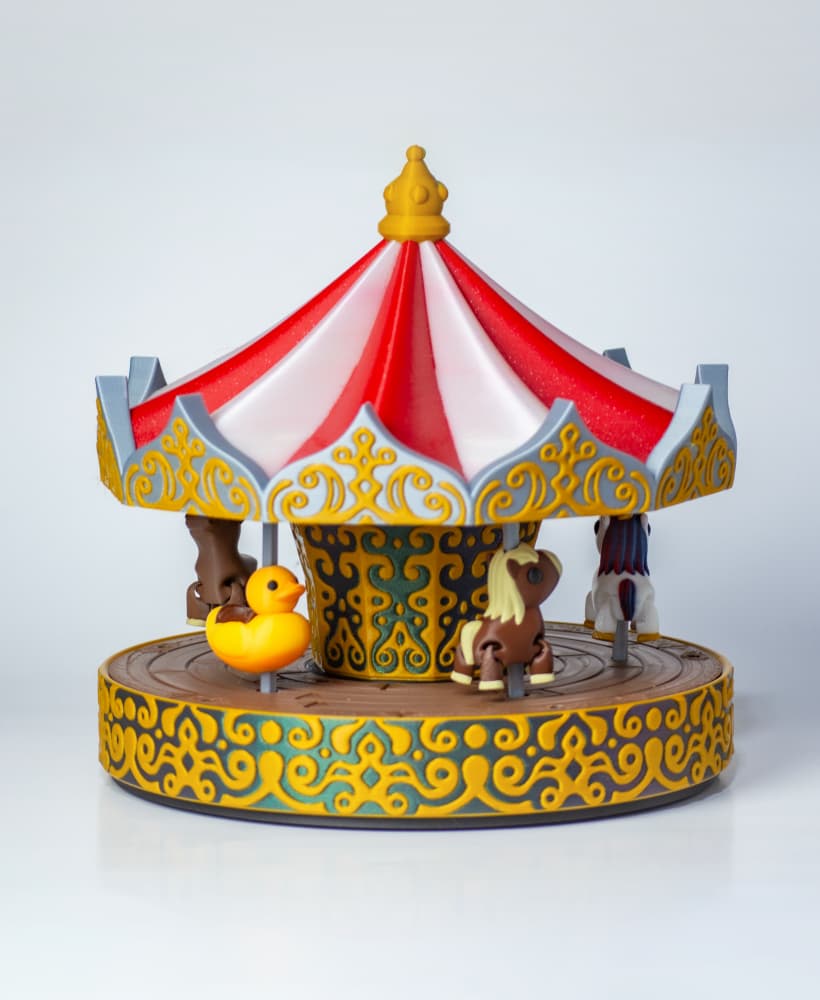
Carousel - Motorized merry go round

Bird House 001 - No AMS or other multi-color printer required

Floppy Stroopwafel

Dragon Egg

Twisty Egg Lamp

Dragon Egg Lamp

Egg Lamp 2.0

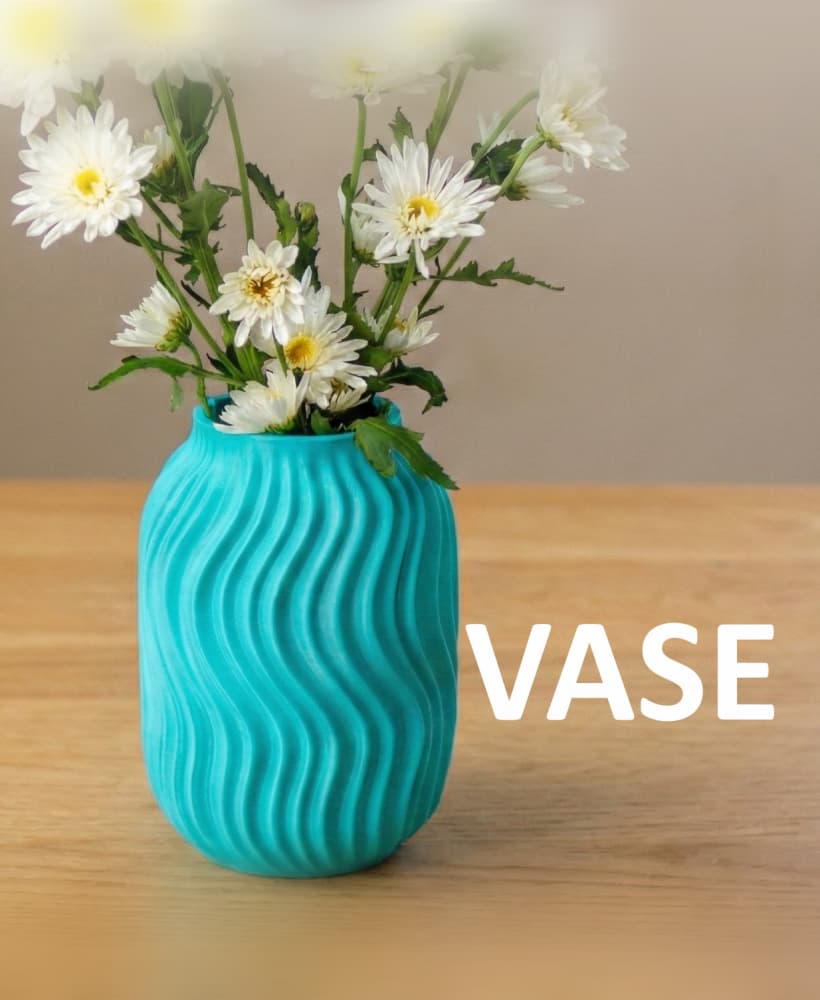
Vase 004

Cup 002

Bowl 003

Floppy Guitar Fish

Lamp 002
Vase 003

I'm having issues with these larger eggs and the inside tip of them stringing. Since the internal space of the tip of the egg isn't as necessary to fit even the largest dragon, can you fill in the tip of the egg so the slicer can bridge across the gap to form a floor instead of bridging in increasingly angled circles? It looks like it really starts to fall apart about 25mm from the inside tip. It isn't exactly much better with supports honestly.
Edit: This is across multiple filament types, PLA, PLA-Silk, PLA Matte, ABS, using support and not using support, and 3 different printers, X1C, A1, N4P. All of them required me to scoop out hairs in the tip of the egg. Supports did make it less like spaghetti, but not entirely.
Sorry about the late reply.
That's a good suggestion. I'll usually use supports for the top portion of the egg to deal with the increasingly steep angles as you get toward the top.
But if the dragon is never going to occupy that space, I don't see why I can't make the inner top flat to accommodate bridging.
I'll put this on my radar