PolyDryer Splitter Mod – Dry Two Spools at Once
PolyDryer Splitter Mod – Dry Two Spools at Once
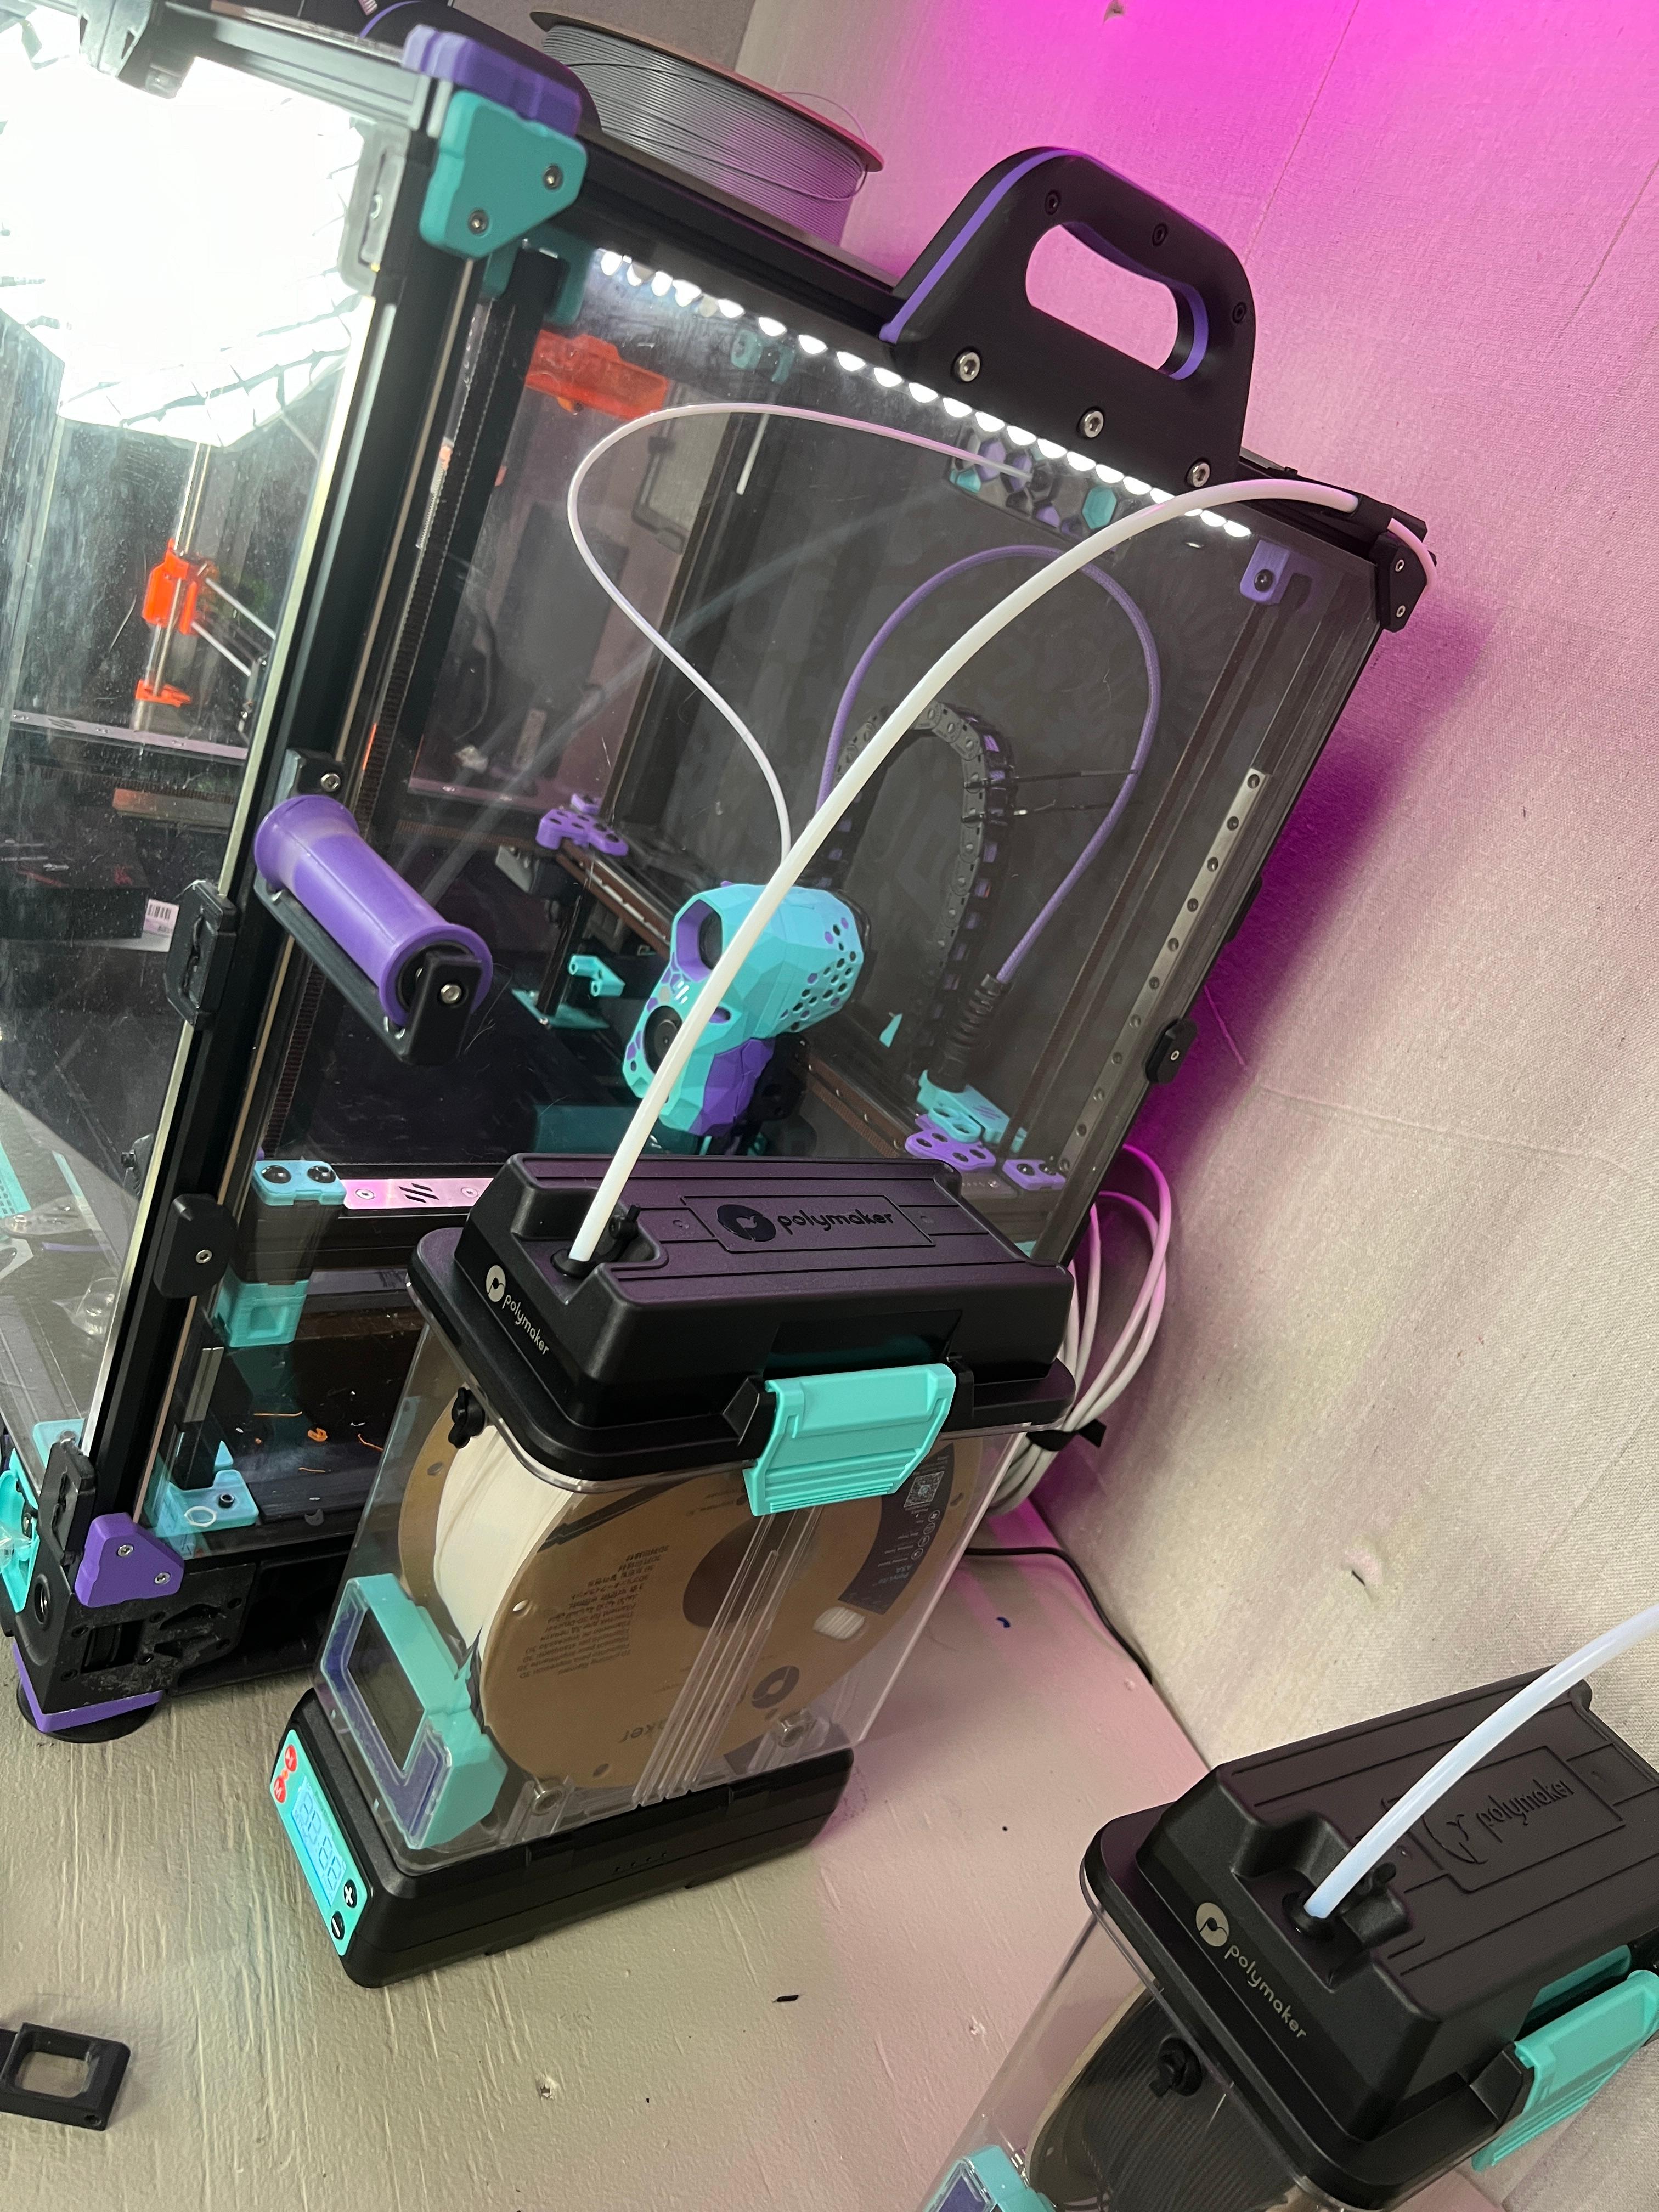
Thanks to this mod, you can dry two spools at the same time using a single PolyDryer unit.
This design is ideal for users who own only one dryer and want to optimize their drying process, especially useful when drying filament overnight.
⚠ Important notice: Don’t expect the same drying performance as with a single-spool setup. Since the dryer needs to heat the air for two containers, its efficiency is reduced. For this reason, a few precautions are recommended:
**Use a higher temperature setting than suggested in the manual. ** For example, if PLA normally requires level 1 of 3, switching to level 2 of 3 will improve drying performance. The same applies to PETG and other materials.
For materials that require the maximum power level (3 of 3), it’s best to dry them individually. Otherwise, the dryer may not reach a high enough temperature to effectively remove moisture.
**Rotate the containers periodically. ** This will swap the hot air outlet with the air intake, helping to heat the filament more evenly and speeding up desiccant regeneration making the drying process more effective overall.
These tips will greatly improve drying efficiency, but please note: this mod is not a replacement for having two separate PolyDryers.
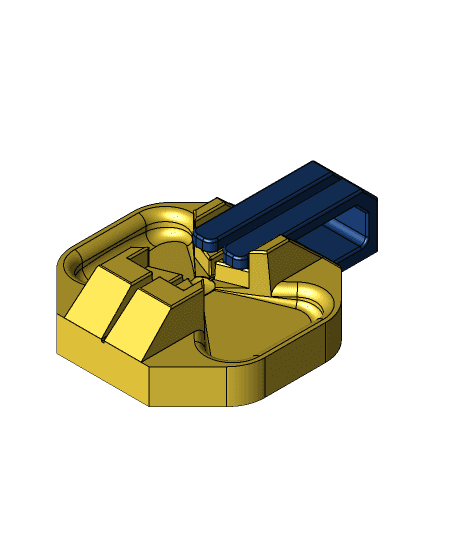
🖨 Printing Instructions The download includes a .3mf file painted for multi-material printing.
You can print it in PLA, but it’s important that the air channel components are made from a heat-resistant material. PLA HT or other materials that bond quite well with PLA, like TPU, are suitable.
In my case, I printed the whole structure in PLA, using GreenTEC Pro by Extrudr for the air channels and TPU for the support feet.
Project in Collaboration with PCBWay If your printer isn’t capable of printing technical materials that can withstand high temperatures or if you simply want to build this project using premium materials and finishes, PCBWay can come to your rescue!
PCBWay supports me in the development of my projects and specializes in PCB, PCBA, CNC, and 3D Printing, and has (in my experience) the best support & the widest amount of options for manufacturing as compared to other services. I highly recommend it.
The same print is uploaded on PCBWay+ Community, you can go here and get the print with one click.
Their 3D printing services offer a very wide selection of processes including SLA, DLP, FDM, SLM, SLS, PJ, VC, and materials including metals and nylon. The ordering process is very quick, just upload the design file and select the parameters.
If you're new there don't forget to use this link for 5$ discount https://pcbway.com/g/3BjHD9
🛠 Quick Assembly Guide The only hardware needed besides the printed parts are 12 self-tapping screws (3x10 mm).
🔁 Print the following parts in these quantities:
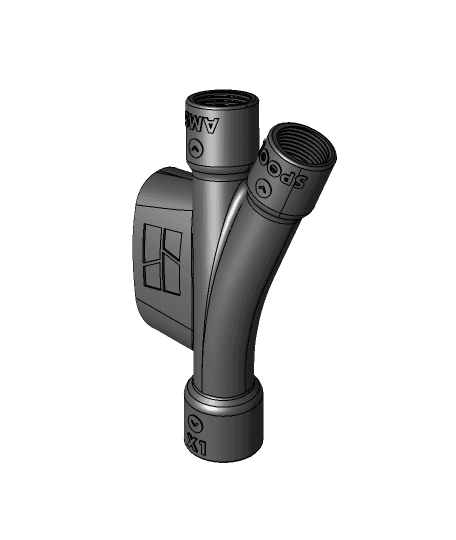
Splitter – 2x.
Leg – 4x
Large Foot – 4x
Small Foot – 4x
🧩 Assembly steps: Once all parts are printed, place the legs onto each splitter and secure each leg with 3 self-tapping screws.
After the legs are mounted on both splitters, insert the feet into the base of the legs. These will cover the screw holes and complete the base.
⚠ Important Note:
The feet were designed with zero tolerance and intended to be printed in TPU. Since TPU tends to shrink slightly after printing, the feet may fit loosely or not lock in place as intended. (If printed in PLA, the fit might be too tight, making insertion difficult.)
To fix this:
Make sure to adjust the shrinkage (scale) parameter in your slicer’s TPU filament profile to ensure proper fit.
Alternatively, you can glue the feet into their respective slots to hold them securely.
Once assembled, simply place one splitter over each PolyDryer nozzle and you’re ready to go! Remember, there is enough space above the PolyDryer to rest the bottom caps of the spool boxes during the drying process.
Happy drying! ☀
🔁 Share Your Make & Remix!
I’d love to see how you build and customize this project. Your feedback is incredibly valuable and helps me improve my designs.
If you create improvements, remixes, or alternate modules, share them with the community!
🐾 Follow for More Don’t forget to follow 3D KIMBA for more projects, creative ideas, and helpful tools for makers!
PolyDryer Splitter Mod – Dry Two Spools at Once
Bambu Lab Y-Splitter (5x5 magnets)
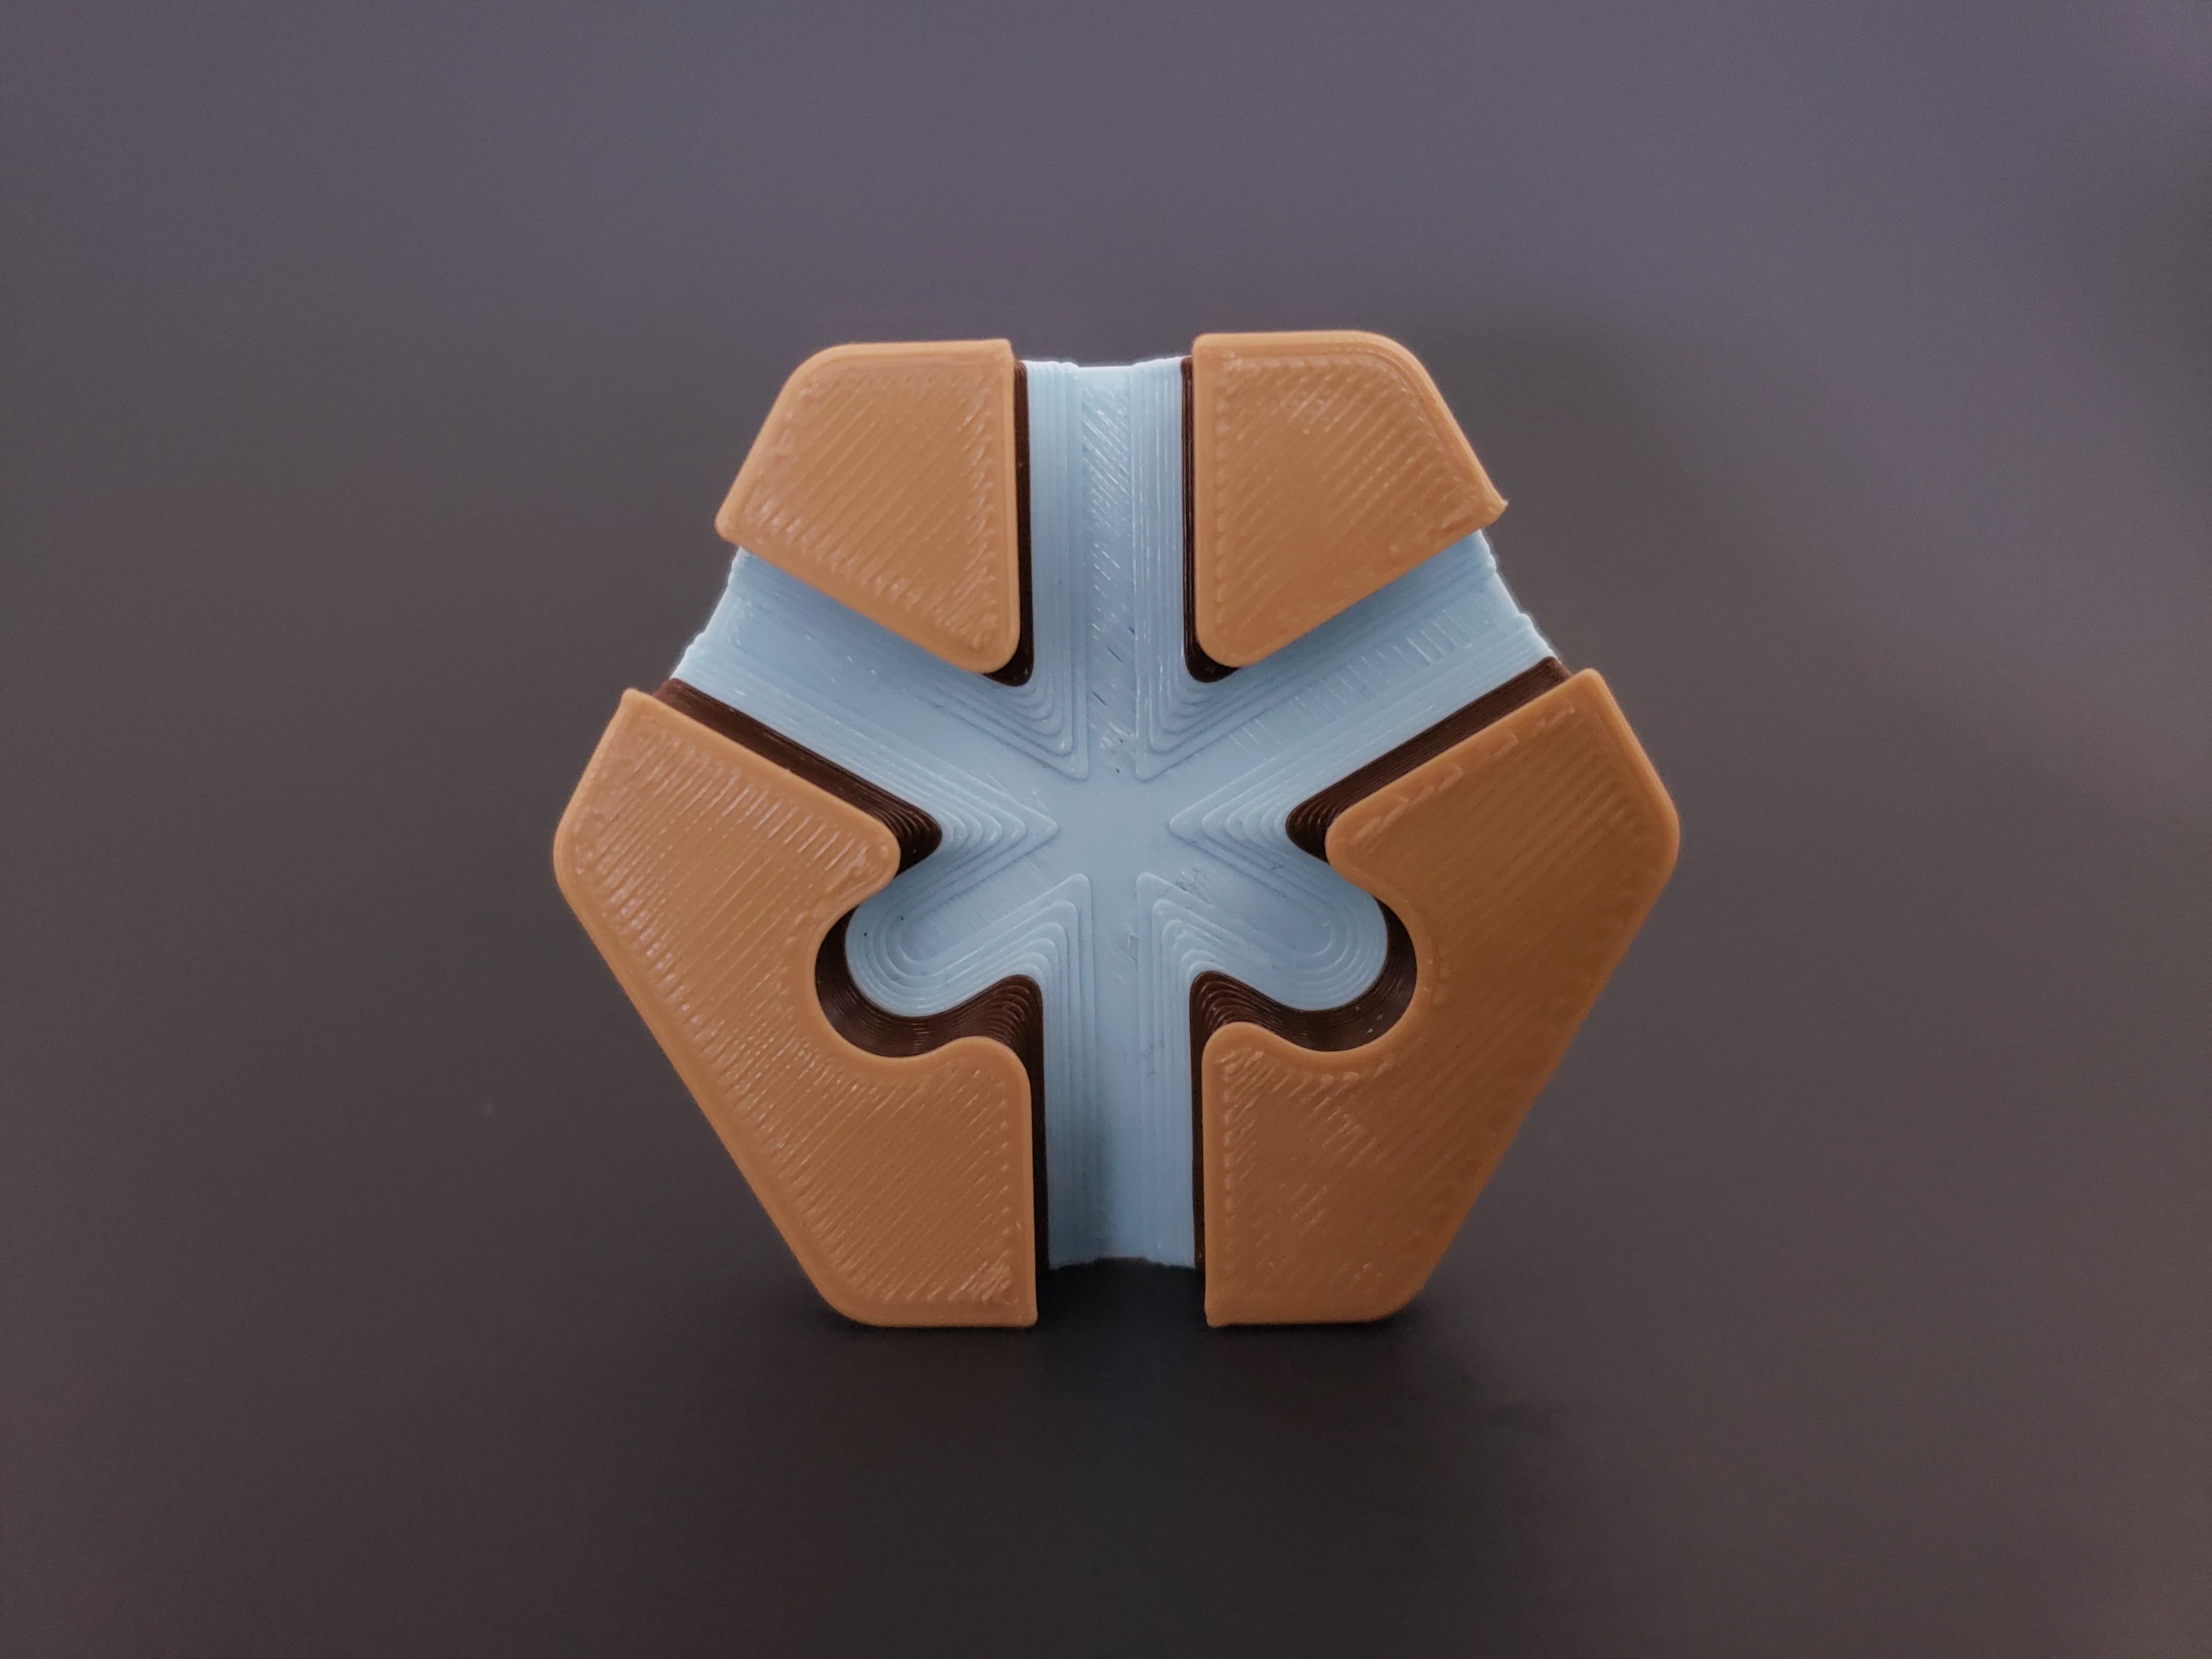
Hextraction Power Trap Tile
Hextraction Snowflake Tile
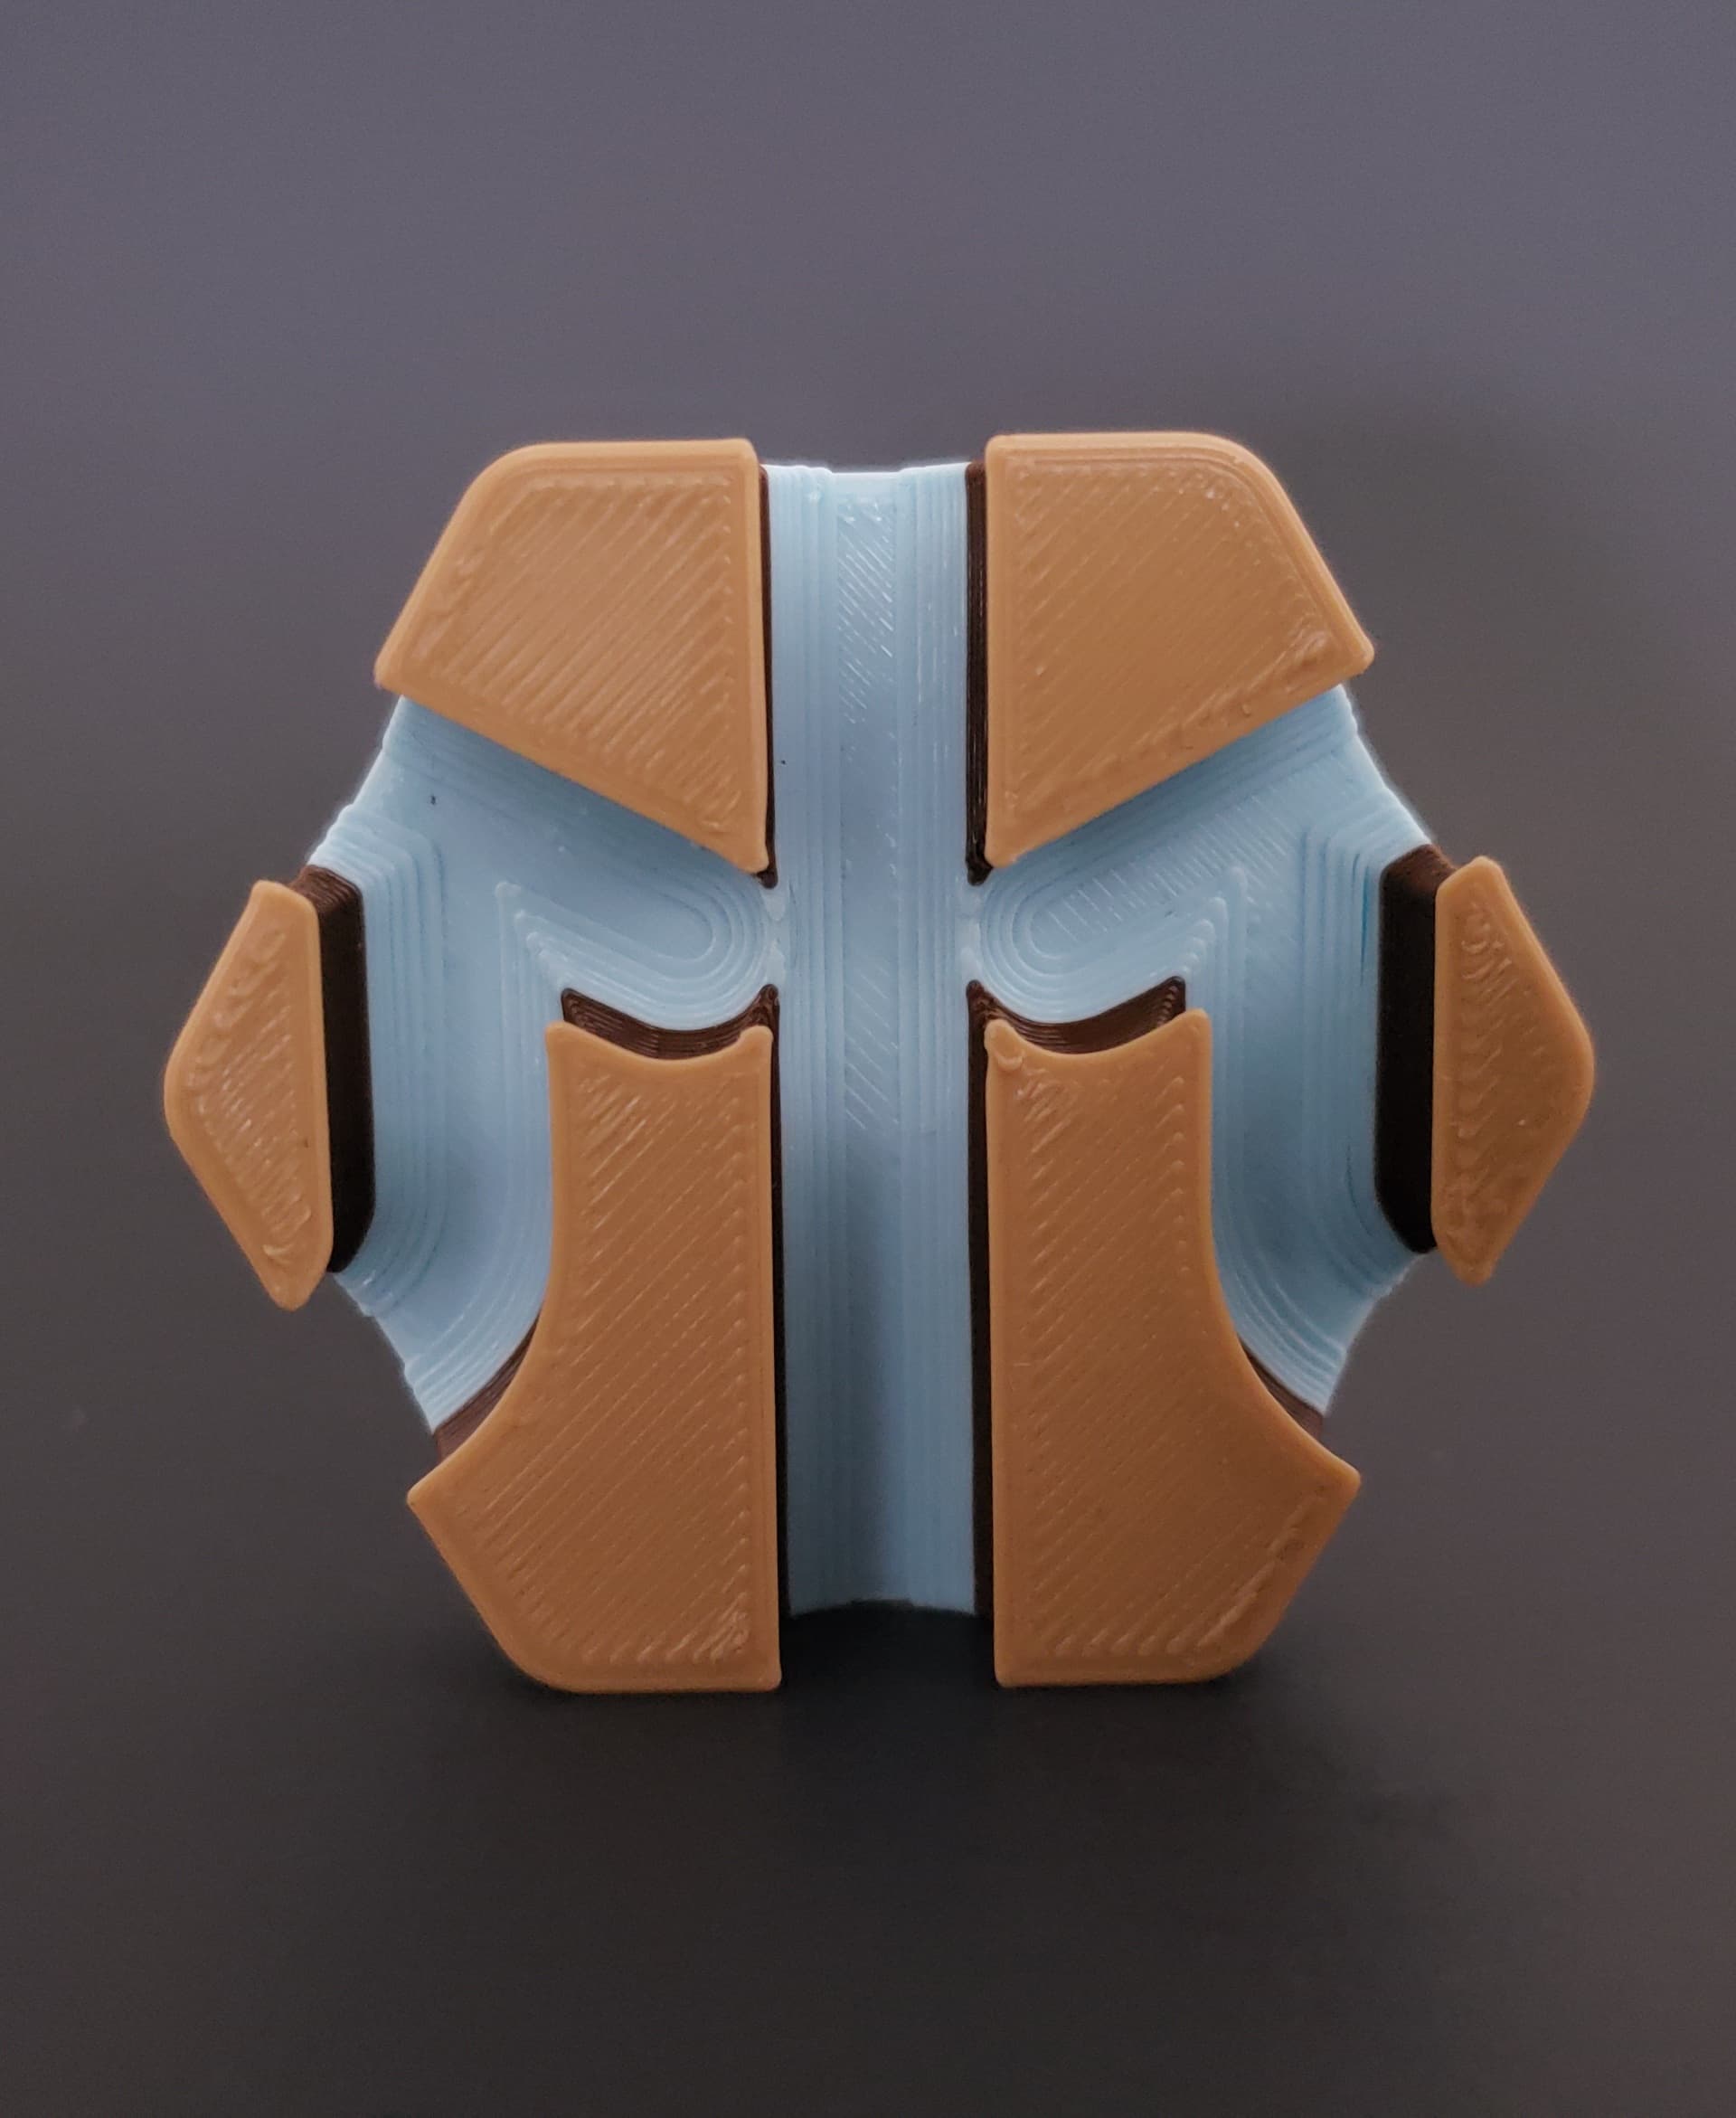
Hextraction Splitter Tile
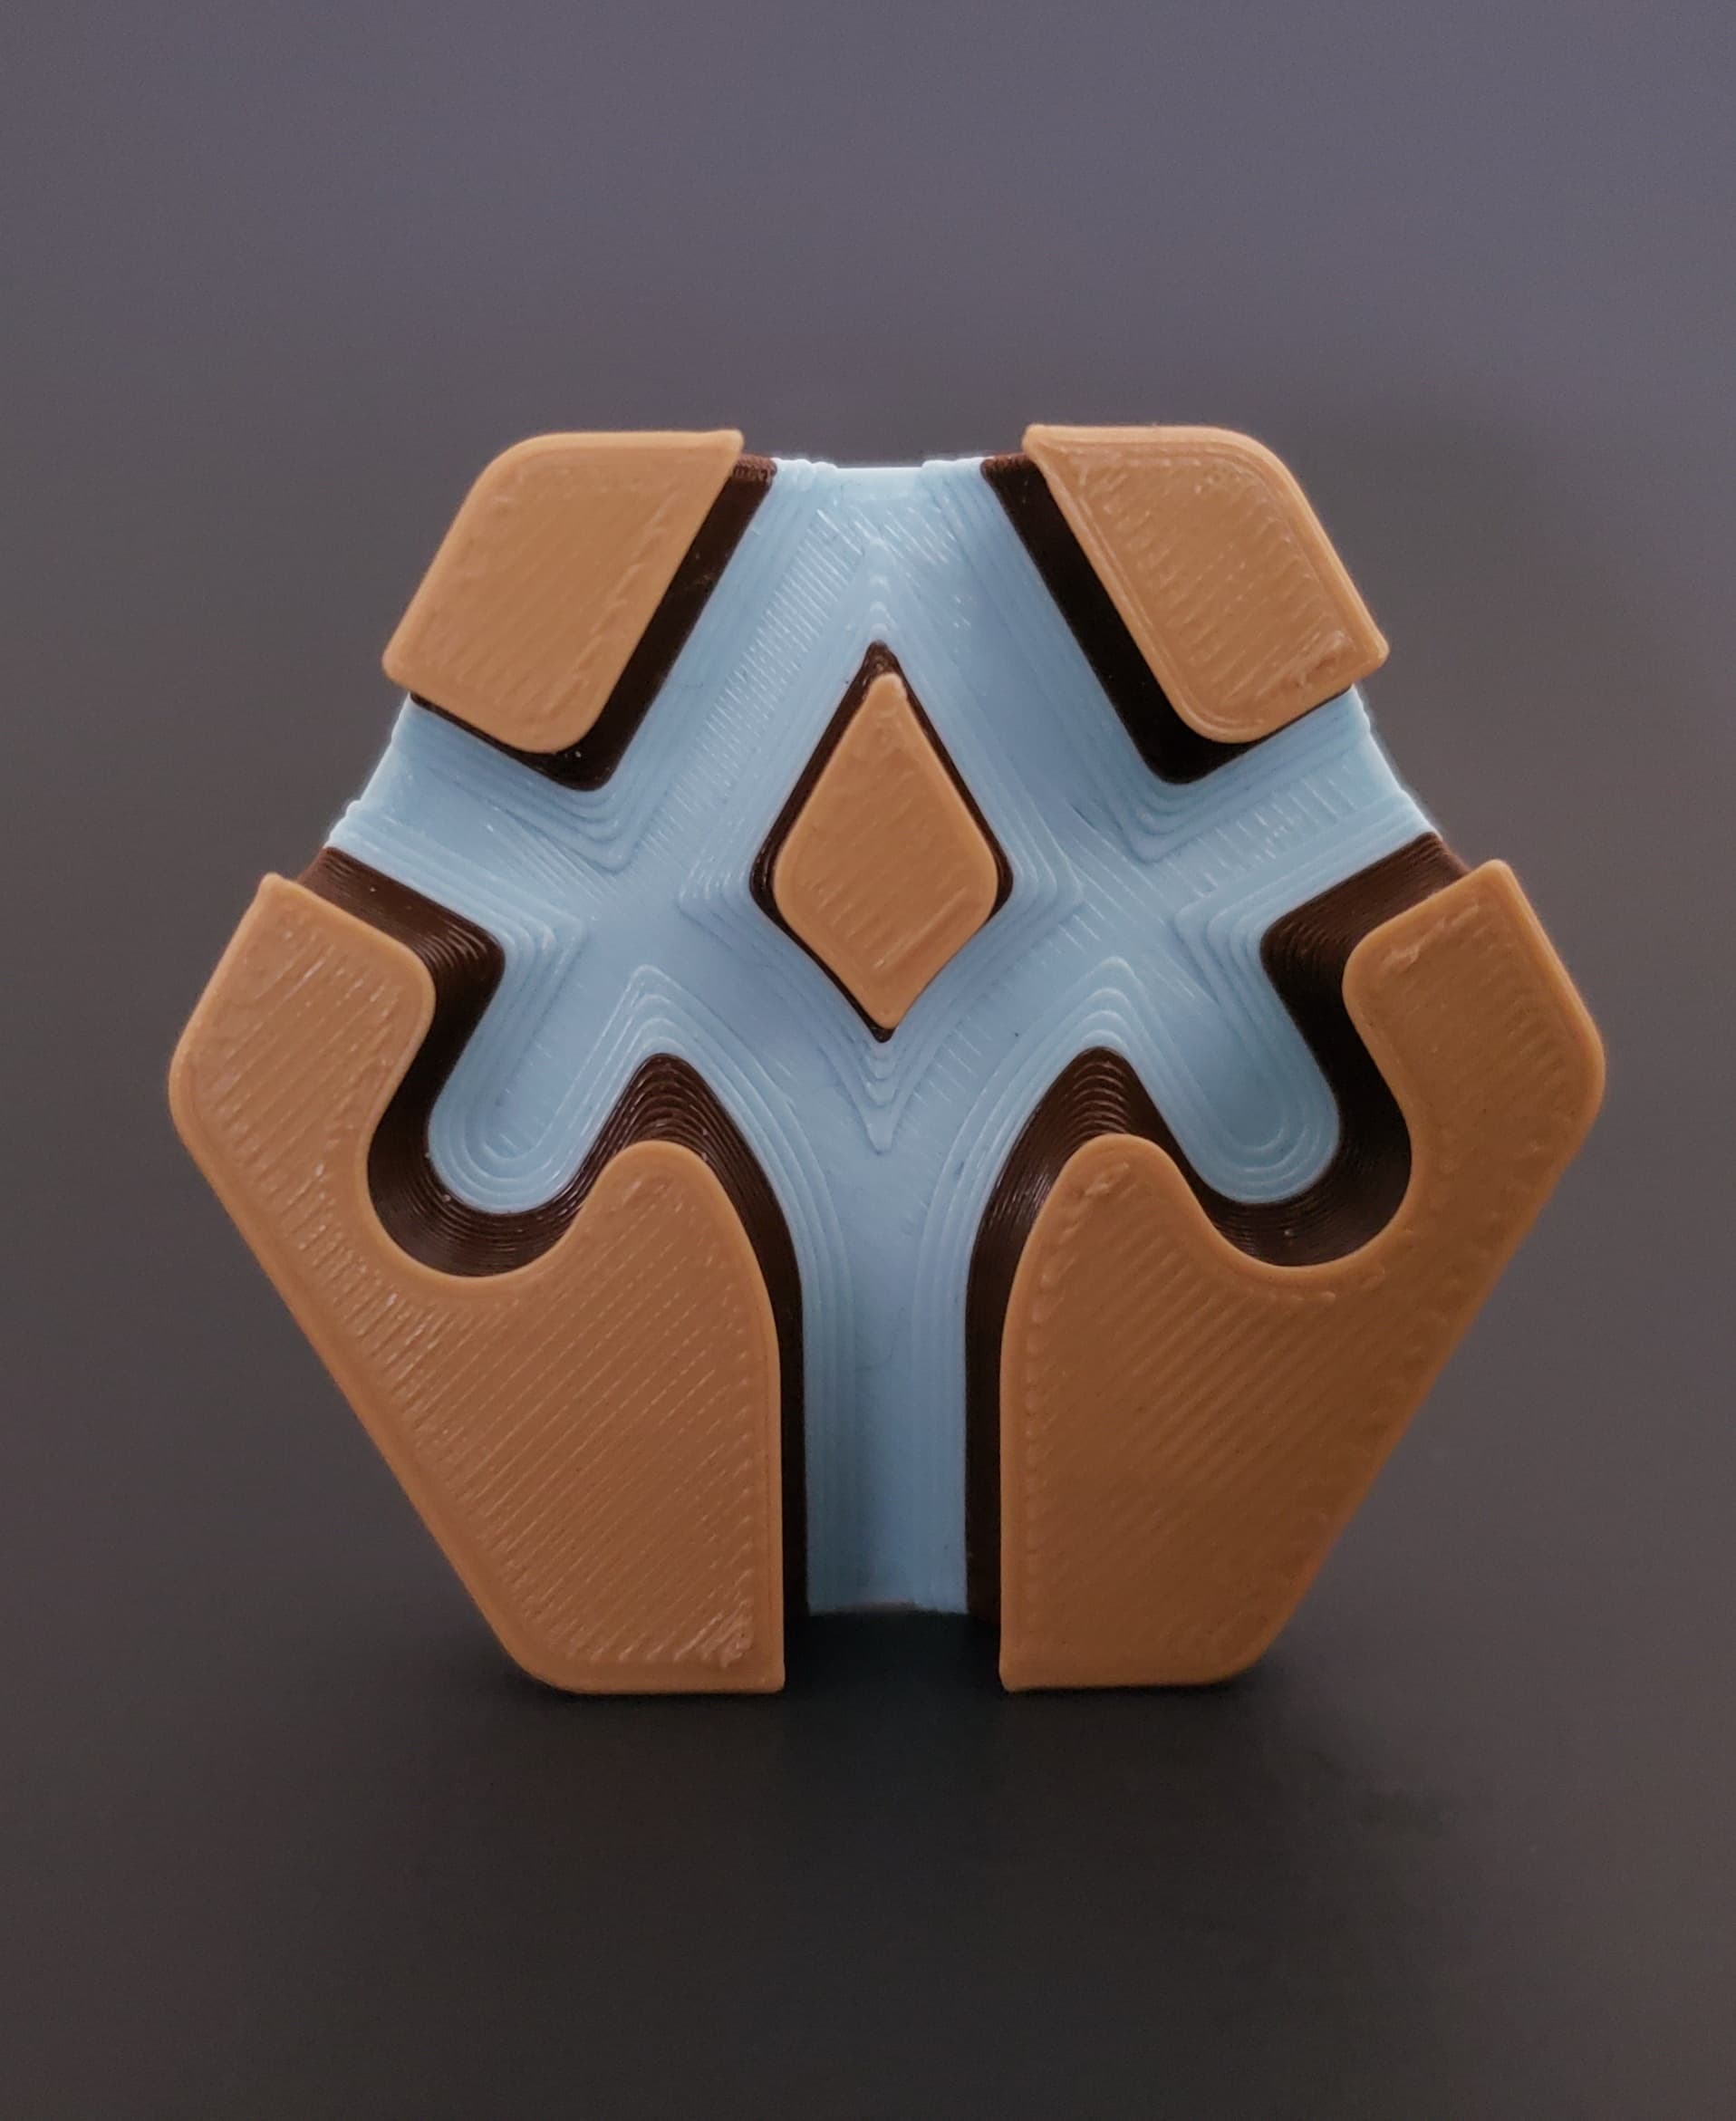
Hextraction AY Trap Tile
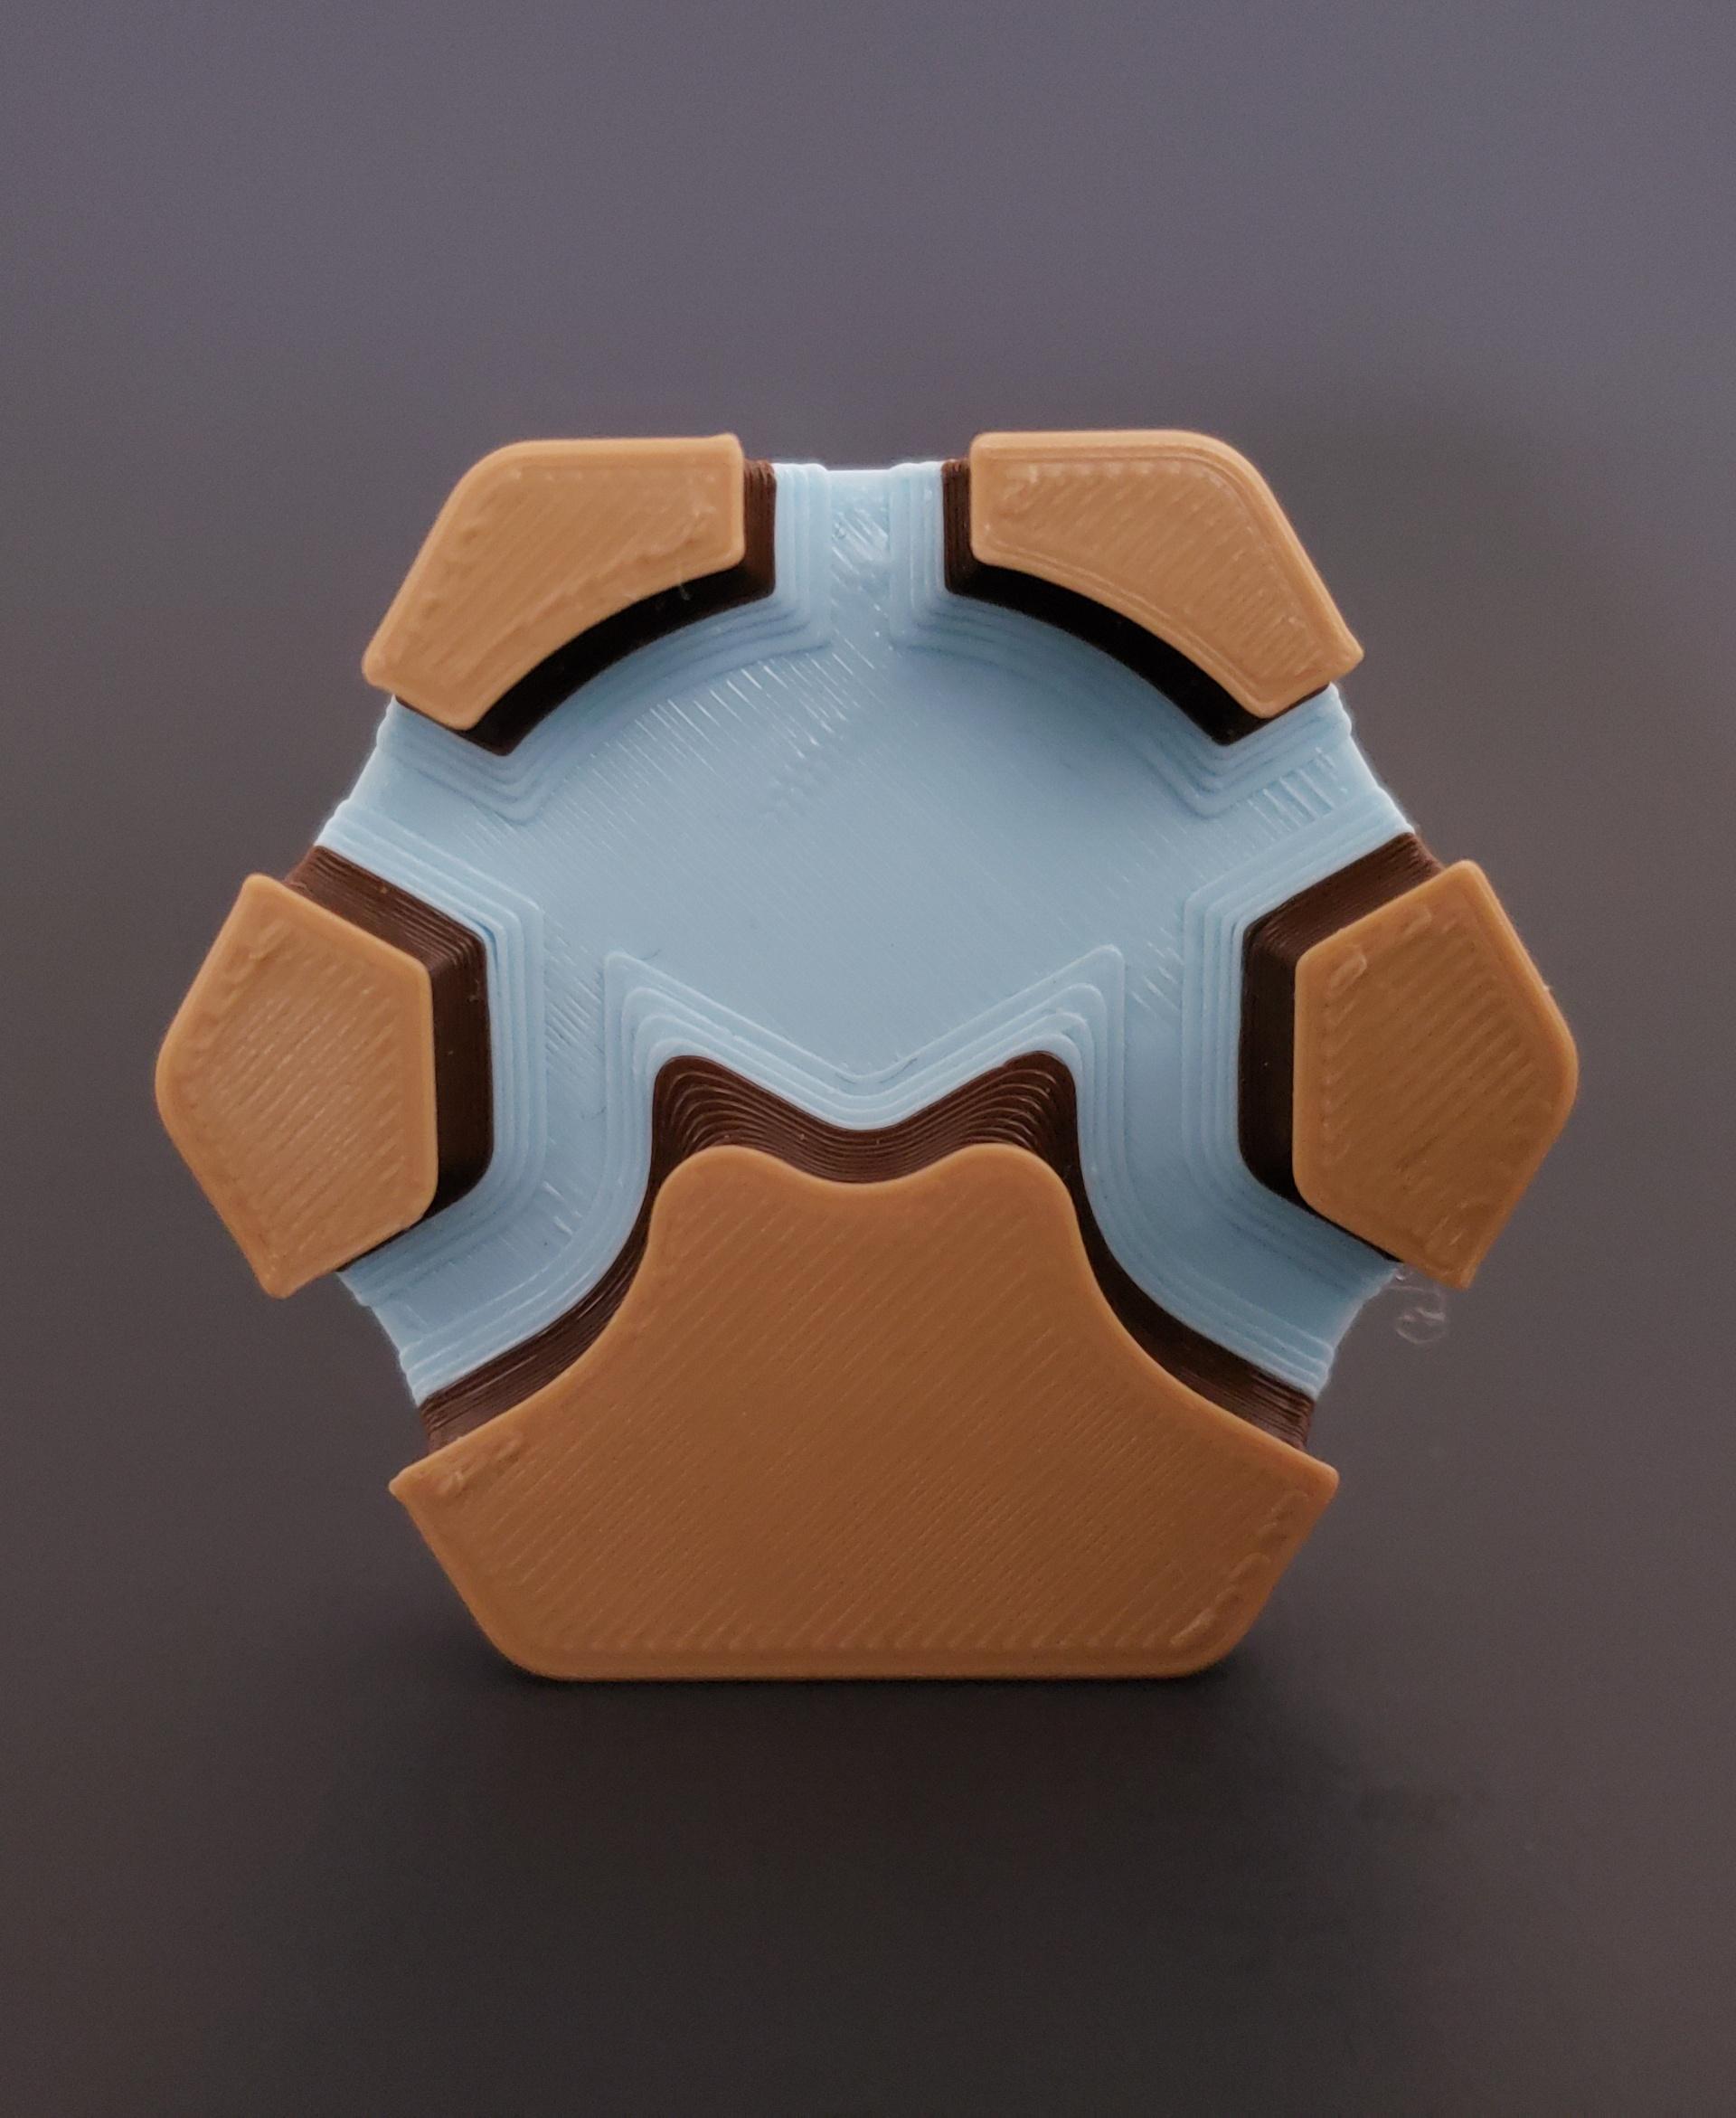
Hextraction Jellyfish Tile
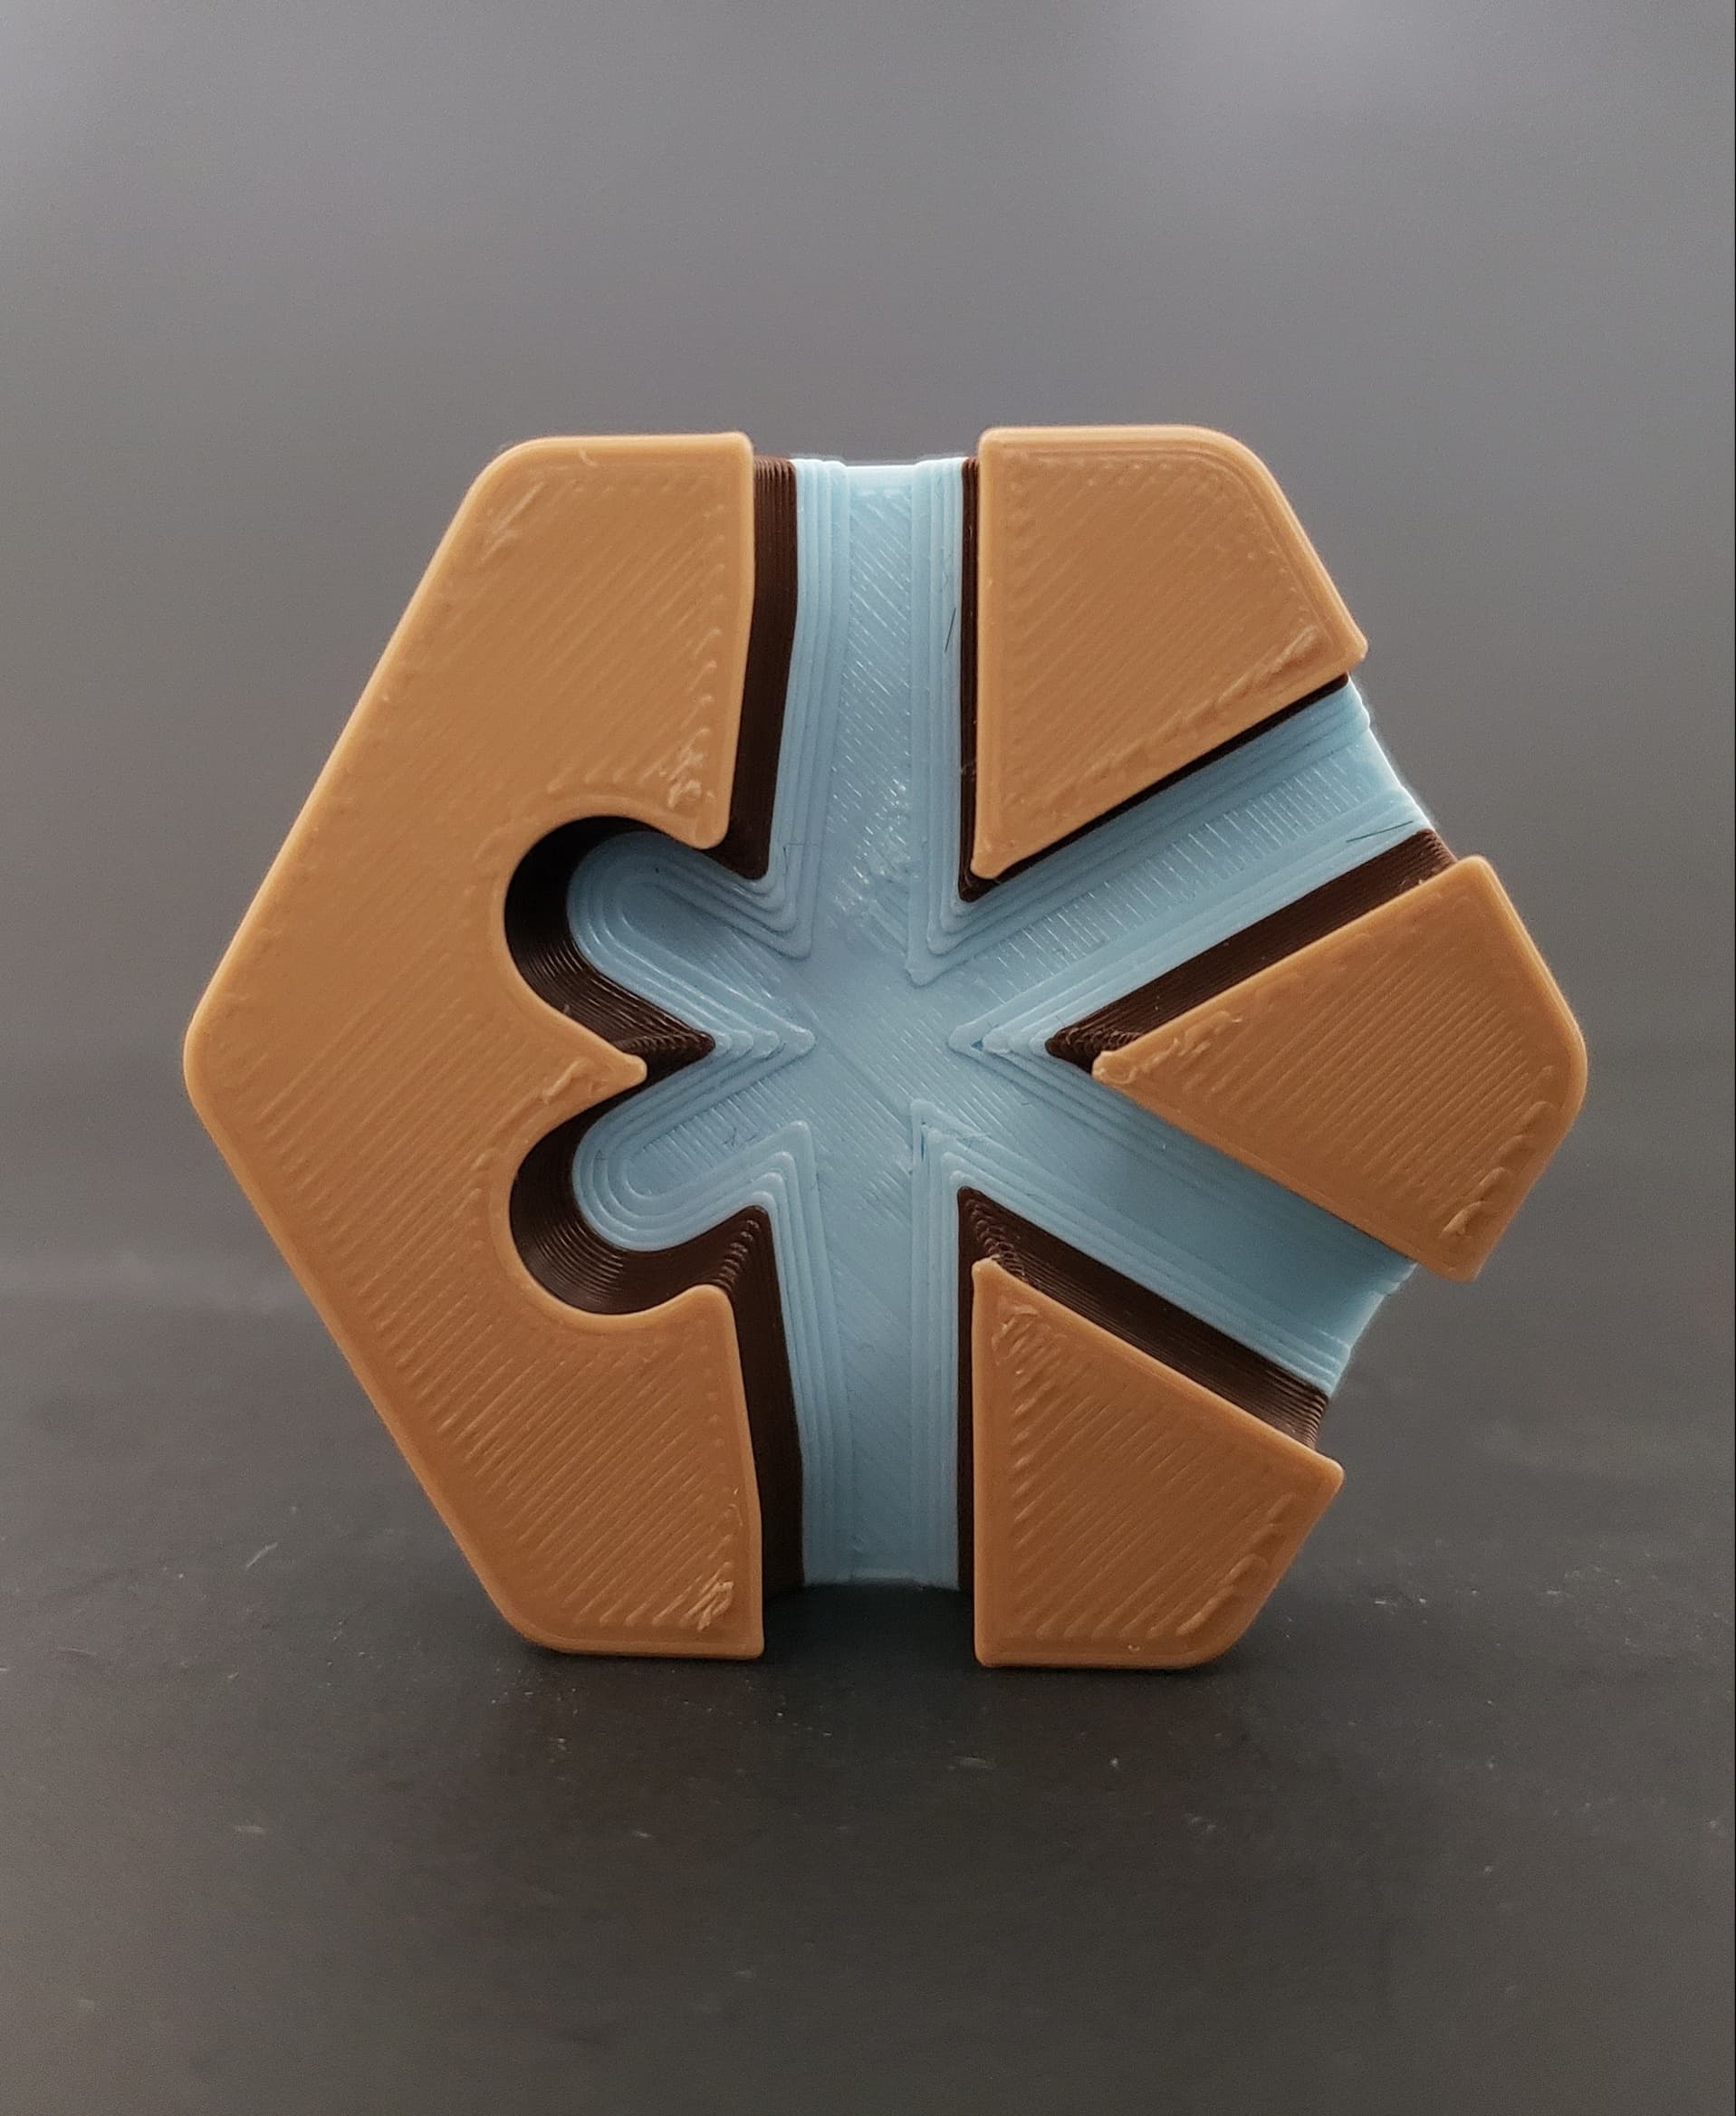
Hextraction K Trap Tile
Hextraction Peace Trap Tile
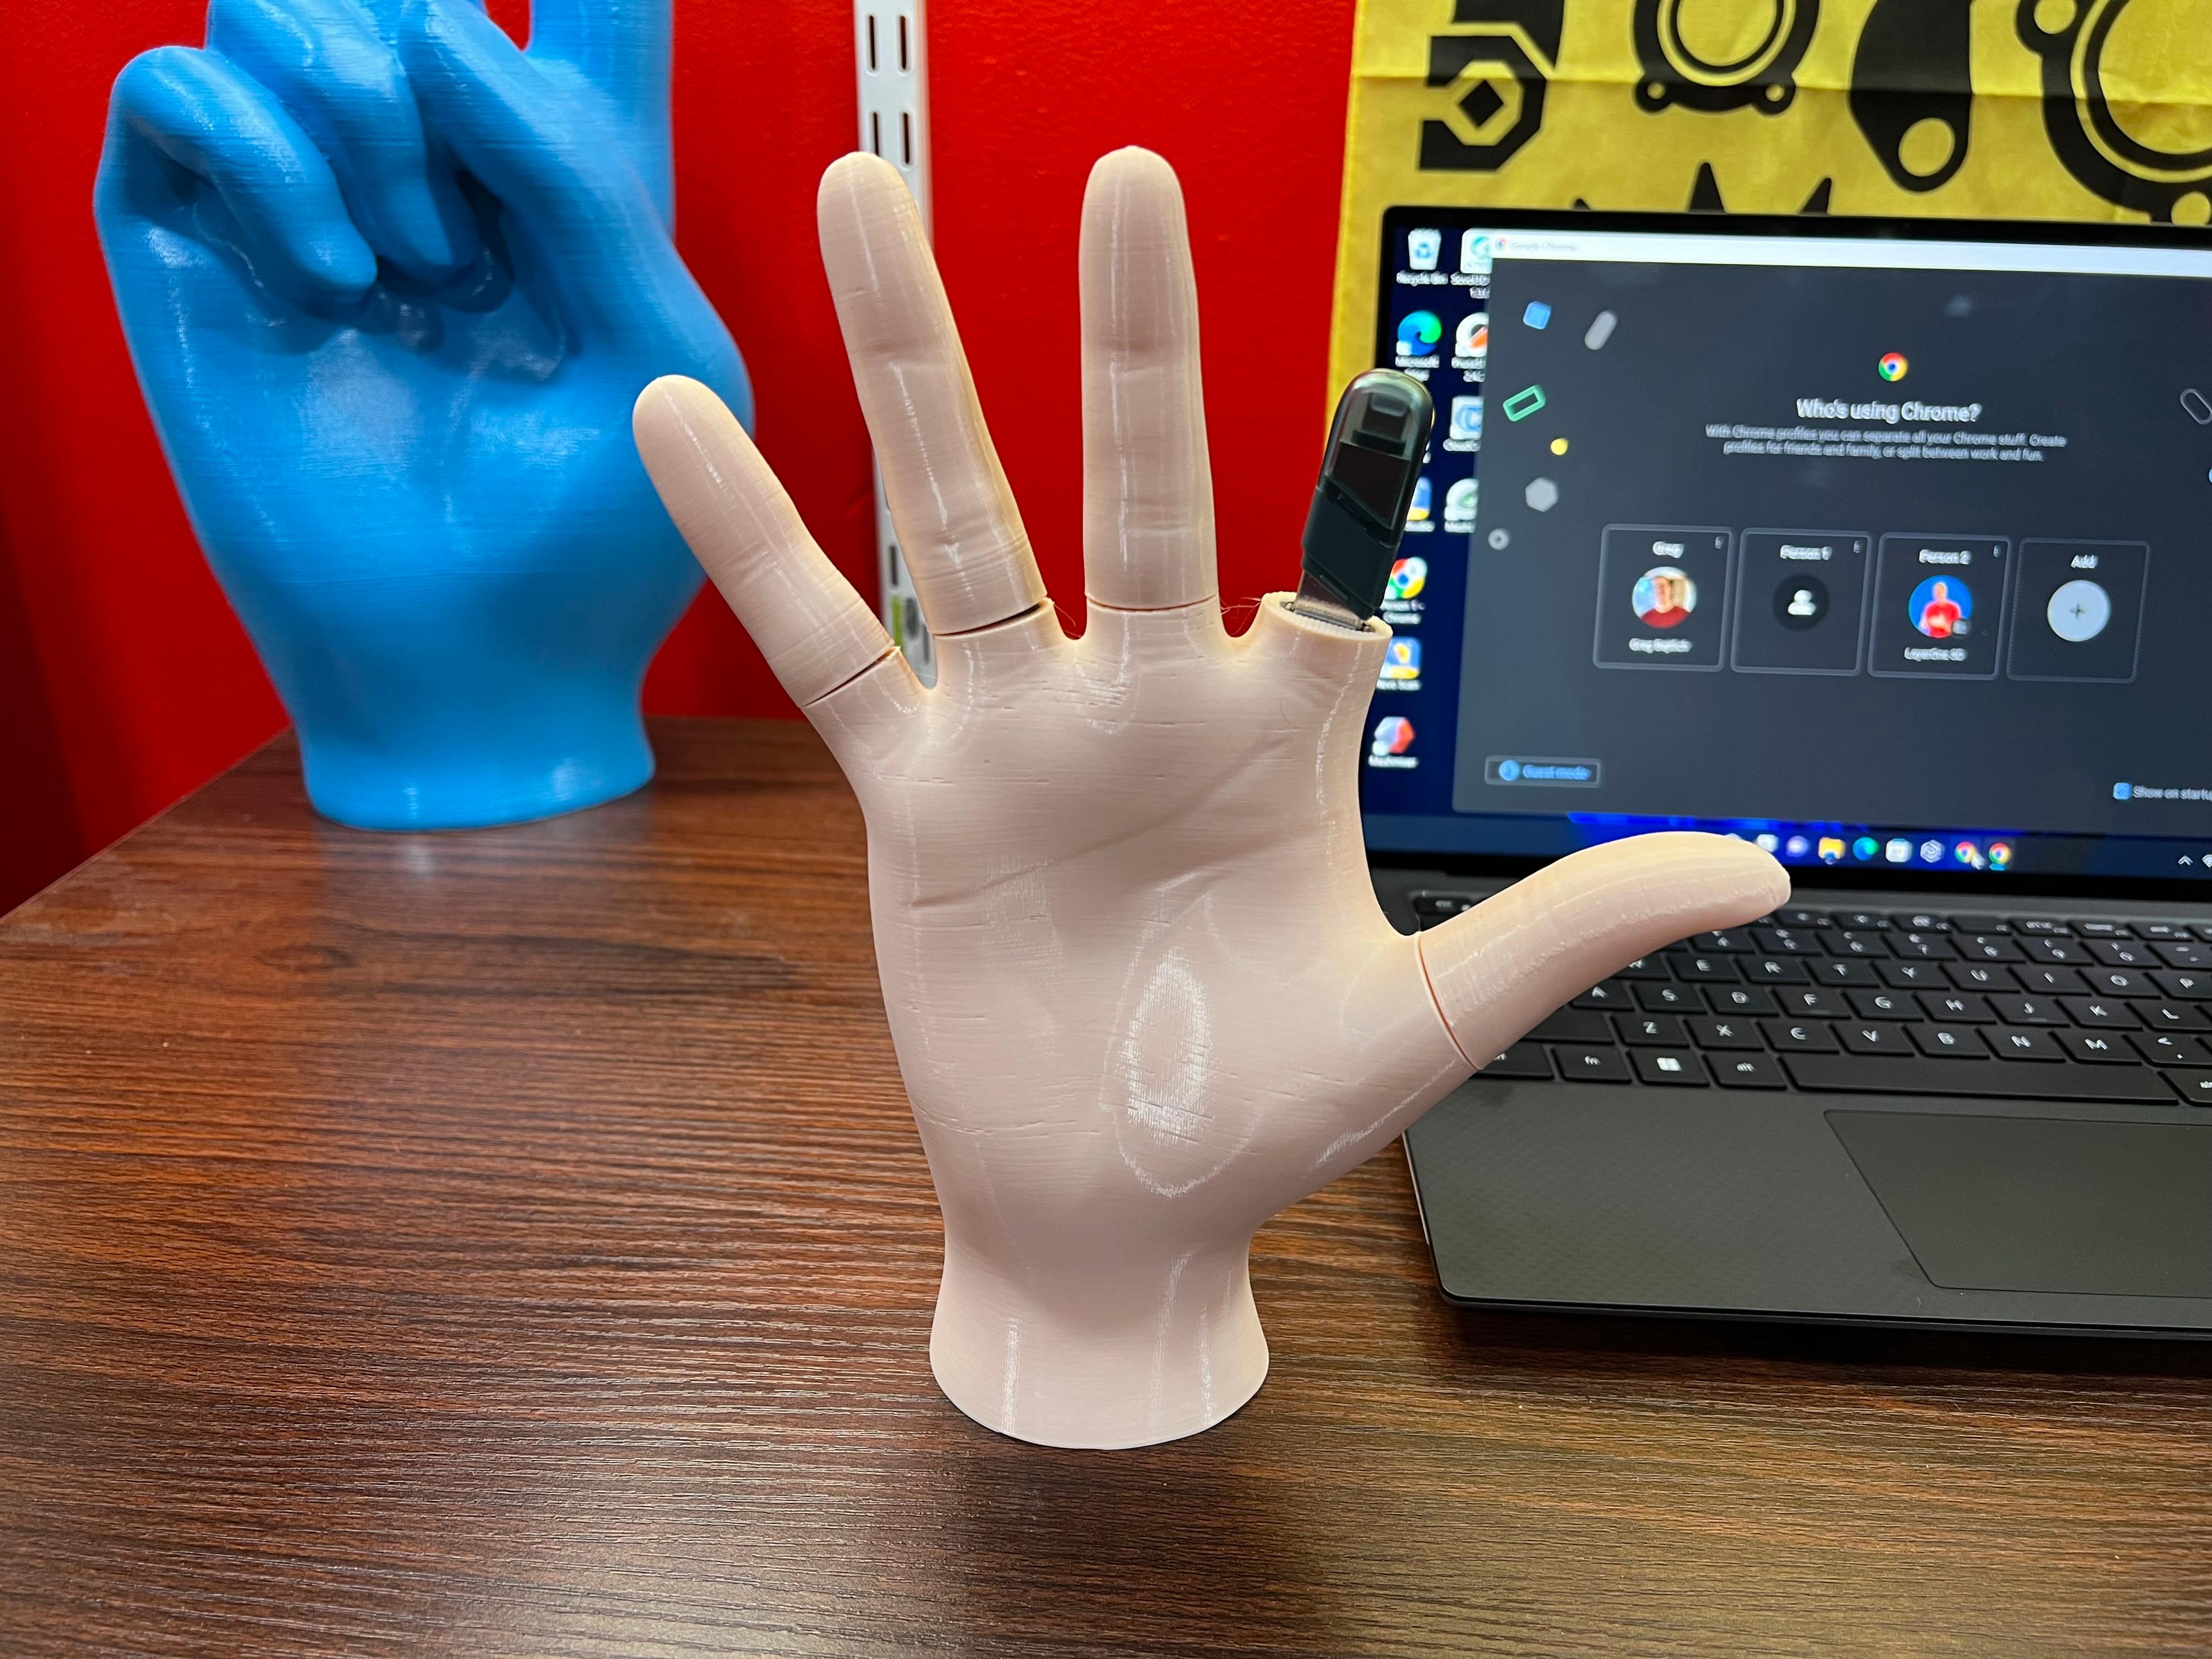
Hand Shaped USB Hub

Raspberry Pi 5 case - Retro tower desktop
PolyMaker PolyDry Reverse Bowden Retainer

polydryer wall mount remix.3mf
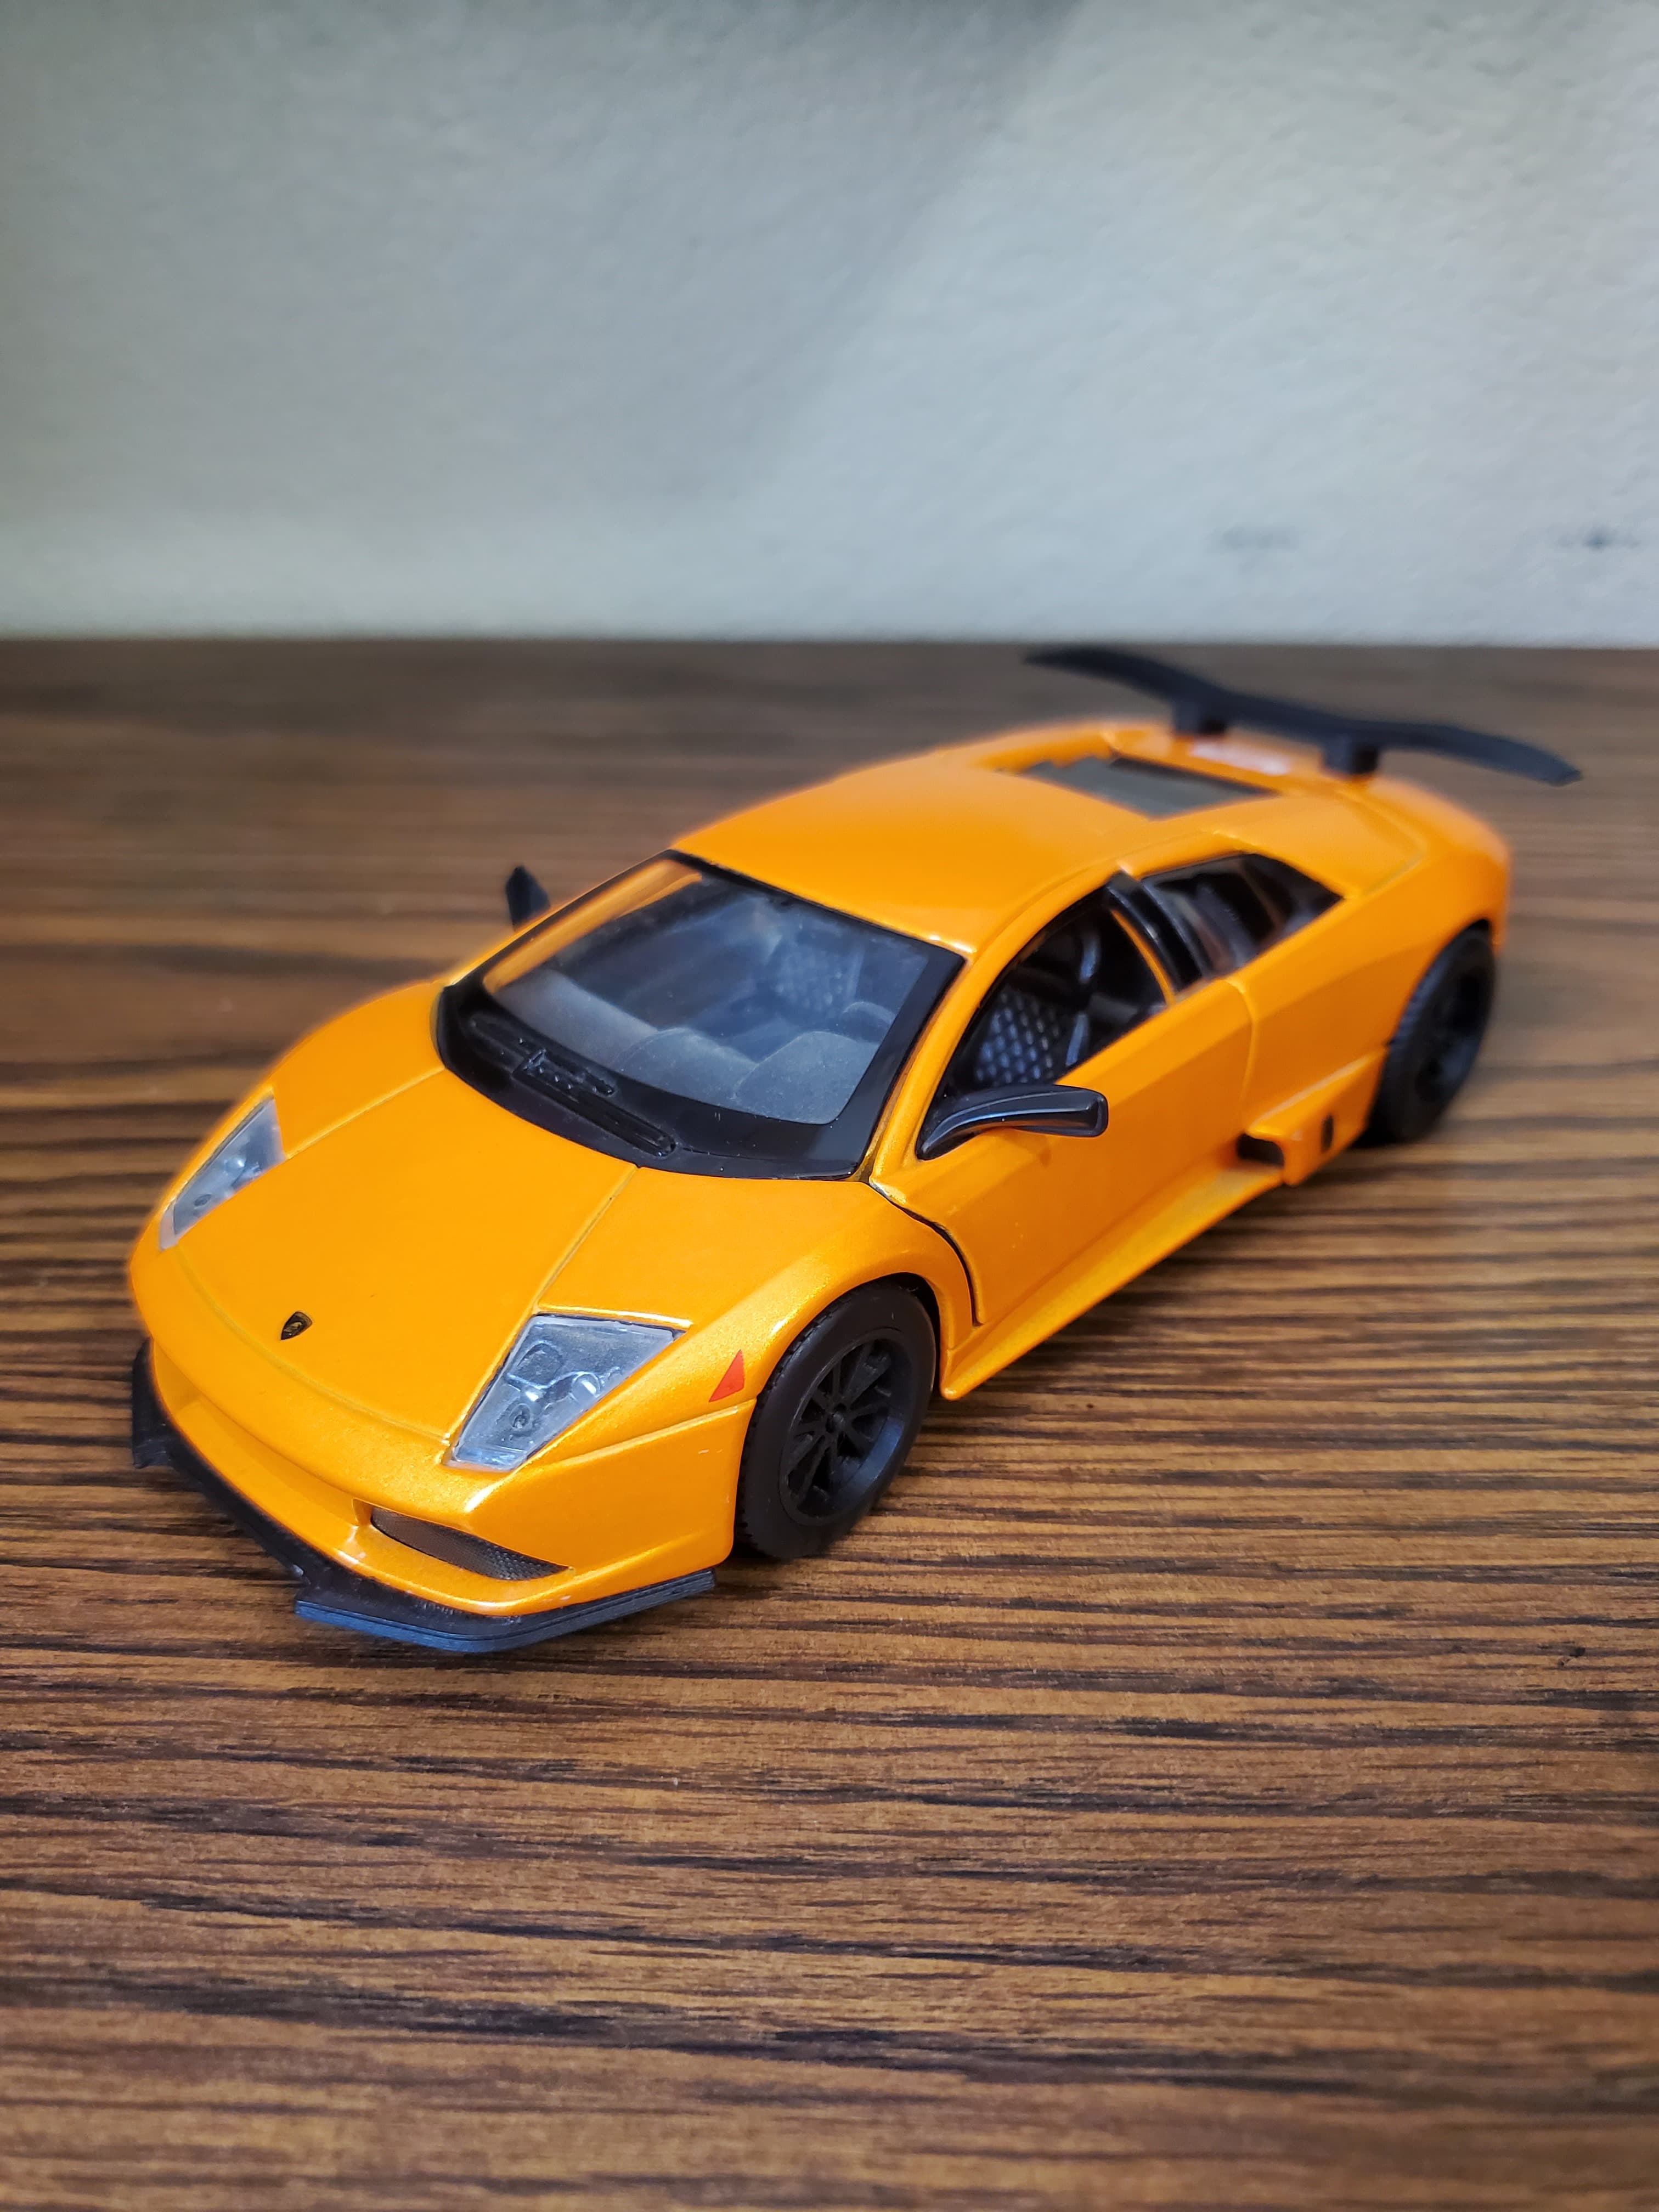
Model Car Lamborghini Mods - Spoiler, Splitter, Wheels
Samus' Armcannon (Metroid Prime)
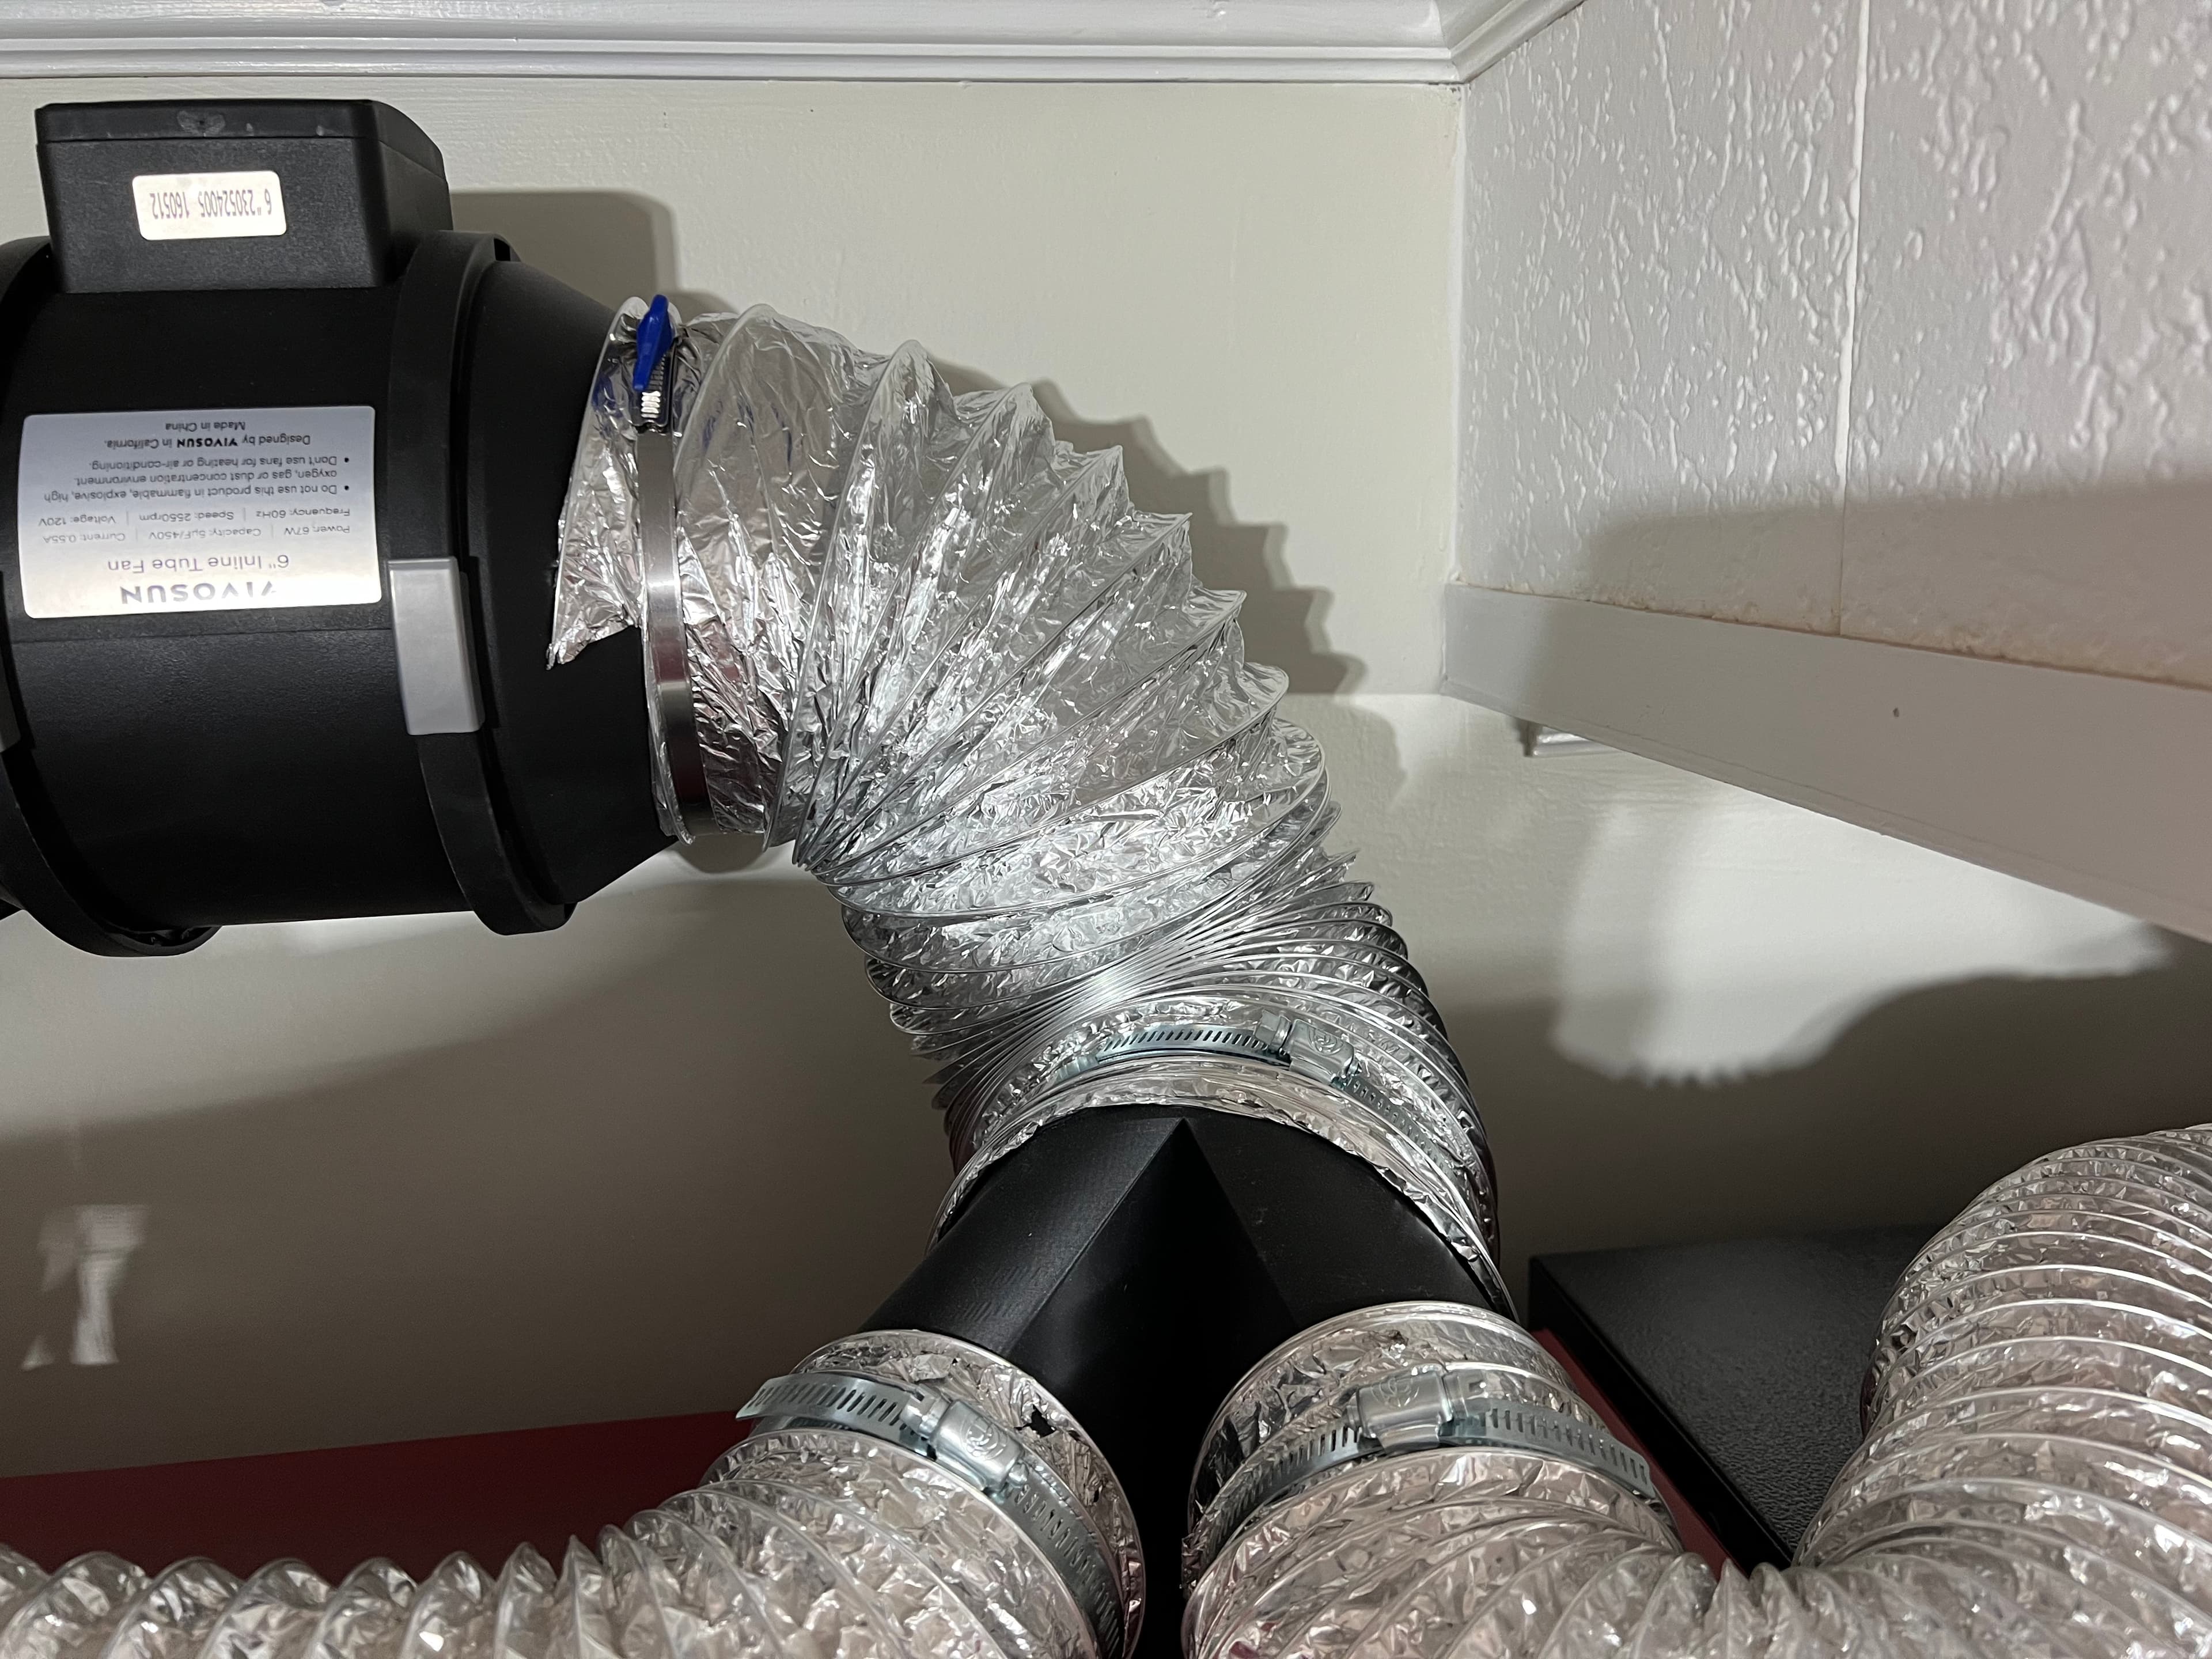
6in to dual 4in coupler
.png&w=3840&q=75)
Bambu X1 & P1P - Side Filament Holder /w P4-M10 Thread

AMS Dryer V2 - Duct.stl
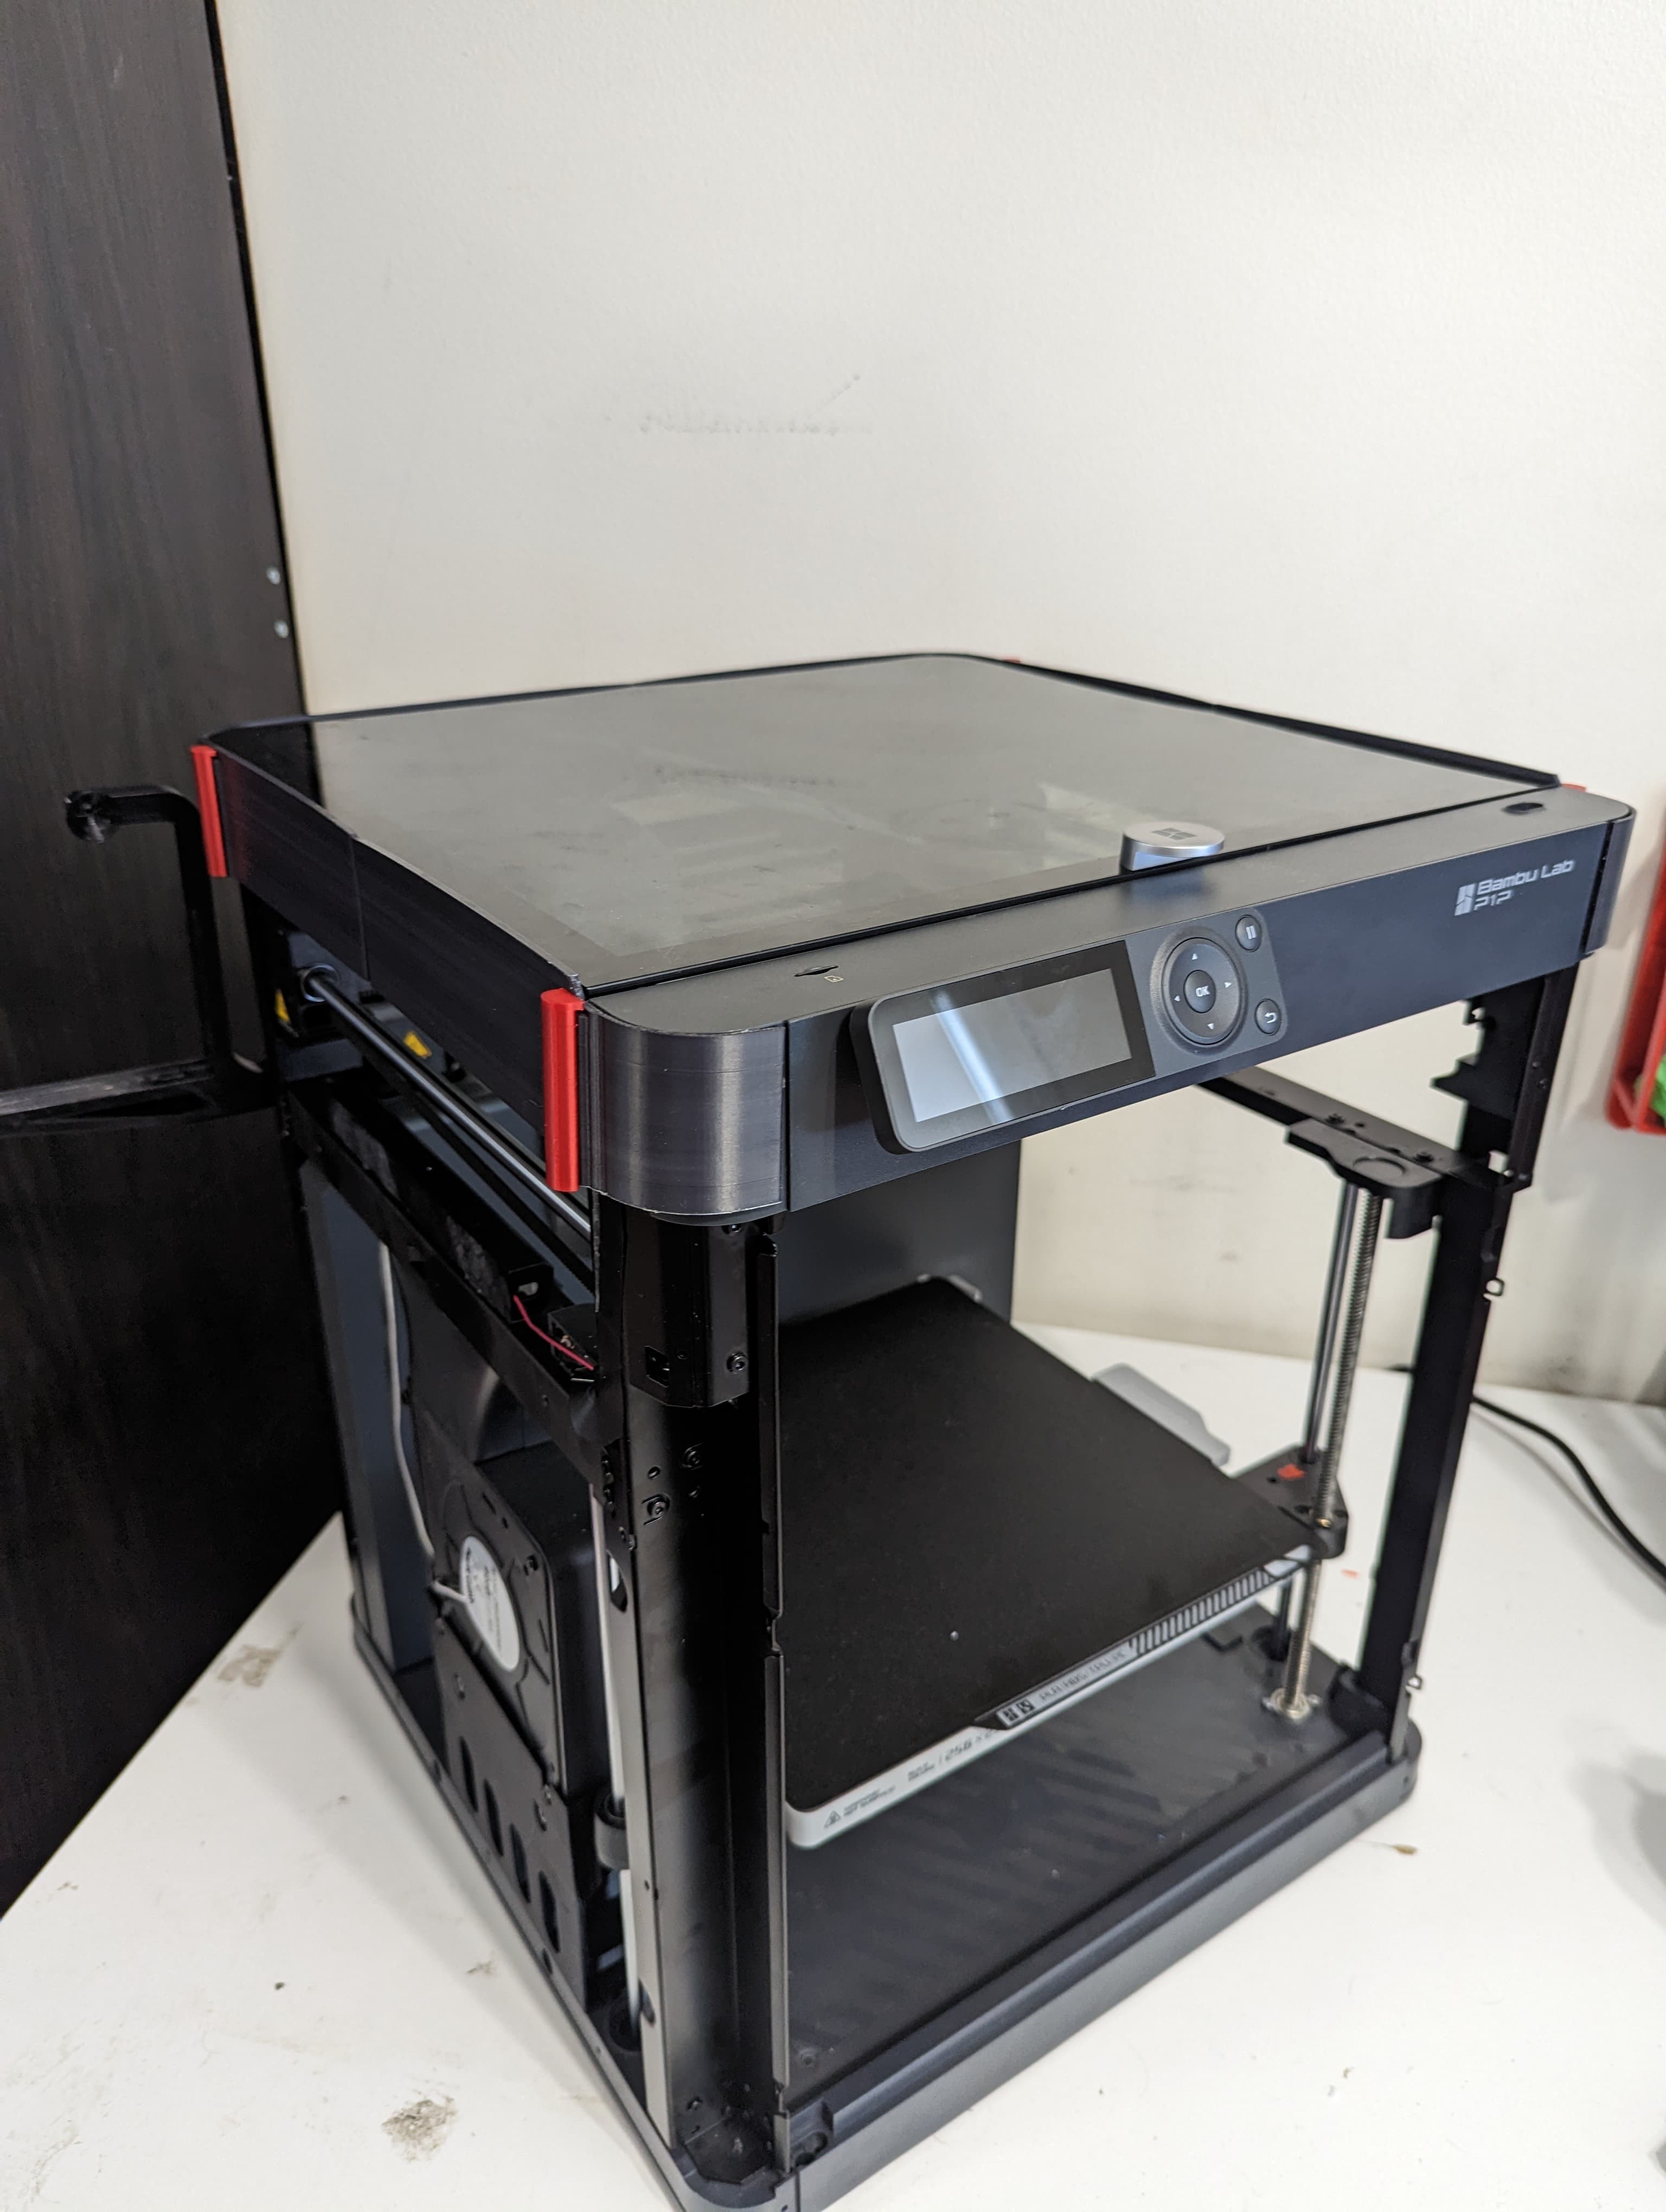
Bambu P1P - X1 Top Glass Adapter
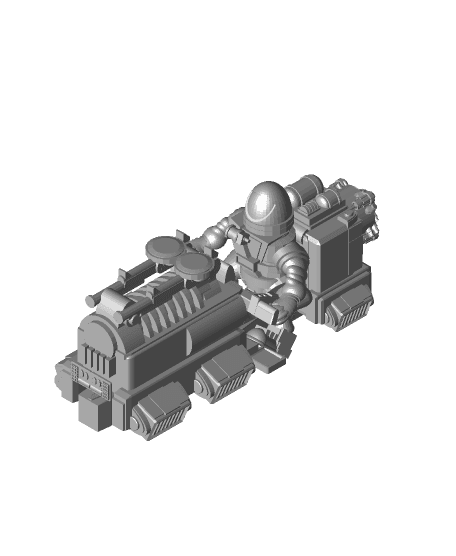
FHW: Dairr jet bike Trooper with twin splitter