


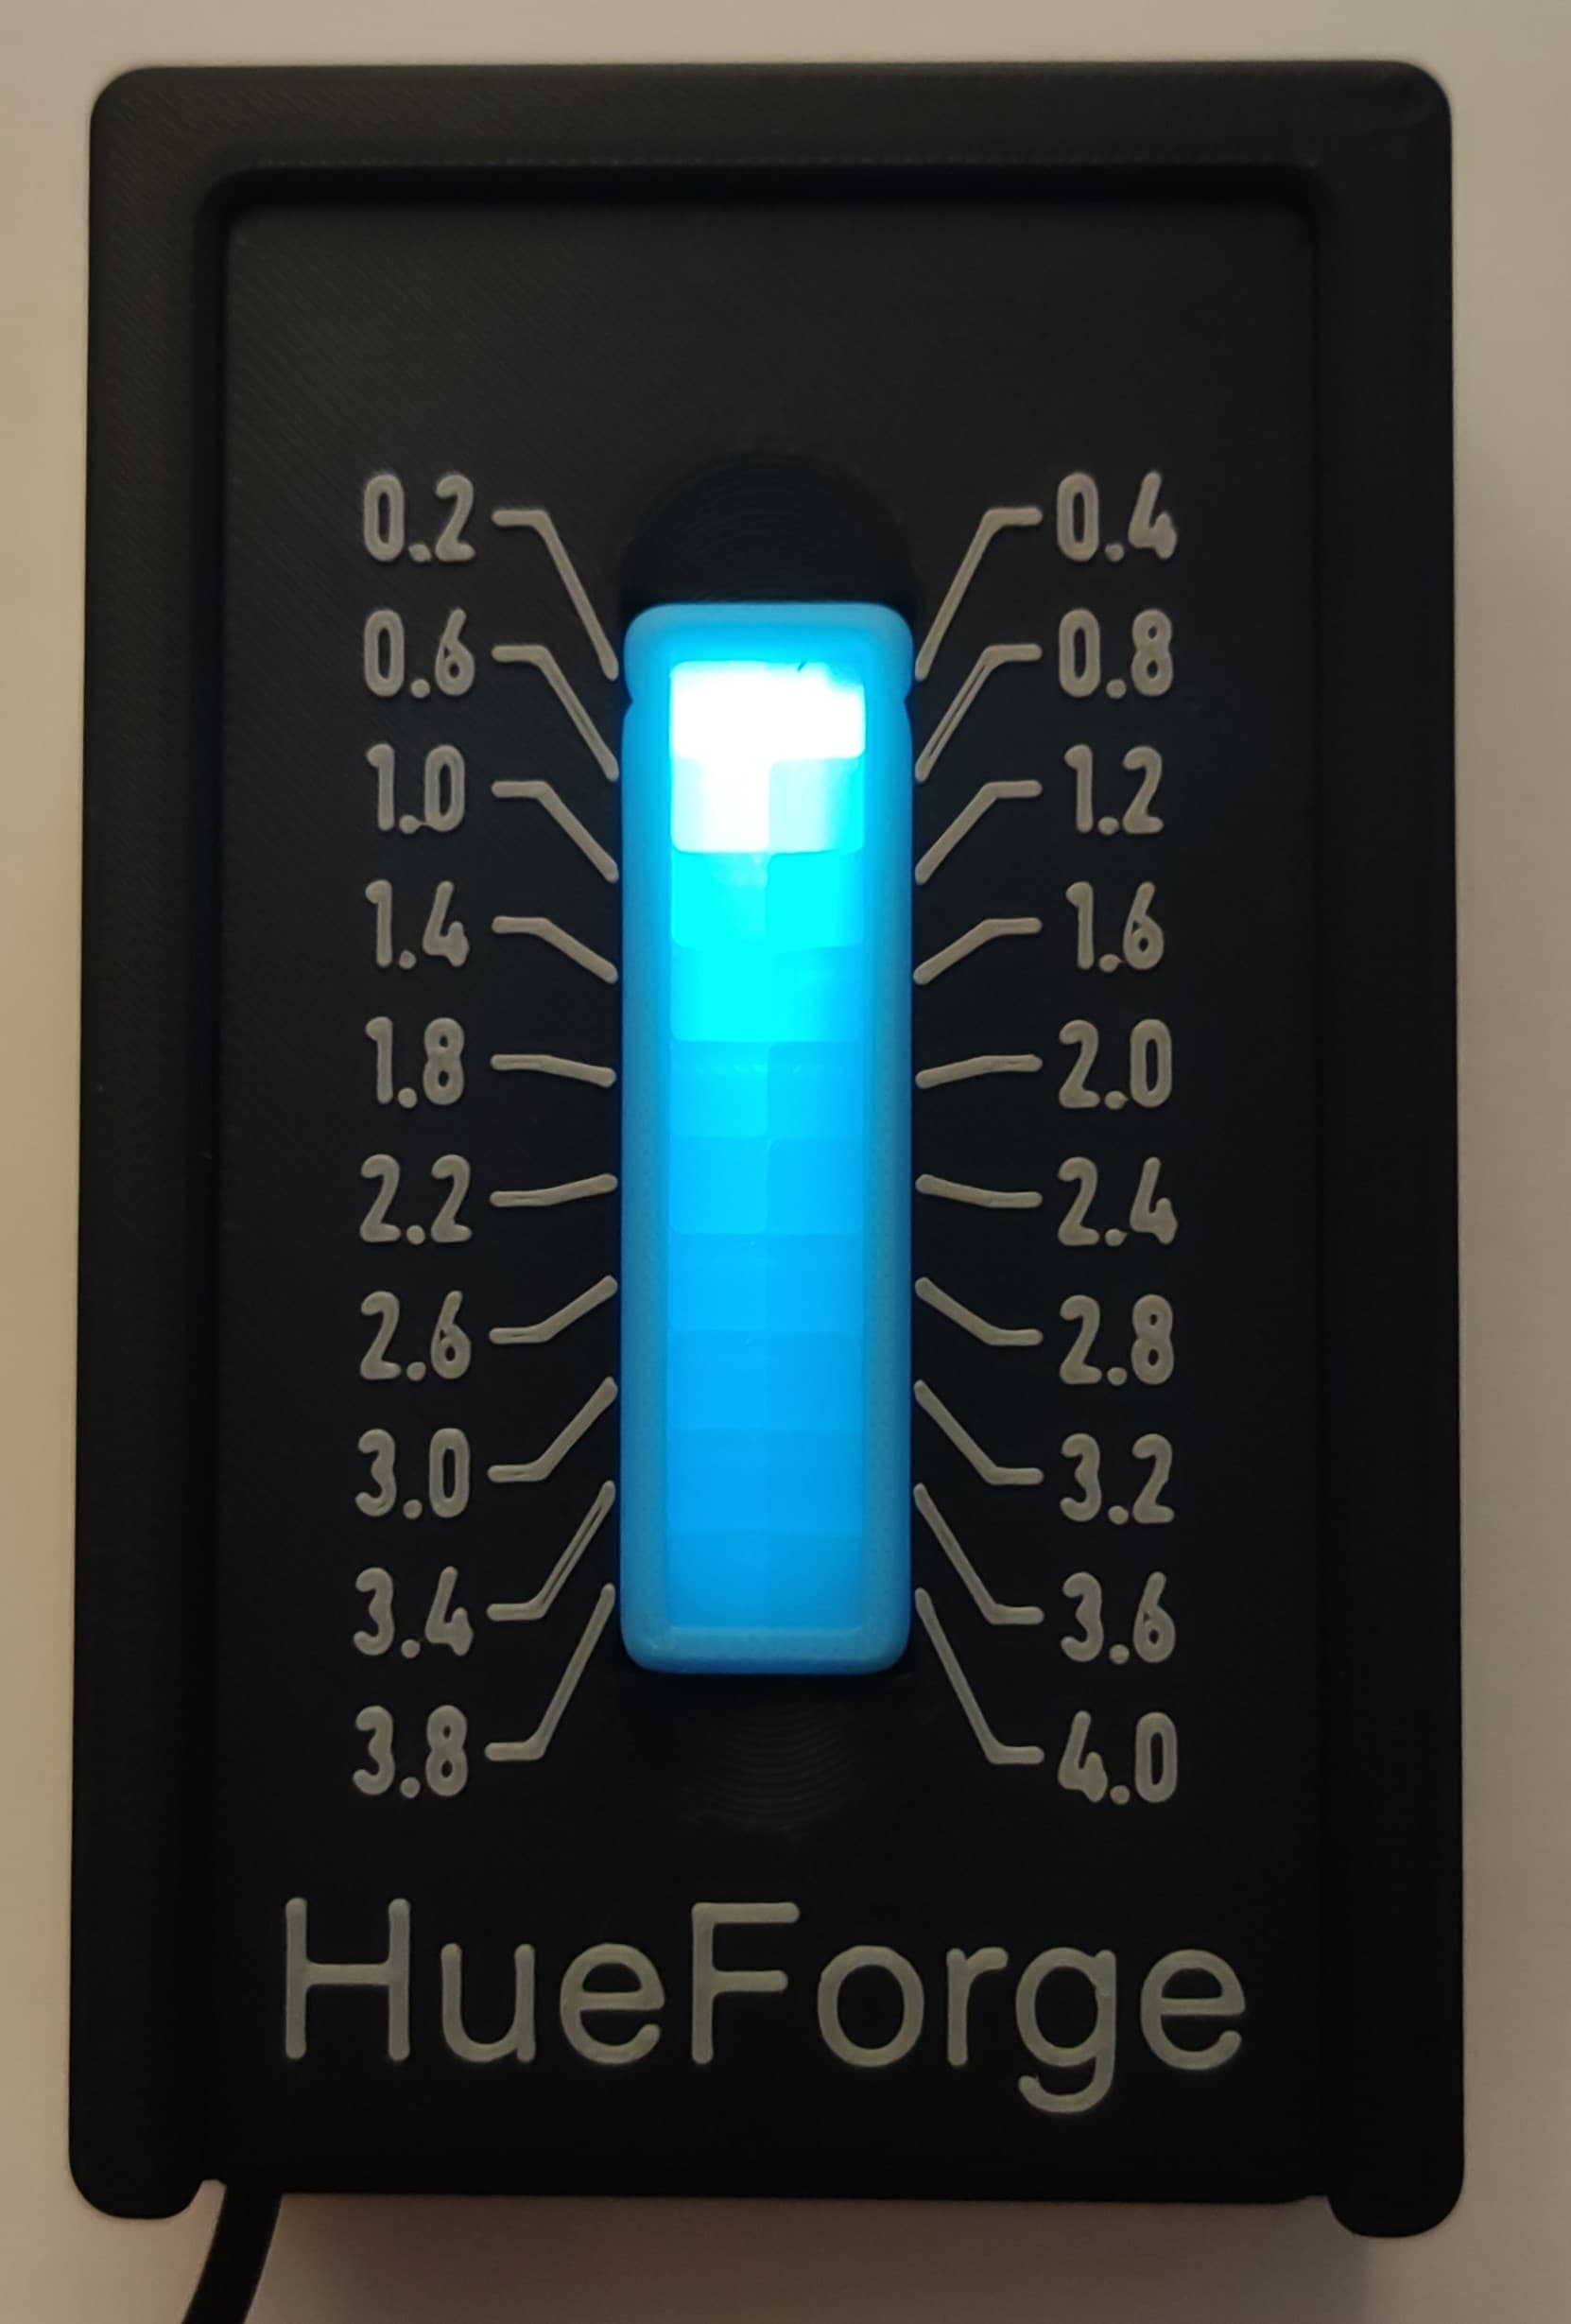
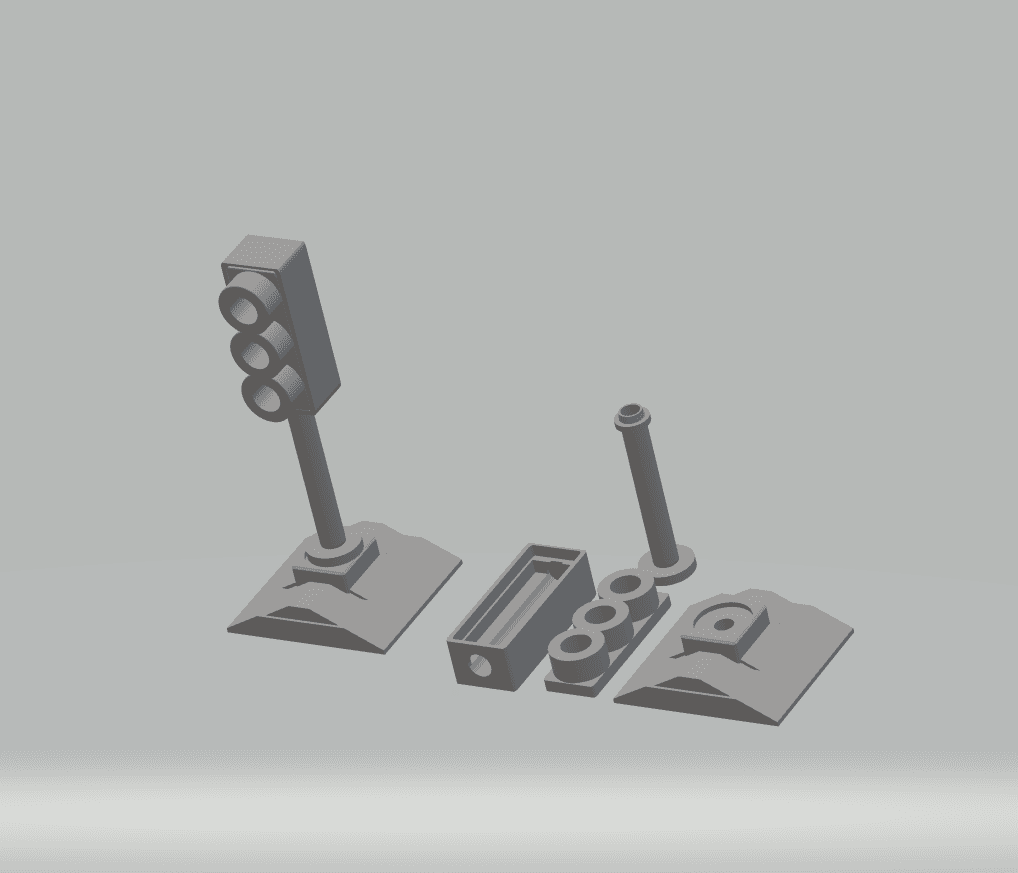
Official HueForge TD Step Test and Light Box
This is the official TD(Transmission Distance) step test developed by the creator of HueForge(listed here with his permission). This test can be used to test the TD of your filament TDs. This is the LEDs I used for the light box https://www.amazon.com/BTF-LIGHTING-Dimmable-Flexible-Backlight-Decoration/dp/B08X6LHLR9. These LEDs can be substituted with any 5v LEDs with a similar LED per inch density. Video tutorial - https://www.youtube.com/live/iPjsLEmgbog?feature=share
Print Settings
- TD_Step_Test - 100% infill @ 0.2 layer, filament type and color you are testing.
- TD_Step_Test_Plus_4 - 100% infill @ 0.2 layer, filament type and color you are testing. - TD_Step_Test_Slide_In_Frame - 2+ walls 15% infill, 3-5 top and bottom layers, black/dark filament
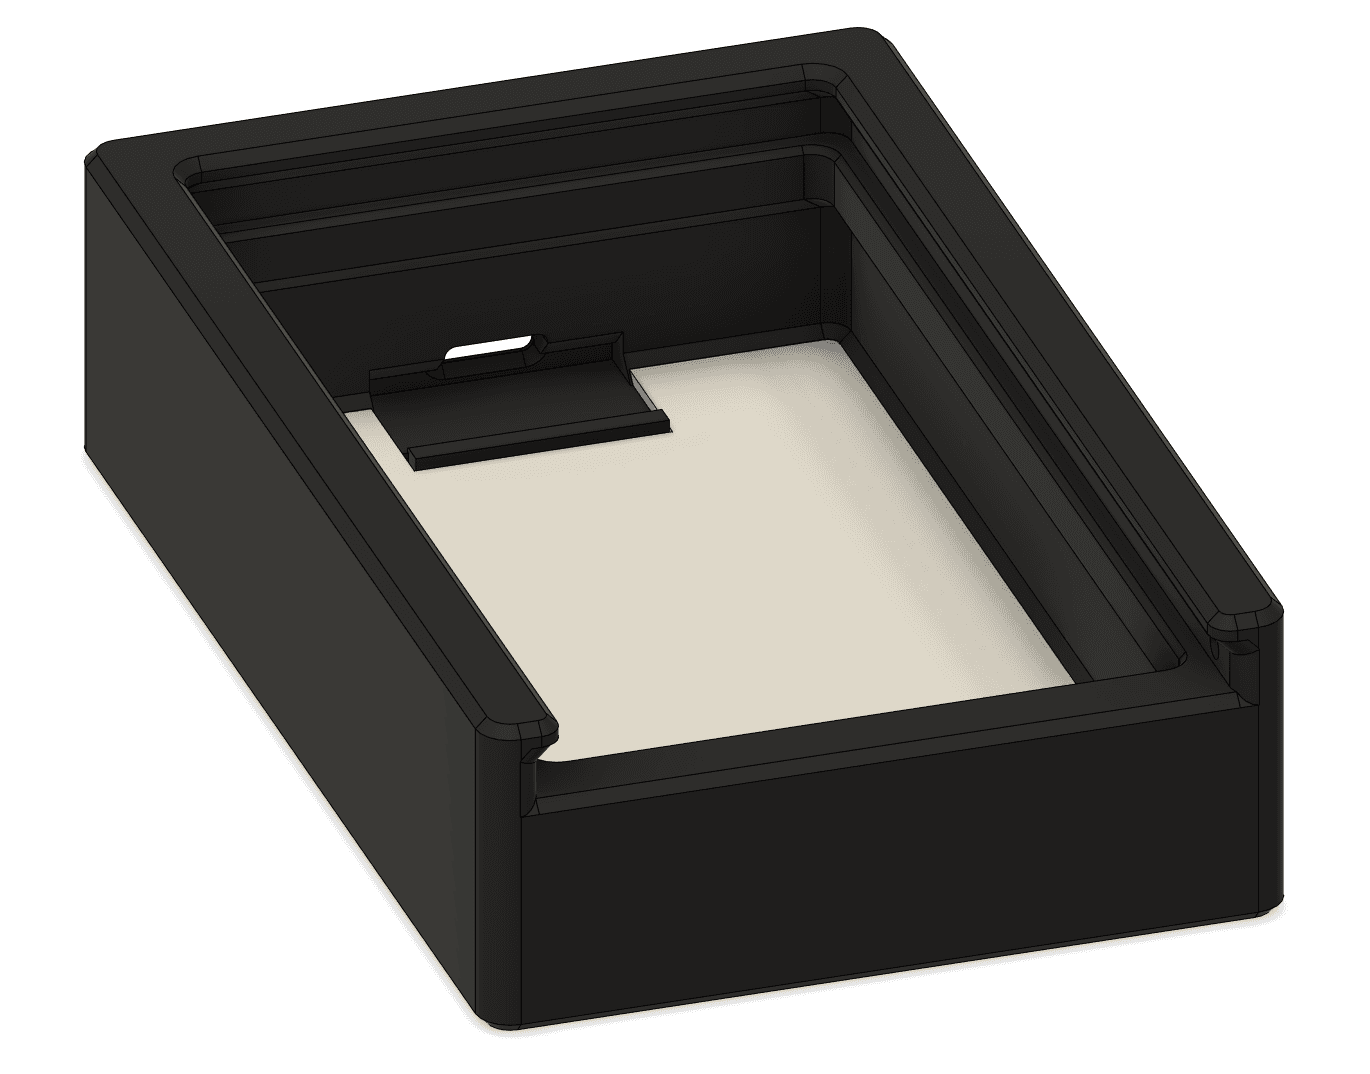
- TD_Step_Test_Box_Top - 2+ walls 15% infill, 3-5 top layers, black/dark filament(choose from the three options.) For multicolor text, choose your color for the text.
Testing Filament Place the step test into the viewing lid and with the led lights on check for the step where the light starts to dim to the point that any steps beyond are all the same brightness. The last step before the final dimming, is your calculated TD value. If all the steps are bright, print and insert a TD_Step_Test_Plus_4 of the same filament under the step test block and check again. This block adds 4 to the number on the top of the box. If adding one TD_Step_Test_Plus_4 block is still not enough, keep adding additional TD_Step_Test_Plus_4 blocks till the steps begin to dim.
EDIT 8/15/2023 Uploaded a V2 of the following
- TD_Step_Test_Box_Top models(adds a notch for proper indexing the TD_Step_Test and grooves for easy swatch removal)
- TD_Step_Test(with grooves to align with new notch in the TD_Step_Test_Box_Top)
- TD_Step_Test_Plus_4(adds the same grooves as the TD_Step_Test) All previous models are still valid ways of testing your filament. These updated models just add some quality of life improvements and allows for additional quality of life improvements for storage solutions such as https://than.gs/m/918176.
EDIT 8/16/2023 Uploaded a V2 of the following
- TD_Step_Test_Slide_In_Frame to removed the overhang, add a detent for snapping the TD_Step_Test_Box_Top in place.
- TD_Step_Test_Box_Top(each option) added detent for snapping into TD_Step_Test_Slide_In_Frame. Added HueForge Text. Extended bottom length to end of box.
EDIT 8/17/2023 Added 1mm_diffuser. Print in white and drop into the bottom of the box.
EDIT 9/9/2023 Corrected the TD_Step_Test object. There was an error that made the 2.0 and 2.2 the same height and every other step above 2.2 was off by 0.2.
Official HueForge TD Step Test and Light Box
Official HueForge TD Step Test USB-C Box
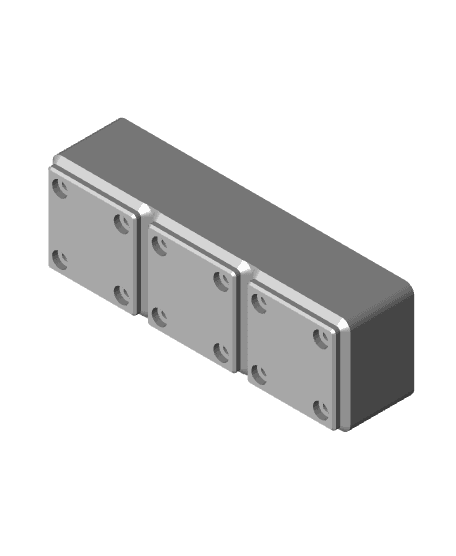
Gridfinity HueForge TD Step Test Swatch Bins
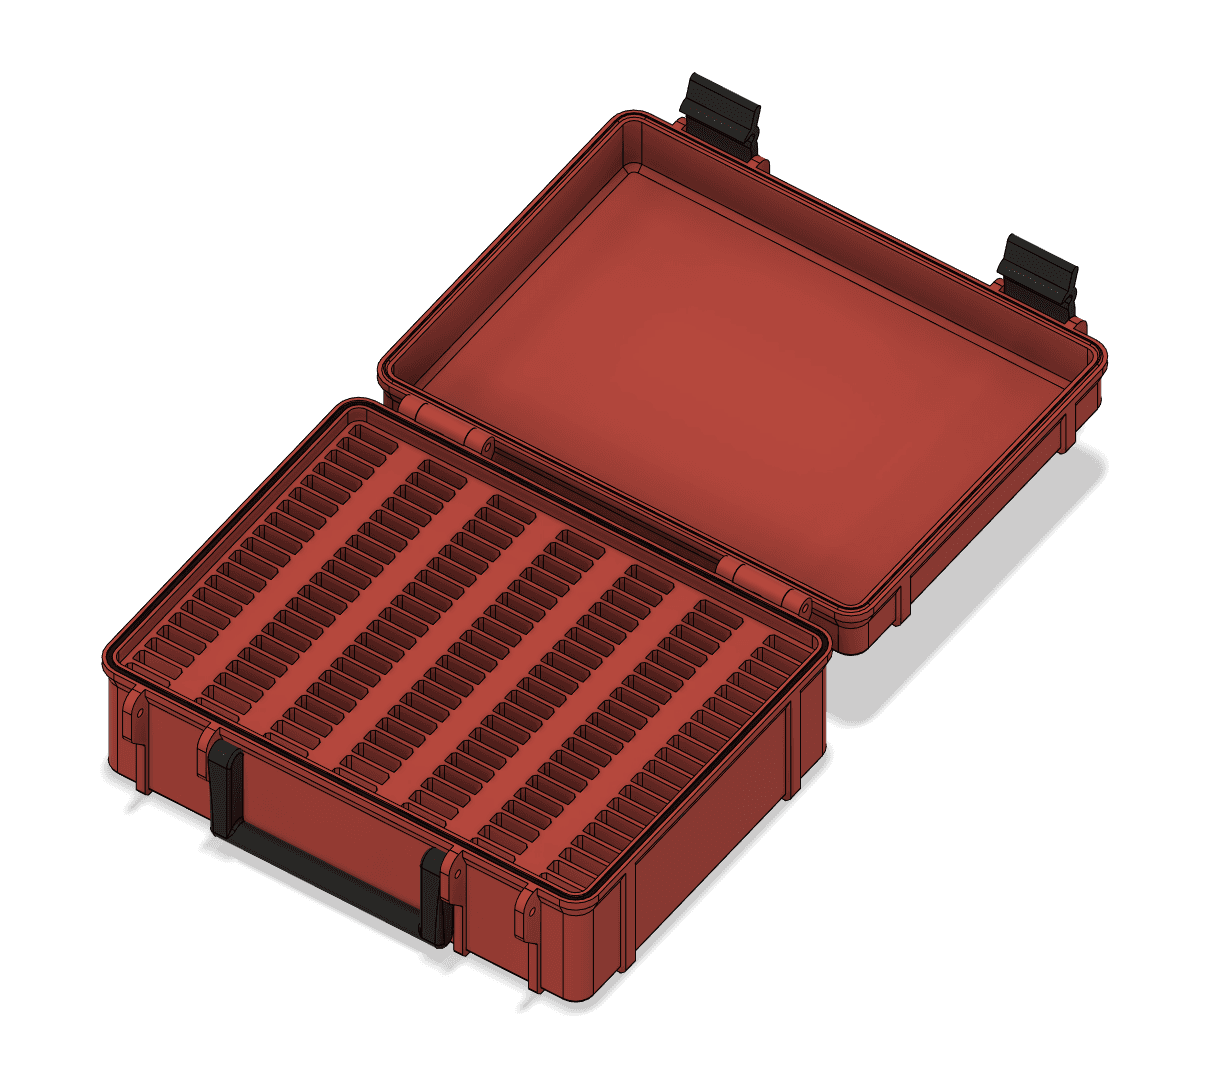
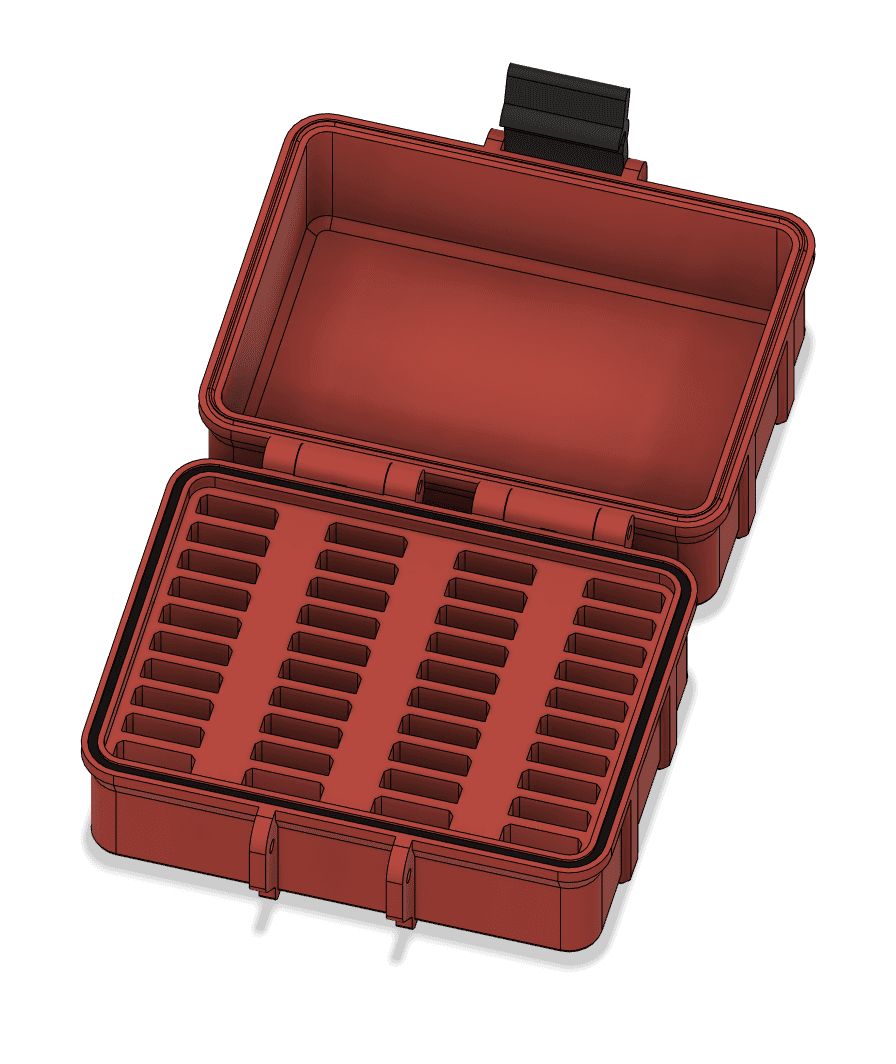
Rugged HueForge TD Swatch Box.3mf
Rugged HueForge TD Swatch Box Mini

200 x 200mm Modular Picture Frame for Hueforge - SLOPED STEP

233 x 233mm Modular Picture Frame for Hueforge - SLOPED STEP

100 x 100mm Modular Picture Frame for Hueforge - SLOPED STEP
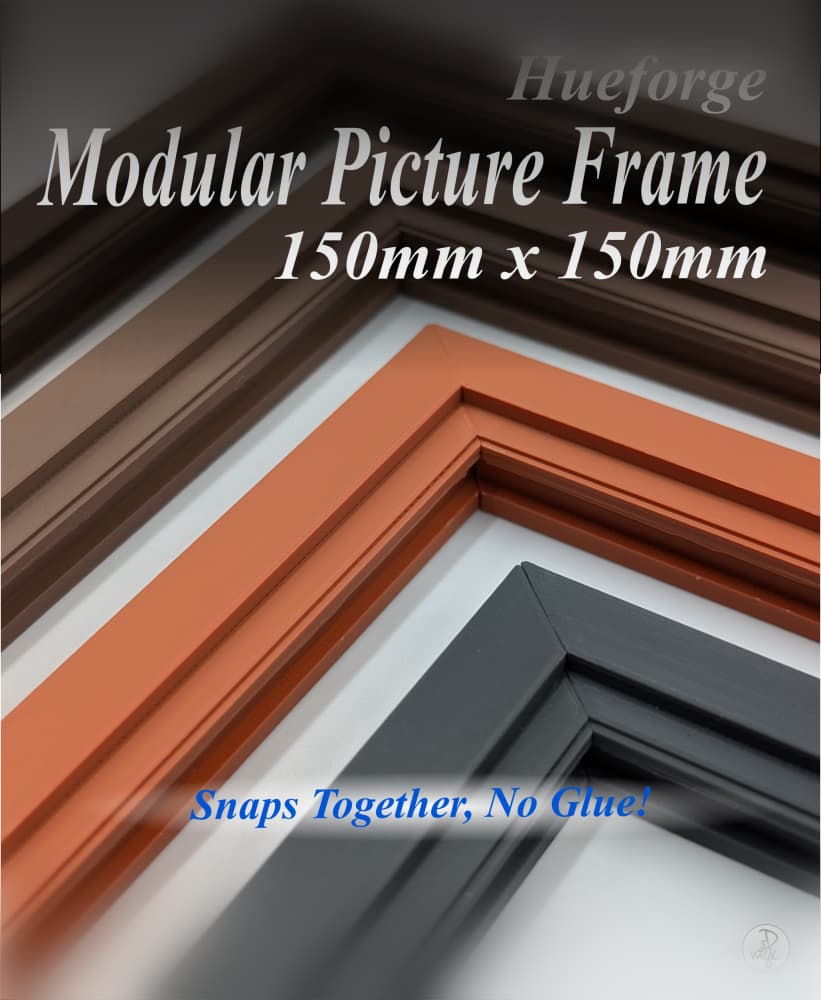
150 x 150mm Modular Picture Frame for Hueforge - SLOPED STEP

Snaps - STEP Multiboard Remixing Files

“Crazy Train – I’m Coming Home” HueForge Tribute Art
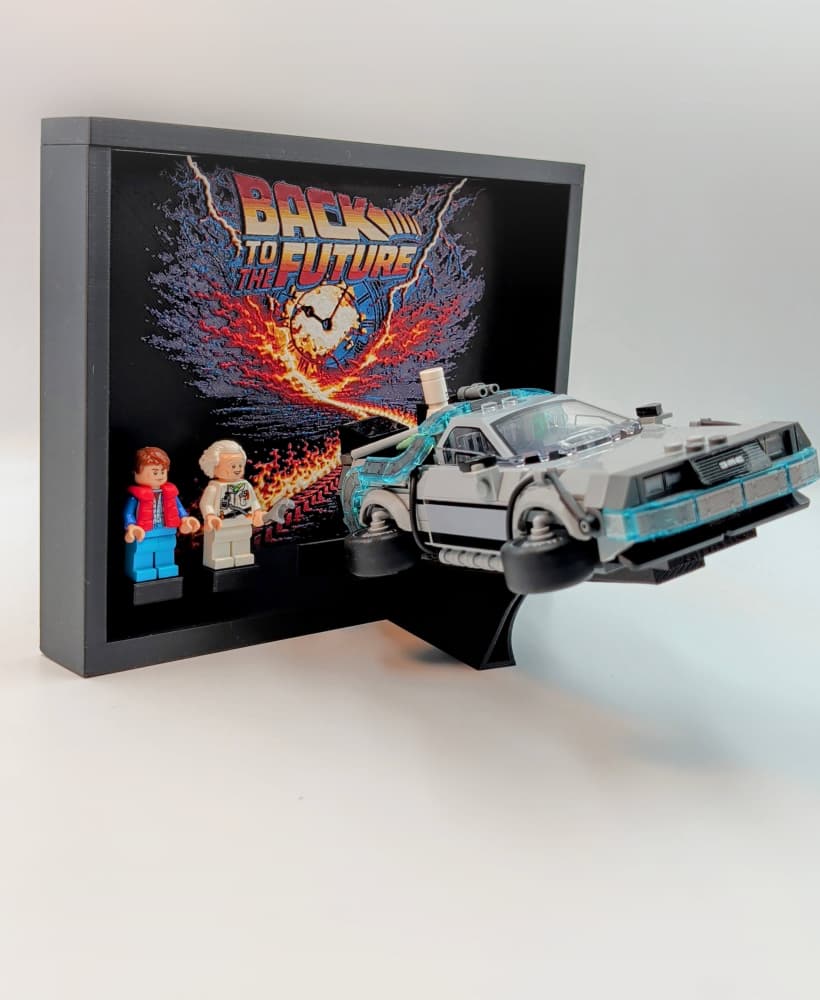
Lego Speed Champions - Time Machine from Back to the Future Display
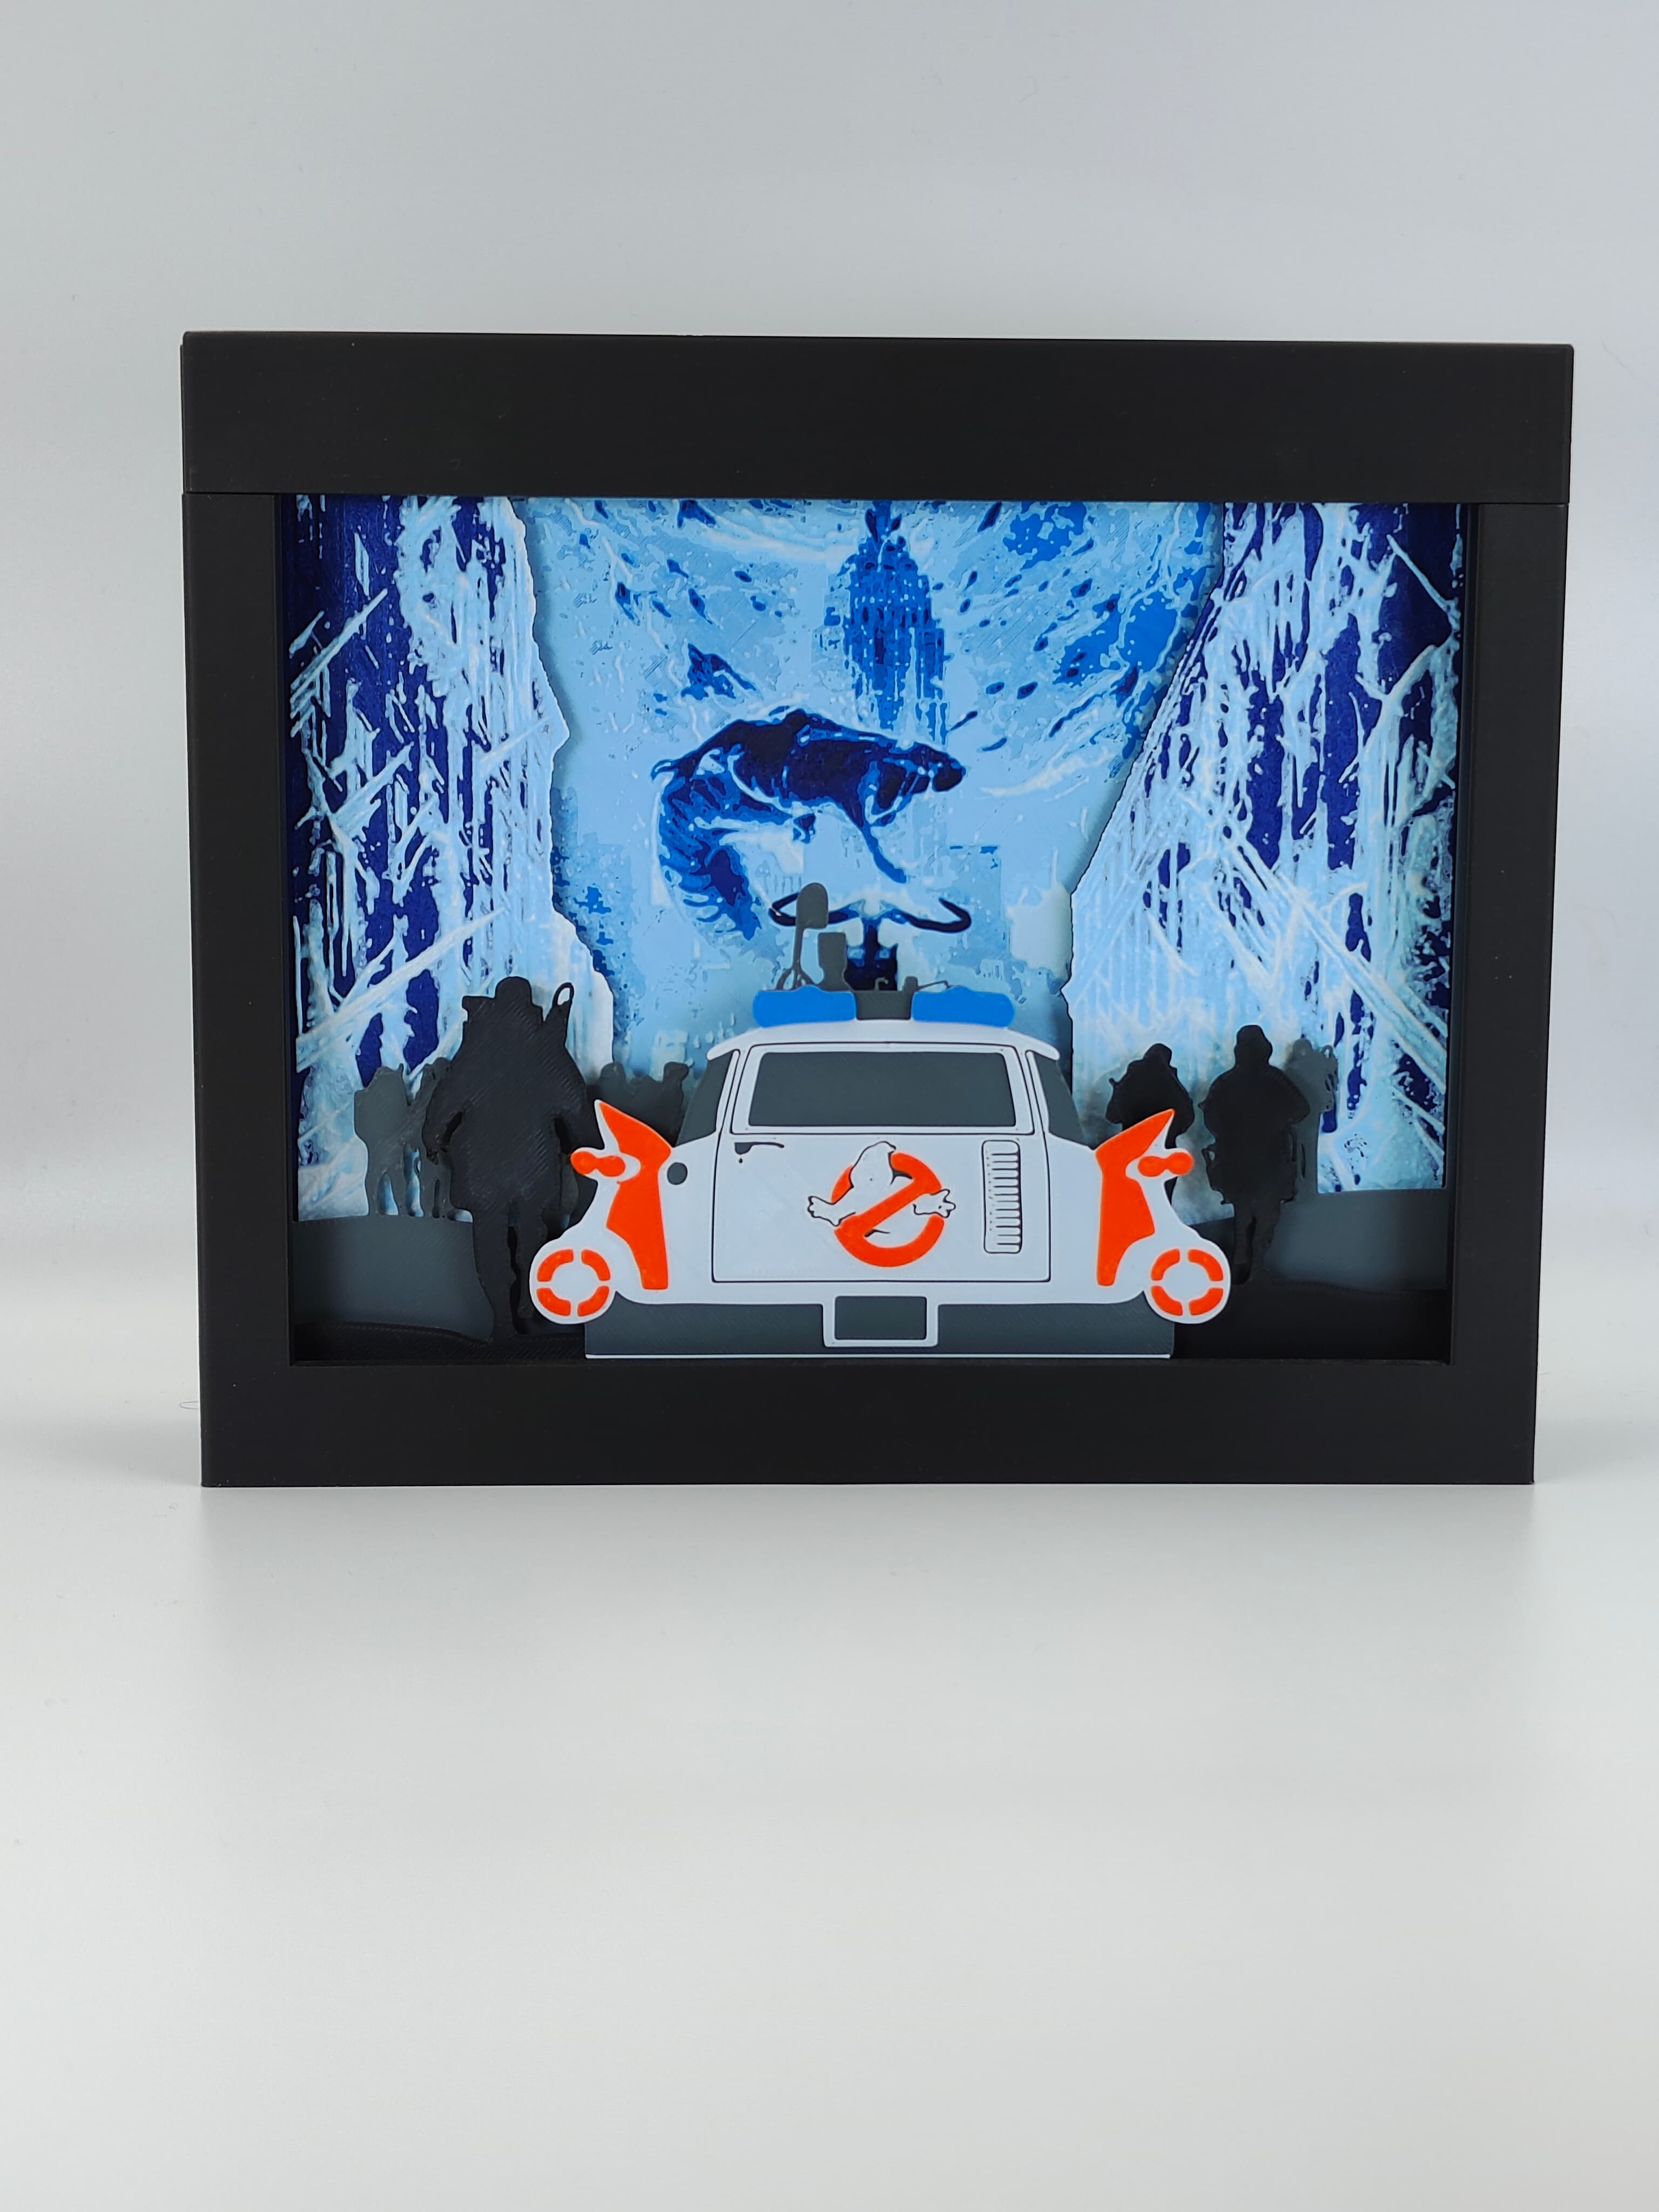
Ghostbusters Frozen Empire Shadow Box 👻

Pegboard Click - STEP Multiboard Remixing Files
.png&w=3840&q=75)
Hueforge Puzzle Cutout Jig

Tile Components - STEP Multiboard Remixing Files

Master Chief - Hands of Power - Gaming Controller Holder
FHW: Crash Racers LED Sign Post

Double Sided Snap (Part A) - STEP Multiboard Remixing Files
Enbee

Instead of using that LED light strip, can we use the flash light on the smartphone? If yes, what whould be the correct distance between the test object and the flash? Thank you!
Is there a way to lable the test strips? I feel that once i have a few samples of the same color from different brands it will be quite hard to know whats what. Other than that a great product untill i can get my hands on a TD-1.
This is great, thank you for creating it.
One thing that if you make a newer version of it is somehow allow labeling the steps so these could serve as both a TD test AND a swatch library.
Appreciate the feedback. While this is still a very valid way of testing TD. Due to the print times and subjective interpretation of how to read these, the new simple way to test for TD is the digital tester I created called TD-1. I do not plan to develop this testing method beyond where it is now.
How should the LED's be installed? I bought the ones in the description but I have 3 ft here and am not sure if I should use a strip in the center or fill the bottom/loop them
They get wrapped around the side wall. You do not want the m shining directly up at the sample.
Thank you I was just going to throw one length up the center!
Regarding the LEDs can you clarify what we should look for. The one you linked is currently available for delivery 2 months from now. The LED has a few different stats (4000K, 90+ CRI, 5V 7W) none of which sound like "LED per inch density". Maybe someone can recommend another amazon product that will work and ships sooner?
I'm confused by the multicolor model. Is it possible to get 1 stl of the base, and another of the numbers in place so we can merge them in Cura? The 3mf file comes up as the base with the numbers baked in, and a bunch of large boxes surround it. Thanks
Open it, export it as an stl, then when slicing paint the numbers (if you have an AMU) or do a filament change on the layer that the numbers start
Thanks for sharing this.